Okay, Storytime (Or How I Learned to Stop Worrying and Love Sourdough Discard Pancakes)
I’ll be honest, the first time I tried making sourdough discard pancakes, I felt like I was just cleaning out the fridge. You know that jar of starter lurking way at the back? Yup. But then, my daughter told her friend about my so-called “pancake tradition” and now apparently it’s legendary (I mean, in a three-household radius). Once I tried swirling in jams instead of syrup, but ended up with what can only politely be described as modern art. Still tasted great, though!
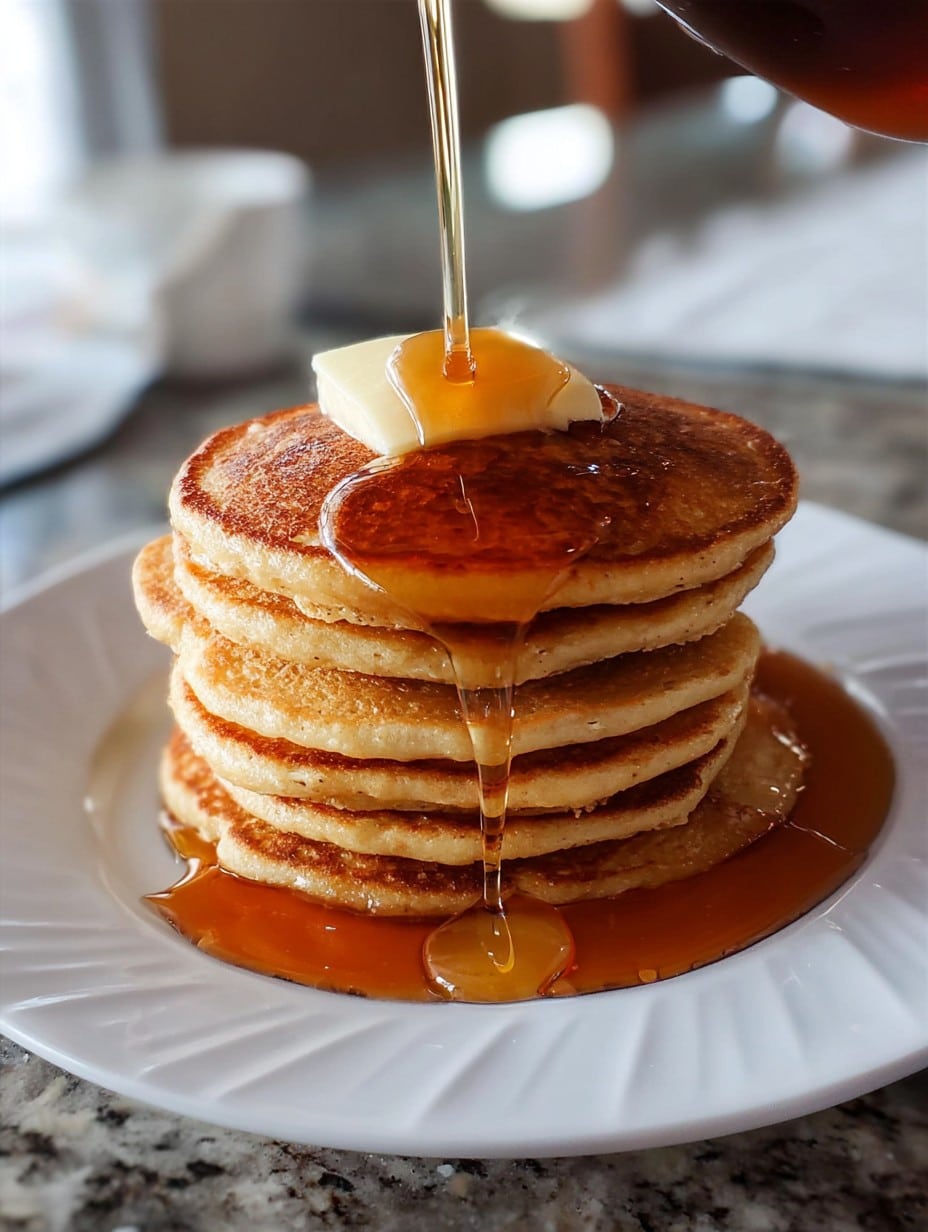
And, just between us, the smell of pancakes sizzling on a Sunday morning is basically happiness on a plate for me—even if the cat tries to “help.”
Why You’ll Find Yourself Making These Again (and Again)
I make this whenever I realize my starter has gotten a little, er, high maintenance. My family goes bonkers for these pancakes because they’re tangy but still fluffy, sort of like the platypus of breakfast foods: just a weird, happy hybrid. Sometimes, when I’m in a real hurry, I’ll serve them with butter and honey instead of maple syrup (still tastes ace).
And to be honest, the best part? No more guilt about chucking out sourdough starter. Been there, got the sticky fingers.
Things You’ll Need to Gather (No Need for Perfection)
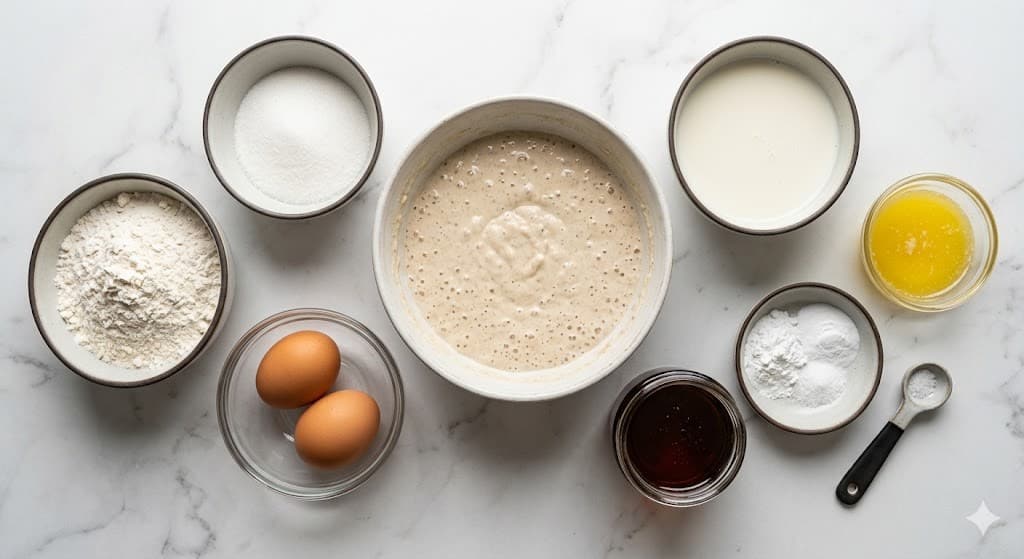
- 1 cup sourdough discard (unfed; mine’s sometimes a bit bubbly, which is fine)
- 1 cup all-purpose flour (did whole wheat once—kinda denser, but not terrible)
- 1 tablespoon sugar (or, hey, brown sugar if that’s all you have!)
- 1 teaspoon baking powder
- 1/2 teaspoon baking soda
- 1/2 teaspoon fine sea salt (table salt works, too, really)
- 3/4 cup milk (dairy or oat, or water in a pinch—been there. Not my best week)
- 1 large egg
- 2 tablespoons melted butter (sometimes swap in coconut oil; Grandma swears by unsalted butter, but honestly—use whatever you’ve got)
- Maple syrup, for serving (or honey, or a dusting of powdered sugar, if you like living dangerously)
How I Usually Make Them (and Sometimes Change My Mind Midway)
- In a big bowl, whisk the sourdough discard, egg, and milk. It’ll look a bit gooey—don’t over-think it.
- Add the melted butter. If you forgot to melt it, just cut it up and let the warm milk melt it a bit; works in a pinch.
- Now sprinkle in your flour, sugar, baking powder, baking soda, and salt. I just dump them all on top and then mix until I get a lumpy batter. Someone once told me you shouldn’t over-mix, so I stop when it looks “mostly” combined (a few stray flour patches = totally fine).
- Heat a skillet or griddle over medium. A nonstick is great, but I’ve used a heavy old pan and even a sandwich press thing once. Grease it with a little butter or oil—this is where I always sneak a taste of the batter (egg warnings be darned; I live on the edge).
- Drop roughly 1/4 cupfuls onto your pan. Wait until you see a couple of bubbles on top—then flip! Sometimes the first one’s a sacrificial pancake; for reasons unknown it always looks weird but tastes fine.
- Cook the other side until golden-brown, then stack them up and keep going (unless, like me, you keep eating them as you go—quality control!).
- Serve hot with copious amounts of maple syrup. Or whatever makes you happy, really.
Things I’ve Learned (Usually the Hard Way)
- If your starter discard is fridge-cold, let it sit out while you get everything else together. The pancakes puff up better if it’s not ice-cold, promise.
- I once mixed the wet and dry all at once in the stand mixer and ended up with gluey pancakes. Actually, I find that a gentle hand makes fluffier stacks.
- Soaking the batter for 10 minutes after mixing seems to make them more tender, but sometimes I just can’t be bothered. Guess what, still good.
If You Want to Go Off the Beaten Track
- Blueberries folded in at the end? Stellar, as long as you don’t mind the odd blue streak.
- I tried chocolate chips once, but they caught before the pancakes cooked through. Maybe I was too impatient. On second thought, try smaller chips or sprinkle after flipping.
- If you like things extra tangy, use more discard and just a smidge less milk.
Do You Even Need Any Fancy Equipment?
I swear by my old cast iron pan, but my mate Em just uses a regular frying pan and says it does the job. No whisk? Fork works. Don’t stress about gadgets—you’re making breakfast, not winning MasterChef.
To Store (If Miraculously You Have Leftovers)
Keep cooked pancakes in a container in the fridge, up to three days—though honestly, in my house they never last more than a day. These reheat fine in the toaster or oven (microwave is okay, but kinda rubbery).
How I Like to Serve ‘Em
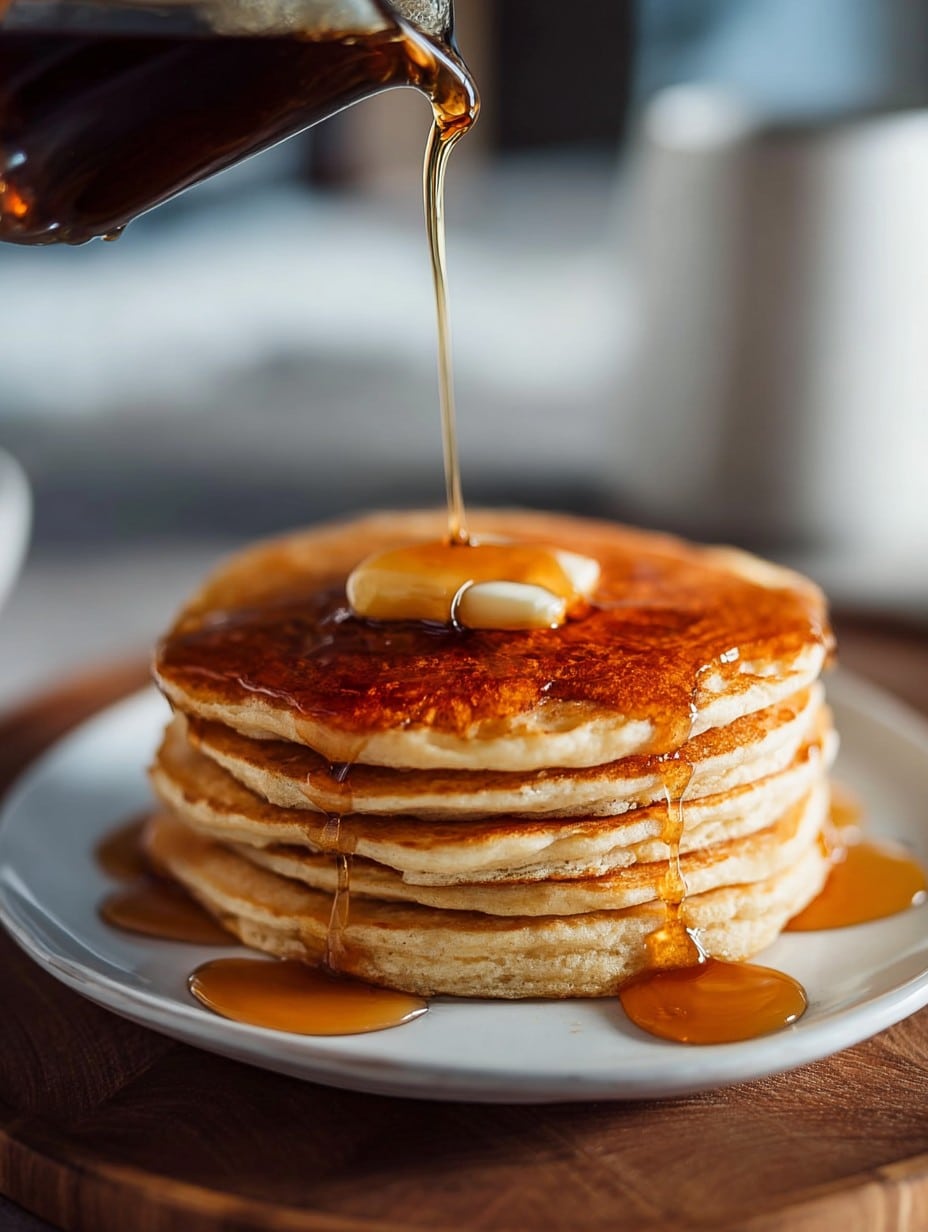
Maple syrup, of course, but every once in a blue moon we do whipped cream and fruit (that’s a birthday thing for us). My neighbor slathers on peanut butter. You do you. And yes, a pat of salted butter melting on top is worth it, trust me.
Stuff I Wish I Knew Earlier (Pro Tips, or, “Oops” Moments I’ve Had)
- Once, I rushed to flip the pancakes when they weren’t bubbling, and they tore all over the pan—patience, grasshopper.
- Pour your batter at a medium pace from a jug or big spoon. Too fast and they sprawl into odd shapes (unless pancake art is your thing?).
FAQ Time: Yes, I’ve Been Asked These
- Can I freeze these? Yep—just stack with parchment between and freeze. They toast back up nicely! No need to defrost.
- Why do my pancakes look a bit uneven in color? Probably your heat’s a bit wonky, or the pan needed a wipe. Honestly, who cares?
- Can I make these without eggs? Sure, just add a tablespoon of extra milk and a splash more melted butter. They’re a tad flatter, but edible for sure.
- Is there a dairy-free option? Go with plant milk and use oil instead of butter. Easy peasy.
- My batter seems really thick—help? Just stir in a small splash more milk. Mine varies every time depending on the starter mood, I swear.
By the way, if you get distracted and end up pouring way too much batter for the first pancake—congrats, you just made yourself a “breakfast pizza.”
Ingredients
- 1 cup sourdough discard (unfed; mine’s sometimes a bit bubbly, which is fine)
- 1 cup all-purpose flour (did whole wheat once—kinda denser, but not terrible)
- 1 tablespoon sugar (or, hey, brown sugar if that’s all you have!)
- 1 teaspoon baking powder
- 1/2 teaspoon baking soda
- 1/2 teaspoon fine sea salt (table salt works, too, really)
- 3/4 cup milk (dairy or oat, or water in a pinch—been there. Not my best week)
- 1 large egg
- 2 tablespoons melted butter (sometimes swap in coconut oil; Grandma swears by unsalted butter, but honestly—use whatever you’ve got)
- Maple syrup, for serving (or honey, or a dusting of powdered sugar, if you like living dangerously)
Instructions
-
1In a big bowl, whisk the sourdough discard, egg, and milk. It’ll look a bit gooey—don’t over-think it.
-
2Add the melted butter. If you forgot to melt it, just cut it up and let the warm milk melt it a bit; works in a pinch.
-
3Now sprinkle in your flour, sugar, baking powder, baking soda, and salt. I just dump them all on top and then mix until I get a lumpy batter. Someone once told me you shouldn’t over-mix, so I stop when it looks “mostly” combined (a few stray flour patches = totally fine).
-
4Heat a skillet or griddle over medium. A nonstick is great, but I’ve used a heavy old pan and even a sandwich press thing once. Grease it with a little butter or oil—this is where I always sneak a taste of the batter (egg warnings be darned; I live on the edge).
-
5Drop roughly 1/4 cupfuls onto your pan. Wait until you see a couple of bubbles on top—then flip! Sometimes the first one’s a sacrificial pancake; for reasons unknown it always looks weird but tastes fine.
-
6Cook the other side until golden-brown, then stack them up and keep going (unless, like me, you keep eating them as you go—quality control!).
-
7Serve hot with copious amounts of maple syrup. Or whatever makes you happy, really.
Approximate Information for One Serving
Nutrition Disclaimers
Number of total servings shown is approximate. Actual number of servings will depend on your preferred portion sizes.
Nutritional values shown are general guidelines and reflect information for 1 serving using the ingredients listed, not including any optional ingredients. Actual macros may vary slightly depending on specific brands and types of ingredients used.
To determine the weight of one serving, prepare the recipe as instructed. Weigh the finished recipe, then divide the weight of the finished recipe (not including the weight of the container the food is in) by the desired number of servings. Result will be the weight of one serving.
Did you make this recipe?
Please consider Pinning it!




