Let Me Tell You About My Lazy Pizza Habit
Okay, pull up a chair. This sourdough discard pizza dough (no yeast) recipe is basically my answer to, “It’s Friday, my brain’s fried, and hey, is that sourdough discard already taking over the fridge again?” True story: the first time I made pizza using sourdough discard (instead of actual yeast), I fully expected a flop, maybe a hockey puck. Imagine my shock when it came out actually…good? Way better than “good,” actually. My partner stole a slice right off the pan—burnt his tongue, didn’t care. Anyway, now this is my go-to when I just want pizza fast, don’t want to think too hard, and want to pretend I’m a resourceful kitchen wizard. Sometimes I even brag to my little brother, even though he just microwaves his meals.
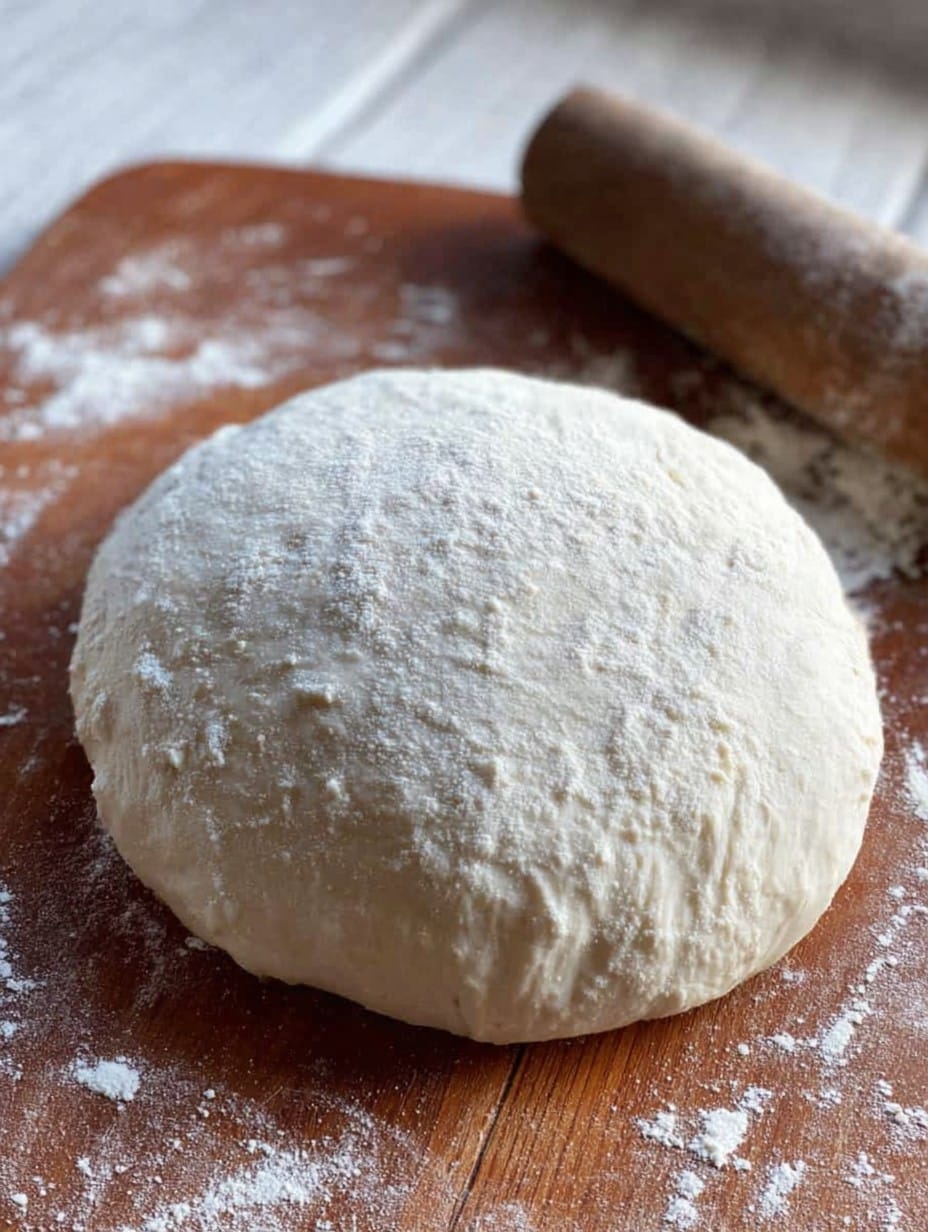
Why I Keep Coming Back to This Recipe
I make this when leftover sourdough discard is practically spilling onto the counter (it happens all the time in our house), and I don’t have any patience for fussing with yeast or proving anything twice. My family goes nuts for this because it has that lovely chewy, slightly tangy crust that honestly tastes a smidge fancier than effort level suggests—plus, you don’t have to proof it forever! (Although, fair warning—if you’ve got a pizza snob in your house, don’t let them see the shortcut. Learned that the hard way.) Sometimes the dough is a bit stickier than my nerves can take, but a dusting of flour and a playlist fixes most things.
What You’ll Need (and What I Sub for When I’m Lazy)
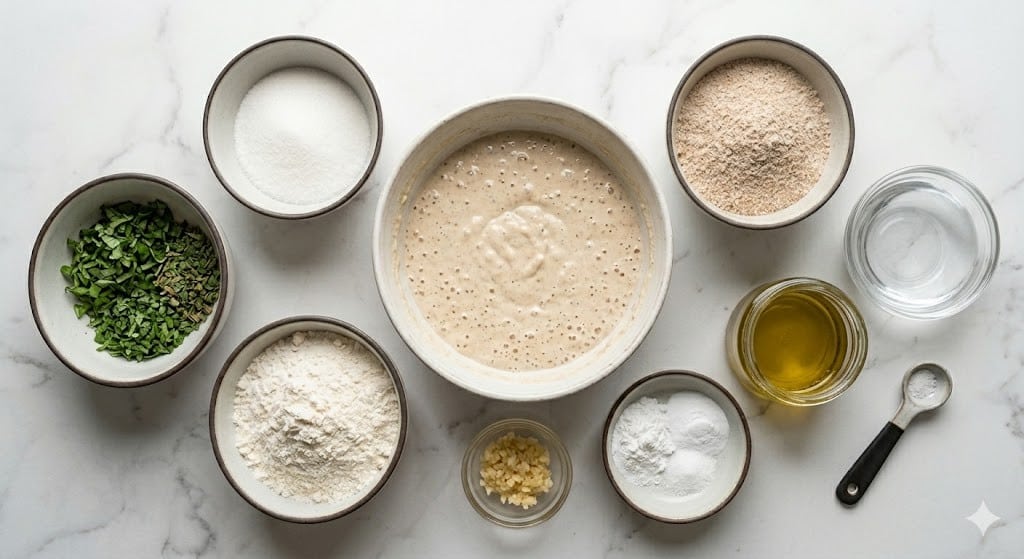
- 1 cup (240g) active sourdough discard (room temp works best, but cold in a pinch)
- 2 cups (250g) all-purpose flour (I sometimes swap in 1/2 cup whole wheat – makes it a bit heartier)
- 3/4 cup (180ml) lukewarm water (honestly, I just use tap water most nights)
- 2 tbsp olive oil (my grandma swears by extra virgin, but any will do—just don’t skip it!)
- 1 tsp fine sea salt (table salt works if that’s what you’ve got)
- 1/2 tsp baking powder (don’t try without this—learnt that lesson)
Optional: a good sprinkle of cornmeal for the pan. Gives it a nice little crunch, but up to you.
How I Usually Throw It Together
- Mix your wet stuff: In a big bowl, whisk together the sourdough discard, lukewarm water, and olive oil. Doesn’t have to be perfect—just get it mostly blended. This is where I sneak a sniff—it always smells a bit tangy, which I love.
- Dry goes in: Throw in your flour (whatever mix you’re using), salt, and baking powder. Stir with a wooden spoon or honestly, just get in there with your hand if you’re not afraid of goop. The dough will probably look a little rough—don’t panic.
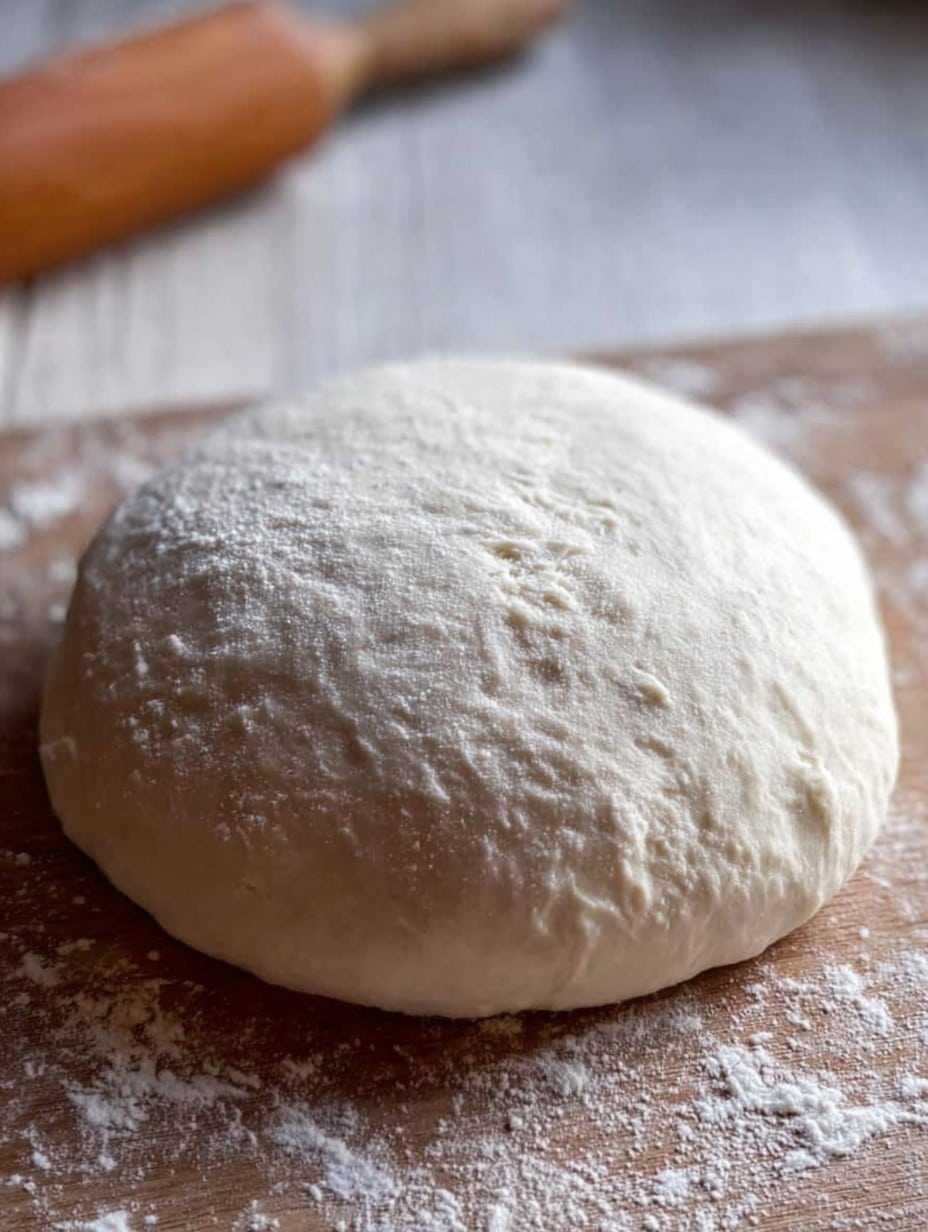
- Bring it together: Once it gets shaggy, tip it onto a floured counter. Knead about 2-3 minutes until it’s smooth-ish. If it’s too sticky, sprinkle on some more flour, but not too much, or it goes tough. Don’t worry if it feels softer than regular pizza dough—that’s normal.
- Rest it (sort of): Plop it back in the bowl, cover with a towel or plate, and let it sit for 30 minutes. I sometimes cheat with 20 if I’m starving. (The longer rest just helps it relax and makes it way easier to stretch.)
- Preheat & prep: Heat up your oven to 475°F (245°C). If you have a pizza stone, great—stick it in now. If not, just use a baking sheet. I sprinkle cornmeal on mine but parchment paper works too.
- Shape your base: Grab the dough and, using your fingers, push or stretch it out into a rough circle or rectangle. Don’t sweat the shape; mine always looks wonky and my family calls them “rustic.”
- Add toppings and bake: Throw your sauce, cheese, and whatever goodies you like on. Bake for 13-15 minutes or just until the crust’s golden. Sometimes the cheese goes a little wild and bubbles off the edge—honestly, that’s my favorite bit.
- Slice and devour: Let it cool just a sec (unless you like burnt roof-of-mouth, been there), slice it up, and enjoy!
The Weird Stuff I’ve Learned Making This
- If your discard is super sour, maybe add a pinch of sugar to the dough. Just helps balance things.
- This dough won’t ever get super puffy like yeast dough, but it’s got a great chew and crunch combo I actually prefer most days.
- One time I forgot the olive oil and the crust was sad and, well, dry. Don’t skip it!
- If you want to make ahead, wrap the dough and pop it in the fridge—just take out an hour before using or it’ll be too stiff to shape. (Actually, last time I left it overnight and I think it tasted better the next day.)
Tricks I’ve Tried (Spoiler: Not All Worked)
- I tried brushing the whole crust with garlic oil; totally amazing.
- Mixed in a fistful of shredded cheddar into the dough once by accident. Not bad, not great. I stick to regular toppings now.
- Once made a batch with rye flour. It was…an experience. Maybe too earthy for my crew, but worth a stab if you like rye!
Tools You (Might) Need (Or Not)
- Mixing bowl—anything big enough. I actually once used a saucepan, and it worked.
- Wooden spoon, but your hands work too (mine usually end up messier than when I started).
- Oven—the one thing you can’t really skip here.
- Pizza stone is lovely but a rimmed baking sheet or even a trusty old skillet can sub in.
- Parchment paper if cornmeal’s not your thing.
Storing the Dough and Leftovers (If You Even Have Any)
If you do have leftovers, wrap slices in foil and either toss them in the fridge or just face reality and eat them cold standing by the fridge at midnight. Keeps okay for 2–3 days, maybe a bit longer, but honestly in my house it never lasts more than a day!
How We Eat It (And Love It)
We keep it simple. Classic mozzarella (a little extra if I’m feeling reckless), dollops of basil pesto, and sometimes a sprinkle of crushed red chili for the adults. On weekends, I’ll add roasted veggies, and my cousin insists dipping in a pot of ranch is the only way. Go wild—or, you know, go plain cheese.
What I Wish I’d Known (Pro Tips Form Experience)
- Don’t rush the resting step. I tried skipping it and my dough fought back—it just wouldn’t stretch. Give it at least 20 minutes to relax.
- Bake it on the lowest rack for that crispy bottom. Forgot this once, got a pale crust.
- If the dough looks too wet, just add a pinch of flour at a time. But don’t overdo it or you’ll get a doorstop. (Been there. Still edible, just, you know, not ideal.)
Friends and Family Have Actually Asked Me—FAQ
Do I need to use bubbly active discard or can it be a bit dead?
Honestly, I kind of just use whatever’s in the jar—even the flat stuff, and it still works great. But room temp seems to mix better.
Can I freeze the dough?
Yep! Pop the shaped dough (before baking) in a freezer bag with parchment between rounds. Defrost overnight, then bake as usual. Not sure why but I always forget about it until I see my freezer’s a graveyard for half-finished projects.
Is this super sour?
Not really! It’s got a subtle tang. If you hate that, maybe try a different discard or shorten the fridge sit.
Can I double this recipe?
I do it all the time, though my biggest bowl looks slightly terrified every time. Just double everything and divide for two pizzas. Easy.
Why add baking powder?
Oh, learned this the hard way. The baking powder gives it a little lift since there’s no yeast. Otherwise, it just turns out sad and dense—nobody’s dream pizza.
If you make this, I want pics. Or at least tell me what you topped it with!
Ingredients
- 1 cup (240g) active sourdough discard (room temp works best, but cold in a pinch)
- 2 cups (250g) all-purpose flour (I sometimes swap in 1/2 cup whole wheat – makes it a bit heartier)
- 3/4 cup (180ml) lukewarm water (honestly, I just use tap water most nights)
- 2 tbsp olive oil (my grandma swears by extra virgin, but any will do—just don’t skip it!)
- 1 tsp fine sea salt (table salt works if that’s what you’ve got)
- 1/2 tsp baking powder (don’t try without this—learnt that lesson)
- Optional: a good sprinkle of cornmeal for the pan. Gives it a nice little crunch, but up to you.
Instructions
-
1Mix your wet stuff: In a big bowl, whisk together the sourdough discard, lukewarm water, and olive oil. Doesn’t have to be perfect—just get it mostly blended. This is where I sneak a sniff—it always smells a bit tangy, which I love.
-
2Dry goes in: Throw in your flour (whatever mix you’re using), salt, and baking powder. Stir with a wooden spoon or honestly, just get in there with your hand if you’re not afraid of goop. The dough will probably look a little rough—don’t panic.
-
3Bring it together: Once it gets shaggy, tip it onto a floured counter. Knead about 2-3 minutes until it’s smooth-ish. If it’s too sticky, sprinkle on some more flour, but not too much, or it goes tough. Don’t worry if it feels softer than regular pizza dough—that’s normal.
-
4Rest it (sort of): Plop it back in the bowl, cover with a towel or plate, and let it sit for 30 minutes. I sometimes cheat with 20 if I’m starving. (The longer rest just helps it relax and makes it way easier to stretch.)
-
5Preheat & prep: Heat up your oven to 475°F (245°C). If you have a pizza stone, great—stick it in now. If not, just use a baking sheet. I sprinkle cornmeal on mine but parchment paper works too.
-
6Shape your base: Grab the dough and, using your fingers, push or stretch it out into a rough circle or rectangle. Don’t sweat the shape; mine always looks wonky and my family calls them “rustic.”
-
7Add toppings and bake: Throw your sauce, cheese, and whatever goodies you like on. Bake for 13-15 minutes or just until the crust’s golden. Sometimes the cheese goes a little wild and bubbles off the edge—honestly, that’s my favorite bit.
-
8Slice and devour: Let it cool just a sec (unless you like burnt roof-of-mouth, been there), slice it up, and enjoy!
Approximate Information for One Serving
Nutrition Disclaimers
Number of total servings shown is approximate. Actual number of servings will depend on your preferred portion sizes.
Nutritional values shown are general guidelines and reflect information for 1 serving using the ingredients listed, not including any optional ingredients. Actual macros may vary slightly depending on specific brands and types of ingredients used.
To determine the weight of one serving, prepare the recipe as instructed. Weigh the finished recipe, then divide the weight of the finished recipe (not including the weight of the container the food is in) by the desired number of servings. Result will be the weight of one serving.
Did you make this recipe?
Please consider Pinning it!




