How I Fell In Love With Strawberry Kiss Cookies
So picture this: I’m elbow-deep in flour, it’s raining outside (again—thanks, British weather!), and my kid strolls in asking for something pink and sweet. That’s literally how Strawberry Kiss Cookies entered our family’s Hall of Fame; total improv, total hit. But honestly, I first made these after a minor supermarket meltdown when they were out of chocolate chips, so you could say these cookies are born from desperation and a bit of creativity. If you’re looking for perfectly-shaped bakery cookies, you might want to check out Sally’s Baking Addiction; but if you’re after cheerful, homey, irresistible cookies with a bit of a wobble—stick with me. And yes, sometimes I eat two before they even cool down. Sorry, not sorry.
Why I Keep Making These (a.k.a. Why You’ll Love This)
I make this when I need a quick pink fix, or my daughter’s pleading for something “pretty” (her words, not mine). My family pretty much hovers around the oven waiting for me to say “they’re cool enough”—which, let’s be honest, they rarely are. The combo of strawberry and chocolate is one of those things that always feels like a treat and, not gonna lie, when I want to impress at a bake sale without actually doing much work, this recipe is my lifeline. Plus—no fancy ingredients you can’t find at the corner shop. Oh! And if you’ve ever had your chocolate kisses melt into mutant blobs (been there), I’ve got a fix for that below.
Let’s Talk Ingredients (and My Lazy Swaps)
- 1 box strawberry cake mix (I’ve used both Betty Crocker and the cheapo store brand—couldn’t tell much difference, honestly)
- 2 large eggs (if you forget to take them out early, a quick roll in warm-ish water is fine)
- 1/3 cup vegetable oil (your grandma might swear by melted butter—it does make them richer, so go for it if you’re feeling fancy)
- 1 teaspoon vanilla extract (optional, but I do love the boost it gives; real or fake, I’ve used both)
- About 36-40 chocolate kisses (the Hershey’s ones, but I tried Lidl’s version once and no one noticed)
- Optional: Sprinkles, powdered sugar for dusting, or, for a little tang, a tiny squeeze of lemon juice (sometimes I do this if I’m feeling extra—doesn’t happen often)
The (Somewhat Rambly) Directions
- Oven on, please: Get that oven preheating to 350°F (about 180°C). Line a couple of baking trays with parchment. My 9-year-old loves this part—she always tries to get the paper perfectly square (and fails, every single time).
- Mix it up: Dump the cake mix, eggs, oil, and vanilla into a bowl—no need for a stand mixer, though you can if you’re feeling posh. I just use a regular wooden spoon, because cleaning fewer things is always my goal. Stir until you’ve got a thick, sticky, pink dough (this is where I usually sneak a little taste; who’s judging?).
- Shape: Roll spoonfuls of dough (about walnut size, but honestly I just eyeball it) into balls. Pop them on the trays a couple inches apart. If it’s extra sticky, wet your hands a bit—it helps, promise.
- Bake time: Into the oven they go for about 9-11 minutes. The edges go firm but the centers should still look a teensy bit underdone—trust me, they finish up outside the oven. This always looks weird, like they’re too soft, but that’s the magic.
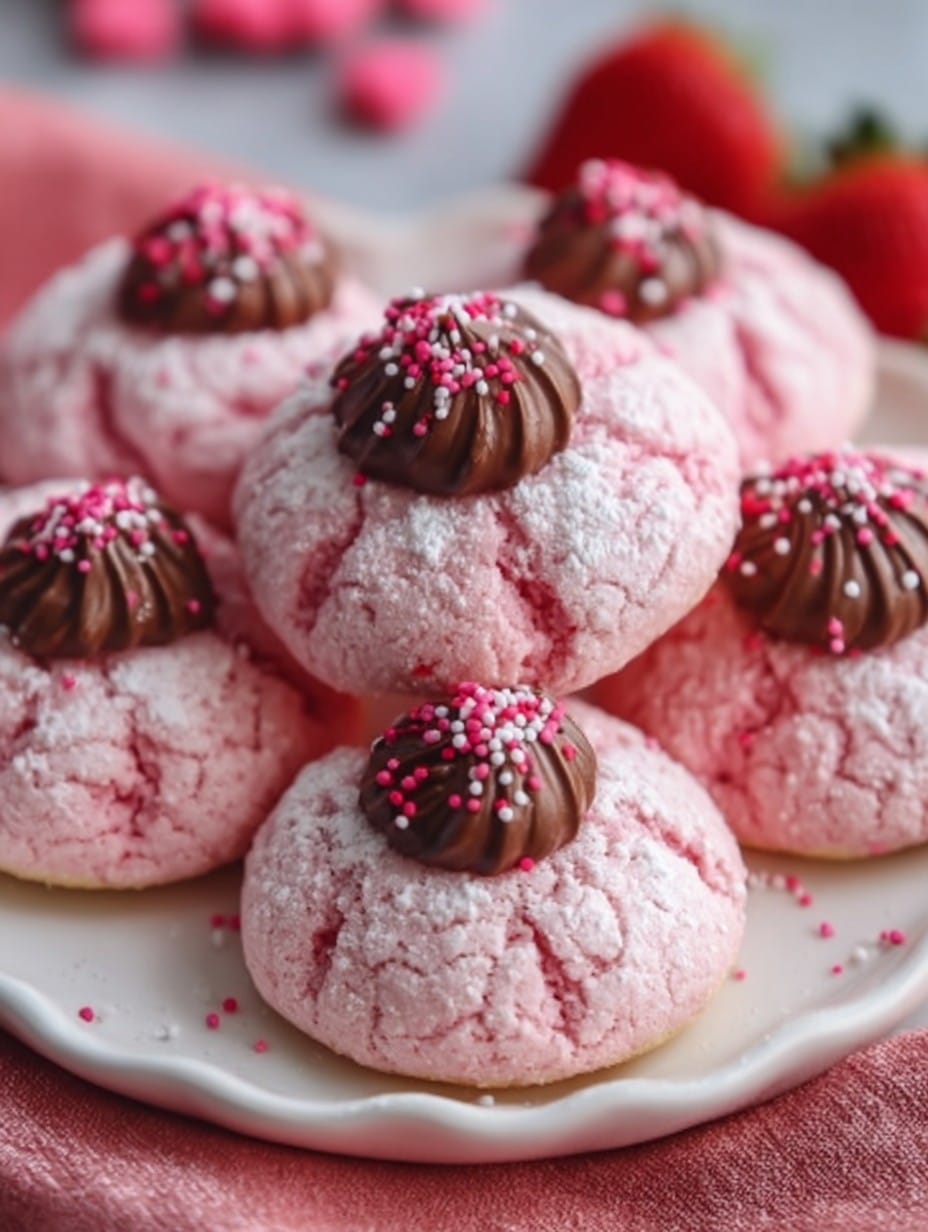
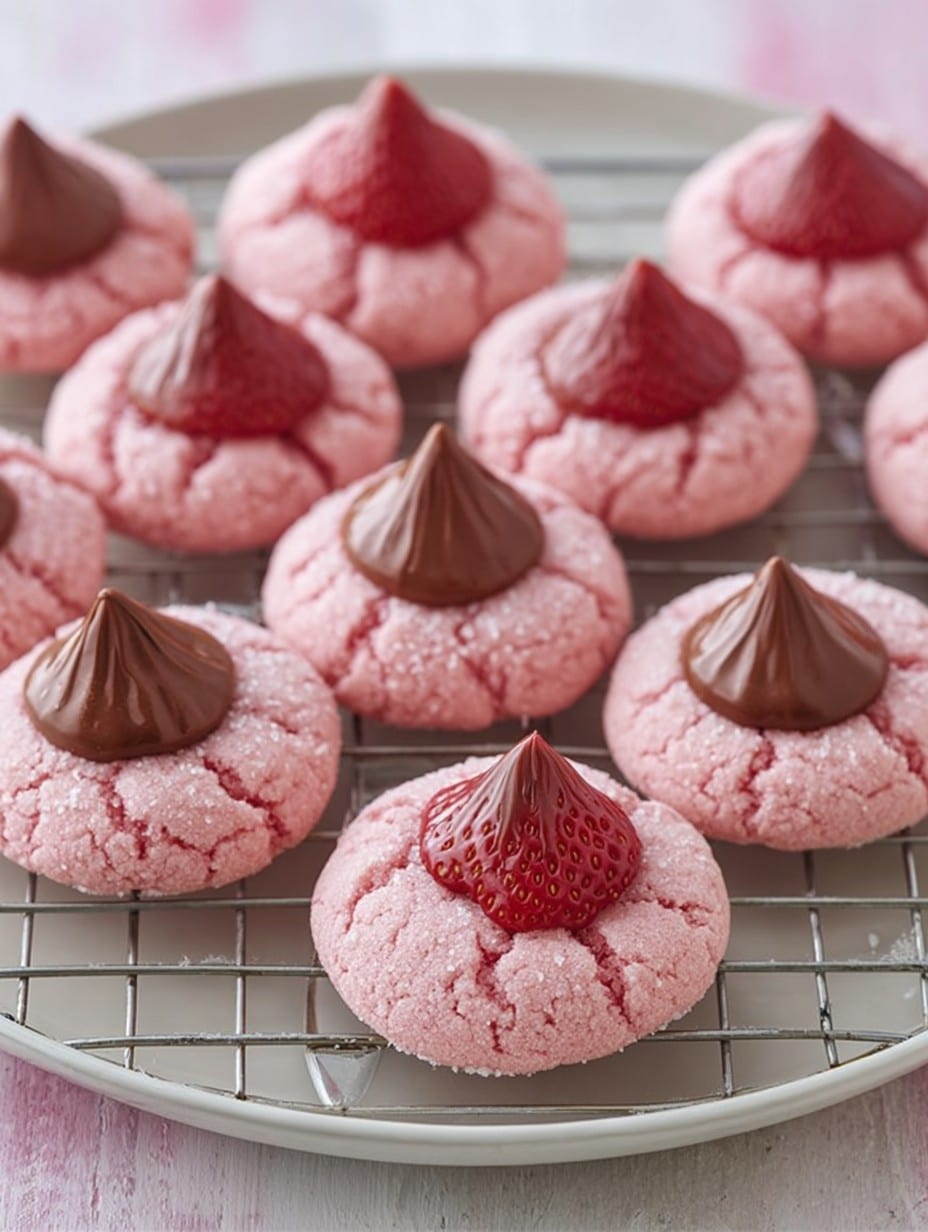
- Add kisses: Right when they come out, I press a chocolate kiss into the center of each cookie. Don’t wait, or they won’t stick. The chocolate will look like it’s melting a bit (it is), but it’ll set as they cool.
- Let cool: Probably the hardest step, because I always want one hot. (But, actually, they do hold together better if you let them cool 10 minutes.)
Notes From My Kitchen (Not All Genius, Some Just Odd!)
- If you try it with white chocolate kisses, they’re much sweeter—so maybe skip the extra sugar dusting.
- Leaving them in the oven too long makes them kinda dry; I always err on the side of underbaked.
- I once added freeze dried strawberries on top. Cute but a bit chewy—maybe use as a decoration, not in the mix.
What Went Wrong (and Right) With Variations
- Chocolate cake mix with mint kisses tasted like toothpaste, but strawberry with dark chocolate kisses is surprisingly fancy.
- Lemon cake mix gives them a zing, if you’re into that.
- I once tried doing half the batch as sandwich cookies with the kisses inside. Good in theory, chocolate disappeared inside. Not worth the hassle, really.
Equipment I Actually Use (And My Cheapskate Workarounds)
- Baking sheets (I’ve used the back of a roasting tin in a pinch—works fine, honestly)
- Mixing bowl
- Wooden spoon or spatula
- Parchment paper (greasing the pan works if you’re low on parchment—it’s all good)
Keeping Them Fresh (Sort Of…)
Store in an airtight tin, and they’ll stay soft for 3-4 days (probably; in my house, they only seem to last a day anyway). That said, they do get a bit chewier after a couple days. I think they taste even better the next day; others might disagree.
How To Serve? (This Is Where It Gets Fun)
I like popping them on a pink cake stand with a scattering of fresh strawberries. For birthdays, I let the kids go wild with extra sprinkles—sometimes they add gummy bears too. Not strictly necessary, but that’s how we roll. Oh! And with a cup of peppermint tea, these are surprisingly lovely. Try it.
Sharing My Best “Learned the Hard Way” Tips
- I once tried to rush the cooling stage. Regretted it because the kisses slid right off. Be patient (or stick them in the fridge for 5 min if you’re in a hurry).
- If you add the kisses too soon, they melt to mush. But too late and they don’t stick. The sweet spot is about 1 minute out of the oven, I think.
- If you use butter instead of oil, reduce the quantity a smidge—it makes the dough less greasy. Learned that the messy way…
Your Questions, My (Sometimes Rambly) Answers
- Do I have to use boxed cake mix? Nope! But it’s so much easier, and I genuinely can’t tell the difference. You could make your own cake mix if you’re feeling extra ambitious.
- Can I freeze the dough? Yep—scoop it into balls first. Bake straight form frozen, just add a minute or two.
- Is there a non-chocolate version? Sure, try white chocolate buttons—or leave them off for cute strawberry cookies as-is. My aunt uses jam in the center sometimes instead (sticky, but not tragic).
- What if my kisses go melty and lose their shape? This happens if the kitchen’s roasting! Pop them in the fridge first, or cool your tray for a minute before pressing them in.
- Any way to make these gluten-free? Yes, just grab a gluten-free cake mix. Trader Joe’s version works, though it’s a bit more crumbly.
And speaking of crumbs—does anyone else always find a trail of pink sugar around the kitchen after baking? Maybe that’s just me.
Ingredients
- 1 box (15.25 oz) strawberry cake mix
- 1/3 cup vegetable oil
- 2 large eggs
- 1 tsp vanilla extract
- 1/4 cup granulated sugar
- 24 milk chocolate kisses, unwrapped
- 2 tbsp milk
- Pinch of salt
Instructions
-
1Preheat the oven to 350°F (175°C) and line two baking sheets with parchment paper.
-
2In a large bowl, combine the strawberry cake mix, vegetable oil, eggs, milk, vanilla extract, and salt. Mix until a soft dough forms.
-
3Roll tablespoon-sized portions of dough into balls, then roll each ball in granulated sugar to coat.
-
4Place the dough balls 2 inches apart on the prepared baking sheets. Bake for 9–11 minutes, until cookies are set but not browned.
-
5Remove cookies from oven and immediately press a milk chocolate kiss into the center of each cookie. Allow to cool on the baking sheet for 5 minutes, then transfer to a wire rack to cool completely.
Approximate Information for One Serving
Nutrition Disclaimers
Number of total servings shown is approximate. Actual number of servings will depend on your preferred portion sizes.
Nutritional values shown are general guidelines and reflect information for 1 serving using the ingredients listed, not including any optional ingredients. Actual macros may vary slightly depending on specific brands and types of ingredients used.
To determine the weight of one serving, prepare the recipe as instructed. Weigh the finished recipe, then divide the weight of the finished recipe (not including the weight of the container the food is in) by the desired number of servings. Result will be the weight of one serving.
Did you make this recipe?
Please consider Pinning it!!




