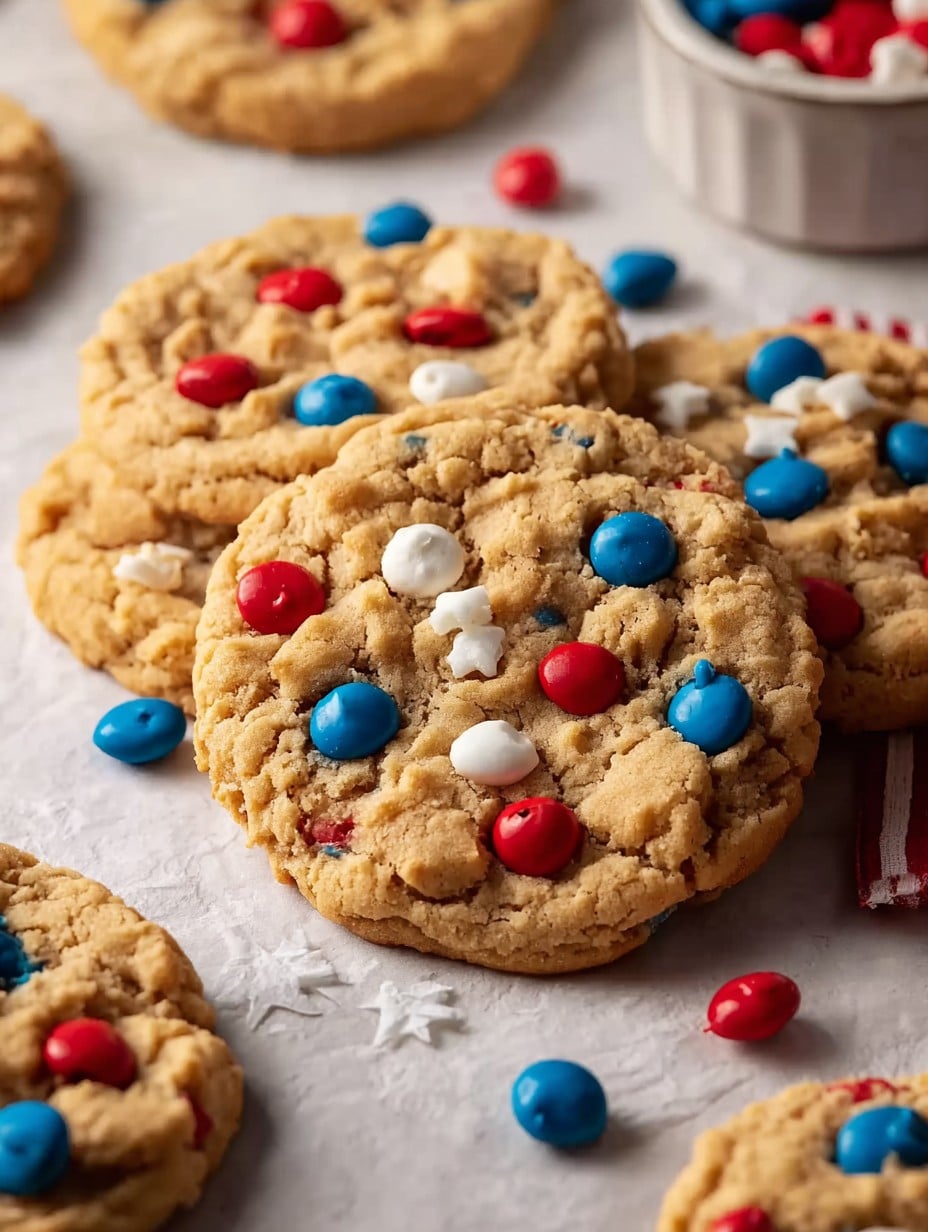
There’s something about baking on the Fourth of July that just makes me nostalgic for sticky summer afternoons as a kid (mosquitoes included), when my mom would let me stir the cookie dough and inevitably eat about as much as made it onto the tray. I’ve carried on the tradition—although I’m not sure my kids believe me that peanut butter cookies can be as American as apple pie, especially when you fancy them up with some red, white, and blue sprinkles. Oh, and last year, my neighbor tried convincing me that low-fat peanut butter works here—it doesn’t, Brenda. But anyway, let’s get into the cookies.
Why You’ll Love This (or at least why my crew does)
- I break out this recipe every July 4th (or, let’s be honest, whenever I find a half-used tub of festive sprinkles in the pantry).
- My family goes wild for the soft-in-the-middle, crinkly-edged peanut butter bits—truly, they disappear in a flash. If you’re quick, maybe you’ll snag one before your cousin Dustin does.
- I used to dread that dreaded cookie flattening step, but I’ve discovered just using a glass dipped in sugar makes my life easier and the cookies prettier. (Pro tip: don’t use your fancy wine glasses… unless you like danger.)
What You’ll Need (with my usual dilemmas)
- 1 cup creamy peanut butter (my gran swore by Jif, but honestly, I get whatever’s on sale; chunky works if you’re a rebel)
- 1/2 cup unsalted butter, softened (margarine in a pinch—no shame, life’s busy)
- 1/2 cup granulated sugar (sometimes I toss in a smidge more, oops)
- 1/2 cup light brown sugar, packed
- 1 large egg (one time I used two small ones—didn’t see a big difference, to be honest)
- 1 teaspoon vanilla extract (go nuts with real stuff if you can, but imitation gets a shrug from me)
- 1 and 1/4 cups all-purpose flour (sometimes I get wild and swap 1/4 cup for whole wheat… the cookies taste a little more “adult”)
- 3/4 teaspoon baking soda
- 1/4 teaspoon salt
- 1/2 cup patriotic sprinkles (red, white, blue—obviously; or just whatever nonpareils you have leftover from some other holiday)
How I Actually Make Them
- Fire up your oven to 350°F (175°C). Line baking sheets with parchment—if you’re out, foil will do in a pinch, just grease it a bit.
- Beat the peanut butter, softened butter, white sugar, and brown sugar together in a big bowl until it’s all fluffy and lighter. The color doesn’t matter much; if it’s a bit beige, you’re there.
- Add the egg and vanilla. Beat again. (This is where I usually sneak a little taste—please ignore me, food safety police.)
- In a separate still-dry bowl, mix together flour, baking soda, and salt—give it a quick whisk or a fork stir, whatever’s closer. If a little flour ends up on the counter, you’re doing it right.
- Add the dry mix into the main bowl in two batches. Mix until just combined. Don’t overthink lumps (the dough is thick, kind of like old-school Play-Doh).
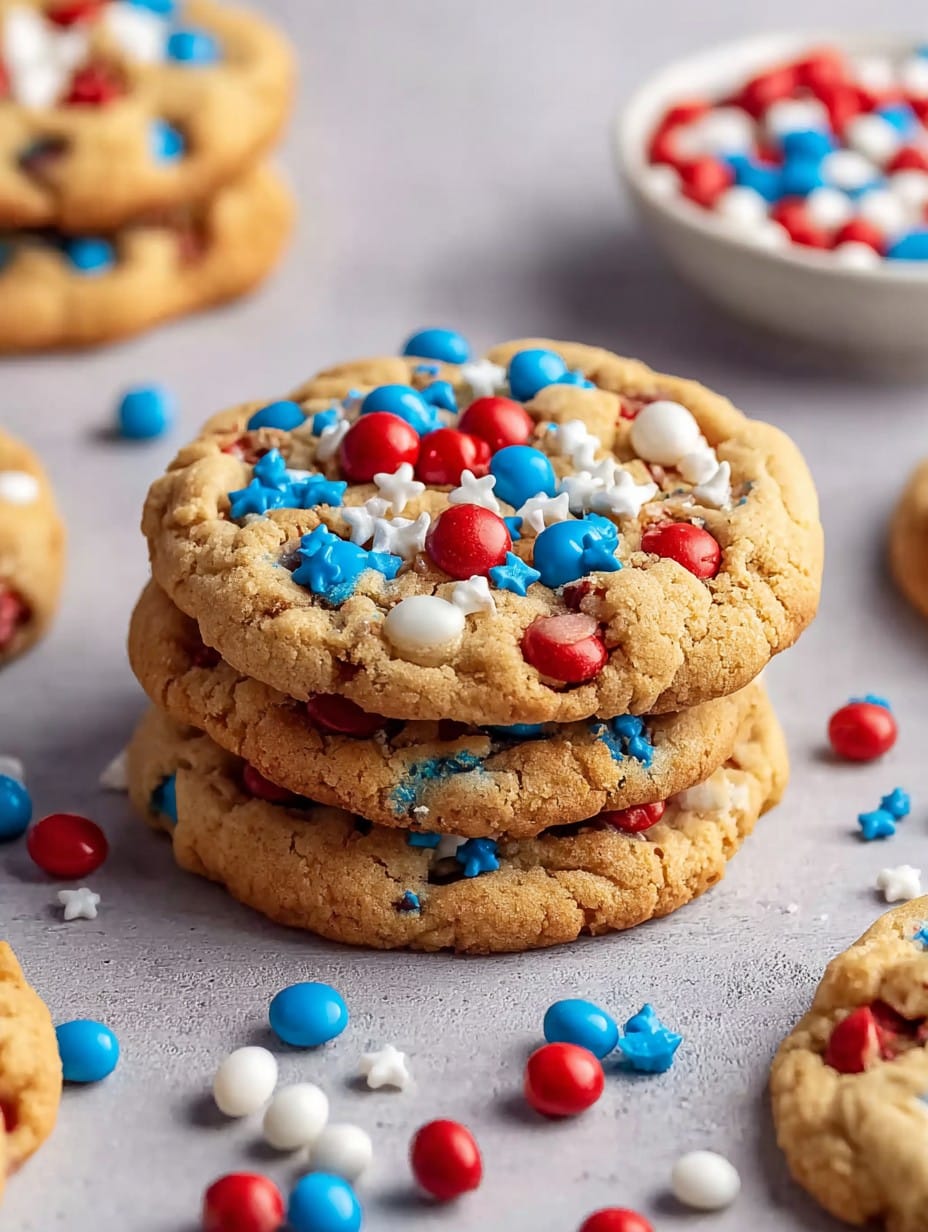
- Fold in the sprinkles with some enthusiasm (if you save a handful for the top, they look more festive).
- Scoop about tablespoon-sized heaps onto your baking tray, about two inches apart. Flatten each with a sugar-dipped fork or glass bottom (two directions is classic, but do what you like). If the dough sticks, just dust the fork with more sugar.
- Bake for 9 to 11 minutes. They’ll look pale and puffed but will set up as they cool. Don’t bake until golden, or you’ll have cricket balls instead of cookies (trust me, I know). Let them chill for a minute or two before transferring to a wire rack (if you have the patience).
Notes From My Messy Kitchen
- The dough freezes well! Sometimes I roll little balls and keep them in a bag, then bake off a few straight form the freezer (just tack on another minute or so—watch them more than the clock).
- If your cookies end up a bit too dry, check next time to slightly underbake—I’ve found even 30 seconds less can change the game.
- And, if all else fails, slap some vanilla ice cream between two cookies. No one complains.
Stuff I’ve Tried (Some Winners, Some Not)
- Subbing almond butter for peanut butter works, but the taste is milder—great if you’re not super into peanuts.
- I tossed in chocolate chips once—delicious, but borderline too much with all the sprinkles. (Might try chopped peanuts next time.)
- Once I ended up using flax “egg” for my vegan pal, and… let’s just say it was more granola bar than cookie. Wouldn’t recommend unless you like crumbles.
What If You Don’t Have All the Gear?
You don’t actually need a stand mixer—honestly, a sturdy wooden spoon and some elbow grease is how I do it when I can’t find the mixer paddle (still hasn’t turned up). And, if you’re missing parchment, just double up on greasing the pan and promise yourself you’ll do fewer dishes after.
On Storage (Not That These Will Last)
Technically, they’ll keep in an airtight container on the counter for about 4 days. But in my house, they’re usually gone by lunchtime the next day. If by some miracle you have extras, toss them in the freezer, and you’ve got a ready-made ice cream sandwich situation for later.
Honestly, How I Serve ‘Em
I like to just pile them on a plate and stick a tiny sparkler in the middle for effect (watch the smoke alarms, though). My uncle insists they’re best with coffee, I say milk. To each their own!
Random Pro Tips I’ve Learned the Hard Way
- Don’t rush the mixing—super cold butter doesn’t blend well. I tried to cheat once with a microwave and ended up with pancakes. Oops.
- Actually, underbaking by a smidge makes a chewier cookie. But watch them, or else you’ll have gooey dough blobs instead.
- For fancier presentation, re-sprinkle as soon as they come out of the oven. It’s not necessary, just looks… festive, I suppose.
Real-Life Cookie Questions
- “Can you double the recipe?” Sure can, just use a gigantic bowl and maybe a little patience. The dough gets thick and might tire out your arm (unless you want a workout).
- “Do natural peanut butters work?” Sometimes, but I’ve had them make the dough oily and flat. You can try it, but stick to the classic if you want the old-school cookie vibe.
- “Do they have to be perfectly round?” Oh heavens, no. Lumpy, rustic = homemade charm in my book.
- “What if I don’t have sprinkles?” Skip them, or add a dust of cinnamon sugar, or nothing. They’ll still scream ‘July’ if you tell everyone that’s what they’re for.
So, next time July 4th (or Tuesday) rolls around, whip up a batch—test if you can hide a couple for yourself, though I’d say odds aren’t great. Happy baking, y’all!
Ingredients
- 1 cup creamy peanut butter (my gran swore by Jif, but honestly, I get whatever’s on sale; chunky works if you’re a rebel)
- 1/2 cup unsalted butter, softened (margarine in a pinch—no shame, life’s busy)
- 1/2 cup granulated sugar (sometimes I toss in a smidge more, oops)
- 1/2 cup light brown sugar, packed
- 1 large egg (one time I used two small ones—didn’t see a big difference, to be honest)
- 1 teaspoon vanilla extract (go nuts with real stuff if you can, but imitation gets a shrug from me)
- 1 and 1/4 cups all-purpose flour (sometimes I get wild and swap 1/4 cup for whole wheat… the cookies taste a little more “adult”)
- 3/4 teaspoon baking soda
- 1/4 teaspoon salt
- 1/2 cup patriotic sprinkles (red, white, blue—obviously; or just whatever nonpareils you have leftover from some other holiday)
Instructions
-
1Fire up your oven to 350°F (175°C). Line baking sheets with parchment—if you’re out, foil will do in a pinch, just grease it a bit.
-
2Beat the peanut butter, softened butter, white sugar, and brown sugar together in a big bowl until it’s all fluffy and lighter. The color doesn’t matter much; if it’s a bit beige, you’re there.
-
3Add the egg and vanilla. Beat again. (This is where I usually sneak a little taste—please ignore me, food safety police.)
-
4In a separate still-dry bowl, mix together flour, baking soda, and salt—give it a quick whisk or a fork stir, whatever’s closer. If a little flour ends up on the counter, you’re doing it right.
-
5Add the dry mix into the main bowl in two batches. Mix until just combined. Don’t overthink lumps (the dough is thick, kind of like old-school Play-Doh).
-
6Fold in the sprinkles with some enthusiasm (if you save a handful for the top, they look more festive).
-
7Scoop about tablespoon-sized heaps onto your baking tray, about two inches apart. Flatten each with a sugar-dipped fork or glass bottom (two directions is classic, but do what you like). If the dough sticks, just dust the fork with more sugar.
-
8Bake for 9 to 11 minutes. They’ll look pale and puffed but will set up as they cool. Don’t bake until golden, or you’ll have cricket balls instead of cookies (trust me, I know). Let them chill for a minute or two before transferring to a wire rack (if you have the patience).
Approximate Information for One Serving
Nutrition Disclaimers
Number of total servings shown is approximate. Actual number of servings will depend on your preferred portion sizes.
Nutritional values shown are general guidelines and reflect information for 1 serving using the ingredients listed, not including any optional ingredients. Actual macros may vary slightly depending on specific brands and types of ingredients used.
To determine the weight of one serving, prepare the recipe as instructed. Weigh the finished recipe, then divide the weight of the finished recipe (not including the weight of the container the food is in) by the desired number of servings. Result will be the weight of one serving.
Did you make this recipe?
Please consider Pinning it!




