If You’ve Got a Sweet Tooth for Freedom – Let’s Bake
Okay, story time: The first time I made this Chocolate Chip 4th of July Cookie Cake, I actually dropped half a bag of mini marshmallows on the kitchen floor while trying to get festive. (The dog was thrilled.) But honestly, for every backyard bash or low-key fireworks night, this cookie cake just hits. Sweet, rich, a little gooey, almost dangerously easy. Oh, and you get to decorate it with a ton of red, white, and blue stuff. My niece says it’s the best thing about Independence Day, even better than sparklers. Sometimes I agree.
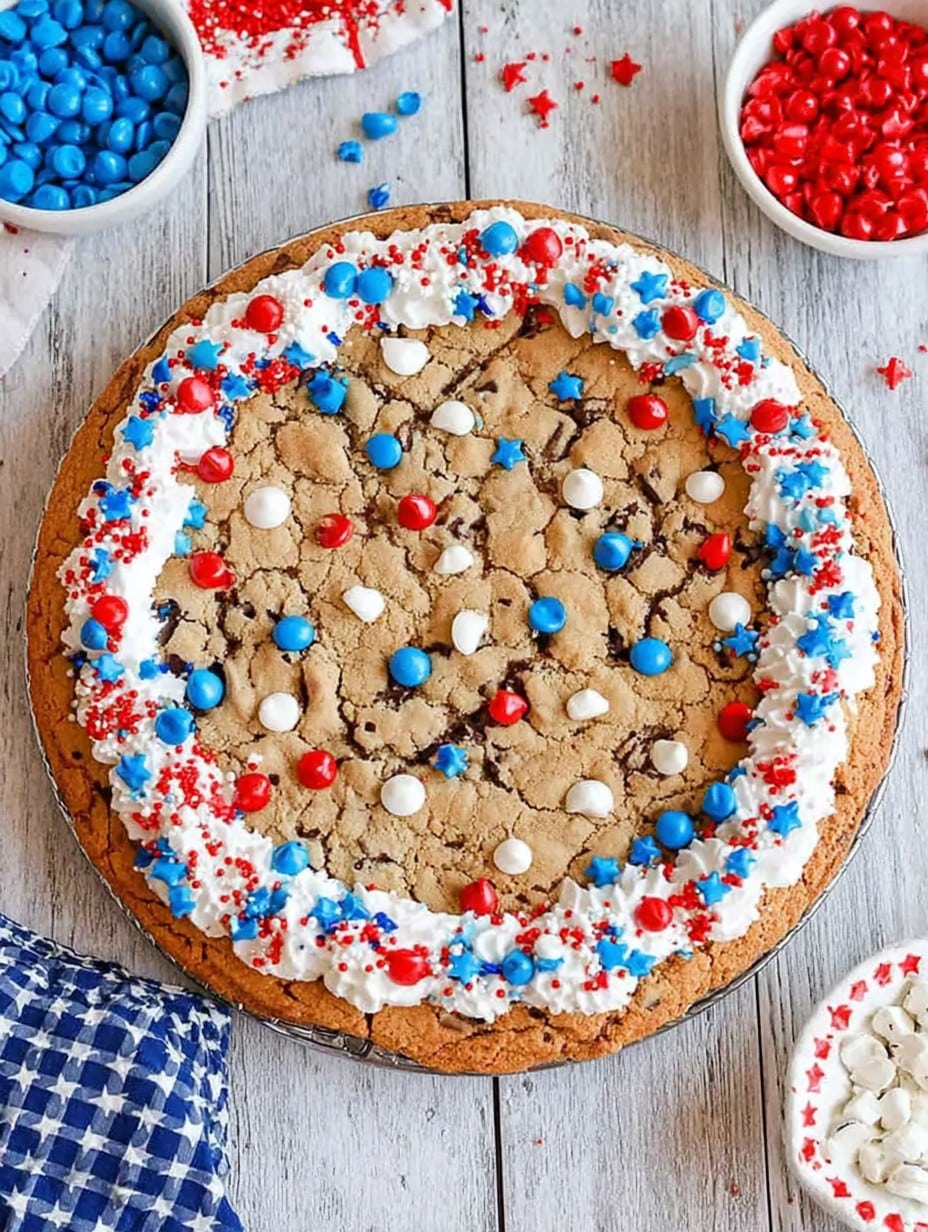
Why You’ll Love This Cookie Cake (Besides the Obvious)
I whip this up when I want dessert but do not want to spend ages in the kitchen (who does, in July heat?). My family inhales this every single time, even my uncle who claims he “doesn’t like sweets” (he 100% does). It somehow disappears faster than I can say “save me a slice.” The best part? You make it in one pan—no fussing with batches like regular cookies. Plus, if you botch the decorations, everyone is too busy snacking to care. Trust me—I know from experience.
What You’ll Need (But Don’t Stress It)
- 2 cups all-purpose flour (sometimes I sneak in a cup of whole wheat flour—no one notices)
- 1/2 teaspoon baking soda
- 1/2 teaspoon salt
- 3/4 cup (1.5 sticks) unsalted butter, room temp (I’ve used salted, just skip the extra salt…or don’t, live on the edge!)
- 1 cup packed brown sugar (light or dark, or a random mix when you run out—tastes great)
- 1/4 cup granulated sugar
- 1 large egg (at room temp is best, but I never remember)
- 1 egg yolk (extra chewy—feel free to just throw in another full egg if you hate waste)
- 2 teaspoons vanilla extract (my grandma swore by the imitation stuff—honestly, both work)
- 1.5 cups chocolate chips (semisweet, milk, or a mix; I’ll use whatever’s hiding in the pantry)
- 1/2 cup festive red/white/blue sprinkles (or just red M&Ms and blue candies if you’re in a pinch)
- Optional: patriotic frosting (store-bought is fine, and no one ever guesses)
How I Throw This Together (With Lots of Chatting)
- Preheat your oven to 350°F (180°C). Grab a 9-inch round cake pan or a springform. Don’t have one? I once used a cast iron skillet; worked a treat.
- Grease that pan up, or line it with parchment. Honestly, I sometimes skip this out of laziness and only regret it every other time.
- Mix the dry stuff: In a bowl, whisk together the flour, baking soda, and salt. Or just stir with a fork, I won’t judge.
- In another bowl, cream the butter and sugars until it’s nice and fluffy. I use an electric mixer, but have also muscled through with a wooden spoon (burns calories for later dessert, right?).
- Crack in the egg and extra yolk, then pour in the vanilla. Mix until almost smooth—don’t overthink it.
- Chuck in the dry stuff and stir until just combined. Don’t panic if there’s a floury streak here or there—it’ll work out.
- Fold in the chocolate chips and half your sprinkles. This is where I sneak a taste, for science.
- Scoop the dough into the pan and press it out. I use my hands, but you can use a spatula if sticky makes you twitchy. Make sure it goes right to the edges, more or less flat.
- Bake for about 23–27 minutes, until the edges are golden and the middle’s just barely set. If it jiggles a bit, that’s okay—it firms up as it cools. (Once, I took it out too soon…it was basically goo, but still good.)
- Cool in the pan for at least 20 minutes. If you can wait longer, it slices neater, but let’s be real—sometimes we just dig in with spoons.
- Decorate with more sprinkles, candies, or that patriotic frosting swirl. Get the kids (or a bored roommate) to help. Improvise some stars if you’re feeling ambitious, or just make a flag that sorta looks like a flag.
Notes I Wish I’d Known Earlier
- The edges are always more browned than the middle. Actually, I kinda like a crispy edge.
- If you swap out some of the flour for oat flour, it’s chewier. I did it by accident once, but now sometimes do it on purpose.
- Using dark brown sugar makes it extra rich; light brown is lighter on the palate. Both work, so grab whatever’s open.
If You Want to Mix It Up (Here’s What Worked…and What Definitely Didn’t)
- I tried white chocolate chips one year—surprisingly delightful, especially with freeze-dried berries.
- Peanut butter chips tasted amazing, but made the cake a bit too soft, sort of like a blondie that didn’t set up right.
- One year I tried to make it triple-layer. The slices were sheer chaos, but the mess was epic in a good way.
- About those sprinkles: rainbow ones work too. My youngest claims it’s more “summer birthday” than “Fourth of July,” but that’s their problem.
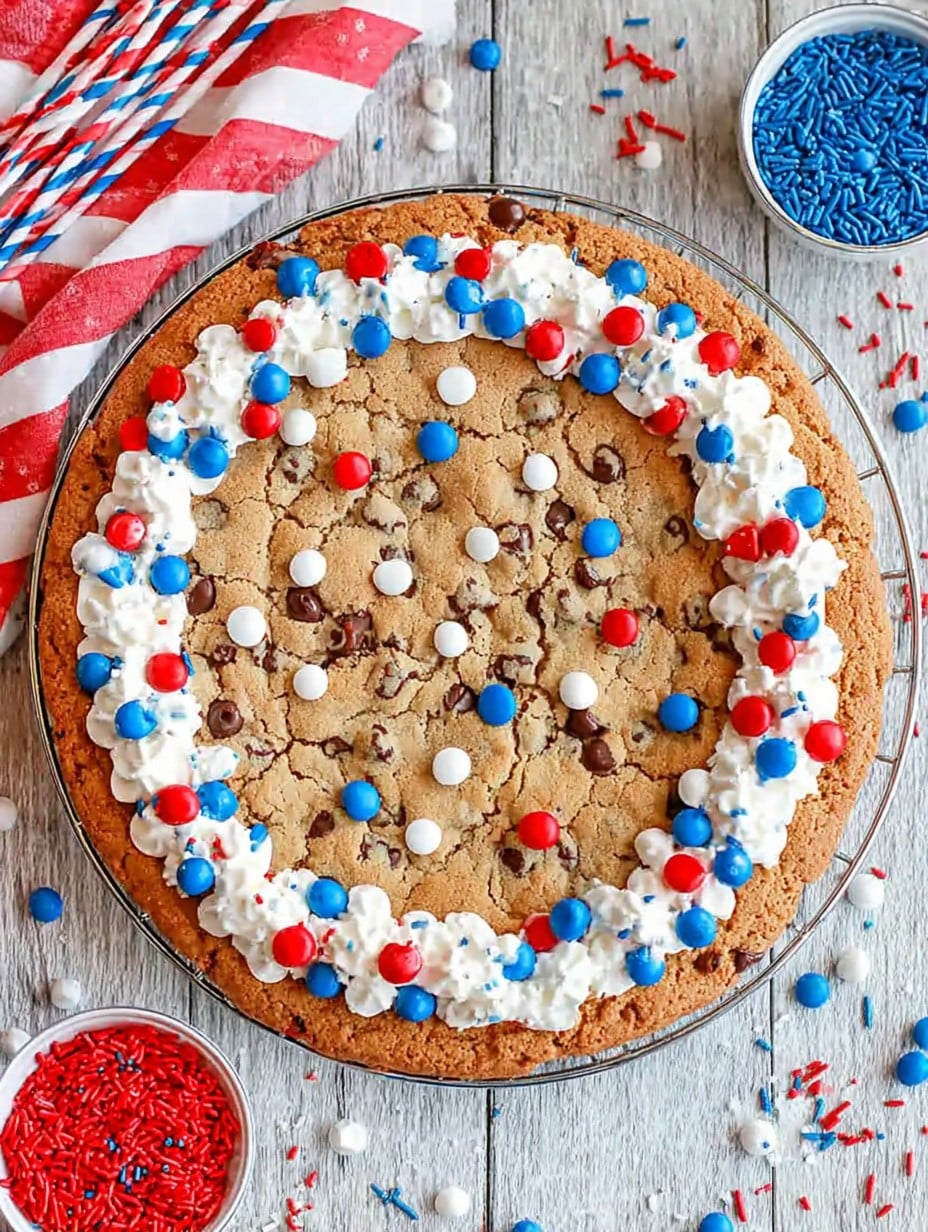
What You Need (But I Promise There’s a Hack)
- 9-inch cake pan or springform (Cast iron skillet will absolutely do; I used a tart pan once—edges a bit wobbly but still yum.)
- Mixing bowls (A big salad bowl will do in a pinch)
- Electric mixer or wooden spoon (If you go by hand, good on ya!)
- Spatula or your hands for spreading dough
How to Store This Beauty
Keep the cookie cake covered on the counter for up to three days—though honestly, in my house it never lasts more than a day unless someone is hiding it behind the blender (I see you, Dad). If it’s about to go stale, a quick zap in the microwave helps.
Best Way to Serve (Real Talk)
For peak July 4th vibes, I slice big wedges and plop a scoop of vanilla ice cream on top, then let everyone loose with more red and blue sprinkles. Sometimes we eat straight from the pan, scraping up the gooey bits left behind. It’s basically a family tradition at this point.
Lessons Learned (aka Pro Tips You Only Discover the Hard Way)
- Let the cake cool at least 20 minutes—even if you’re starving. I once tried to cut it straight away and ended up with a chocolate avalanche. Eat with caution.
- Actually, I find it works better if you use parchment, especially if you want to lift the whole thing out in one piece. Not that I always do.
- If you use extra sprinkles, check the label—they can sometimes bleed color and make your cake look a little “tie-dyed.” Cool if you’re into that, though.
FAQ (Because Friends & Family Always Ask…)
- Can I double the recipe for a crowd?
Yup! Just use a big sheet pan, and check it after 20 minutes. Maybe give it another 10. It cooks a bit differently, but it works—don’t fret. - What if my cake is underbaked in the middle?
Honestly, that’s sometimes the best part. If you want it firmer, just bake a little longer. But gooey means tasty in my book. - Can I make this ahead?
Absolutely. In fact, I think the flavors mellow and taste better the next day (if it lasts that long). Store covered, room temp. - Do I have to use patriotic decorations?
Not at all! The base is just a great chocolate chip cookie cake—decorate it for birthdays, Christmas, Arbor Day, whatever floats your boat. - Something else random—do I really need the egg yolk?
I think so; it helps with chewiness. But if you forget, just use a whole egg. Not the end of the world!
Oh, weirdly specific digression: Once I swapped chocolate chips for crushed pretzels and caramel bits, mid-recipe panic. It tasted like a county fair in the best possible way. So—experiment away, my friend. Happy Fourth!
Ingredients
- 2 cups all-purpose flour (sometimes I sneak in a cup of whole wheat flour—no one notices)
- 1/2 teaspoon baking soda
- 1/2 teaspoon salt
- 3/4 cup (1.5 sticks) unsalted butter, room temp (I’ve used salted, just skip the extra salt…or don’t, live on the edge!)
- 1 cup packed brown sugar (light or dark, or a random mix when you run out—tastes great)
- 1/4 cup granulated sugar
- 1 large egg (at room temp is best, but I never remember)
- 1 egg yolk (extra chewy—feel free to just throw in another full egg if you hate waste)
- 2 teaspoons vanilla extract (my grandma swore by the imitation stuff—honestly, both work)
- 1.5 cups chocolate chips (semisweet, milk, or a mix; I’ll use whatever’s hiding in the pantry)
- 1/2 cup festive red/white/blue sprinkles (or just red M&Ms and blue candies if you’re in a pinch)
- Optional: patriotic frosting (store-bought is fine, and no one ever guesses)
Instructions
-
1Preheat your oven to 350°F (180°C). Grab a 9-inch round cake pan or a springform. Don’t have one? I once used a cast iron skillet; worked a treat.
-
2Grease that pan up, or line it with parchment. Honestly, I sometimes skip this out of laziness and only regret it every other time.
-
3Mix the dry stuff: In a bowl, whisk together the flour, baking soda, and salt. Or just stir with a fork, I won’t judge.
-
4In another bowl, cream the butter and sugars until it’s nice and fluffy. I use an electric mixer, but have also muscled through with a wooden spoon (burns calories for later dessert, right?).
-
5Crack in the egg and extra yolk, then pour in the vanilla. Mix until almost smooth—don’t overthink it.
-
6Chuck in the dry stuff and stir until just combined. Don’t panic if there’s a floury streak here or there—it’ll work out.
-
7Fold in the chocolate chips and half your sprinkles. This is where I sneak a taste, for science.
-
8Scoop the dough into the pan and press it out. I use my hands, but you can use a spatula if sticky makes you twitchy. Make sure it goes right to the edges, more or less flat.
-
9Bake for about 23–27 minutes, until the edges are golden and the middle’s just barely set. If it jiggles a bit, that’s okay—it firms up as it cools. (Once, I took it out too soon…it was basically goo, but still good.)
-
10Cool in the pan for at least 20 minutes. If you can wait longer, it slices neater, but let’s be real—sometimes we just dig in with spoons.
-
11Decorate with more sprinkles, candies, or that patriotic frosting swirl. Get the kids (or a bored roommate) to help. Improvise some stars if you’re feeling ambitious, or just make a flag that sorta looks like a flag.
Approximate Information for One Serving
Nutrition Disclaimers
Number of total servings shown is approximate. Actual number of servings will depend on your preferred portion sizes.
Nutritional values shown are general guidelines and reflect information for 1 serving using the ingredients listed, not including any optional ingredients. Actual macros may vary slightly depending on specific brands and types of ingredients used.
To determine the weight of one serving, prepare the recipe as instructed. Weigh the finished recipe, then divide the weight of the finished recipe (not including the weight of the container the food is in) by the desired number of servings. Result will be the weight of one serving.
Did you make this recipe?
Please consider Pinning it!




