Let’s Talk Cannoli Cookies—Story Time First
Okay, so picture this: My first attempt at making cannoli cookies was about 7 years ago, right after my aunt Carmella made her famous (infamous?) ricotta cannoli for Christmas. I remember standing by the stove, dough everywhere, and one of my dogs stole a rogue chocolate chip. Chaos—pure, flour-dusted chaos, and to this day, every December I stumble into the same delightful mess. But here’s the thing—I love it. And honestly, these cookies have somehow snuck onto our Christmas Eve cookie tray every year since, elbowing out Grandma’s pizzelle (shh, don’t tell her).
Oh! Before I forget, if you’re looking for fancy Italian bakery cookies, you might want to try this ricotta cookie recipe too—just in case you’re a fellow cookie collector. But my heart belongs to the cannoli version. Every time.
Why I Keep Making These (and Why You’ll Want to, Too!)
I drag this recipe out whenever my family swears off sweets—and then watch as everyone takes “just one.” It’s that balance: crisp edges, soft and creamy middles, with bursts of chocolate and orange. Basically, they taste like classic cannoli (but, let’s be honest, hardly anyone wants to fry shells on a Tuesday night). I’ve tried skipping the orange zest in a pinch; don’t do it. Seriously, it makes a bigger difference than you’d think.
Truth be told, my daughter claims they’re better than actual cannoli—though she hates piping so that may be bias. And if you hit a rut with the dough (sometimes it gets clingy, who knows), I’ll talk you through it below. Honestly, that’s part of the fun (or frustration?).
What You’ll Need for the Magic: Ingredients
- 1 cup ricotta cheese (I love using Galbani whole milk—Grandma was loyal to Polly-O, but honestly, both are good. If you’re out, mascarpone sorta works; just a bit richer.)
- 1/2 cup unsalted butter, softened
- 1 cup granulated sugar (I’ve swapped in half brown sugar when I feel wild. It’s fine.)
- 1 egg (size doesn’t matter unless you’re baking for Paul Hollywood. Just use a large-ish one.)
- 2 teaspoons vanilla extract (the fake stuff works in a pinch, but the real deal does shine here)
- 1/4 teaspoon almond extract (optional—sometimes I skip it, sometimes I double it… it’s a vibe check thing)
- 2 cups all-purpose flour (Gluten-free blend? Actually works, though the cookies spread less.)
- 1/2 teaspoon baking soda
- 1/2 teaspoon salt
- Zest of 1 orange (if your orange is sad and dry, double up. Or a dash of orange extract in a pinch, but zest is king.)
- 1/2 cup mini chocolate chips (Regular chips are OK, but mini blend better—totally your call)
- 1/2 cup chopped pistachios (skip if you hate nuts; swap for toasted almonds sometimes—what can I say, I get bored!)
How I Throw These Cannoli Cookies Together
- Set your oven to 350°F (or 175°C, depending on what side of the pond you’re on). Line two baking sheets with parchment. Or don’t if you forgot to buy it—just grease the pans well.
- Mix the cheese, butter, and sugar in a big bowl (I use my stand mixer, but you can go elbow grease style with a sturdy wooden spoon if you’re feeling old-school). Beat until creamy and fluffy—this is usually where I sneak a taste. It’s mostly cheese, after all.
- Add your egg, vanilla, almond extract, and orange zest. On second thought, I sometimes dump the zest in with the flour by accident. It doesn’t seem to matter too much.
- Sift (or just stir) your flour, baking soda, and salt. Mix that slowly into the wet stuff. It’ll come together thick, kinda sticky. Don’t freak out. It’s normal.
- Gently fold in the mini chocolate chips and pistachios. If it looks like too much, it’s probably just right. I sometimes add extra chips (I claim it’s for the kids).
- Scoop the dough by heaping tablespoons—in my house this means a regular old cereal spoon—onto your tray. Give them some breathing room, but they aren’t big spreaders.
- Bake 12-14 minutes till the edges are just golden and the tops are soft but not raw-looking. They’ll keep firming up as they cool. If they look puffy in the oven, don’t stress—it sorts itself out.
- Cool on the pan for five minutes; then move to racks if you own any. If not, a cutting board with parchment does the job.
Bloopers & Notes (A.K.A. Stuff I’ve Learned the Hard Way)
- If you use part-skim ricotta, squeeze it in paper towels first—too much liquid = kinda gooey cookies (ask me how I know)
- Don’t overbake—these go from perfect to ‘huh, why are they dry?’ in about ninety seconds
- Oh, and mixing the chips and nuts too early? You’ll have green streaks everywhere. Don’t ask.
Experiments, Swaps, and Happy Failures
So about variations, here’s where I sometimes get a little “mad scientist”. I’ve swapped in chopped dried cherries for pistachios—kids loved it! Tried lemon zest instead of orange… and it was a little strange, if you ask me. Once, I added a dash of cinnamon and, actually, it worked (but no one noticed, so maybe that defeats the point?).
For more fun variations, I’ve gotten ideas from King Arthur Baking’s cannoli cookie guide—if you want to nerd out.
Don’t Sweat the Gear—Here’s What I Use
- A stand mixer if I’m feeling lazy, but a normal bowl and a good arm work, too
- Parchment paper—except last year I totally forgot and just used margarine to grease the pans. They were fine (a little crispier but in a nice way!)
- A cookie scoop if you own one, but honestly, who does? Cereal spoons work
Storing (or, How Long They Actually Last…)
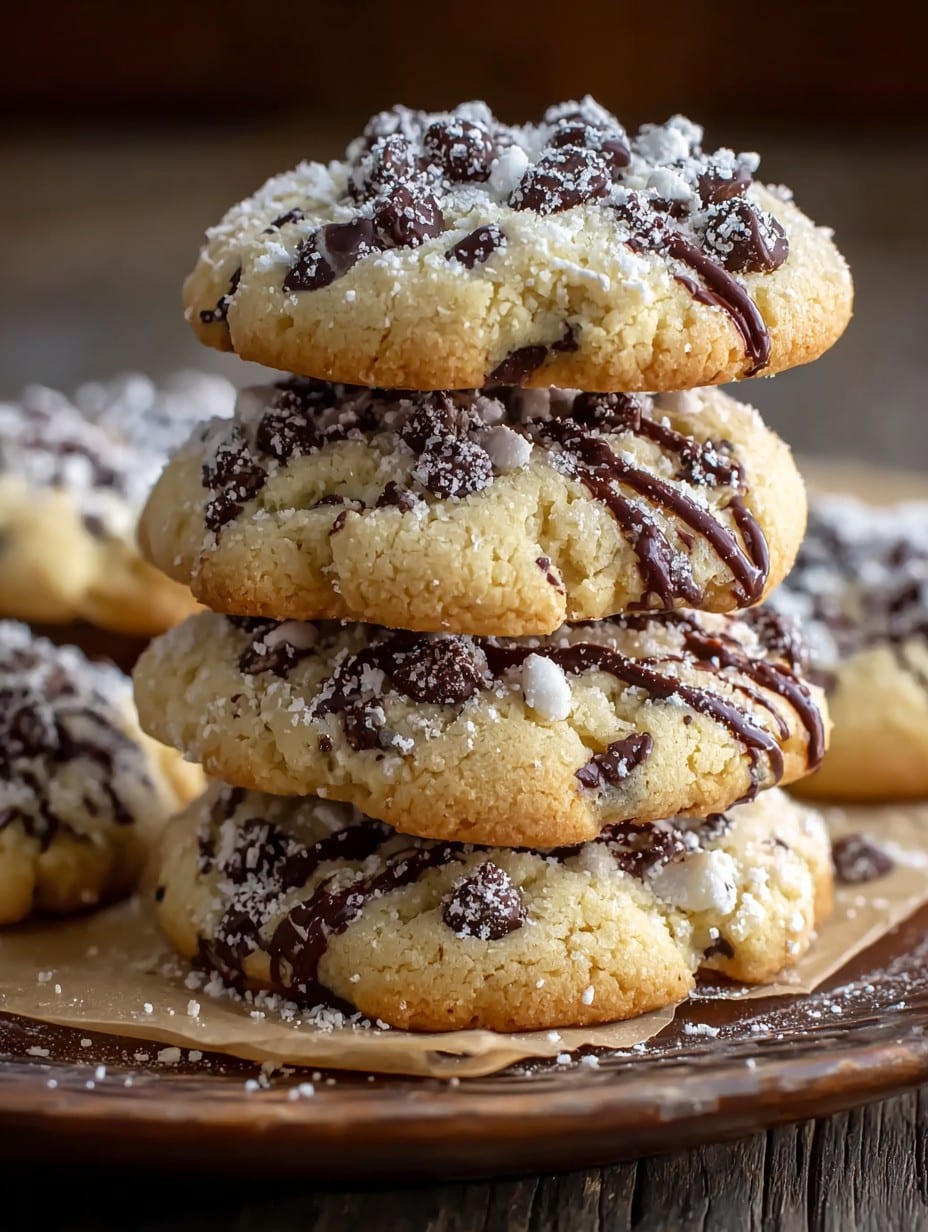
Air-tight container is best—room temp, about 3 days. But honestly, in my house, they never make it past 24 hours. I’ve hidden a few in the vegetable crisper once. Didn’t work; the family knows all my tricks now. If you’re making ahead for a swap, they freeze just fine (wrap in layers so they don’t taste like last week’s chili).
How I Serve (and Steal) These Cookies
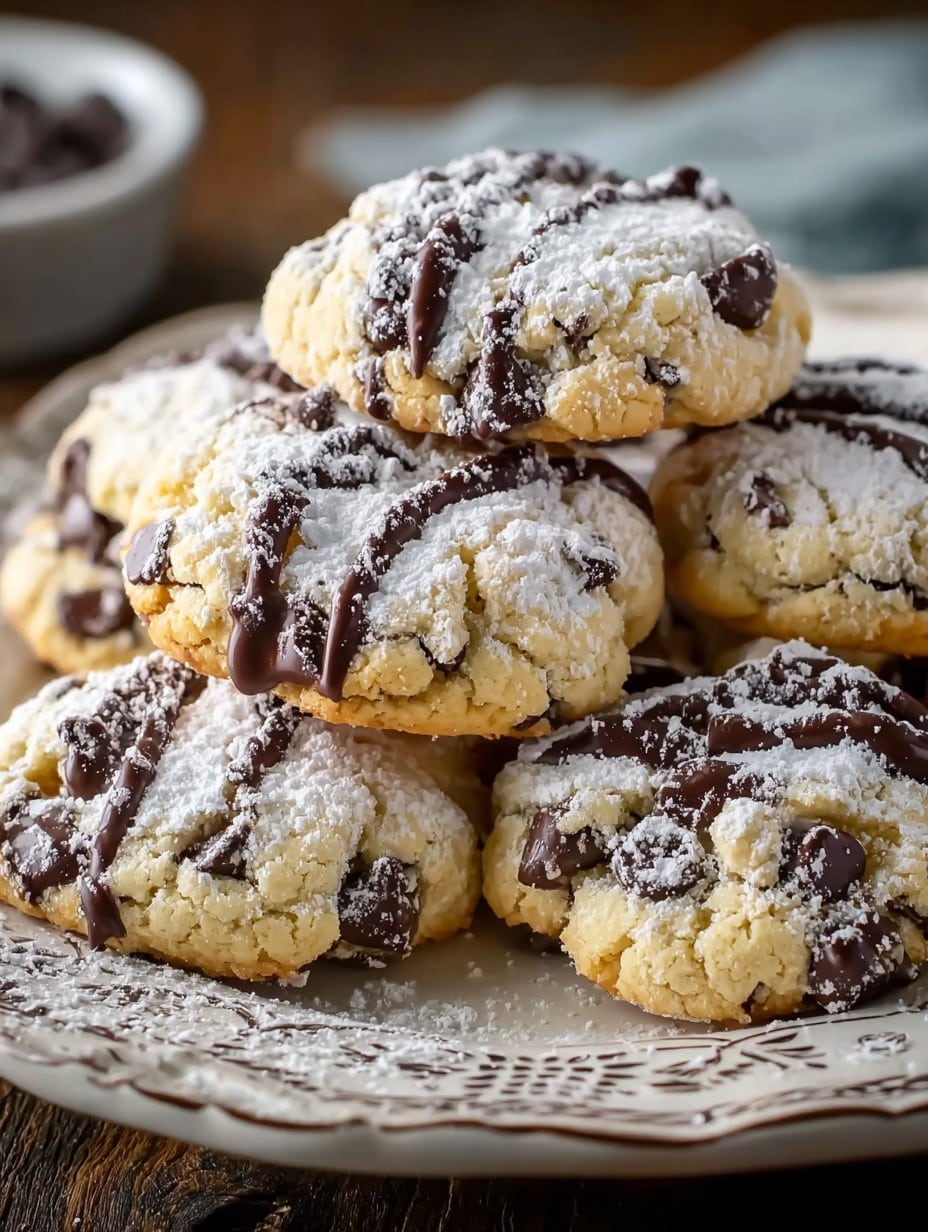
On a platter dusted with powdered sugar, if I’m feeling festive (sometimes I even sneak a little cocoa mixed in). My family loves them with espresso after dinner, or in the morning with, yep, more coffee. There’s also the tradition of leaving a plate for Santa, but, let’s be real—Santa is me by midnight.
Things I Wish Someone Had Told Me (Pro Tips)
- I once tried to chill the dough for two hours thinking it’d boost the flavor. Eh, didn’t do much. But at least the kitchen was quieter for once.
- If you rush the creaming step? Cookies are flat as pancakes. Learned that the weird way.
- Don’t substitute margarine for butter unless you adore odd textures. (But hey, your kitchen, your rules!)
- You can pile them up for gifting, just tuck parchment in between so they don’t stick together like a game of Jenga gone wrong.
Curious Questions I Get (And Some Tangents)
- Can I make these gluten-free?
- Yep! Bob’s Red Mill 1-to-1 flour actually does the trick, though they’re a bit crumblier. But still pretty fab. And good for sharing with the whole crew if allergies are in play.
- Can I freeze the dough?
- Good question! I do it all the time. Just scoop, freeze dollops on a tray, then store in a bag. Bake ’em off straight from the freezer—add a minute to baking.
- What if I don’t have ricotta?
- Mascarpone is ok-ish, as mentioned earlier; the texture is richer, a bit denser. On second thought, cottage cheese doesn’t really work; trust me, tried that once in a pinch—bit lumpy, kind of sad.
- Can I make ‘em in advance?
- I think these actually taste better the next day. Maybe that’s just me. Something about the flavors melding—like soup after a day in the fridge.
Random aside, and maybe not totally related—if you’re feeling extra ambitious, homemade ricotta is actually pretty easy and fun! I follow this Serious Eats method whenever I want to get fancy about it.
All right, now go make a beautiful, messy batch—just don’t blame me if you end up eating half the dough (seems to happen every time at my place).
Ingredients
- 1 3/4 cups all-purpose flour
- 1/2 teaspoon baking powder
- 1/4 teaspoon salt
- 1/2 cup unsalted butter, softened
- 1 cup granulated sugar
- 1 large egg
- 1/2 cup ricotta cheese
- 1 teaspoon vanilla extract
- 1/2 teaspoon orange zest
- 3/4 cup mini chocolate chips
- 1/3 cup chopped pistachios (optional)
Instructions
-
1Preheat the oven to 350°F (175°C) and line two baking sheets with parchment paper.
-
2In a bowl, whisk together flour, baking powder, and salt.
-
3In a separate large bowl, cream the butter and sugar together until light and fluffy. Beat in the egg, then add ricotta cheese, vanilla extract, and orange zest until well combined.
-
4Gradually add the flour mixture to the wet ingredients and mix until just combined. Fold in the mini chocolate chips and pistachios if using.
-
5Drop tablespoonfuls of dough onto prepared baking sheets, spacing about 2 inches apart.
-
6Bake for 12-14 minutes, or until edges are lightly golden. Let cool on the baking sheet for 5 minutes before transferring to a wire rack to cool completely.
Approximate Information for One Serving
Nutrition Disclaimers
Number of total servings shown is approximate. Actual number of servings will depend on your preferred portion sizes.
Nutritional values shown are general guidelines and reflect information for 1 serving using the ingredients listed, not including any optional ingredients. Actual macros may vary slightly depending on specific brands and types of ingredients used.
To determine the weight of one serving, prepare the recipe as instructed. Weigh the finished recipe, then divide the weight of the finished recipe (not including the weight of the container the food is in) by the desired number of servings. Result will be the weight of one serving.
Did you make this recipe?
Please consider Pinning it!!




