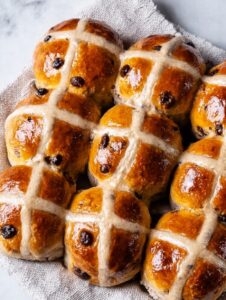
If You’ve Never Made Hot Cross Buns, You’re in for a Treat
I’ve got to tell you, the scent of hot cross buns baking takes me right back to rainy childhood Easters, making a complete, flour-dusted mess in my mum’s kitchen. There’s just something about warm, spicy buns—it’s like a hug for your nose. (Or maybe that’s just me showing my age.)

The first time I tried to make these, I overdid the nutmeg and underdid the kneading; they came out, well, let’s just say they could’ve doubled as cricket balls. But, honestly, that first slightly-dodgy batch is half the reason I still enjoy making these every year around Easter. It’s tradition—floury counters and all.
Why You’ll Love Making These (At Least, I Do!)
I pull out this recipe when the weather turns a bit dreary and my family starts hinting (none too subtly) about something “proper and homemade for brekkie.” My youngest eats the icing cross first—every single time. If you’ve ever been put off by yeasted dough (it always looked a bit needy, didn’t it?), don’t worry. It’s honestly not that dramatic, just needs a bit of patience. Plus, kneading is surprisingly therapeutic; who knew?
My Ingredients List (and Some Cheeky Substitutions)
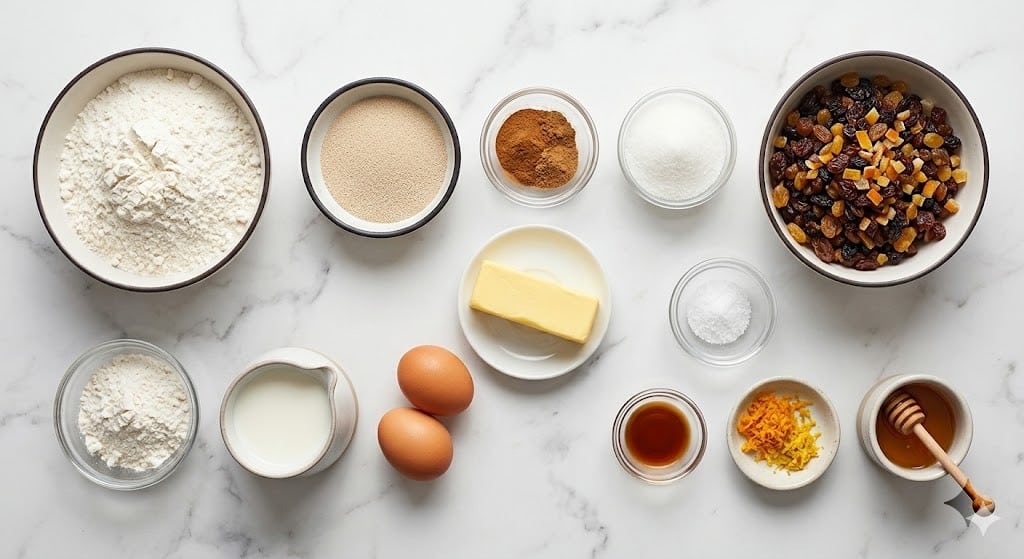
- 500g strong white bread flour (plain will do if you’re desperate)
- 75g caster sugar (my gran swore by golden, but I honestly don’t notice much difference)
- 2 tsp mixed spice powder
- 1 tsp ground cinnamon
- 10g salt (a generous pinch if you don’t have scales out)
- 10g instant dried yeast (the little packets)
- 40g unsalted butter, cubed and softened (sometimes I use whatever’s lurking in the fridge)
- 1 large egg, beaten
- 250ml whole milk, just warm (I sometimes nick a splash off the top for my tea, it’s fine!)
- 120g currants or raisins (I once accidentally used sultanas—no disaster)
- 50g mixed peel (totally optional; some of my lot pick it out anyway)
- For the crosses: 75g plain flour with about 5 tbsp water
- For the glaze: 3 tbsp apricot jam, warmed and sieved
How I Actually Make Hot Cross Buns (With Tangents)
- Start by bunging the flour, sugar, mixed spice, cinnamon, and salt into a big bowl. Keep the yeast on the opposite side of the bowl from the salt (yeast’s picky that way).
- Add your softened butter, beaten egg, and the warm milk. Just check the milk’s not too hot—you want cosy, not scalding. Mix it all together until it’s a sticky-ish dough using your hands. This’ll be messy. Totally fine.
- Turn the dough onto a lightly floured bench and knead for 8-10 minutes, until it’s smooth and a bit springy. (This is where my mind wanders, and I usually hum tunelessly at the cats.)
- Pop the dough in a lightly oiled bowl, cover it with clingfilm or a tea towel, and let it rise somewhere warm for about 1-1½ hours, or until it’s doubled. Don’t fret if it takes longer—sometimes my kitchen’s a bit chilly and I have to park it near the radiator. Kettle’s on, by this point.
- Once it’s all puffy, press the dough down to knock the air out—this bit always feels slightly rude. Tip in the currants (or raisins) and mixed peel, give it a quick knead to spread the fruit.
- Divide the dough into 12 fairly even balls. I just eyeball it (precision is overrated). Arrange on a baking tray lined with parchment, a little spaced so they rise into each other but aren’t crammed.
- Cover and prove again for 45 minutes, till they look plumper. Sometimes I get impatient—don’t; they’ll taste better if you let them rise properly.
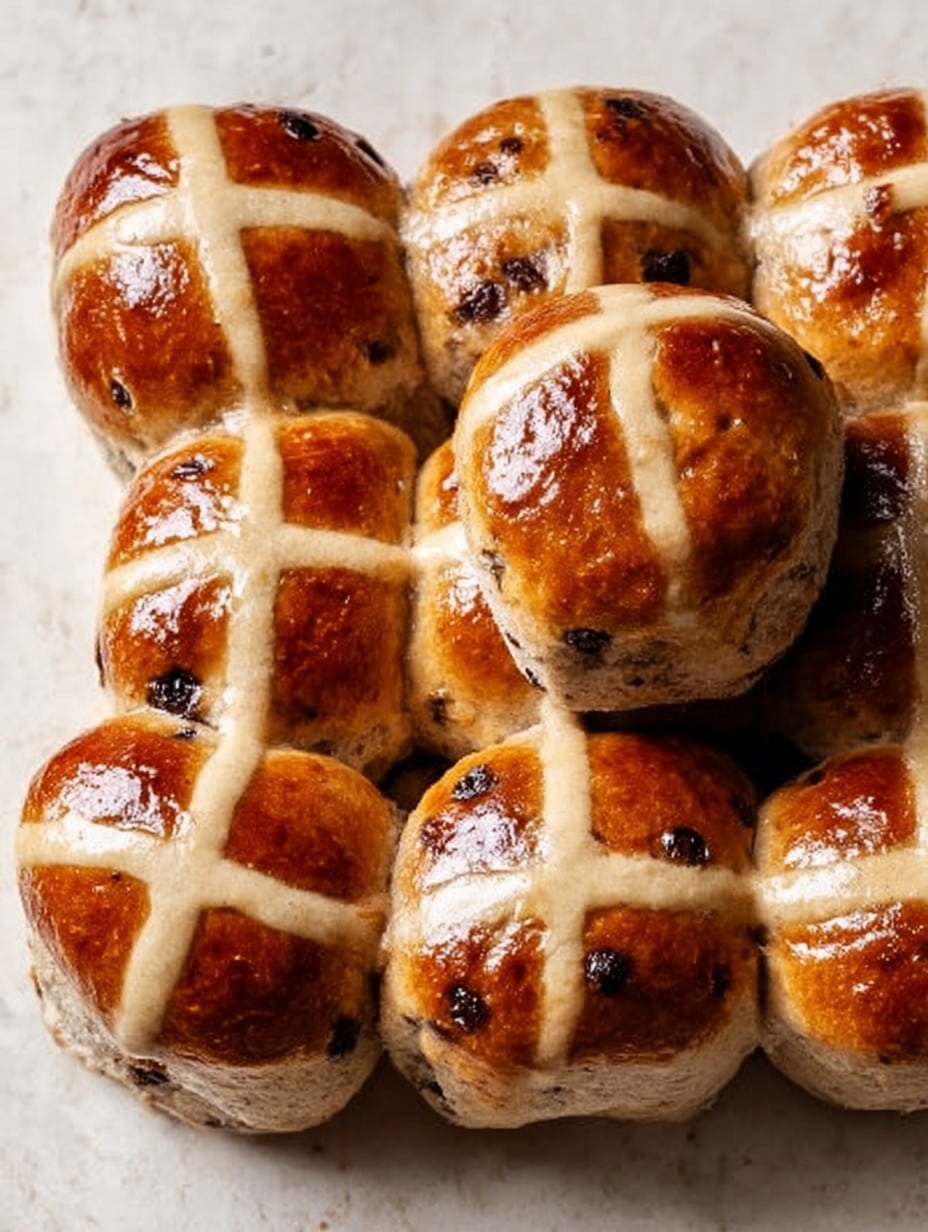
- For the crosses, mix plain flour and water into a thickish paste (kind of like gloopy school glue) and spoon it into a plastic sandwich bag. Snip off a little corner (no fancy piping required), pipe crosses over each bun.
- Bake at 200°C (180°C fan) for about 20 minutes or until golden. Your house: will smell amazing.
- Warm the apricot jam with a splash of water, strain (unless you like lumpy glaze), and brush it over the buns just as they come out. Resist eating immediately—I’ve burnt my tongue here one too many times.
Notes Section (A Few Hard-Earned Lessons)
- If the dough seems stubbornly sticky, a dab more flour shouldn’t hurt—just don’t overdo it or buns get tough.
- I used to think mixed peel was essential, but leaving it out doesn’t ruin things. (Actually, sometimes they’re even better plain!)
- Yeast: check the date! One very flat mishap taught me that.
Variations I’ve Messed With
- Chocolate chips instead of fruit—for the kid in all of us. Not traditional, but who cares?
- Swap half the milk for orange juice—gives a zesty boost.
- I once tried swirling in a spoon of cocoa powder. Did not recommend; tasted a bit off.
Equipment You’ll Want (But Don’t Panic)
- A decent mixing bowl (salad bowls do in a pinch)
- Baking tray lined with parchment
- Measuring scales or cups (I sometimes wing it with old mugs—results vary!)
- A piping bag for crosses—though honestly, a plastic bag with a corner chopped off works perfectly well
How They Keep (Hint: Not Long!)
If you don’t gobble them all up on day one, store in an airtight tin and they’ll stay decent for another day or two. My honest experience? There are never leftovers past the next morning.
Serving Them Up—My Family’s Ritual
We always slice them in half, toast them (gently—don’t char them!), and slather with copious butter. Occasionally a bit of marmalade sneaks on. If you’re posh, you could add clotted cream, but we hardly bother.
Pro Tips and Things I’ve Learned (Sometimes the Hard Way)
- Don’t rush the rise—did it once and the buns came out stodgy. Good things take time, apparently.
- Actually, err on the side of under-baking rather than over. A slightly soft centre is leagues better than dry crumbly buns.
- Keep your crosses thick enough or they’ll just melt off and you’ll have headless buns (not a good look).
FAQ—Stuff People Actually Ask Me
- Can I make these vegan?
- Yep, swap the egg and butter for vegan alternatives, use a plant-based milk and you’ll hardly notice the difference. Well, unless you’re picky about a slight texture change, but it’s still delicious.
- Help! My dough isn’t rising—what gives?
- Either your yeast has gone walkabout (double check that date!) or the room is a bit chilly. Try moving it somewhere cosier, like the airing cupboard? Worst case, just let it sit longer. Patience is your pal here.
- Do I really need a mixer?
- Nope! I always do it by hand (and so does my sore shoulder). Good old-fashioned elbow grease, as they say.
- Can I freeze hot cross buns?
- Definitely. Freeze as soon as they’re cool, bagged up tight. To be honest, I only ever remember to do this after I’ve sneakily eaten half the tray. Just reheat in the oven or toaster from frozen.
- Why are my crosses disappearing?
- Your paste probably is too runny. Try making it slightly thicker next time; it does take some fiddling to get it right (mine used to just slide off… looked tragic).
- I don’t have mixed spice—what can I do?
- Honestly, just make up your own blend with a pinch of cinnamon, nutmeg, maybe allspice. I’ve even thrown in a touch of ginger sometimes—tasted grand.
Oh, before I forget—don’t make the mistake I once made of baking them on the lowest oven rack. Unless you like your buns extra… erm, crispy underneath. Anyway, now you know. Enjoy baking (and eating!)—and if your kitchen’s as messy as mine by the end? You’re probably doing it right.
Ingredients
- 500g strong white bread flour (plain will do if you’re desperate)
- 75g caster sugar (my gran swore by golden, but I honestly don’t notice much difference)
- 2 tsp mixed spice powder
- 1 tsp ground cinnamon
- 10g salt (a generous pinch if you don’t have scales out)
- 10g instant dried yeast (the little packets)
- 40g unsalted butter, cubed and softened (sometimes I use whatever’s lurking in the fridge)
- 1 large egg, beaten
- 250ml whole milk, just warm (I sometimes nick a splash off the top for my tea, it’s fine!)
- 120g currants or raisins (I once accidentally used sultanas—no disaster)
- 50g mixed peel (totally optional; some of my lot pick it out anyway)
- For the crosses: 75g plain flour with about 5 tbsp water
- For the glaze: 3 tbsp apricot jam, warmed and sieved
Instructions
-
1Start by bunging the flour, sugar, mixed spice, cinnamon, and salt into a big bowl. Keep the yeast on the opposite side of the bowl from the salt (yeast’s picky that way).
-
2Add your softened butter, beaten egg, and the warm milk. Just check the milk’s not too hot—you want cosy, not scalding. Mix it all together until it’s a sticky-ish dough using your hands. This’ll be messy. Totally fine.
-
3Turn the dough onto a lightly floured bench and knead for 8-10 minutes, until it’s smooth and a bit springy. (This is where my mind wanders, and I usually hum tunelessly at the cats.)
-
4Pop the dough in a lightly oiled bowl, cover it with clingfilm or a tea towel, and let it rise somewhere warm for about 1-1½ hours, or until it’s doubled. Don’t fret if it takes longer—sometimes my kitchen’s a bit chilly and I have to park it near the radiator. Kettle’s on, by this point.
-
5Once it’s all puffy, press the dough down to knock the air out—this bit always feels slightly rude. Tip in the currants (or raisins) and mixed peel, give it a quick knead to spread the fruit.
-
6Divide the dough into 12 fairly even balls. I just eyeball it (precision is overrated). Arrange on a baking tray lined with parchment, a little spaced so they rise into each other but aren’t crammed.
-
7Cover and prove again for 45 minutes, till they look plumper. Sometimes I get impatient—don’t; they’ll taste better if you let them rise properly.
-
8For the crosses, mix plain flour and water into a thickish paste (kind of like gloopy school glue) and spoon it into a plastic sandwich bag. Snip off a little corner (no fancy piping required), pipe crosses over each bun.
-
9Bake at 200°C (180°C fan) for about 20 minutes or until golden. Your house: will smell amazing.
-
10Warm the apricot jam with a splash of water, strain (unless you like lumpy glaze), and brush it over the buns just as they come out. Resist eating immediately—I’ve burnt my tongue here one too many times.
Approximate Information for One Serving
Nutrition Disclaimers
Number of total servings shown is approximate. Actual number of servings will depend on your preferred portion sizes.
Nutritional values shown are general guidelines and reflect information for 1 serving using the ingredients listed, not including any optional ingredients. Actual macros may vary slightly depending on specific brands and types of ingredients used.
To determine the weight of one serving, prepare the recipe as instructed. Weigh the finished recipe, then divide the weight of the finished recipe (not including the weight of the container the food is in) by the desired number of servings. Result will be the weight of one serving.
Did you make this recipe?
Please consider Pinning it!