So Here’s the Deal With These Brownies
First off, if you’ve ended up here hunting for a no-fuss vegan treat that’s about as unfussy as my old pair of joggers—you’re in for a good one. This recipe started as a last-ditch effort when I had overripe bananas languishing in the fruit bowl (you could probably smell them all the way down the street). Instead of making yet another banana bread, I tried mashing them into brownies, just to see. Well, it turned out better than my wildest, chocolate-fueled dreams.
Honestly, I’ve made these for a bunch of friends, and even my cousin whose idea of vegan is mostly fries gave these a thumbs up. I did once forget to add the cocoa powder (don’t ask—I was distracted by the cat knocking things over), and it tasted…weirdly healthy. But when everything works as planned? Bliss. And the best part is, you don’t need fancy flour—just pantry basics and a little faith. Also, my neighbor once called them “cracking good,” which I think is a ringing endorsement!
Why You’ll Love These Any Day (Or Night)
I bake these on those days where I really can’t be fussed with complicated steps, but want something I can eat straight out of the pan while catching up on Bake Off reruns. My family goes wild for them because they’re soft, chocolatey, and you never have to worry about sneaky dairy or eggs hiding in there. If I’m being completely honest, I sometimes make a double batch just so I can nibble on one cold in the fridge the next morning (don’t judge!).
Plus, since there’s no flour, there’s no need to mess about with sifting or measuring to the nth gram. Sure, my gran would probably say it’s not real baking — but she also puts raisins in her brownies, bless her. Only, sometimes the mixture seems kind of gloopy and you think it’s gone to pot. But no, it always sorts itself out in the oven.
Here’s What You’ll Need — And Some Swaps
- 3 ripe bananas, mashed (the spottier, the better—brown is ok! I once made these with 2.5 because my dog knicked half a banana and it was fine)
- 1/2 cup (about 125g) nut butter (peanut is my usual, but almond works. Sometimes I’ll use sunflower seed butter if I’m cooking for the nut-averse crowd)
- 1/4 cup cocoa powder (Dutch processed, natural, even cacao if you’re feeling saintly. I’ve used the store brand and, honestly, couldn’t tell the difference)
- 2–3 tbsp maple syrup or agave (or just regular sugar if desperate; once I used date syrup and it was extra fudgy)
- 1/2 tsp baking powder
- A pinch of salt (skip this if your nut butter is already salty)
- 1/2 cup vegan chocolate chips, optional but highly recommended (I mean, who says no to more chocolate?)
- 1 tsp vanilla extract (my brother swears by the fake stuff but… I use whatever’s at the back of the cupboard)
Let’s Get Baking (Don’t Blink—It’s Quick)
- Preheat your oven to 350°F (about 180°C). Line an 8×8-inch baking tin with parchment—or use foil if you’ve run out (just oil it a bit or you’ll be chipping brownies off later).
- Mash those bananas up in a big bowl. Lumpy is good. Actually, sometimes it looks a bit like baby food at this stage, but that’s fine.
- Add your peanut butter, cocoa powder, maple syrup, baking powder, salt, vanilla, and about half the chocolate chips. Mix it all together. (This is usually where I sneak a taste. For science.)
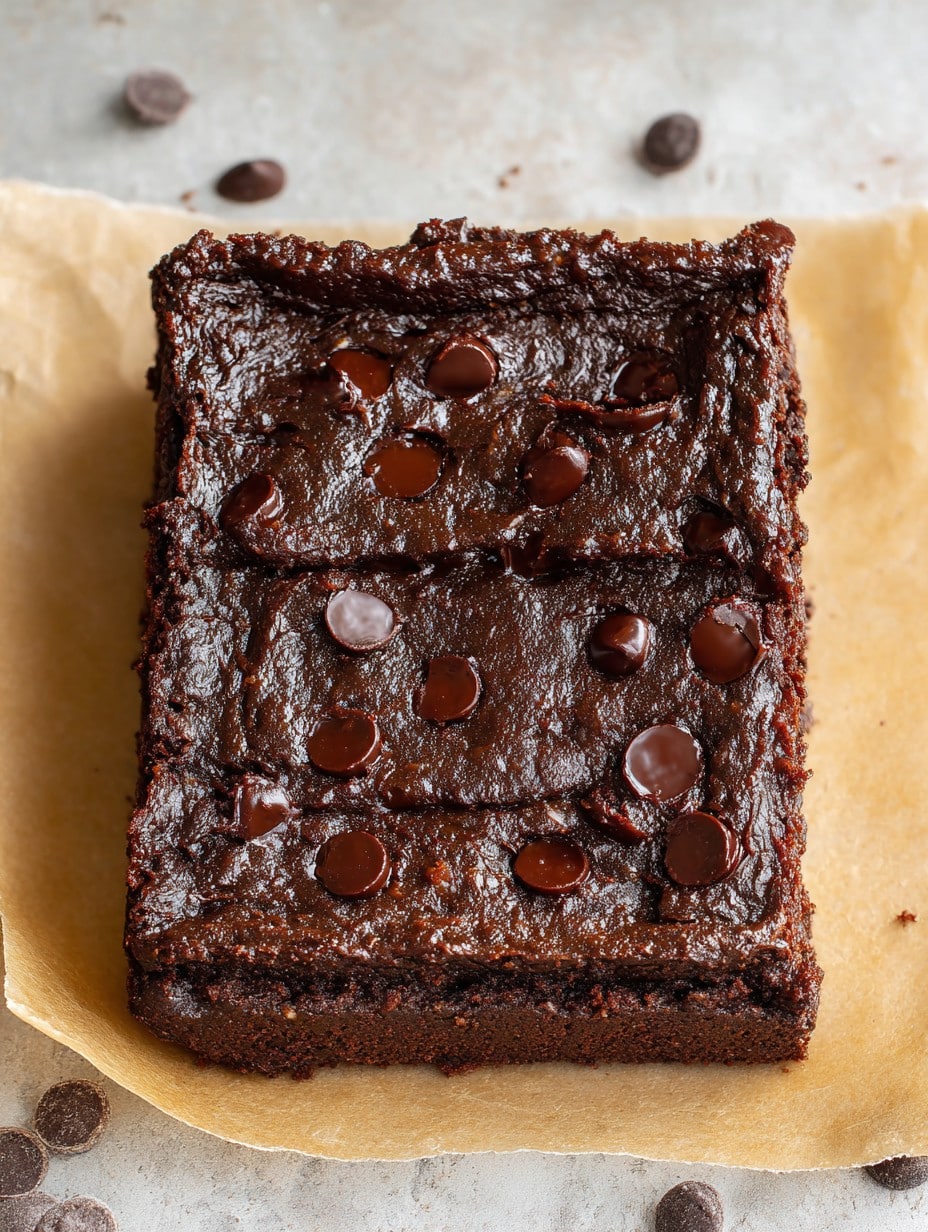
- Spoon the batter (it’s thick, like, thicker than my Yorkshire accent) into your prepared tin and smooth the top. Sprinkle the remaining chocolate chips over. Or don’t! You’re the boss of your brownies.
- Bake for about 25–30 minutes. The edges firm up and the middle might still wobble a bit, but resist the urge to keep baking it. It’ll set up as it cools. Take it from me—I once baked it for too long and ended up with chocolate-scented brick. Just a heads-up.
- Let them cool fully in the tin (if you can). Good luck, though. I usually start slicing after 15 minutes, even when they’re still warm and messy. Oops.
Notes That Might Save You a Headache
- I’ve found that if your bananas are more yellow than brown, the brownies end up less sweet. So, you might need a bit more syrup.
- Sometimes the mixture looks far too thick. If that happens, splash in a tablespoon of plant milk or even just water.
- If you overbake, as previously mentioned, you’ll get brownie “crumble” (which still works on ice cream… just not ideal as bars!).
Things I’ve Tried That Were…Interesting
- Swapped out peanut butter for tahini. It gave a nutty, slightly bitter edge — not for everyone, but if you like halva, you’ll dig it.
- Added chopped walnuts on top. Good crunch! But next time, maybe just mix them in; they kept rolling off.
- Once I tried adding zucchini for moisture. It tasted…confusing. I don’t really recommend it unless you’re very vegetable-forward.
What If I Don’t Have a Proper Brownie Tin?
No stress, mate. I’ve made these in a loaf pan and just cut thicker slices. A round cake tin works, too. Or, improvise with a casserole dish — they’ll be thinner and cook faster, so keep an eye on them. Once, in a pinch, I lined a roasting tray with parchment and just spread the mix out. Rustic, I call it.
How Long Are These Good For? (As If They’ll Last!)
Technically, you can store these in an airtight container at room temp for up to 3 days, or in the fridge for nearly a week. But honestly, they’ve never made it past the 36-hour mark in our house. They somehow just… vanish. Ghost brownies.
How I Like to Serve ‘Em
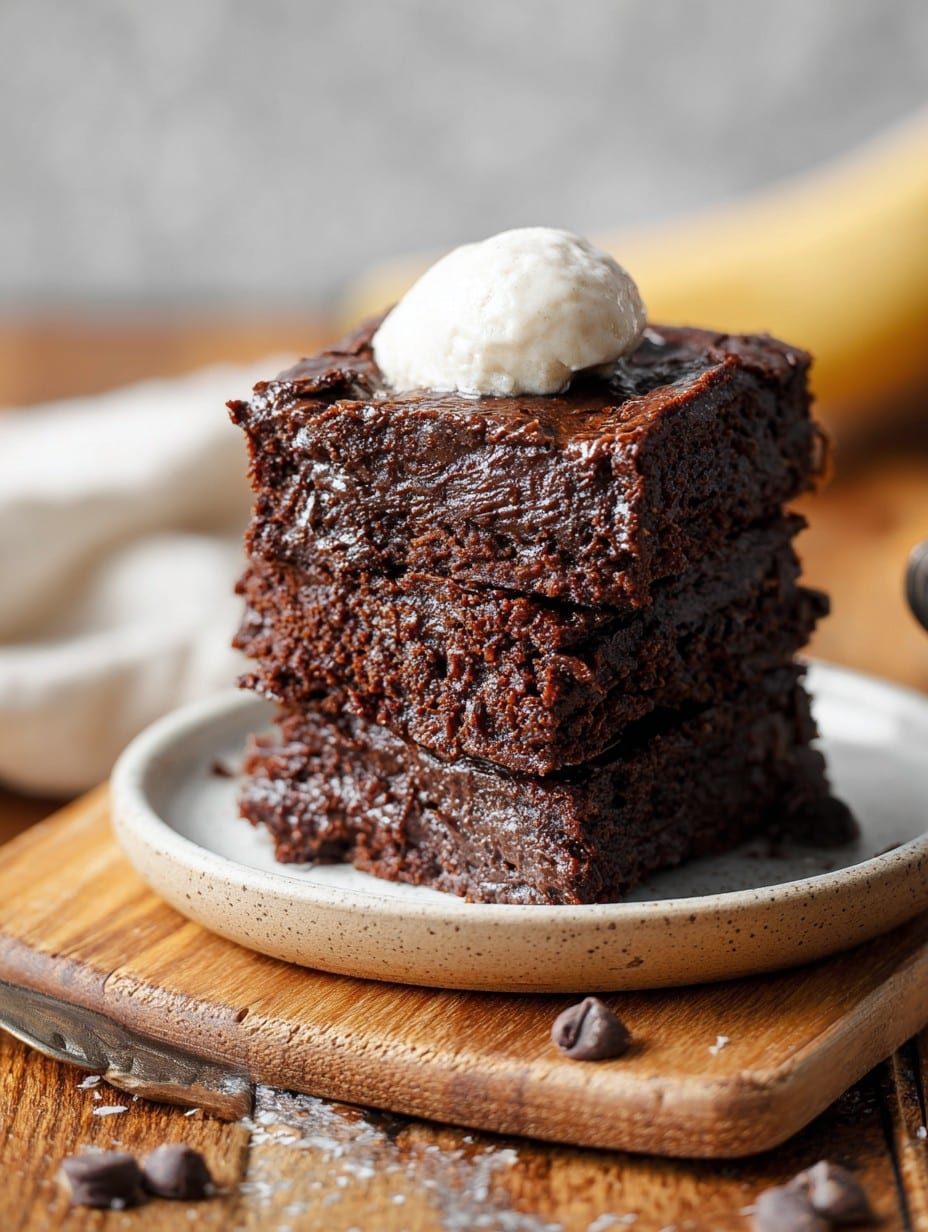
Best eaten slightly warm, maybe with a dollop of coconut yogurt or a scoop of vegan vanilla ice cream. On Sunday afternoons, we sometimes have them with a bit of coffee for a real treat (sometimes I even sprinkle a bit of flaky salt on top, though my brother says I’m getting fancy).
Pro Tips From My Own Dodgy Attempts
- Let it cool completely before cutting. I once rushed this step because I was starving—it just sort of oozed everywhere.
- Line your tray, really. Scrubbing burnt-on banana from a tin is the opposite of fun.
- If you use natural peanut butter, stir it well first; learned that the hard way when all the oil pooled on top.
People Keep Asking Me…
Can I freeze these? Oh, definitely. Slice first, wrap snug, pop in the freezer. Just let ’em thaw at room temp, or microwave for a cheeky, melty treat.
Are these genuinely healthy? Well, they’re basically fruit, right? (Kidding.) But they’re mostly whole ingredients, so I’d say they’re decent everyday treats.
Can I use seed butter? Yup! Sunflower or pumpkin seed butter work fine. (It does taste a little different; my niece hates it, I actually sort of love it.)
Do I have to use chocolate chips? Nah. Swap them for chopped nuts, dried cherries, or just leave them out entirely—I’ve done all three, depending on what’s rattling around in my pantry.
Is it okay to add protein powder? Sure, but honestly, when I tried it, it made the brownies a bit tough. Maybe try half a scoop first.
Tiny Digression: Other Vegan Chocolate Treats I Like
Because you can never have too much chocolate, honestly. If you fancy trying more vegan chocolate recipes, my favorite classic vegan brownie (flour included) is from Nora Cooks. Or check out Minimalist Baker’s gluten-free brownies if you want an oat flour angle. No pressure, just passing along excellent things I’ve eaten recently.
Anyway, good luck! Message me if you get stuck—or if you come up with an oddball variation that actually works. Cheers!
Ingredients
- 3 ripe medium bananas, mashed
- 1/2 cup unsweetened almond butter
- 1/4 cup pure maple syrup
- 1/3 cup unsweetened cocoa powder
- 1/3 cup vegan dark chocolate chips
- 1 teaspoon vanilla extract
- 1/2 teaspoon baking soda
- 1/4 teaspoon fine sea salt
Instructions
-
1Preheat the oven to 350°F (175°C). Line an 8×8 inch baking pan with parchment paper.
-
2In a large mixing bowl, mash the bananas until smooth. Add almond butter, maple syrup, and vanilla extract. Mix well to combine.
-
3Add cocoa powder, baking soda, and sea salt to the wet ingredients. Stir until fully combined and smooth.
-
4Fold in vegan chocolate chips, then pour the batter into the prepared baking pan, spreading evenly.
-
5Bake for 25 minutes, or until the center is set and a toothpick inserted comes out mostly clean.
-
6Allow the brownies to cool completely in the pan before slicing and serving.
Approximate Information for One Serving
Nutrition Disclaimers
Number of total servings shown is approximate. Actual number of servings will depend on your preferred portion sizes.
Nutritional values shown are general guidelines and reflect information for 1 serving using the ingredients listed, not including any optional ingredients. Actual macros may vary slightly depending on specific brands and types of ingredients used.
To determine the weight of one serving, prepare the recipe as instructed. Weigh the finished recipe, then divide the weight of the finished recipe (not including the weight of the container the food is in) by the desired number of servings. Result will be the weight of one serving.
Did you make this recipe?
Please consider Pinning it!!




