If It’s Tuesday, It Must Be Enchilada Night (Or Maybe Wednesday—Who’s Counting?)
So picture this: it’s 6:23, everyone’s hungry, your energy is basically running on fumes, and the only thing more frazzled than your nerves is your mismatched collection of Tupperware lids. That’s where these Weeknight Chicken EnchiladaS save me, and honestly, probably my sanity too. I started throwing this together when my youngest declared a chili cheese dog was not real food (kid’s not wrong), and now—bizarrely—this is one of the few things the whole crew gets genuinely excited about.
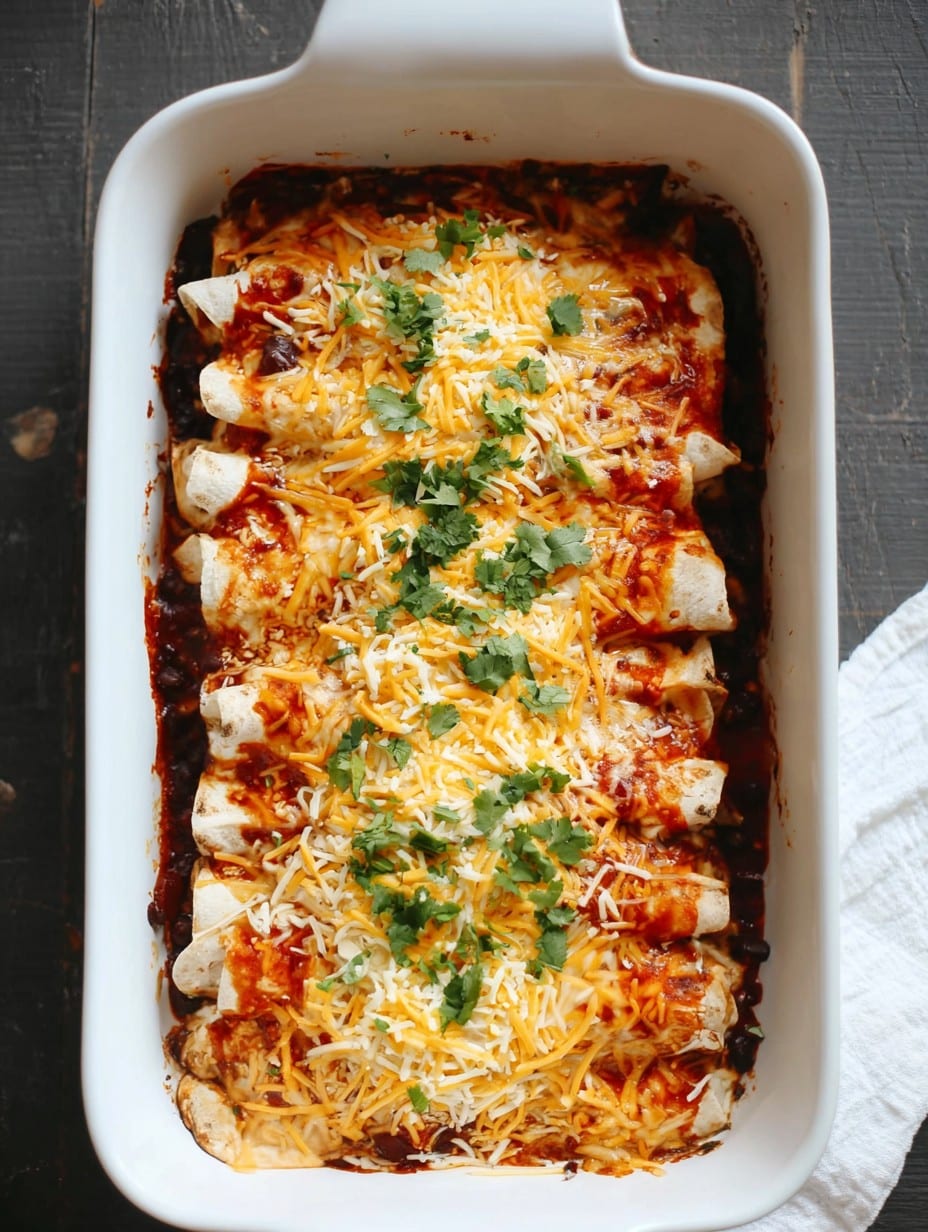
I still remember the very first time I tried making enchiladas. I forgot to thaw the chicken and had to do some bizarre microwave-defrosting magic which, let’s just say, did not go well. Not gonna lie, I’ve gotten much better since then—and, fun fact, I never measure the cheese properly (who does?) and nothing bad has ever happened.
Why I Keep Coming Back to These Enchiladas
I make this pretty much every time I want something warm, cheesy, and comforting—but don’t have two hours to pull off one of those “project” dinners. My family goes nuts for these because you get that mix of gooey cheese and tangy sauce, plus loads of chicken, all tucked in tortillas that stay just chewy enough. (Also, minimal veggie complaints. That’s gold in my house.) Sometimes I use a rotisserie chicken and sometimes—when I’m feeling very virtuous—I’ll poach chicken breasts with some bouillon cubes because I honestly believe it adds a bit more flavor. Oh, and if you’re afraid of turning on your oven in July, I get it. Once, I tried doing the whole thing in a toaster oven. It barely fit, but hey, it worked… sort of!
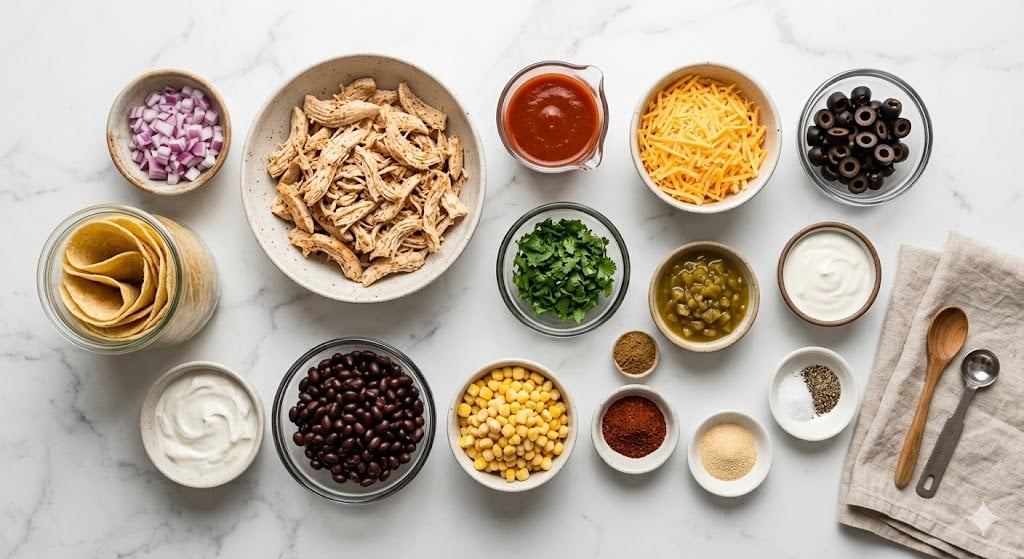
Here’s What You’ll Need (Well, What I Usually Use)
- 2 cups cooked shredded chicken (rotisserie works, or leftover roast—once I even used grilled chicken and it was pretty good)
- 8 small flour tortillas (I’ve swapped for corn; it’s fine, but flour soaks up the sauce better, in my opinion)
- 2 cups shredded cheese (cheddar, Monterey Jack, or Colby blend—my grandmother insisted on only using Monterey Jack, but honestly, anything melty goes)
- 1 can (about 15oz) red enchilada sauce (store brand is what I buy ninety percent of the time, but homemade if I’m feeling fancy)
- 1/2 cup sour cream (Greek yogurt totally works here, or skip if dairy isn’t your thing)
- 1/2 small onion, diced (or a handful of pre-chopped frozen onion, which is what I use when I’m in a hurry)
- 2 teaspoons chili powder (sometimes I use taco seasoning—don’t tell traditionalists!)
- 1/2 teaspoon cumin
- 1/2 teaspoon garlic powder (fresh garlic is great, but on busy nights, I just shake this in)
- Salt and pepper, to taste
- Optional toppings: chopped cilantro, diced tomatoes, sliced jalapeños, a squeeze of lime
Let’s Get These on the Table: How I Do It
- First, preheat your oven to 375°F (or whatever yours claims to be—mine runs a bit hot, so I sometimes knock it down a notch). Grab a 9×13-inch baking dish (Pyrex or whatever you’ve got that fits—it’s all good).
- While the oven’s getting warm, mix the shredded chicken, half the cheese, about a third of the enchilada sauce, sour cream, diced onion, and all those spices (chili powder, cumin, garlic powder, salt, pepper) in a big bowl. This is where I usually sneak a taste—just to check seasoning, of course.
- Take each tortilla, spoon a decent amount of the chicken mixture down the center (don’t overstuff, but don’t be stingy either), then roll it up. Place seam-side down in your baking dish. Repeat till you run out of filling or tortillas—full honesty, sometimes I end up with one lonely half-filled tortilla wedged in sideways. No one’s ever complained.
- Pour the rest of the enchilada sauce evenly over the rolled tortillas. Spread it out a bit if needed. Top with the rest of the cheese (don’t stress if it clumps in spots—extra crispy bits are kind of the best part).
- Bake uncovered for 18 to 22 minutes, or until bubbly and golden here and there. Mine never looks exactly like the magazine photos, but it always smells amazing.
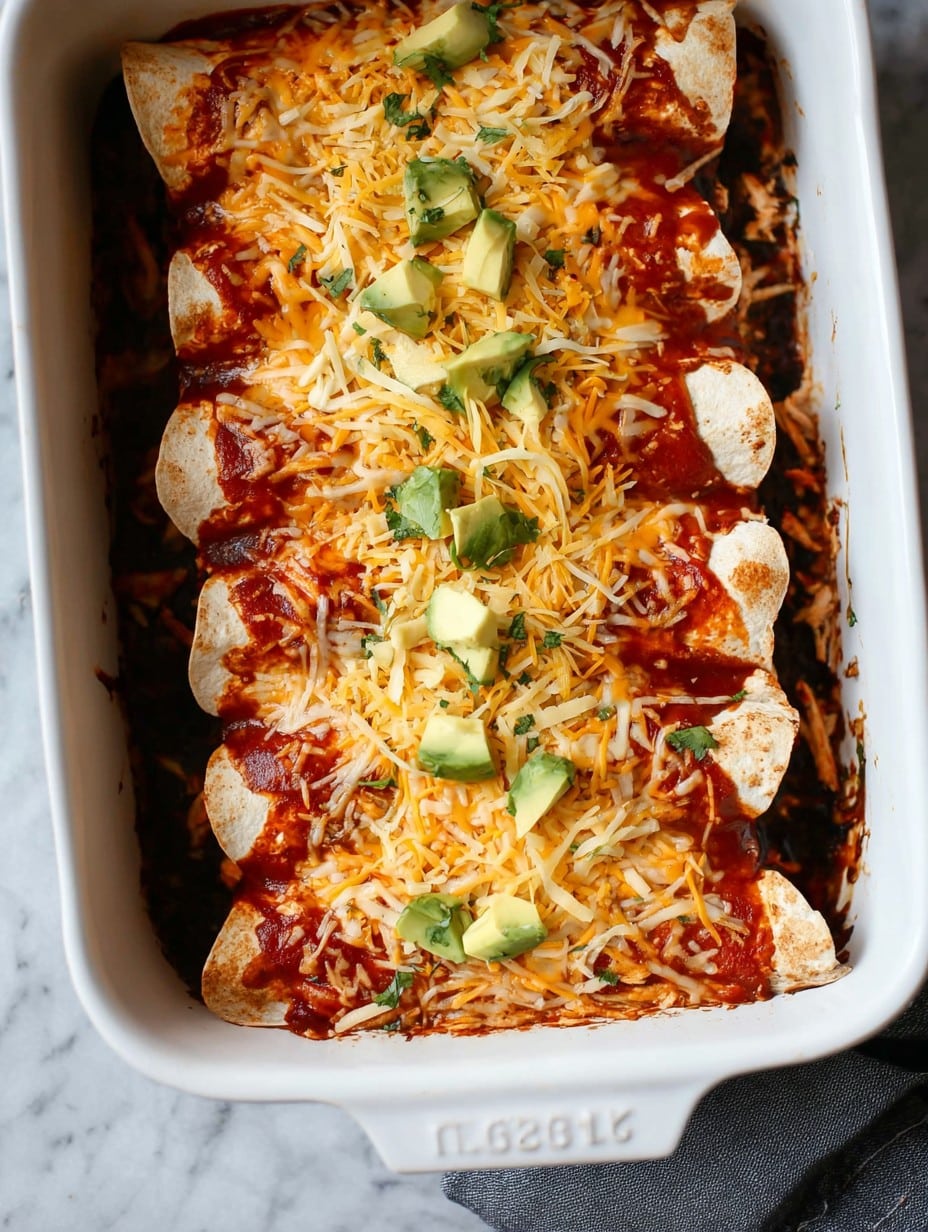
- Let it cool a couple of minutes, then pile on the toppings (if you can wait—I rarely last more than a minute or two). Don’t forget a squeeze of lime if you like that extra zing!
A Few Notes From My (Mostly Harmless) Mistakes
- Don’t overfill the tortillas—they tear when you try to roll. Ask me how I know.
- If your enchilada sauce is super tangy, adding a pinch of sugar to the filling helps balance things.
- Microwaving tortillas for 15-20 seconds wrapped in a damp paper towel keeps them from cracking. Or, you know, just cross your fingers and hope for the best…
Variations I’ve Actually Tried (One Not So Great…)
- I’ve swapped in black beans for half the chicken; adds nice texture (and stretches the dish farther—student budget flashbacks!).
- Used green enchilada sauce once. Tasty, but my crew grumbled. Red = comfort in my house.
- Tried gluten-free tortillas. Honestly, they fell apart, but I think it was user error. Next time, I’ll toast them first—maybe.
- I once put sliced olives on top—regret. Just me? Maybe.
The Stuff You Need (And When You Don’t Have It…)
- 9×13-inch baking dish – or really anything oven-safe in the right shape. One time, I used two loaf pans—good enough in a pinch!
- Mixing bowl
- Measuring cups/spoons (but honestly, I eyeball a lot. It’s home cooking, not rocket science)
- Foil, if you want to keep leftovers extra moist
Keeping & Reheating: How Long Do They Last?
Pop leftovers in an airtight container in the fridge. They’ll stay good for 2-3 days—though honestly, in my house, they never last more than a day! Microwaving works, but if you want crispy edges again, splash a bit of sauce on and toast in a skillet for 5 mins.
What We Like With Our EnchiladaS
I usually serve these with a big bowl of shredded lettuce and whatever salsa hasn’t expired (shh), plus corn on the cob if it’s in season. My oldest adds hot sauce—like, ridiculous amounts.
Pro Tips (Mostly Learned the Hard Way)
- Don’t try to rush the bake time—cheese melts funny and filling stays cold. I once pulled them out too early; not fun.
- If you have leftover filling, save it for nachos or an omelet the next day. Actually, maybe this tastes better the next day—jury’s out.
FAQ: Real Answers to Real Questions
- Can I make this ahead? Oh yes—just assemble, cover, and stash in the fridge. Add 5-8 mins extra in the oven. I’ve done this and forgotten about it for, uh, two days. Still tasty.
- Do I need fancy cheese? Not at all. Pre-shredded is fine, but blocks melt smoother. I’m a sucker for a good cheese pull though, so I sometimes shred my own.
- Is this freezer-friendly? Yup! Wrap tightly and freeze. To reheat, leave at room temp for 30 mins then bake as usual. (Don’t forget it in the freezer like I once did… three months is kind of pushing it.)
- Gluten-free or dairy-free? Try corn tortillas or dairy-free cheese. Like I said above, my gluten-free experiment was “character-building” but doable.
- Can I use beef or veggies? Absolutely! Shredded beef or sautéed mushrooms/peppers swap in great. (Picky eaters? Just tell them it’s “special chicken night.”)
Now, if you’ll excuse me, it’s actually time for dinner in my house… and yes, it’s enchiladaS night—again.
Ingredients
- 2 cups cooked shredded chicken (rotisserie works, or leftover roast—once I even used grilled chicken and it was pretty good)
- 8 small flour tortillas (I’ve swapped for corn; it’s fine, but flour soaks up the sauce better, in my opinion)
- 2 cups shredded cheese (cheddar, Monterey Jack, or Colby blend—my grandmother insisted on only using Monterey Jack, but honestly, anything melty goes)
- 1 can (about 15oz) red enchilada sauce (store brand is what I buy ninety percent of the time, but homemade if I’m feeling fancy)
- 1/2 cup sour cream (Greek yogurt totally works here, or skip if dairy isn’t your thing)
- 1/2 small onion, diced (or a handful of pre-chopped frozen onion, which is what I use when I’m in a hurry)
- 2 teaspoons chili powder (sometimes I use taco seasoning—don’t tell traditionalists!)
- 1/2 teaspoon cumin
- 1/2 teaspoon garlic powder (fresh garlic is great, but on busy nights, I just shake this in)
- Salt and pepper, to taste
- Optional toppings: chopped cilantro, diced tomatoes, sliced jalapeños, a squeeze of lime
Instructions
-
1First, preheat your oven to 375°F (or whatever yours claims to be—mine runs a bit hot, so I sometimes knock it down a notch). Grab a 9×13-inch baking dish (Pyrex or whatever you’ve got that fits—it’s all good).
-
2While the oven’s getting warm, mix the shredded chicken, half the cheese, about a third of the enchilada sauce, sour cream, diced onion, and all those spices (chili powder, cumin, garlic powder, salt, pepper) in a big bowl. This is where I usually sneak a taste—just to check seasoning, of course.
-
3Take each tortilla, spoon a decent amount of the chicken mixture down the center (don’t overstuff, but don’t be stingy either), then roll it up. Place seam-side down in your baking dish. Repeat till you run out of filling or tortillas—full honesty, sometimes I end up with one lonely half-filled tortilla wedged in sideways. No one’s ever complained.
-
4Pour the rest of the enchilada sauce evenly over the rolled tortillas. Spread it out a bit if needed. Top with the rest of the cheese (don’t stress if it clumps in spots—extra crispy bits are kind of the best part).
-
5Bake uncovered for 18 to 22 minutes, or until bubbly and golden here and there. Mine never looks exactly like the magazine photos, but it always smells amazing.
-
6Let it cool a couple of minutes, then pile on the toppings (if you can wait—I rarely last more than a minute or two). Don’t forget a squeeze of lime if you like that extra zing!
Approximate Information for One Serving
Nutrition Disclaimers
Number of total servings shown is approximate. Actual number of servings will depend on your preferred portion sizes.
Nutritional values shown are general guidelines and reflect information for 1 serving using the ingredients listed, not including any optional ingredients. Actual macros may vary slightly depending on specific brands and types of ingredients used.
To determine the weight of one serving, prepare the recipe as instructed. Weigh the finished recipe, then divide the weight of the finished recipe (not including the weight of the container the food is in) by the desired number of servings. Result will be the weight of one serving.
Did you make this recipe?
Please consider Pinning it!




