Okay, So Here’s Why I Keep Making These Cookies
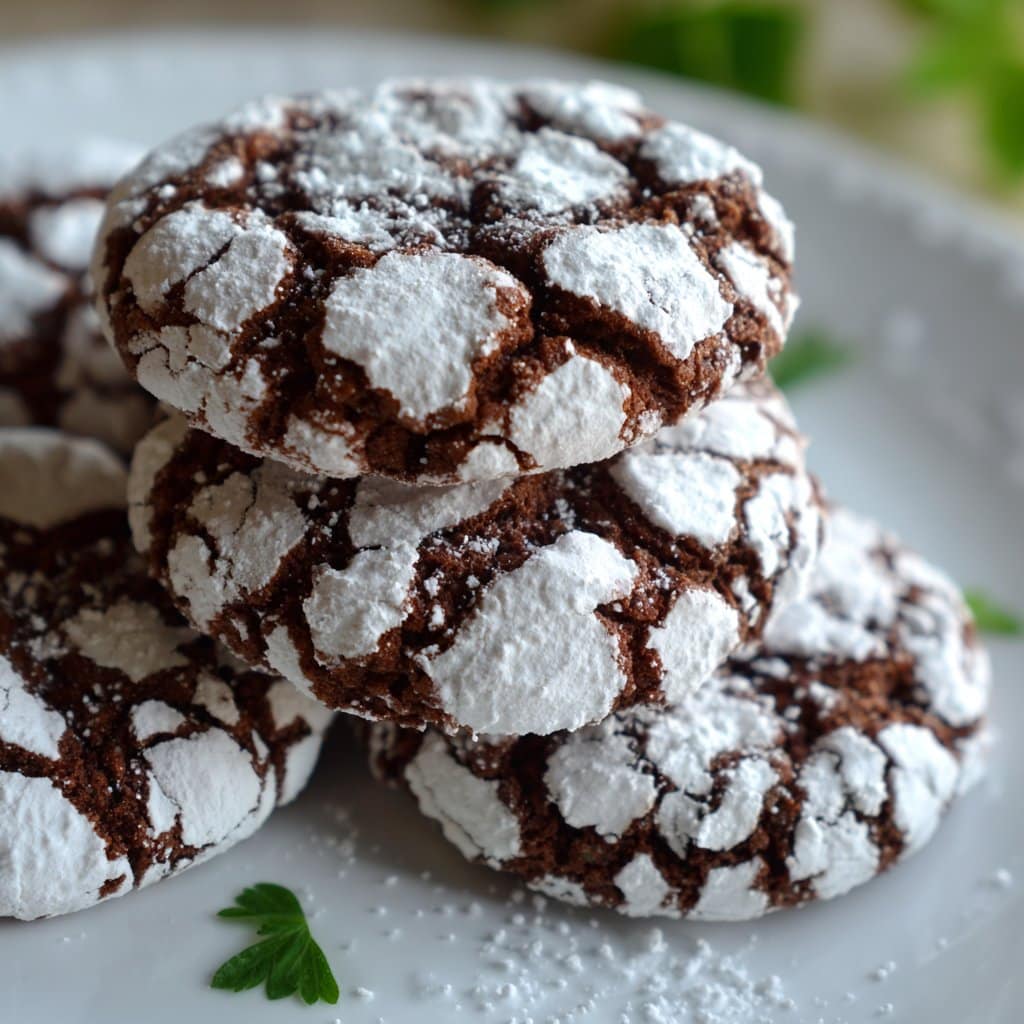
Look, if you ever find me in the kitchen at 10pm poking through the pantry, there’s a pretty good chance I’m hunting for cake mix. These 3-ingredient cake mix crinkle cookies were basically born from pure laziness and a late-night sweet tooth. First time I made them, I actually meant to bake a cake, but my brain was like, “or… cookies?” You know that feeling when you start something simple and then—poof—it becomes your favorite shortcut? That’s this recipe for me. Plus, my nephew calls them “the snowball cookies” (he refuses to eat the ones without extra powdered sugar—diva much?).
Why You’ll Love This (Honestly, I Just Do)
I make these when I’m running out of time before a school bake sale (or, let’s be real, when I’ve just watched three episodes in a row and can’t be bothered to do anything fancy). My family goes nuts for these because they’re somehow soft and chewy and also a little crunchy on the outside (that magic powdered sugar thing). I used to fight with the dough sticking to my hands, but now I know to dust them with sugar first—learned that the messy way.
What You’ll Need (Swaps + My Not-So-Secret Preferences)
- 1 box cake mix (any kind really—I usually grab chocolate fudge, but lemon is wild too. My gran always swore by Duncan Hines, but store brand works fine. Once I used red velvet, and the color was bonkers.)
- 2 large eggs (I did try it once with flax eggs for a vegan thing, and it, um, sort of worked, but not quite as fluffy.)
- 1/3 cup vegetable oil (But hey, melted butter makes them richer if you want. Coconut oil is okay too, but you get that coconutty aftertaste.)
- About 1/2 cup powdered sugar, for rolling (Not strictly necessary, but they’re naked without it. I sometimes just dump them in a bowl and shake.)
How to Make ‘Em (With My Rambling Instructions)
- Preheat your oven to 350°F (that’s about 180°C if you’re on the other side of the pond). Line a baking tray with parchment—though honestly, I just butter it if I’ve run out.
- Tip the cake mix into a big bowl. Add eggs and oil. Mix it up until you get a thick, sticky dough. Don’t panic if it looks weird; it always comes together. (This is usually where I sneak a taste, shhh.)
- Put your powdered sugar in a shallow dish. Scoop out balls of dough (I use a tablespoon, but sometimes just grab a chunk with my hands—no judgment) and roll them around until they’re fully coated. Don’t be shy, more is more here.
- Plop those sugar-covered dough balls onto your tray, leaving a bit of room (they spread a little, but not like pancake batter or anything).
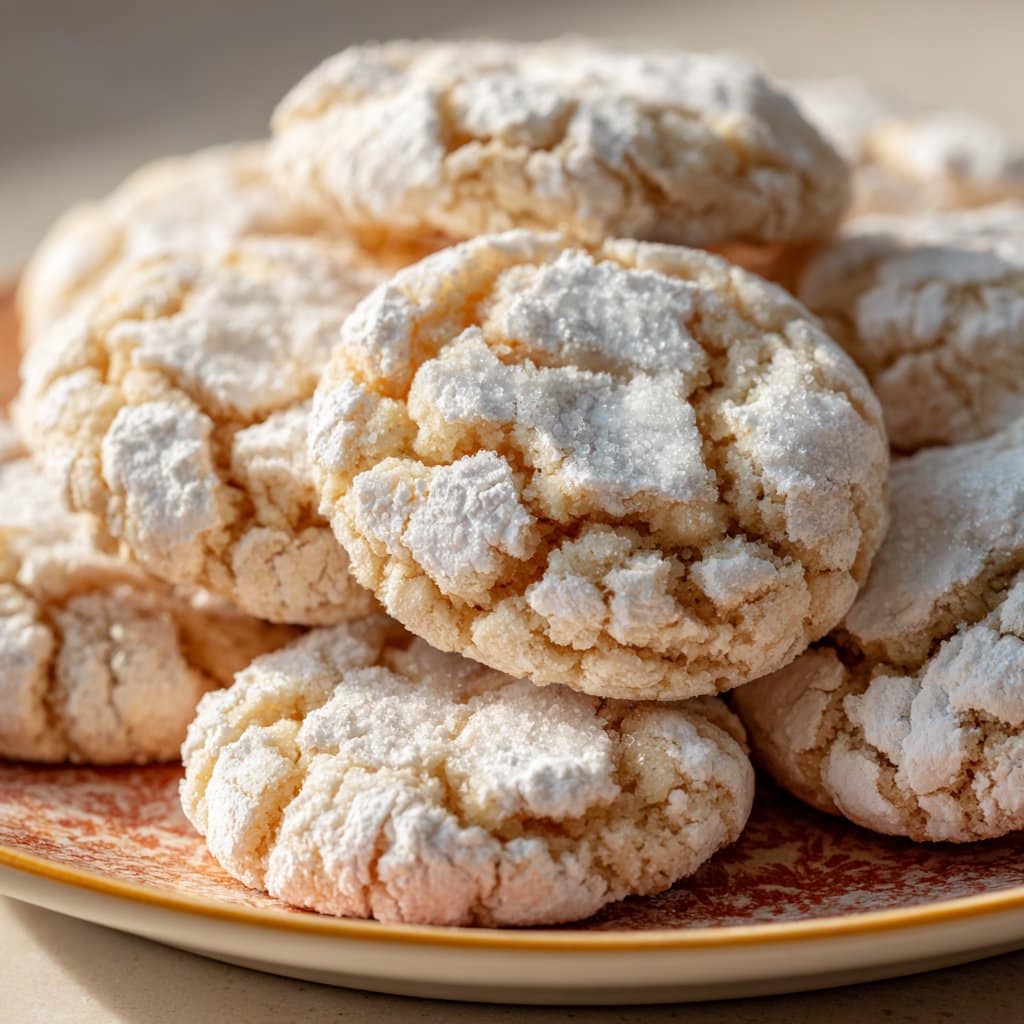
- Bake for about 9-11 minutes. I know it doesn’t seem long, but they firm up as they cool. The tops will get all crackly and, honestly, they look a bit like they’ve been snowed on.
- Let them cool a bit on the sheet before moving. Or eat one hot and burn your tongue like I inevitably do every time.
Some Notes After Way Too Many Batches
- If the dough feels like glue, stick it in the fridge for 15 minutes. I used to skip this and end up with hands coated in dough up to my wrists.
- More powdered sugar = better crinkles. Not scientific, just what I’ve noticed.
- Once, I tried using olive oil instead of vegetable oil. Not my best idea—tasted like breadsticks, which, well, isn’t a cookie vibe.
Things I’ve Tried That (Mostly) Worked
- Lemon cake mix with lemon zest—zippy, super fresh!
- Funfetti mix, cause, sprinkles—kids lost their minds.
- Peanut butter cake mix. Actually, this one came out kinda dry, so maybe skip it unless you like dunking cookies in milk for ages.
- Chocolate mix with a handful of chocolate chips tossed in—next-level, but they’re gooier.
Do You Actually Need Fancy Equipment?
I use a bowl and a fork (sometimes a whisk if I can find it in the drawer jungle). Cookie scoop is nice, but honestly, clean hands work just fine. If you don’t have parchment, just butter your tray. Or hey, foil in a pinch. I even saw someone use a muffin tin (King Arthur’s got some wild cookie hacks).
Keeping ‘Em Fresh (Not That They Last, but…)
Technically, you can store these in an airtight tin for up to 4 days, but—real talk—ours usually disappear in 24 hours. If you do manage to save some, put a slice of bread in the container to keep ’em soft. Or just eat stale ones with a cuppa; they’re still good!
How I Like to Serve These (And One Odd Family Habit)
I usually stack them up on a plate and let everyone dive in. My cousin dunks hers in hot chocolate (bit much, if you ask me). Sometimes I dust extra powdered sugar on top for the drama. We’ve even used them to make ice cream sandwiches during barbecue season—messy but so worth it.
Stuff I Learned the Hard Way (Pro Tips, If You Can Call Them That)
- Don’t try to rush the cooling. I once shoved a whole tray in the fridge to speed it up and they went rock hard. Just… be patient. I know, I know.
- If the dough balls aren’t well-coated in sugar, you don’t get pretty cracks. I’ve tried just sprinkling—no dice.
- Actually, I find it works better if you roll them twice in sugar—once before baking, and again right after.
FAQ From Friends and Random Texts
Can I use gluten-free cake mix?
Sure can! I’ve done it a few times for my pal Ellie with celiac—just watch, some brands need an extra tablespoon of oil. (Celiac.com has more GF tips)
Do I have to chill the dough?
Not strictly, but if your kitchen’s warm, it helps keep things tidy. I sometimes skip it out of impatience, cookies still turn out.
What’s the best cake mix flavor?
Oh, that’s like asking what your favorite band is—depends on your mood! Chocolate fudge if you want classic, but lemon is wild for summer. Red velvet? A little messy, but worth it.
Why did my cookies turn out flat?
Probably the dough was too warm or you squashed them too much. Or, eh, your oven runs hot. Try a test batch next time.
By the way, if you’re down a rabbit hole of baking, Sally’s Baking Addiction has some wild deep-dives on cookie troubleshooting. Worth a read if you’re nerdy like me.
So, that’s my not-so-polished guide to cake mix crinkle cookies. Try it, mess it up, try again, and—if you discover a wild new flavor combo—hit me up. Happy baking (and snacking)!
Ingredients
- 1 box (15.25 oz) cake mix (any flavor, such as chocolate or lemon)
- 2 large eggs
- 1/3 cup vegetable oil
- 1 teaspoon vanilla extract
- 1/2 cup powdered sugar (for rolling)
- 1/4 teaspoon salt
- 1/2 teaspoon baking powder
- Optional: 1/2 cup chocolate chips or sprinkles
Instructions
-
1Preheat oven to 350°F (175°C). Line a baking sheet with parchment paper.
-
2In a large bowl, combine the cake mix, eggs, vegetable oil, vanilla extract, salt, and baking powder. Mix until a thick dough forms.
-
3If desired, fold in chocolate chips or sprinkles for added flavor and texture.
-
4Scoop tablespoon-sized portions of dough and roll each into a ball. Roll each ball generously in powdered sugar to coat.
-
5Place the coated dough balls onto the prepared baking sheet, spacing them about 2 inches apart.
-
6Bake for 10-12 minutes, or until the cookies are set and crinkled on top. Cool on the baking sheet for 5 minutes before transferring to a wire rack to cool completely.
Approximate Information for One Serving
Nutrition Disclaimers
Number of total servings shown is approximate. Actual number of servings will depend on your preferred portion sizes.
Nutritional values shown are general guidelines and reflect information for 1 serving using the ingredients listed, not including any optional ingredients. Actual macros may vary slightly depending on specific brands and types of ingredients used.
To determine the weight of one serving, prepare the recipe as instructed. Weigh the finished recipe, then divide the weight of the finished recipe (not including the weight of the container the food is in) by the desired number of servings. Result will be the weight of one serving.
Did you make this recipe?
Please consider Pinning it!!




