Let Me Tell You About My 5-Minute French Toast in a Mug
Okay, so picture this: it’s one of those mornings where the alarm was more like a suggestion than an actual wake-up call (happens more than I’d like to admit). I’m groggy, my kid is already hunting for something sweet, and the only thing I can think of is the stack of dishes I don’t want to make. Enter French toast in a mug—my breakfast hero. I swear, the first time I made this, I half expected it to flop, but it was a hit, and now it’s basically our family mascot.
I think the best part is you don’t even need a fancy microwave, just one that doesn’t spark and explode, which is more than I can say for my college days (long story, maybe for another time). And hey, if you’re after a traditional recipe, this probably isn’t it—but if you want breakfast in five minutes, stick with me.
Why I Keep Coming Back to This Mug French Toast
I make this when I’m running late and my brain’s still on standby—seriously, it’s that easy. My family goes a bit wild for it because it’s soft, sweet, and you get all those French toast flavors without the mess (or, let’s be honest, the flipping). Sometimes, I’ll throw in chocolate chips just to make it feel extra decadent. Oh, and if you ever forgot to buy bread? I’ve swapped in hamburger buns, and no one noticed. (Well, my daughter did, but she didn’t complain.)
Truth is, I used to find French toast kind of annoying—dipping, frying, worrying about burning it… But this mug hack? It skips all that nonsense. Plus, if you’re the sort who likes breakfast-for-dinner (guilty), it totally works then, too.
What You’ll Need (But Don’t Stress)
- 1 to 2 slices of bread (I’ve used whatever’s on hand—white, whole grain, even that weird rye loaf. My gran swore by Wonder bread, but honestly, any will do)
- 1 egg (large, but medium works if that’s what you’ve got)
- About 1/3 cup milk (I’ve used almond or oat milk when the fridge is bare—works fine)
- 1 tablespoon sugar (or a good splash of maple syrup if you’re feeling fancy)
- 1/2 teaspoon cinnamon (totally optional, but I love it—sometimes I go a bit overboard)
- 1/4 teaspoon vanilla extract (when I remember, anyway)
- Small pinch of salt
- Butter for the mug (like, a smudge, just to be safe)
- Optional extras: chocolate chips, berries, chopped nuts, or a dollop of peanut butter (not all at once, unless you’re feeling wild)
How I Actually Make It (No Judgment, Please)
- First, grab a mug—the bigger, the better. I use the one with the chip in the rim; adds character, right? Smear a bit of butter inside (sometimes I forget, but it’s less sticky if you remember).
- Rip your bread into chunks—like, bite-size pieces. Toss ‘em in the mug. Don’t worry if they’re uneven, it all tastes the same later.
- In a small bowl (I guess you could use the mug if you’re lazy, but I find it mixes better in a bowl), beat together the egg, milk, sugar or maple syrup, cinnamon, vanilla, and salt. Give it a quick whisk—nothing fancy, just until it looks kind of blended.
- Pour the mixture over the bread in your mug. Press the bread down a bit with a fork so it soaks up all the good stuff. Don’t panic if it looks a bit swampy—mine always does at this stage.
- Now, this is where I usually sneak a couple chocolate chips in. Or blueberries, if I’m pretending to be healthy. Up to you.
- Microwave for about 90 seconds. Sometimes it takes a bit longer—maybe another 15 to 20 seconds—but keep an eye on it. If it puffs up like a soufflé, that’s normal. Just don’t let it overflow (been there, cleaned that).
- Let it cool for a minute. Or at least try. I burned my tongue the first three times and still haven’t learned.
Notes from the Trenches
- I find stale bread actually works better—it soaks up more custard. On second thought, fresh bread is fine, it just gets a bit mushier (which I secretly like).
- If your mug French toast seems dry, you probably need a splash more milk. Or maybe your microwave just likes evaporating things. Who knows?
- I once tried skipping the butter—regretted it. Cleanup was a nightmare.
Weird and Wonderful Variations I’ve Tried
- Chocolate Peanut Butter: Swirl a spoon of Nutella or peanut butter in at the end. Tastes like dessert for breakfast.
- Berry Explosion: Handful of frozen blueberries or raspberries on top—amazing. They can make it a bit soggy, but I kinda like it.
- Savory Version: Left out the sugar, added shredded cheese and chopped ham. Not gonna lie, it was… not my best idea. Maybe don’t.
What If You Don’t Have the “Right” Tools?
You really just need a microwave and a mug. But I once made this in a cereal bowl when all mugs were missing (thanks, teenagers). It worked—just watch the cook time, since wider bowls cook faster. If you don’t have a whisk, a fork gets the job done. No stress.
Does It Actually Keep? (Sort of)
Technically, you could cover this and store it in the fridge overnight. I think it tastes even better the next day, maybe because the flavors meld or maybe I’m just hungrier. Though honestly, in my house it never lasts more than a day! If you do stash it, reheat in the microwave for 20-30 seconds.
How I Like to Serve It Up
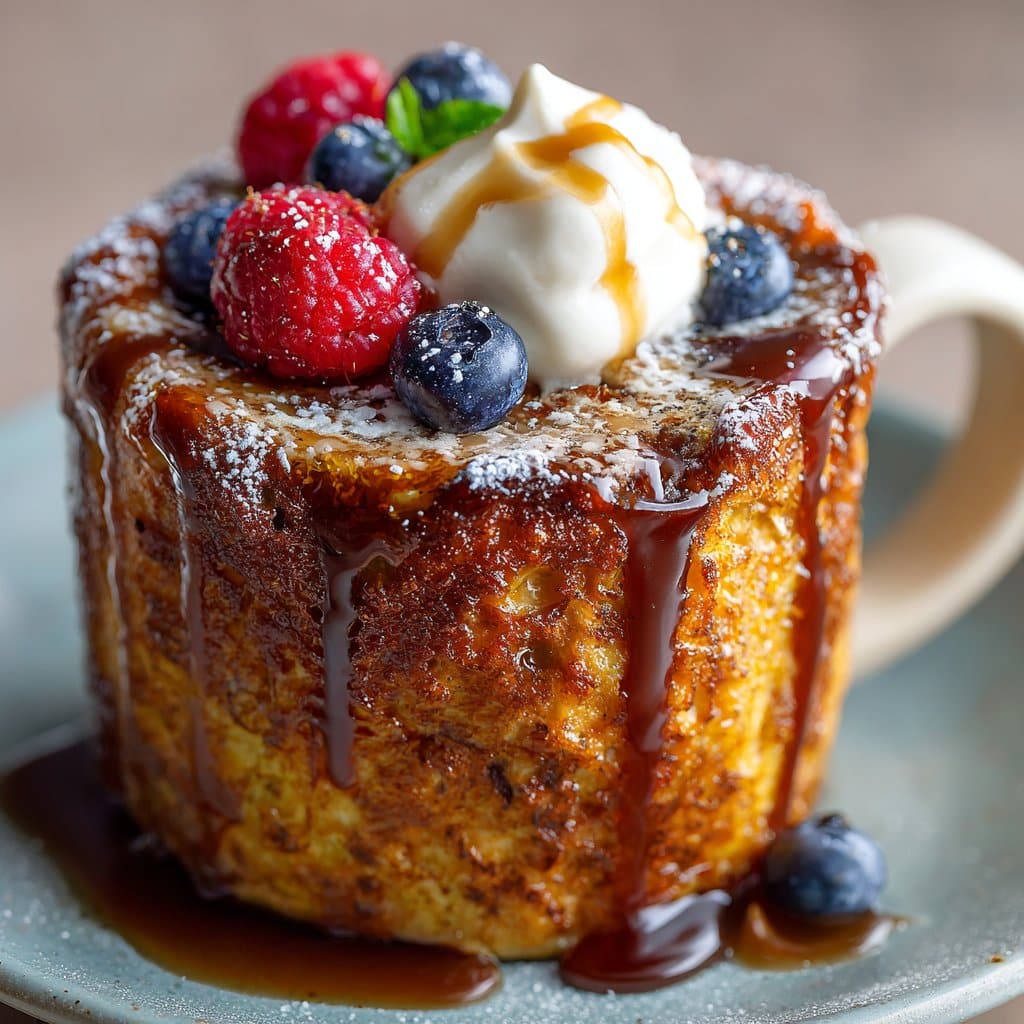
Drizzle with maple syrup, and sometimes a little whipped cream if I’m feeling fancy (or if it’s a Friday). My youngest insists on sprinkles on top—don’t knock it till you’ve tried it. We’ve even had it with a scoop of ice cream, but that’s probably a bit much for breakfast. Or not?
My Hard-Earned Pro Tips (Learned the Hard Way)
- Don’t skimp on soaking time—if you rush it, the middle stays dry and sad. I once tried to speed things up and ended up with a weird bread omelet. Not my finest moment.
- Microwaves aren’t all created equal. Mine seems to run hot, so I sometimes zap it in 30-second bursts. Trust your gut (and your nose—if it smells eggy, it needs more time).
Questions I Actually Get Asked (I Swear)
Q: Can I use gluten-free bread?
A: Yep! It sometimes goes a bit crumbly, but tastes just fine. My friend Jen swears by this gluten-free bread recipe if you want to bake your own.
Q: Can I double the recipe?
A: Probably, but use a bigger mug or split into two. I tried cramming double into my usual mug and it overflowed. Major mess. Lesson learned.
Q: What about making it dairy-free?
A: Oh sure, almond, oat, soy milk—all good. Even coconut milk, though that gives it a bit of a tropical vibe (not bad, just different).
Q: Is there a way to make this even faster?
A: Well, I saw a trick on TikTok French toast in a mug videos where they skip the mixing bowl and just toss everything in the mug. Tried it—less to clean, but the bread wasn’t as evenly soaked. Your call.
Oh, and completely unrelated, but have you seen those novelty mugs shaped like animals? My neighbor has one that looks like a llama. I feel like my French toast would taste better in a llama mug, but I digress.
There you have it—the only breakfast hack I can pull off with one eye open. Try it, tweak it, and let me know if you come up with a combo better than mine. (Not likely, but I’ll keep an open mind.)
Ingredients
- 1 large egg
- 3 tablespoons milk
- 1/2 teaspoon vanilla extract
- 1/2 teaspoon ground cinnamon
- 1 tablespoon granulated sugar
- 1 slice thick bread, cubed
- 1 tablespoon butter, melted
- Maple syrup, for serving
Instructions
-
1In a microwave-safe mug, whisk together the egg, milk, vanilla extract, cinnamon, and sugar until well combined.
-
2Add the cubed bread to the mug and gently stir to coat all pieces with the egg mixture.
-
3Drizzle the melted butter over the bread mixture and lightly mix.
-
4Microwave the mug on high for 1 minute and 30 seconds to 2 minutes, or until the French toast is set and cooked through.
-
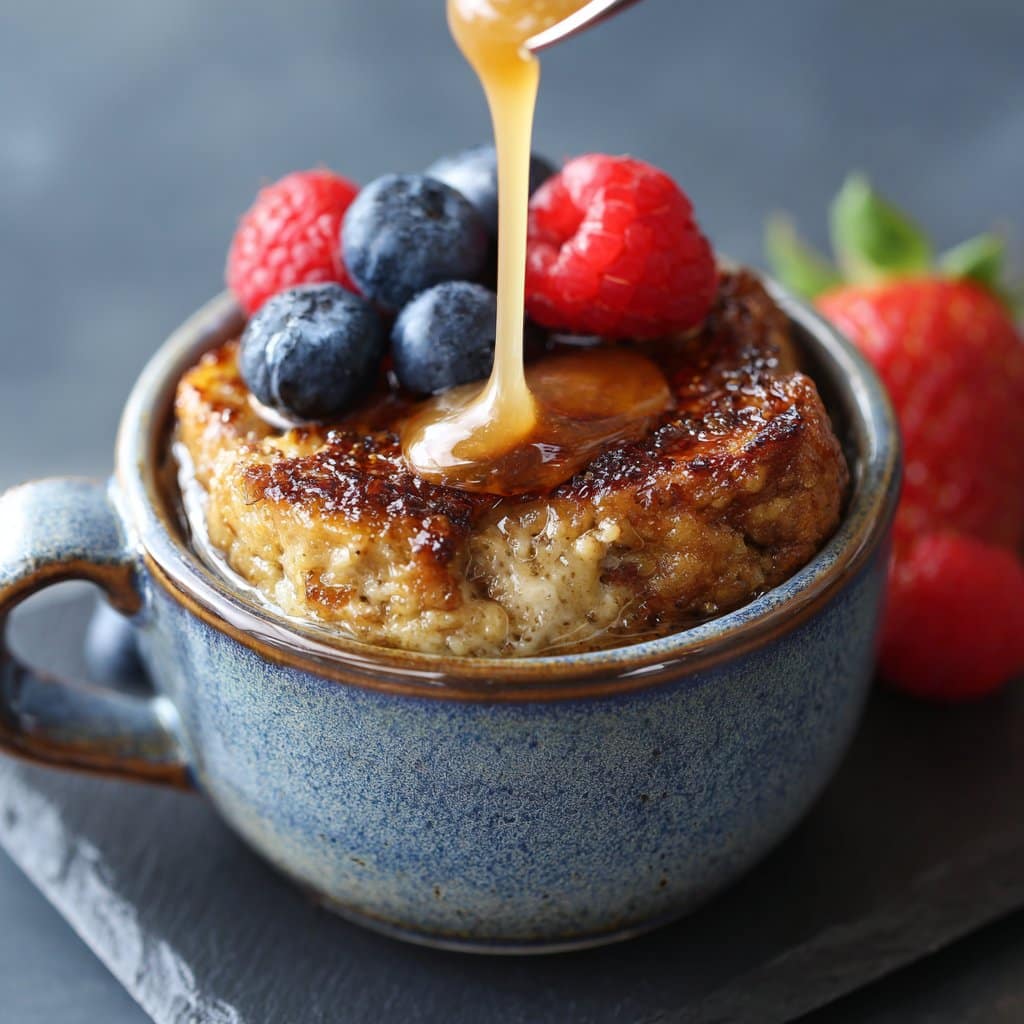
5Carefully remove from the microwave, let cool slightly, and drizzle with maple syrup before serving.
Approximate Information for One Serving
Nutrition Disclaimers
Number of total servings shown is approximate. Actual number of servings will depend on your preferred portion sizes.
Nutritional values shown are general guidelines and reflect information for 1 serving using the ingredients listed, not including any optional ingredients. Actual macros may vary slightly depending on specific brands and types of ingredients used.
To determine the weight of one serving, prepare the recipe as instructed. Weigh the finished recipe, then divide the weight of the finished recipe (not including the weight of the container the food is in) by the desired number of servings. Result will be the weight of one serving.
Did you make this recipe?
Please consider Pinning it!!




