The Most Cozy Cookie: Apple Butter Snickerdoodles
I have to start by saying, if you’ve never baked with apple butter, you’re missing out on something almost magical. Seriously, the first time I made these Apple Butter Snickerdoodles, it was mostly because I needed to use up a jar leftover from last fall (does anyone else just impulse-buy at farm stands every year?), but WOW—my kitchen smelled like autumn exploded in the best way. My neighbor popped by when they were baking, and she ended up eating three right off the cooling rack. Oops. And yes, I still get requests to make these “those apple-y snickerdoodle things” every time cooler weather comes around.
Why You’ll Love This (Or at Least, Why I Do)
I make this when the weather gets even a little bit chilly—like, the leaves are only just thinking about turning, and I’m already reaching for my apple butter jar. My family goes nuts for these because they have that perfect soft, chewy texture and a cinnamon-sugar crust that honestly, is about as close to a hug in cookie form as you can get. (Also, this recipe forgives a distracted cook; I’ve forgotten to chill the dough and they still came out just fine. Not perfect, but fine!)
And if I’m being totally honest, I like that they feel “fancy” but come together faster than you’d think. Plus, if you ever find yourself with a random half-jar of apple butter, you’ll know exactly what to do with it.
What You’ll Need (And What You Can Get Away With Swapping)
- 2 and 3/4 cups all-purpose flour (I use King Arthur, but store brand is fine—my gran swore by Gold Medal, though)
- 1/2 tsp baking soda
- 1/2 tsp baking powder (sometimes I just use a full teaspoon of baking soda if I run out—shh!)
- 1/2 tsp salt (I like kosher, but honestly whatever you have on hand)
- 1 and 1/2 tsp ground cinnamon
- 1/4 tsp nutmeg (skip if you want, but I like the cozy factor)
- 1 cup unsalted butter, softened (I’ve melted it in a pinch, but the texture gets a little funky)
- 1 cup granulated sugar
- 1/2 cup packed brown sugar (light or dark, both work, or just use more white sugar if that’s all you’ve got)
- 1/2 cup apple butter (I use homemade when I can, but store-bought totally works—I like Musselman’s, and here’s a good homemade recipe if you’re feeling ambitious)
- 2 large eggs (room temp is best, but cold eggs work if you’re impatient… like I usually am)
- 2 tsp vanilla extract (I measure with my heart, as the kids say)
- Cinnamon Sugar Coating: 1/3 cup granulated sugar + 1 tbsp cinnamon (sometimes I add a pinch of cardamom for kicks)
How To Make Apple Butter Snickerdoodles (The Chatty Version)
- Mix up your dry stuff: Grab a medium bowl and whisk together your flour, baking soda, baking powder, salt, cinnamon, and nutmeg. I tend to just dump it all in and poke it around with a fork if I can’t find my whisk.
- Cream the butter and sugars: In your biggest mixing bowl (trust me, you’ll need the space), beat the softened butter with the white and brown sugars until it’s all creamy and light. This is one of those “don’t skimp” moments—3 minutes with a hand mixer, or more if you’re doing it by hand and feeling strong. I usually sneak a finger taste here; quality control and all.
- Add wet ingredients: Toss in the apple butter, eggs, and vanilla. Beat until just combined. If it looks a bit curdled—don’t panic. It always does for me at this stage.
- Combine wet and dry: Add your flour mix in two batches, stirring gently. You want everything just mixed—if you overdo it, they get tough (ask me how I know…)
- Chill (the dough, not you—unless you want to): Stick the dough in the fridge for about an hour. If you really, truly can’t wait, throw it in the freezer for 20 mins. This helps the cookies keep their puffy shape instead of spreading everywhere. That said, there have been times I skipped chilling and they were still tasty, just a bit… flattish.
- Preheat and prep: Oven to 350°F (175°C). Line a baking tray with parchment or a silicone mat. I’ve baked straight on the tray before; it works but the bottoms get a bit crispy.
- Roll and coat: Mix the cinnamon and sugar in a shallow bowl. Scoop out balls of dough (about 2 tablespoons or a big heaping spoonful), roll them in your hands, then coat generously in the cinnamon-sugar. Place on tray, a couple inches apart. You’ll probably get 24 cookies, unless you snack on the dough (guilty).
- Bake: Pop them in the oven for 10–12 minutes. They’ll puff up, look a little soft in the middle—that’s perfect! They finish setting as they cool. Overbake = sad, dry cookies.
- Cool (as much as you can stand): Let them sit on the tray 5 minutes, then move to a rack. I try to wait until they’re cool, but usually fail after about 10 minutes.
Notes From (Too Much) Experience
- If your dough seems sticky, that’s normal with apple butter—don’t add more flour unless it’s like actual cake batter.
- Honestly, I think these taste even better the next day. Something about the flavors settling in, you know?
- If you only have salted butter, just skip the added salt. Did that by accident once, no one noticed.
Variations I’ve Tried (Or Failed At)
- I once tossed in chopped pecans—tasty, but kind of messed with the classic snickerdoodle vibe. Maybe walnuts would be better?
- Swapped the apple butter for pumpkin butter one wild October night. It worked! A bit spicier and less sweet, though.
- I did try using whole wheat flour once. Not my best idea. The cookies were… wholesome, in a dense, slightly sad way.
What If You Don’t Have Every Tool?
I always say a hand mixer is your best friend here. But if all you’ve got is a wooden spoon and some elbow grease, go for it! Or, if you don’t have parchment, just grease your baking tray well—clean-up’s a bit trickier, but hey, it works. (Don’t ask how many times I’ve had to soak a pan overnight.)
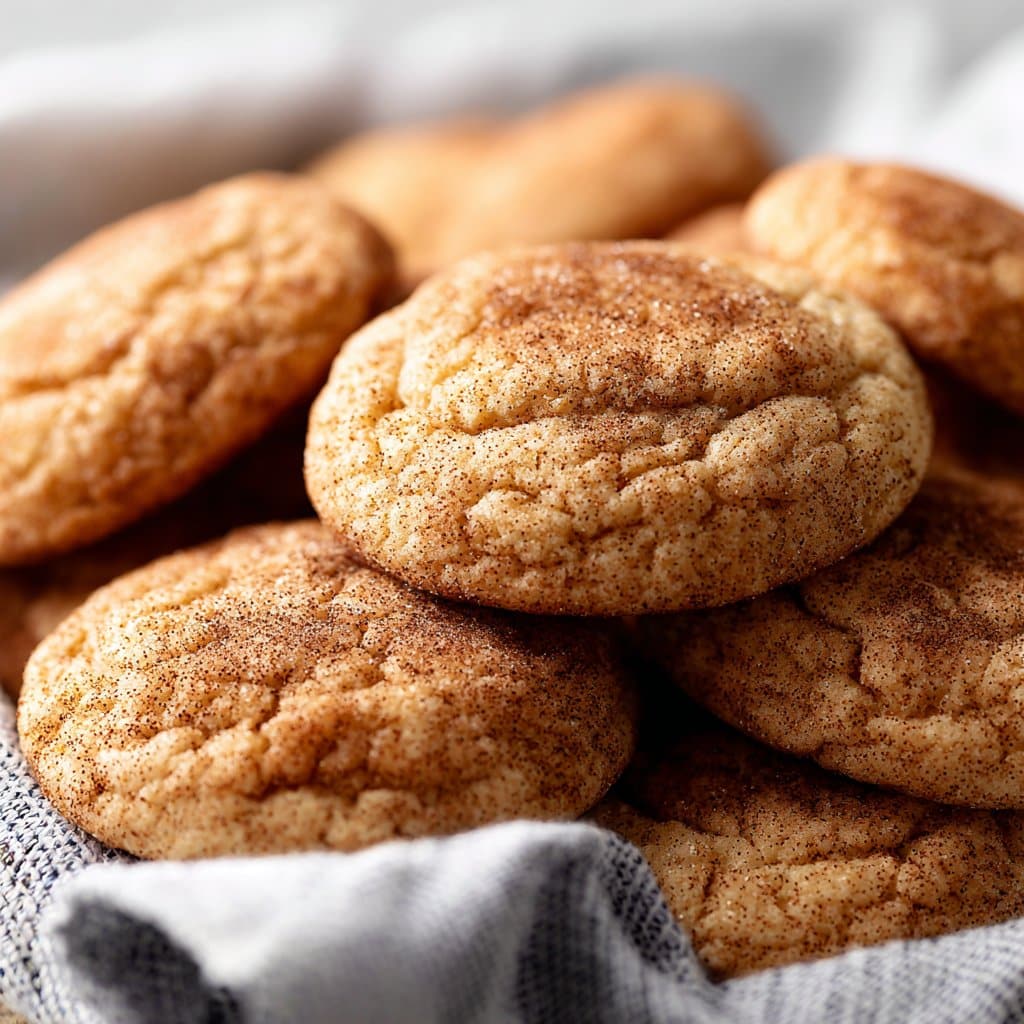
How To Store Them (If They Last That Long)
Pop ‘em in an airtight container on the counter. They’ll stay good for about 3 days, maybe a smidge longer if you don’t mind a slightly drier cookie. But honestly, in my house, they never last more than a day. If anyone finds a way to make them last a week, let me know your secret!
How I Like To Serve These (And My Family’s Traditions)
I love them with a mug of spiced tea, or dunked in coffee on a lazy Sunday morning. My kids think they’re the world’s best after-school snack, especially if I sneak a bit of caramel drizzle over the top (not traditional but yum). At Thanksgiving, we pile them up on a plate next to the pumpkin pie, and the snickerdoodles always disappear first. Go figure.
What I’d Do Differently Next Time (Pro Tips, Learned The Hard Way)
- Once, I tried rolling the dough balls too big—giant cookies sound fun, but they ended up raw in the middle. Stick to scoop-sized.
- I rushed the creaming step once and the cookies were kind of flat. Don’t skip that—it really matters.
- If you’re doubling the recipe (I do this for potlucks), bake only one sheet at a time; my oven hates multitasking and so do these cookies, apparently.
Real Questions, Real Answers
- Can I make the dough ahead of time? Yup! I’ve made the dough the night before, just cover tight and chill. The flavors deepen, actually. (Sometimes I bake half, save the rest for the next day—cookie insurance!)
- Do I really need apple butter? Well, it’s kind of key for that apple flavor. But in a pinch, you could try thick applesauce, just cook it down or the dough will be too loose. Or, hey, here’s a roundup of uses for apple butter if you need inspiration.
- Mine spread too much—what gives? Most likely the dough was too warm, or the butter was super soft. Chill that dough! Also, maybe your oven runs a little hot—I had to buy an oven thermometer after burning a batch (learned the hard way).
- Can I freeze the cookies? Absolutely. I freeze the baked cookies in a zip-top bag, or freeze the dough balls and bake from frozen (just add 2 minutes to baking time).
- Is it okay to eat the dough? Technically, no, because of raw eggs and flour. Realistically, well… let’s just say I’ve never gotten sick, but do what feels best for you!
And that’s it—Apple Butter Snickerdoodles, the way I make them at home, with all the little quirks and shortcuts I’ve picked up. If you ever want to swap stories about cookie mishaps (or have a killer apple butter recommendation), drop me a line! Happy baking, and don’t be afraid to improvise a little—it’s just cookies, after all.
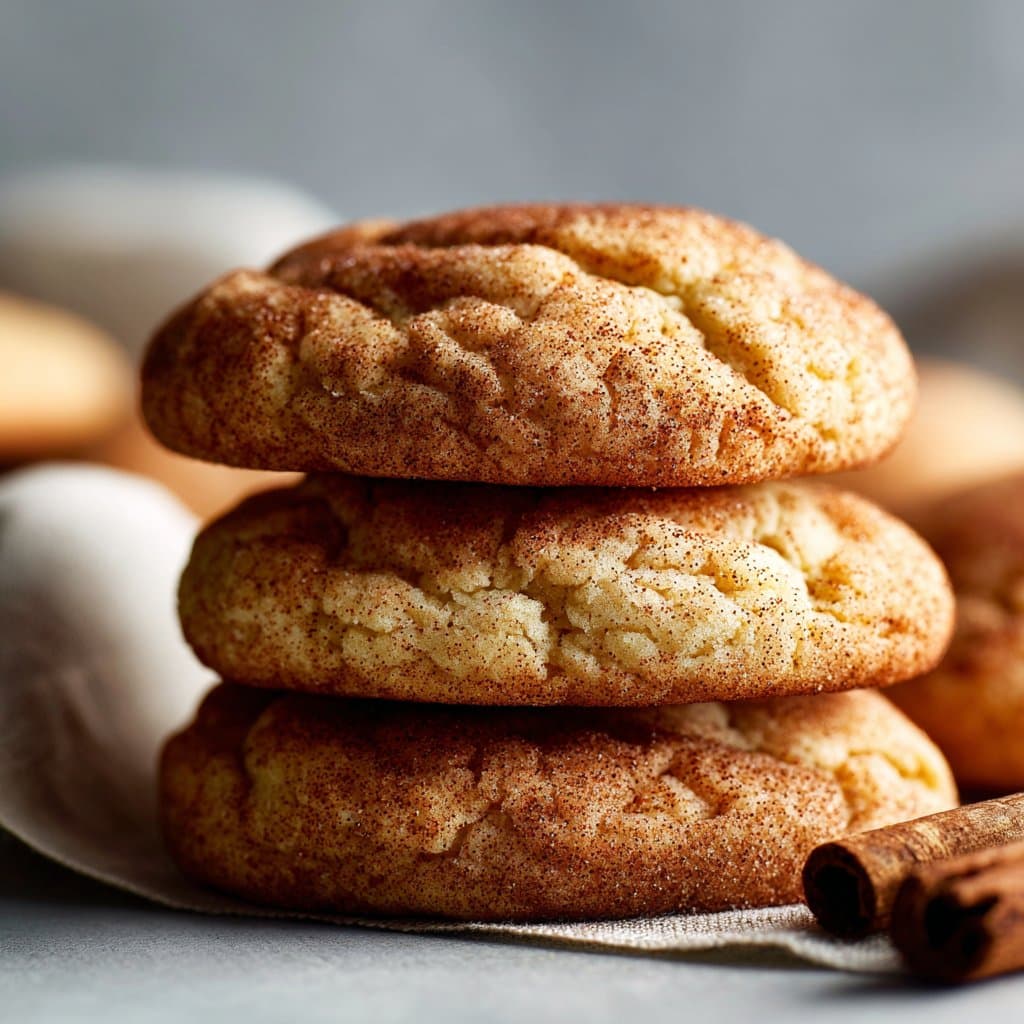
Ingredients
- 2 3/4 cups all-purpose flour
- 1 teaspoon baking soda
- 1/2 teaspoon cream of tartar
- 1/2 teaspoon salt
- 1 teaspoon ground cinnamon
- 1 cup unsalted butter, softened
- 1 cup granulated sugar
- 1/2 cup packed light brown sugar
- 1/2 cup apple butter
- 1 large egg
- 1 teaspoon vanilla extract
- 1/4 cup granulated sugar (for rolling)
- 1 tablespoon ground cinnamon (for rolling)
Instructions
-
1Preheat oven to 350°F (175°C). Line two baking sheets with parchment paper.
-
2In a medium bowl, whisk together flour, baking soda, cream of tartar, salt, and ground cinnamon.
-
3In a large bowl, cream together the softened butter, granulated sugar, and brown sugar until light and fluffy. Beat in the apple butter, egg, and vanilla extract until well combined.
-
4Gradually add the dry ingredients to the wet ingredients, mixing until just combined.
-
5In a small bowl, mix 1/4 cup granulated sugar with 1 tablespoon ground cinnamon. Scoop tablespoon-sized portions of dough and roll into balls, then coat each ball in the cinnamon sugar mixture.
-
6Place dough balls on prepared baking sheets about 2 inches apart. Bake for 10-12 minutes, or until edges are set and centers look slightly underbaked. Cool on baking sheets for 5 minutes before transferring to a wire rack.
Approximate Information for One Serving
Nutrition Disclaimers
Number of total servings shown is approximate. Actual number of servings will depend on your preferred portion sizes.
Nutritional values shown are general guidelines and reflect information for 1 serving using the ingredients listed, not including any optional ingredients. Actual macros may vary slightly depending on specific brands and types of ingredients used.
To determine the weight of one serving, prepare the recipe as instructed. Weigh the finished recipe, then divide the weight of the finished recipe (not including the weight of the container the food is in) by the desired number of servings. Result will be the weight of one serving.
Did you make this recipe?
Please consider Pinning it!!




