So, Here’s the Story Behind These Cheesecake Cones
You know those days when you just want something a little extra? Not fancy, just fun. Well, Banana Pudding Cheesecake Cones with Nilla Crunch are basically my answer to that. First time I made ’em, I was trying to impress my niece, who is—let’s be honest—a tough crowd when it comes to desserts (she once declared my brownies were “kinda boring,” which, ouch). Anyway, these cones were an instant hit. There’s just something about the combo of creamy cheesecake, banana pudding vibes, and that crunchy Nilla bit that makes everyone lose their minds a little. Also, you eat it out of a cone, so it feels like an ice cream truck treat, and who doesn’t want that?
Why You’ll Love This Banana Pudding Cheesecake Cone Thing
Honestly, I make this whenever I don’t want to deal with another trifle bowl or haul out a whole cheesecake pan (those springform thingies are always hiding when you actually need them, am I right?). My family goes absolutely bonkers for these cones—there’s usually a minor squabble over who gets the last one. Oh, and if you’re like me and hate waiting for things to chill for ages, this is your jam. I mean, there is some chilling, but not the overnight misery. Plus, if your bananas are just about to go brown and you can’t face another loaf of banana bread, this is the move. The only real downside? The cones sometimes crack if you overstuff them, and then you have to eat the ugly ones. Tragic.
What You’ll Need (and a Few Options)
- 6 waffle cones (I’ve tried sugar cones, but honestly, they always seem to crumble. Waffle cones hold up best. My grandmother swore by those big cake cones, but I never liked the taste.)
- 1 cup heavy whipping cream (or, er, Cool Whip if you’re in a pinch—don’t judge)
- 8 oz cream cheese, softened (the Philly brand is classic, but store brand works too, especially when your wallet is thin)
- 1/4 cup powdered sugar (sometimes I just toss in a spoonful and taste as I go—living on the edge)
- 1 small box instant banana pudding mix (3.4 oz, or swap for vanilla if you’re out—it’s all good)
- 1 cup cold milk (whole is best, but I’ve used 2% and nobody noticed)
- 2 ripe bananas, sliced (I go for the ones with leopard spots—way sweeter)
- 1 cup Nilla wafers, crushed (store-brand vanilla cookies are fine; one time I even used graham crackers and it was…different)
- Optional: caramel sauce or chocolate drizzle (my cousin says it’s “extra,” but I like it)
How to Make These Cones (Don’t Stress)
- Start with the cones. If you want that fancy chocolate-dipped look, melt a handful of chocolate chips and dip the edges of your cones, then roll them in some of the crushed cookies. Set those aside—honestly, I skip this most days because I’m impatient.
- Whip the cream. Grab a bowl and beat the heavy cream until stiff peaks form. I usually check by lifting the beater and seeing if it stands up—sometimes it flops, and I just keep going. (Or you can, y’know, buy whipped topping and skip this. No judgment from me.)
- Make the cheesecake base. In a separate bowl, beat the cream cheese and powdered sugar together. This is where I usually sneak a taste. It should be smooth, but if it looks a little lumpy at this stage, don’t panic. It’ll work out in the end. Add in the pudding mix and milk, then beat again until it thickens up a bit—it’ll look sort of like soft serve.
- Fold in the whipped cream. Try not to overmix here, just gently combine until it’s all blended. Add in about half of your crushed cookies for some texture. I once forgot this step and, honestly, it tasted fine but less crunchy.
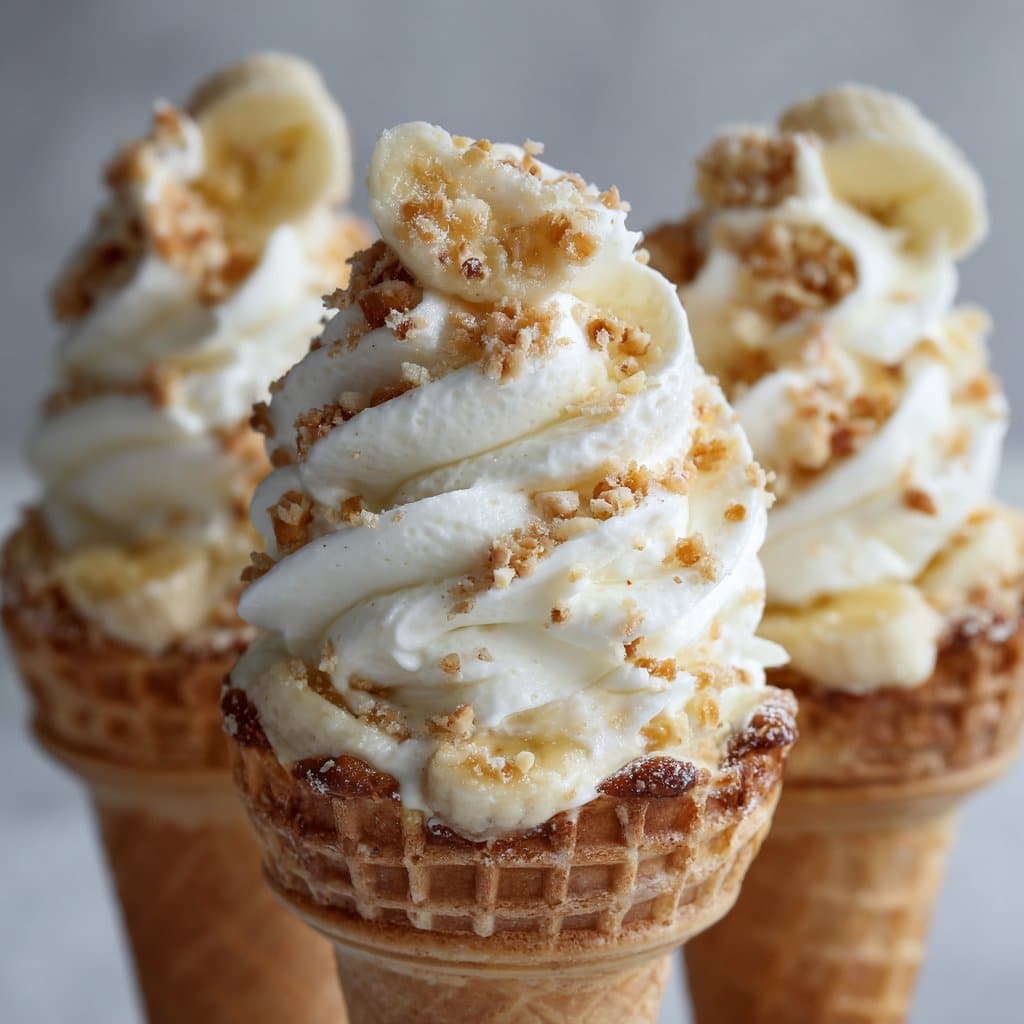
- Stuff the cones. Layer the cheesecake filling, a few banana slices, and more crushed cookies in each cone—kind of like making a dessert parfait, but in an ice cream cone. I use a piping bag, but a big zip-top bag with the corner cut works too. If you’re feeling fancy, drizzle a bit of caramel here and there.
- Chill for, like, 20-30 minutes. (If you can wait. My niece never can.)
- Top with more cookies and maybe a banana slice or two. Serve cold and maybe with a stack of napkins, because these can get a little (okay, a lot) messy.
Some Notes from the Banana Pudding Cone Trenches
- If you prep this too far in advance, the cones get a bit soggy, which is kind of sad. But actually, I think the flavor is even better after a night in the fridge, so it’s a trade-off.
- I once tried using fresh whipped cream instead of cream cheese. Wouldn’t recommend it unless you really love things that taste like air.
- The crushed cookies on top are non-negotiable in my house, but I guess you could skip them if you’re suddenly on a health kick.
- Yeah, the filling is pretty sweet. If you’re not into that, cut the powdered sugar back a bit. Or not. Live a little.
Variations I’ve Tried (and a Mishap or Two)
- Substitute the banana pudding with chocolate pudding—turns out, it’s rich but delicious.
- Once I tried making this with gluten-free cones and cookies. Taste was fine, but the cones got soggier even quicker. Heads up if you’re going that way.
- Peanut butter chips? Actually pretty nice as a topping.
- That time I tried mini cones for a party—cute idea, but honestly, more fiddly than it’s worth and the ratio was all off.
Equipment Stuff (But Don’t Stress If You’re Missing Something)
- Hand mixer or stand mixer (but I’ve absolutely done it with a big whisk and some elbow grease. Takes longer, but hey, free workout.)
- Mixing bowls—just use whatever bowls you have. I once used a salad bowl because all my others were in the dishwasher.
- Piping bag or a big zip-top bag. If all else fails, just spoon it in. It won’t be as Instagram-worthy, but it’ll eat just fine.
How to Store Banana Pudding Cheesecake Cones (If Any Are Left)
Technically, you can store these in the fridge for about a day or so—just wrap them up or stick them in an airtight container. But honestly, in my house it never lasts more than a day because someone sneaks back for seconds. If you want to get ahead, you can prep the cheesecake filling and keep it in the fridge, then assemble the cones right before serving so they stay nice and crispy.
How I Love to Serve These
I usually plop these cones in a tall glass to hand out—makes it look kinda professional and keeps ’em upright. When my friends come over, I let everyone decorate their own with extra caramel or chocolate sauce and more cookies. One time, we even set up a little topping bar with sprinkles, which was… probably overkill, but fun!
Things I’ve Learned (Sometimes the Hard Way)
- Don’t try to rush chilling the filling—one time I thought the freezer would speed things up, but ended up with a weird icy texture. Lesson learned.
- Stuffing the cones too early means sad, soggy cones. Learned that the hard way at a picnic. Now I bring everything in containers and assemble on the spot.
- If you’re using bananas that are too underripe, they taste bland. Wait for the ones with a few brown spots.
FAQ—The Questions I Actually Get
- Can I make these ahead?
Sort of. I’d keep the filling and crushed cookies separate from the cones until right before serving. Otherwise, things get mushy fast. - Do I have to use cream cheese?
I mean, it’s the best for the cheesecake bit, but you could swap in mascarpone or even ricotta in a pinch. Texture’s a little different, but not bad. - Any good banana pudding brands you love?
Honestly, the Jell-O brand is solid, but if you’re curious, check out Serious Eats Banana Pudding Guide for more options. And if you’re really feeling wild, make your own pudding (props to you!). - What if I don’t have Nilla wafers?
Use graham crackers, shortbread cookies, or even those Biscoff cookies (they’re weirdly good in this). Not traditional, but hey, it works. - Is there a way to make this vegan?
Yes, but you’ll need vegan cream cheese, coconut whipped cream, and a plant-based pudding. Haven’t tried it myself, but Minimalist Baker has some ideas if you’re curious. - How do I keep cones from getting soggy?
Just fill right before serving. Or eat fast. (Not usually a problem at my place!)
Oh, one last thing—I once tried eating one of these cones while walking the dog. Not recommended. Cones are for sitting and savoring, preferably with your feet up. If you give these a go, let me know how it turns out—I’m always up for swapping dessert tales!
Ingredients
- 6 waffle cones
- 8 oz cream cheese, softened
- 1 cup cold heavy cream
- 1 cup banana pudding (prepared or instant mix)
- 1/2 cup powdered sugar
- 1 teaspoon vanilla extract
- 2 medium ripe bananas, sliced
- 1 cup Nilla wafers, crushed
- Whipped cream, for topping (optional)
Instructions
-
1In a large mixing bowl, beat the softened cream cheese until smooth. Add powdered sugar and vanilla extract, and mix until well combined.
-
2Gradually add heavy cream and continue beating until the mixture is light and fluffy.
-
3Fold in the prepared banana pudding until fully incorporated, then gently fold in the banana slices.
-
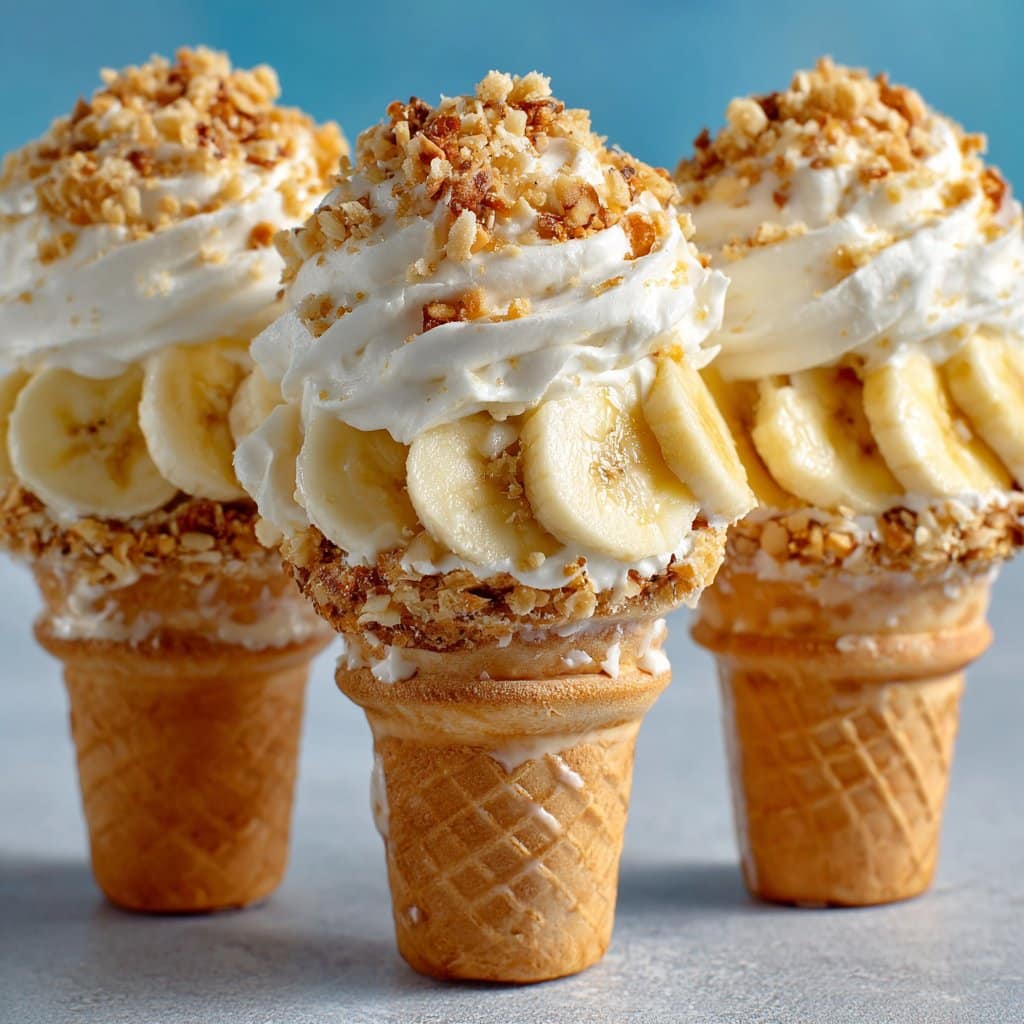
4Spoon or pipe the banana pudding cheesecake mixture into each waffle cone, filling them generously.
-
5Top each cone with a generous sprinkle of crushed Nilla wafers and a dollop of whipped cream, if desired. Serve immediately.
Approximate Information for One Serving
Nutrition Disclaimers
Number of total servings shown is approximate. Actual number of servings will depend on your preferred portion sizes.
Nutritional values shown are general guidelines and reflect information for 1 serving using the ingredients listed, not including any optional ingredients. Actual macros may vary slightly depending on specific brands and types of ingredients used.
To determine the weight of one serving, prepare the recipe as instructed. Weigh the finished recipe, then divide the weight of the finished recipe (not including the weight of the container the food is in) by the desired number of servings. Result will be the weight of one serving.
Did you make this recipe?
Please consider Pinning it!!




