Banana Pudding Cheesecake Squares—Just Like Mom’s, But Honestly Maybe a Bit Messier
Okay, look—I’m not gonna pretend I always have my act together in the kitchen. Last week I dropped an egg straight on the cat (she’s fine, just a bit peckish after) and my partner still brings up the time I forgot to buy cream cheese on ‘cheesecake squares night’ (which, yes, is an official holiday in our home now). Why do I keep making these banana pudding cheesecake squares? Well, mostly to relive those family barbecues where my aunt would show up with a dessert that magically melded pudding, cookies, cheesecake, and, honestly, probably childlike wonder. Also, my neighbors expect them now. One morning I even had a random kid wave across the fence and yell, ‘Any more of that banana cheese thing?’ Flattery works, what can I say?
Why You’ll Love Making This (Even If You’re a Hot Mess Like Me)
I make these squares when I want the nostalgia of old-school banana pudding, but with a ‘look I made this fancy thing’ cheesecake vibe. The kids lose it (they’ve started calling dibs on corners, which, by the way, always disappear first). Also? Cheesecake can be a pain—too many cracks, water baths, whatever—but these cheat a bit and somehow always taste good, even the batch where I forgot the sugar (don’t skip it). If you’re not a baker, trust me, I get distracted mid-recipe constantly, and it’s still come together every time. Maybe not always pretty, but pretty delicious.
The Stuff You’ll Need (Improvise as Needed!)
- For the base: about 2 cups vanilla wafer cookies (I smash ’em in a bag—sometimes graham crackers in a pinch, and my gran swears by Nilla but honestly the store-brand ones totally work)
- 1/2 cup melted unsalted butter (more or less—a recipe is just a suggestion, right?)
- 2 ripe bananas (try not to eat ’em first—I always want to snack on one right there; if yours are too brown, it’s actually better!)
- 16 oz cream cheese (full-fat is risky for my jeans, but worth it; sometimes swap half with Neufchâtel if I’m feeling virtuous)
- 3/4 cup granulated sugar (I once did 1/2 cup brown sugar and it was surprisingly good, just a little crazy-sweet)
- 2 eggs (farm eggs are extra yellow, but whatever’s in the back of your fridge is fine)
- 1/4 cup sour cream (yogurt works in a pinch, or just leave it out—I forget it half the time, honestly)
- 1 packet instant banana pudding mix (the secret weapon; if you can’t find banana, vanilla actually works—but it’s less, you know, banana-y)
- 3/4 cup cold milk (whole or 2% is best, but hey, I’ve used almond milk and survived)
- A generous handful of whipped cream for topping (from a spray can is fine—no judgment here)
- Optional: more banana slices and cookie crumbles for that ‘look at me’ finish
How to Pull Off These Cheesecake Squares (You Got This)
- First things first: Preheat your oven to 325F (165C) and line an 8×8 inch pan with parchment. You could grease it, but parchment means less scraping later. Some people fuss about getting it flat but, eh, perfection’s overrated.
- Get your cookies crushed for the base. I whack ’em right in a zip-top bag with a rolling pin or, once, a wine bottle (don’t judge). Mix the crumbs with melted butter and smush them into your pan. Try to get it kind of even, but it’s okay if it looks patchy—honestly, it always looks weird here. Bake for 10 minutes, just to firm it up. Let it cool while you mess with the filling.
- Meanwhile: Blend cream cheese and sugar together till smoothish. I use a hand mixer, but if you’re hardcore, a whisk and elbow grease works. Add in the eggs, one at a time. Don’t panic if it gets streaky. Slip in the sour cream and mashed bananas (I mash them right on a cutting board with a fork; no fancy tools needed).
- Pour that glorious banana-cheesy mix onto your cooled cookie base.
- Stir up your instant banana pudding mix with the cold milk (I use a whisk; once tried a fork—never again) and let it set up for a minute so it’s thick-ish. Dollop it over your cheesecake layer. I like to swirl it in just a bit, but on second thought, sometimes just spreading it works fine too.
- Bake for 30-38 minutes, or until the center is barely set and the edges look puffy. Trust your gut—if it jiggles just a tad in the middle, it’s perfect. Overbaking = sadness (I’ve done it, it’s still edible but more rubbery. You’ve been warned).
- Now comes patience: Let it cool to room temp, then shove it in the fridge for at least 4 hours (overnight is even better; I think it tastes best the next day, somehow richer). This is the bit where I sometimes give up and eat it warm with a spoon—it’s a whole different vibe, but not terrible if you really can’t wait.
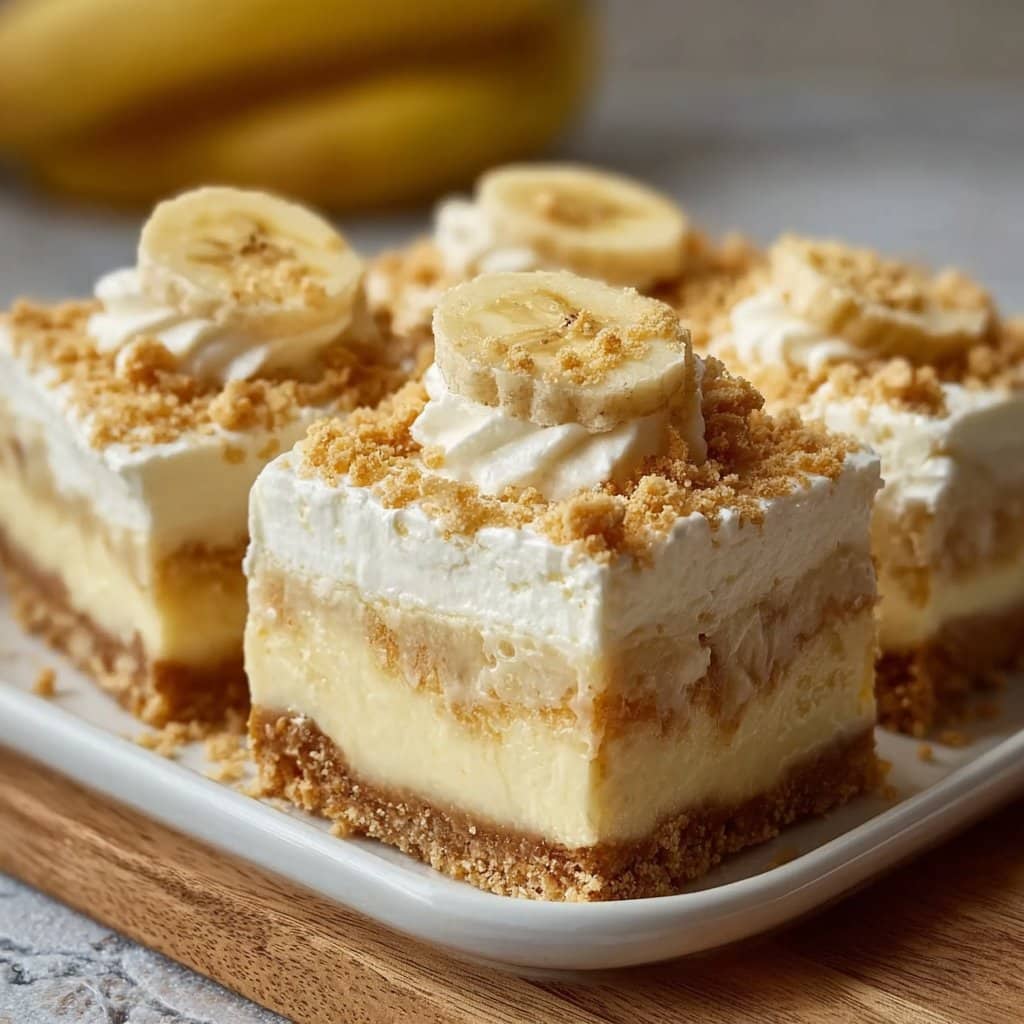
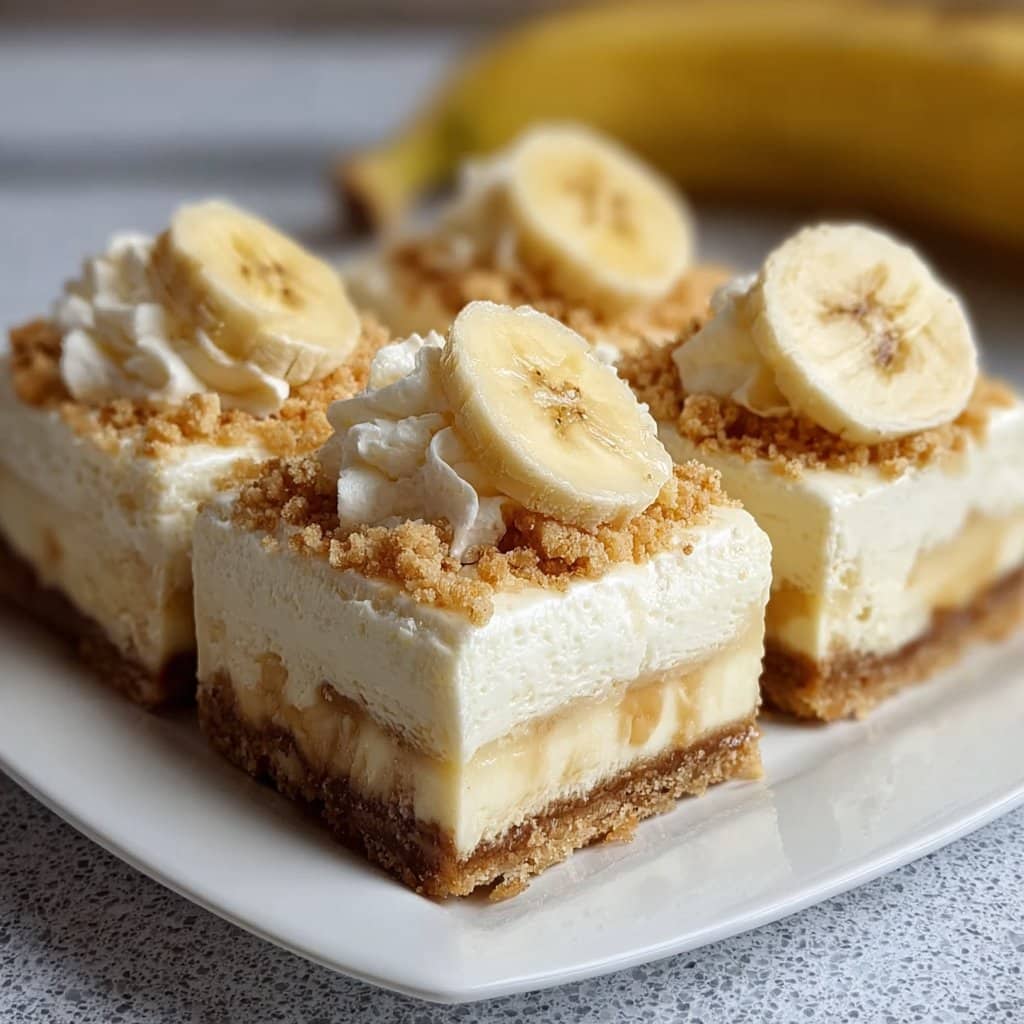
- Once it’s chilled, slather whipped cream and scatter extra banana slices or cookies on top. Slice into squares (I aim for 9, but who’s really counting?).
Little Things I Learned (the ‘Don’t Do What I Did’ Section)
- Let the pan cool before adding filling—I once rushed and the crust kind of melted into a puddle.
- Don’t skip chilling time, even if you’re tempted. Otherwise, you’ll end up with a gooey mess. It’s not the worst, but not the clean-cut squares you wanted either.
- Bananas too green? Pop ’em in a baking tray and roast in the oven at 300F for 10-15 min. You’ll thank me later.
If You’re Feeling Adventurous—So, Variations:
- I swapped cookies for Biscoff ones once. Wildly good—more caramel-y.
- Tried with low-fat cream cheese, but eh, texture got weird. Wouldn’t recommend, frankly.
- A friend added peanut butter to the base—now that was genius. Sweet and salty, like a party in your mouth.
Equipment: Don’t Stress the Small Stuff
- I do use a hand mixer, but if you’re bowl-strong, a wooden spoon works (just more of a Sunday arm workout)
- No 8×8 pan? Go with whatever’s close (just adjust baking time a smidge—thinner means quicker!)
- Parchment is handy, but foil plus cooking spray will do in a pinch
Storing These Beauts (But Will You Even Have Leftovers?)
Technically, airtight in the fridge gets you 3 days easy; cover with foil or just eat the whole tray before breakfast like certain unnamed household members here (in all honesty, ours have rarely survived to day two). Freezing? I’ve done it. Wrap tight, thaw in the fridge overnight—it’s a bit denser, but still tasty.
How I Like to Serve Banana Pudding Cheesecake Squares
I cut them a bit too big, always. Sometimes, I plop a scoop of vanilla ice cream alongside for a summer treat, or just full-on breakfast with coffee. On birthdays, I let the kids go wild with sprinkles, which probably ruins the flavor balance but makes them laugh. Honestly, room temp is best, but straight from the fridge on a hot day? Unreal.
Pitfalls I’ve Fallen Into (Pro Tips Learned the Hard Way)
- I once tried to shortcut the chill time with the freezer: huge mistake, got icy bits in the middle. Just, don’t be me here.
- If you overbake slightly, all hope isn’t lost—just serve with extra whipped cream and call it rustic.
- Ripe bananas make all the difference. Unripe ones taste kind of blah, honestly.
FAQ—Answering Your (Real-Life, Sometimes Odd) Questions
- What if I can’t find banana pudding mix? No biggie—vanilla works. Or grab some online (I usually snag mine here), but don’t bother with the cook-&-serve one—it’s not quite the same vibe.
- Can I make this ahead? Oh totally—I actually like it better on day two. Gives the flavors time to get cozy.
- Do I absolutely need a mixer? Nah! Strong arms and some patience work. But, a cheap hand mixer like these ones save time—worth the splurge if you bake semi-regularly.
- Will these get soggy? Eventually, yeah, especially if you go nuts on the whipped cream and bananas on top. Just keep the toppings off until you serve if you want them crisp.
- Can I make it gluten-free? Sure thing—swap in GF vanilla wafers (my mate swears by these). Everything else is naturally GF, so you’re golden.
Anyway, if you’ve made it to the end of this ramble—and your kitchen isn’t a disaster yet—kudos! Shoot me a message if you come up with a killer twist. Or if you find a way to keep these from vanishing overnight around your place. Still looking for that trick, honestly.
Happy baking and don’t forget to check if that cat’s lurking underfoot!
Ingredients
- 2 cups vanilla wafer cookies, finely crushed
- 1/3 cup unsalted butter, melted
- 16 oz cream cheese, softened
- 2/3 cup granulated sugar
- 2 large eggs
- 2 medium ripe bananas, mashed
- 1 (3.4 oz) package instant banana pudding mix
- 1 cup cold milk
- 1 cup whipped topping
Instructions
-
1Preheat oven to 325°F (163°C). Line a 9×9-inch baking dish with parchment paper.
-
2Mix crushed vanilla wafer cookies and melted butter until combined. Press evenly into the bottom of the prepared baking dish to form the crust.
-
3In a large bowl, beat cream cheese and sugar until smooth. Add eggs, one at a time, mixing well after each addition.
-
4Stir in mashed bananas, then spread the cream cheese mixture evenly over the crust.
-
5In another bowl, whisk together banana pudding mix and cold milk for 2 minutes. Let it sit to thicken, then gently spread over cheesecake layer.
-
6Bake for 40 minutes or until the center is set. Cool completely, then refrigerate for at least 2 hours. Top with whipped topping before slicing into squares and serving.
Approximate Information for One Serving
Nutrition Disclaimers
Number of total servings shown is approximate. Actual number of servings will depend on your preferred portion sizes.
Nutritional values shown are general guidelines and reflect information for 1 serving using the ingredients listed, not including any optional ingredients. Actual macros may vary slightly depending on specific brands and types of ingredients used.
To determine the weight of one serving, prepare the recipe as instructed. Weigh the finished recipe, then divide the weight of the finished recipe (not including the weight of the container the food is in) by the desired number of servings. Result will be the weight of one serving.
Did you make this recipe?
Please consider Pinning it!!