The Story Behind My Best Christmas Stuffed Mushrooms
I swear, these stuffed mushrooms have become almost as important as the tree at my family Christmas. If my brother walks in and doesn’t see a platter of these on the table, he gives me a look like I’ve thrown tinsel in the punch. I started making them years ago as a desperate, last-minute appetizer (forgot to buy crackers, classic move), and they’ve stuck around ever since. Honestly, sometimes I wonder if my family is more excited about these mushrooms than the actual Christmas dinner – which, considering my gravy mishap of 2018, makes sense.
Why You’ll Love This Recipe (and Why I Keep Making It)
I pull these out every Christmas because they’re easy, but folks think I spent hours on them. They disappear fast — even my nephew who claims to hate mushrooms will stuff his face when nobody’s looking. And hey, sometimes I just make them for myself with a movie (no judgment, right?). Oh, and the best part: I used to get so frustrated with the filling spilling out, but I learned to just pile it a bit higher and realize “rustic” is a culinary style. If you can shove it in your mouth with one hand while holding a glass of fizz in the other, it’s a winner in my book.
What You’ll Need (Plus Some Swaps—Because Life Happens)
- 20-24 cremini or button mushrooms, wiped clean (Portobellos work too if you’re feeding big eaters!)
- 3 tablespoons olive oil (or yeah, you can get away with melted butter if that’s in the fridge)
- 1 small onion, finely chopped — I sometimes just go for a shallot if I have half knocking about
- 3 cloves garlic, minced — okay, maybe 4 if it’s been that kind of week
- 1/2 cup breadcrumbs (use panko if you like extra crunch; my gran liked the soft kind, use whatever’s handy)
- 1/3 cup grated Parmesan (pecorino is lush, but whatever hard cheese you have works fairly well)
- 3 oz cream cheese (but feta once made a pretty fun twist, I’m not gonna lie)
- 2 tablespoons chopped fresh parsley (dried’s fine in a pinch, just half the amount)
- 1/4 cup chopped walnuts or pecans (skip if you’re nut-free or swap in sunflower seeds… I’ve even used crushed pretzels once!)
- Salt and black pepper to taste (you do you)
- Optional: pinch of red pepper flakes, squeeze of lemon juice, or a handful of chopped cooked bacon (just because, why not?)
How To Actually Make These Mushrooms (With Zero Holiday Panic)
- Preheat your oven to 375°F (190°C), or whatever your dodgy oven claims is 375. Grease or line a baking tray.
- Pop the stems off the mushrooms. I just kind of twist and wiggle; don’t stress if some break, you’ll chop them anyway. Save the caps and finely chop those stems.
- Toss the caps with about 1 tablespoon of the oil and a little salt and pepper. Set them cap-side-down on your tray while you prep the filling.
- Heat the rest of the oil in a skillet (not a fancy one, just don’t use nonstick if you’re going for a good sear). Add onion and chopped stems. Cook, stirring, until soft and things start smelling pretty good, about 4-5 minutes. Throw in the garlic for the last minute. This is when I usually sneak a spoon of the mix.
- Remove from heat. Stir in the breadcrumbs, nuts, parsley (or, okay, dried herbs if you’re working with the “holiday cupboard”), and cheese. Then kind of smash in the cream cheese so it’s all creamy and holding together. Season it up! Add bacon now if you feel like causing mischief.
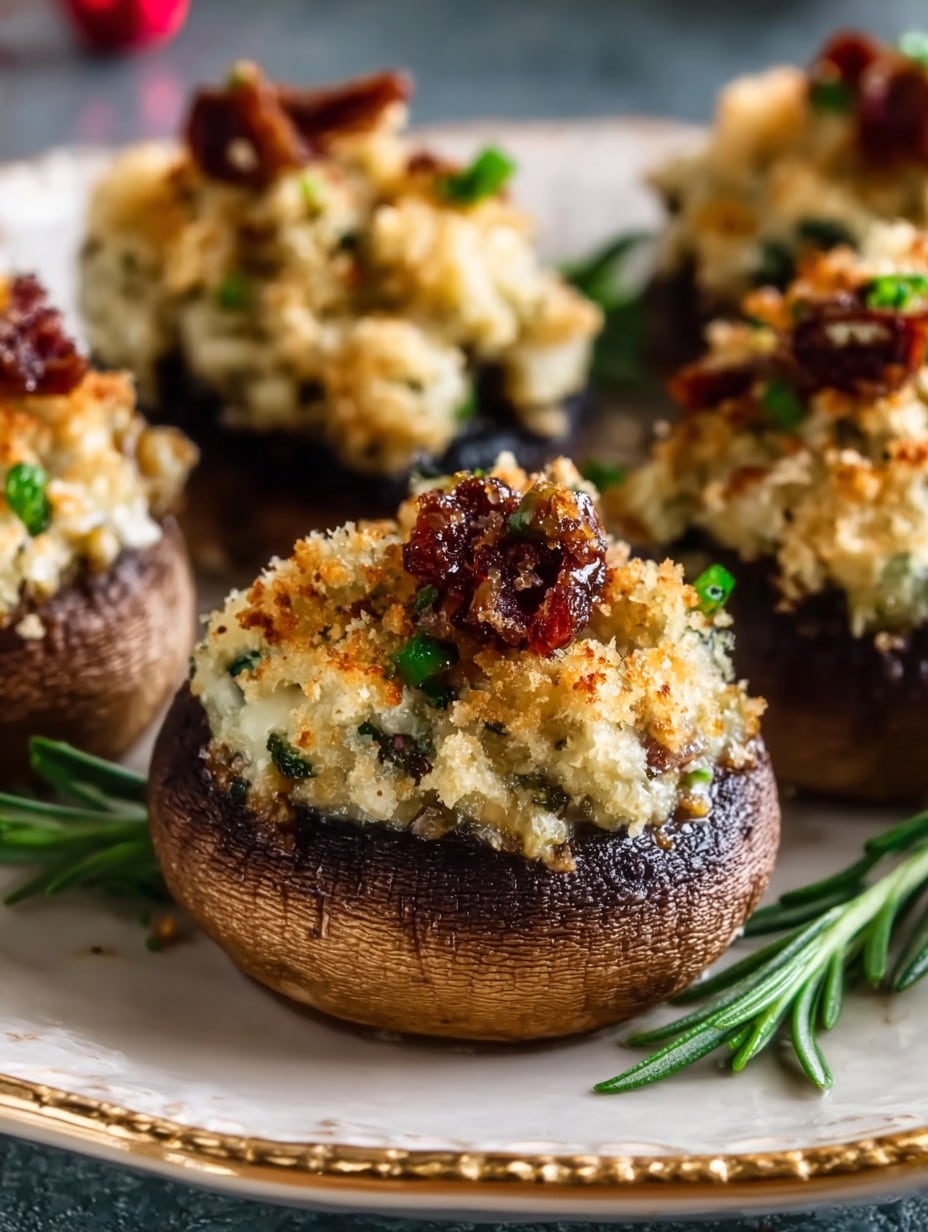
- Spoon the filling (generously, it’s Christmas after all) into each mushroom cap. Don’t overthink it — some of mine look like tiny volcanoes.
- Bake for about 20-23 minutes until the tops look golden and the mushrooms are soft but not collapsed. If they look a bit pale, whack the broiler on for a minute or two – but keep an eye out, I once burned a whole batch this way because I got distracted watching Christmas films.
- Let them cool for a few mins. Honestly, they’ll burn your tongue right off if you try straight from the oven, ask me how I know…
Notes from My (Often Flawed) Kitchen
- Once I tried skipping the nuts, and honestly, it was still fine – maybe a bit less “fancy,” but nobody complained except my foodie aunt.
- Don’t fuss over perfectly hollowing mushrooms. If you accidentally punch a hole through the cap, patch it with a bit more filling. Problem solved.
- The mix can be made a day ahead and stuffed at the last minute. Actually, I find it works better if the flavors meld overnight.
- Sometimes I run out of cream cheese and just chuck in a dollop of ricotta or even Greek yogurt; doesn’t hurt a bit.
Variations I’ve Tried (Some Better Than Others)
- Sausage-stuffed: Added crumbled cooked sausage. Decadent, but you can’t sneak a taste and claim it’s still vegetarian. Just a heads up.
- Vegan swap: Used plant-based cream cheese and skipped the Parm for nutritional yeast. Surprisingly tasty – but didn’t wow my cheese-loving uncle.
- Don’t try stuffing with only blue cheese and breadcrumbs. It… was not festive.
Tools You’ll Want (But Improv Works Too)
- Decent baking tray (mine’s warped from last year but whatever)
- A skillet or frying pan. No skillet? You could use a saucepan, just stir well
- A small spoon or your fingers (I see you, fellow home cooks)
No food processor needed. But if you have one, it does save time on the stem chopping step.
How To Store ‘Em (If They Last That Long…)
Pop any extras in an airtight container in the fridge. They’ll keep for about 2 days; though honestly, in my house, they never last more than a day! I think it’s best to reheat in the oven for about 8 minutes at 350°F — the microwave makes ’em a bit squidgy, but they’ll still taste alright.
How We Serve Christmas Stuffed Mushrooms at Our House
Usually straight from the tray, because who wants to plate appetizers at a family party? Sometimes we pile them onto the cheese board for maximum grazing appeal, and I like to add a side of cranberry chutney which is only partly because I made too much last year. Once or twice we’ve put a fancy platter out, but they’re honestly just as good eaten with your fingers while you’re standing by the tree, singing (okay, shouting) along to “Fairytale of New York.”
My Hard-Earned Pro Tips (aka, Mistakes I’ve Learned From)
- Don’t wash mushrooms under water or they go a bit spongy. Just brush them or wipe with a bit of damp paper towel.
- I once tried rushing the baking and pulled them out too early. Mushrooms were kind of raw in the middle — lesson learned! Patience is a virtue, even at Christmas.
- If you’re swapping ingredients, taste as you go. I sometimes forget and then, eh, there’s no fixing too-salty filling.
Stuffed Mushrooms FAQ (From Real Questions… Sometimes More Than Once!)
- Can I make these ahead of time?
Yep, stuff the mushrooms and keep them in the fridge covered. Bake them fresh when it’s go time. Or, actually, I find it works better if you bake and then reheat quickly in a hot oven right before the party. - I hate nuts, what can I use?
Honestly, you can just leave them out. Or swap with seeds. Sunflower, pumpkin, whatever you’ve got rattling around. - Can I freeze these?
Mmm, probably not the best idea. Texturally they’re a bit dodgy if frozen; but if you must, freeze before baking. And reheat from frozen at a slightly lower temp so they don’t turn into little flavorless rocks. - What if my mushrooms are gigantic?
Just say you’re making a main course! Or slice ’em up after baking as party bites. Actually, bigger ones make pretty good lunch leftovers. - Which mushrooms are best?
Cremini or button, but I’ll use whatever’s on special. Portobello works but is a meal in itself – not, you know, finger food unless you have giant hands!
Oh, and One Last Thing…
Is it weird that the first time I made these I thought “stuffed mushrooms” sounded a bit, er, posh? Turns out, they’re just delicious comfort food in a fancy coat. Don’t be scared to play around here. And if you want more Christmas nibbles to go with them, check out this dip I always come back to. Merry Christmas, happy cooking, and may your mushrooms never be soggy!
Ingredients
- 24 large white mushrooms, stems removed and cleaned
- 1/2 cup cream cheese, softened
- 1/2 cup breadcrumbs
- 1/4 cup grated Parmesan cheese
- 2 cloves garlic, minced
- 1/4 cup fresh parsley, chopped
- 1/4 teaspoon dried thyme
- 2 tablespoons olive oil
- Salt and pepper, to taste
Instructions
-
1Preheat oven to 375°F (190°C) and line a baking sheet with parchment paper.
-
2Place mushroom caps on the prepared baking sheet and brush them lightly with olive oil.
-
3In a medium bowl, combine cream cheese, breadcrumbs, Parmesan cheese, garlic, parsley, dried thyme, salt, and pepper. Mix until well blended.
-
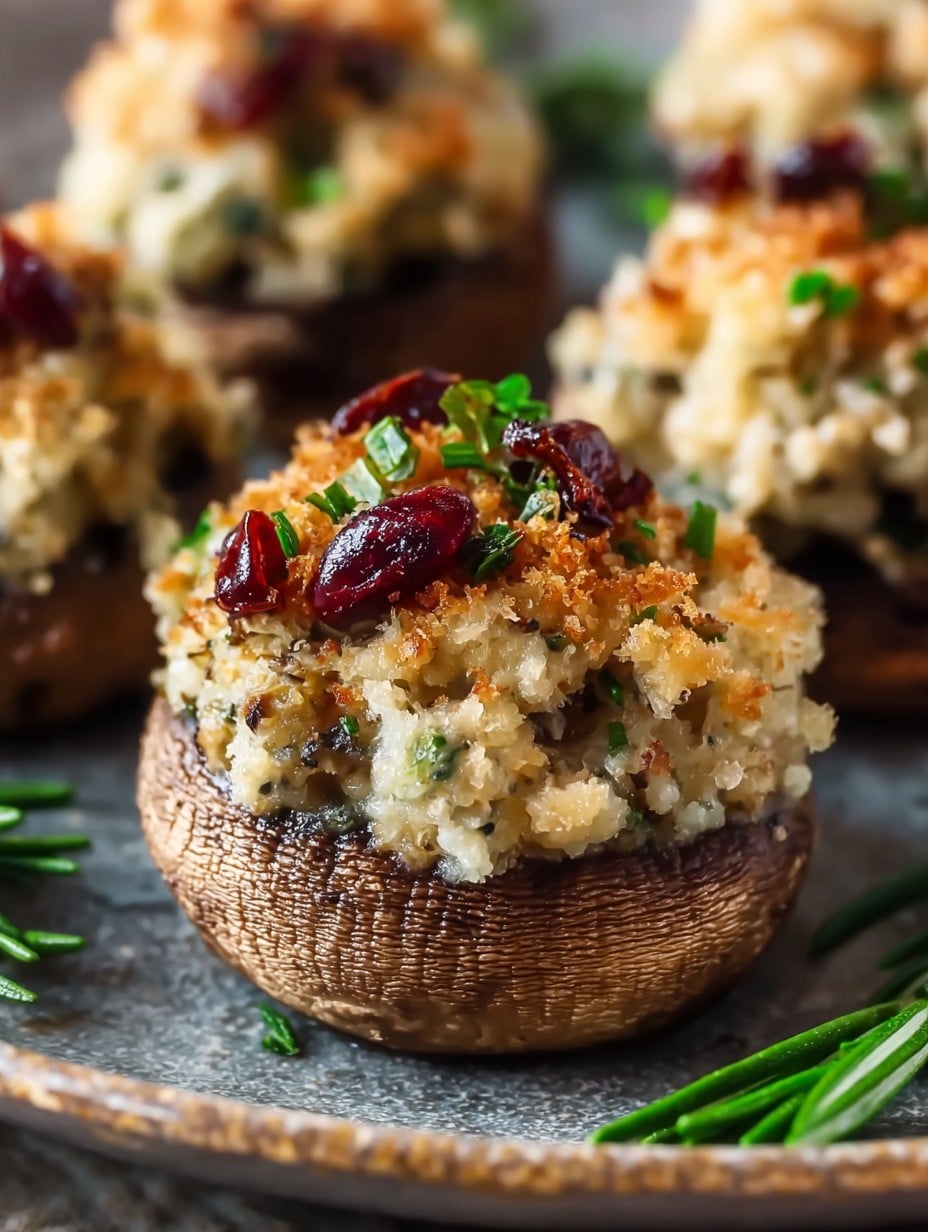
4Fill each mushroom cap with the cream cheese mixture, mounding slightly.
-
5Bake for 20–25 minutes, or until mushrooms are tender and tops are golden brown.
-
6Remove from oven, allow to cool slightly, and garnish with additional chopped parsley before serving.
Approximate Information for One Serving
Nutrition Disclaimers
Number of total servings shown is approximate. Actual number of servings will depend on your preferred portion sizes.
Nutritional values shown are general guidelines and reflect information for 1 serving using the ingredients listed, not including any optional ingredients. Actual macros may vary slightly depending on specific brands and types of ingredients used.
To determine the weight of one serving, prepare the recipe as instructed. Weigh the finished recipe, then divide the weight of the finished recipe (not including the weight of the container the food is in) by the desired number of servings. Result will be the weight of one serving.
Did you make this recipe?
Please consider Pinning it!!




