Let’s Talk Maple Cookies (And the Chaos That Comes With ’Em)
Hey there, friend! Okay, so—maple cookies. Every fall (or if I’m honest, anytime the mood takes me, which is often), I get this urge for something cozy that smells like a sugar shack morning after a rain. Maple cookies with maple icing, that’s the ticket right there. One of my earliest baking memories is making a total flour bomb mess in my mom’s tiny kitchen; powder everywhere, like a snow globe had burst. She pretended to be mad, but the smell of maple melted her heart. These cookies? Remind me of that every time. And, not gonna lie, they disappear fast in my house—my cousin Maggie once stashed some in her purse during a family dinner, like a sneaky little raccoon.
Why You’ll Want to Make These on Repeat
I make this when I need a mood boost. There’s just something about the maple smell that feels like a warm hug; kids go bonkers for them (honestly, so do the adults; I had to start doubling the batch). My partner keeps nicking them off the cooling rack before the icing sets—so, if yours don’t look perfect, you’re in good company. Oh, and icing cookies? Used to give me hives. But with this one, even the drips look artsy.
Gathering Your Ingredients (With Room for Freestyle, Promise)
- 2 cups all-purpose flour (sometimes I sneak in half whole wheat if I’m feeling ~virtuous~; can’t fool the kids though)
- 1/2 teaspoon baking soda
- 1/4 teaspoon salt (any kind, fancy flaky or the everyday stuff)
- 1/2 cup unsalted butter, soft (I’ve used salted before, just skip the other salt, and it’s fine. Or margarine in a pinch, but flavor’s a bit less dreamy)
- 1/2 cup pure maple syrup (If you don’t have grade A, no sweat—just don’t use pancake syrup; my gran would haunt me)
- 1/3 cup brown sugar (I sometimes use coconut sugar if I’m low, adds a twist)
- 1 large egg (room temp—though confession: I rarely remember this until halfway through)
- 1 tsp vanilla extract (I once ran out and used maple extract. Worked! More maple = more happy.)
- For the Maple Icing:
- 1 cup powdered sugar (measure with your heart, really)
- 2 tablespoons pure maple syrup (again, just the real stuff)
- 1-2 tablespoons milk or cream (I sometimes use almond milk)
How I Actually Make Maple Cookies (With a Few Cheats Here and There)
- Prep work (that I tend to rush): Preheat your oven to 350°F (or about 175°C). Line a baking sheet with parchment—unless you ran out, then just butter it up, it’ll be fine.
- Mixing dry stuff: Whisk flour, baking soda, and salt in one bowl. My dog always wants attention here—maybe yours will too.
- Creaming magic: In another bowl (stand mixer if you’re fancy; wooden spoon if you, like me, occasionally break appliances), beat softened butter with brown sugar. Go until fluffy, then mix in the egg, vanilla, and maple syrup. The batter will look a little wonky once the syrup goes in—don’t stress. I always think I messed up here, but nope.
- Combine: Gradually add dry ingredients, mixing until just combined. Now’s when I sneak a taste, even though I know I shouldn’t. Worth it.
- Scooping: Spoon tablespoon-sized dollops onto your sheet, a couple inches apart. Or just eyeball it, they hardly ever come out the same size in my kitchen anyway.
- Bake! 10-12 minutes; edges should be set, centers can be a tiny bit soft. Let them cool on the sheet for a minute before moving to a wire rack—unless you don’t have one, then just tilt them on a plate so air can circulate. That’s what my aunt does and it works (more or less).
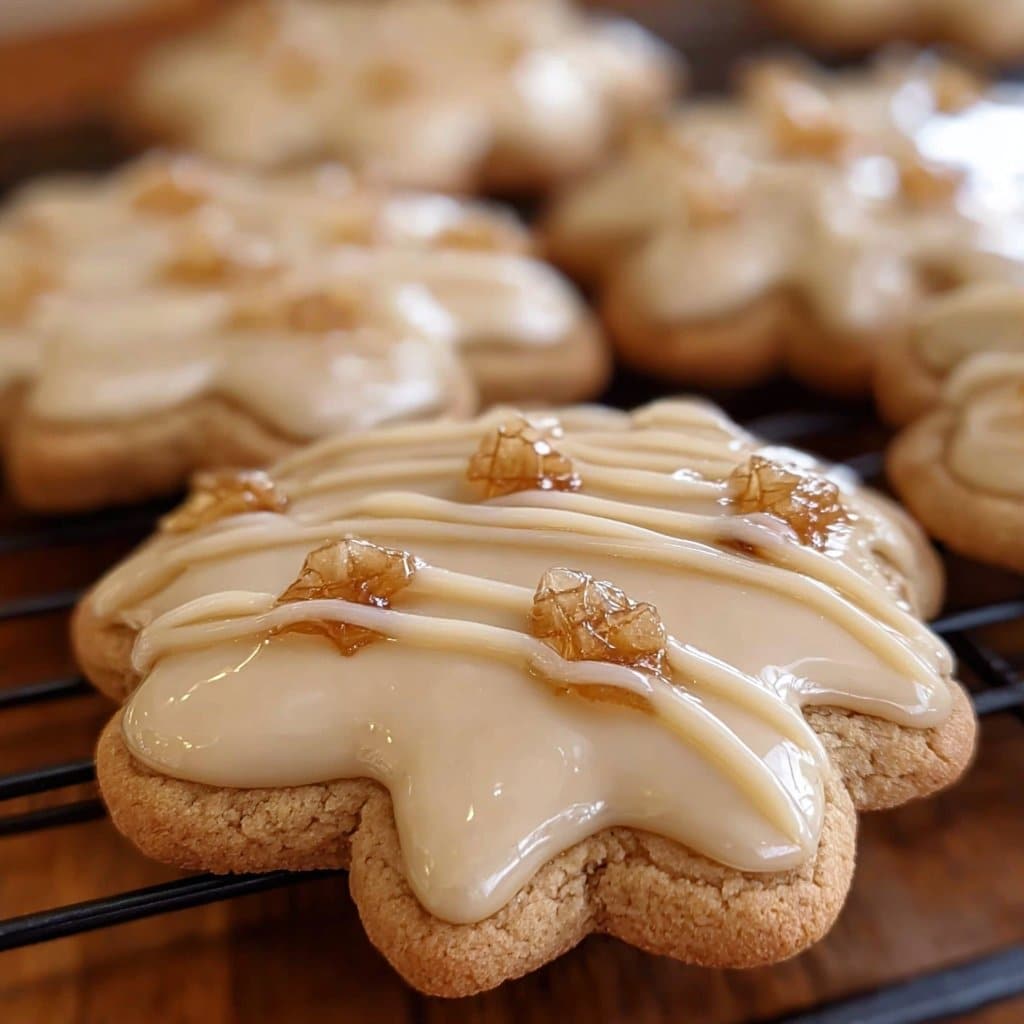
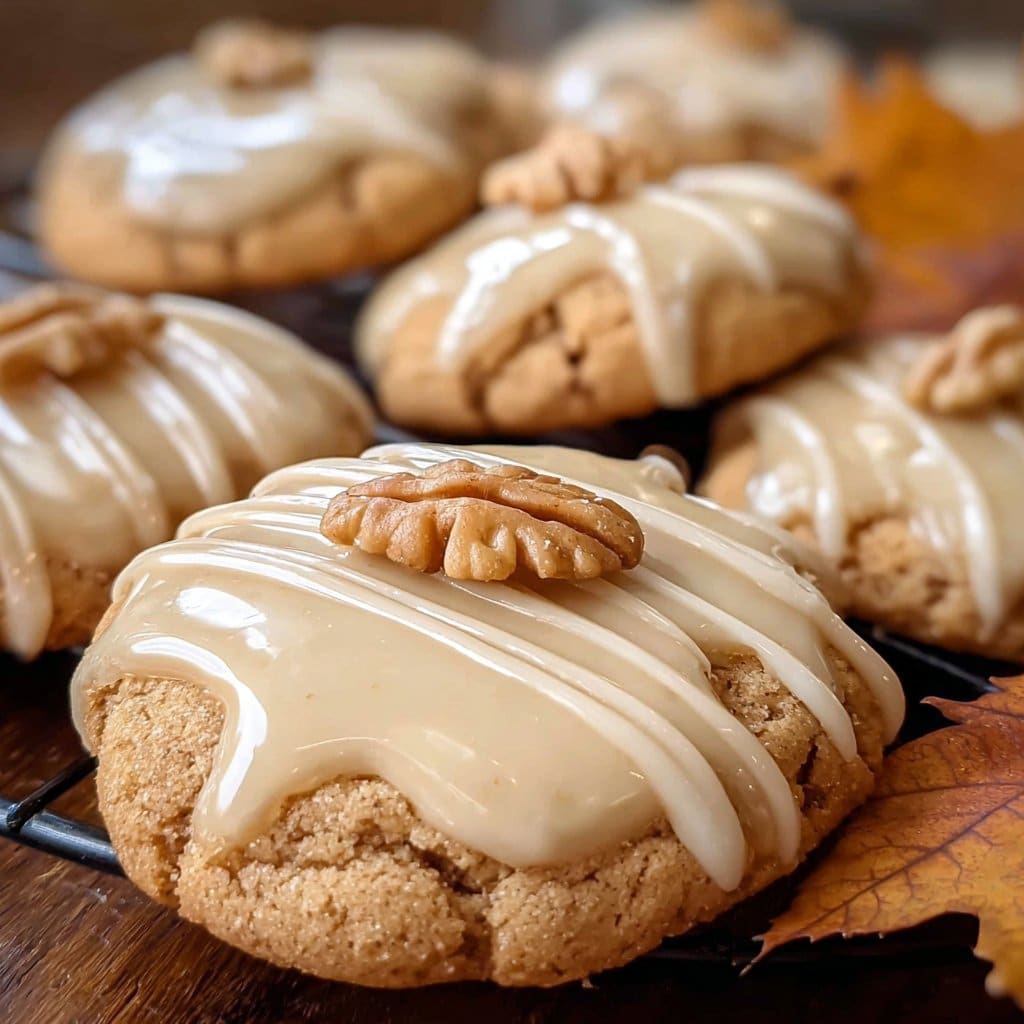
- Make the icing: Stir powdered sugar, maple syrup, and one spoon of milk/cream—add more liquid if it’s too stiff. Should dribble but not splash everywhere. Drizzle over cooled cookies with a spoon or—confession—sometimes I dip them right in for maximum coverage.
- Wait (the hard part): Let icing set. Or don’t. I rarely do. Sticky fingers, happy memories.
A Few Notes I’ve Discovered (The Hard Way)
- If the dough seems dry, just add a glug of extra maple syrup. Turns out, no one has ever complained about too much maple.
- Your butter really does need to be soft or else the creaming step is arm workout central.
- I think these get even tastier on day two. Not that they ever see day three.
Variations (a Wild Ride, Sometimes)
- I’ve tried swapping in pecans for a nutty crunch—delightful!
- A shot of espresso in the icing? Highly recommend if you like a little grown-up edge.
- One time, I used coconut flour instead of regular: texturally odd, sadly. My dog liked them, though.
- Seen folks drizzle melted dark chocolate for drama. Haven’t tried it (yet)—but maybe you will?
You Don’t Need Fancy Equipment (Scout’s Honor)
Yes, a mixer makes it easier. But more than once I’ve done this with a fork and some determination. Cooling racks are great but a big cutting board propped at an angle does the job in a pinch. Don’t have parchment paper? Just butter your tray and watch the bake time a little closer. No fuss.
Keeping ’Em Fresh (Assuming Any Survive…)
Airtight container, room temp, maybe two days. Though honestly, in my house, these never last more than a day! Sometimes I’ve stashed a few in the freezer for “emergencies” (who am I kidding—they’re gone within the week). If you actually manage to save some, I’d love to hear your secret. Oh, King Arthur Baking has a deep dive on cookie storage—very helpful, even if a bit, um, earnest.
How We Eat ‘Em (And Other Odd Rituals)
I love these alongside a mug of milky tea or piping hot coffee (seriously, do yourself a favor). My niece likes hers with vanilla ice cream sandwich-style—gotta admit, not bad. Sometimes, if it’s cold out, we just eat them huddled by the oven with the heat still on. Sundays are for brunching? Well, sometimes they’re just for cookies and pajamas.
Lessons Learned (AKA: Don’t Be Like Me)
- I once tried to skip cooling the cookies before icing—resulted in icing sliding off like a slip-n-slide. Oops.
- Rushing the creaming step leaves the cookies a bit too dense. Honestly, patience here pays off. (Not my strong suit, but I try.)
- Don’t overbake—edges set, centers soft is the happy place.
FAQs—Real (and Slightly Random) Questions I’ve Heard
- Can I use pancake syrup? Eh, technically you could, but it’s kind of like trying to turn water into wine. Gets the job done, just not as magical.
- Can you make these dairy free? Totally! Swap in vegan butter, use a milk alternative for the icing. They’re still ace—texture’s a bit different, but not in a bad way. Here’s a good vegan butter I’ve used: Earth Balance.
- How do you get the icing smooth? Whisk with a tiny splash more milk—just a smidge! And if it stubbornly stays lumpy, sieve the sugar ahead; I always forget, but it legit helps.
- Can I freeze these? Yep. Freeze without icing if you want them picture-perfect later. But honestly, icing on, icing off, they’re still good. Just let them thaw in the fridge overnight.
- Do you HAVE to use pure maple syrup? For real-deal flavor, yes. But will the world end if you substitute? Not on my watch.
And hey—if you end up improvising, or something goes sideways (like when my cat tried to ‘help’ with the dough), let me know. Sometimes, the best discoveries come form a little kitchen chaos.
Ingredients
- 2 1/2 cups all-purpose flour
- 1/2 teaspoon baking soda
- 1/2 teaspoon salt
- 3/4 cup unsalted butter, softened
- 1 cup brown sugar, packed
- 1/3 cup pure maple syrup
- 1 large egg
- 1 teaspoon vanilla extract
- 1 1/2 cups powdered sugar (for icing)
- 3 tablespoons pure maple syrup (for icing)
- 2 tablespoons milk (for icing)
Instructions
-
1Preheat oven to 350°F (175°C). Line two baking sheets with parchment paper.
-
2In a medium bowl, whisk together the flour, baking soda, and salt.
-
3In a large bowl, cream the butter and brown sugar until light and fluffy. Beat in the maple syrup, egg, and vanilla extract until well combined.
-
4Gradually add the dry ingredients to the wet ingredients, mixing until just combined. Drop rounded tablespoons of dough onto prepared baking sheets, spacing them about 2 inches apart.
-
5Bake for 10-12 minutes or until edges are lightly golden. Let cookies cool on baking sheets for 5 minutes, then transfer to a wire rack to cool completely.
-
6For the maple icing: In a small bowl, whisk together powdered sugar, maple syrup, and milk until smooth. Drizzle or spread icing over cooled cookies and let set before serving.
Approximate Information for One Serving
Nutrition Disclaimers
Number of total servings shown is approximate. Actual number of servings will depend on your preferred portion sizes.
Nutritional values shown are general guidelines and reflect information for 1 serving using the ingredients listed, not including any optional ingredients. Actual macros may vary slightly depending on specific brands and types of ingredients used.
To determine the weight of one serving, prepare the recipe as instructed. Weigh the finished recipe, then divide the weight of the finished recipe (not including the weight of the container the food is in) by the desired number of servings. Result will be the weight of one serving.
Did you make this recipe?
Please consider Pinning it!!




