Let Me Tell You About This Cake (And My Slight Obsession)
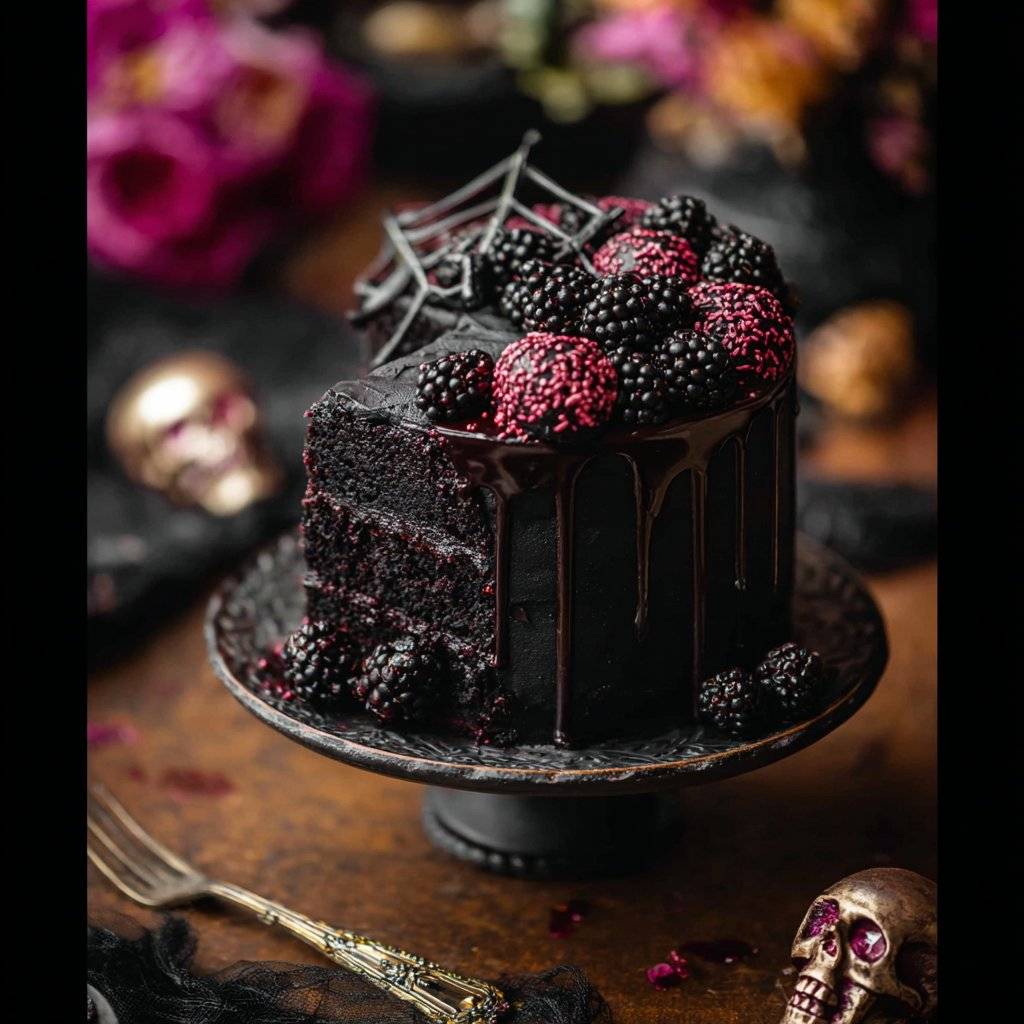
Alright, so I have to confess—I’m a sucker for anything Halloween related, especially the desserts. The first time I made this Black Velvet Halloween Cake, my kitchen looked like I’d hosted a paintball fight with cocoa powder and food coloring. My sister still brings up the rogue blob of icing we found months later. But honestly, it’s become one of those family traditions that I look forward to every October (even if it means scrubbing black frosting out of my grout—worth it, right?).
Why You’ll Love This Cake (Or At Least Why I Do)
I pull out this recipe whenever I want to impress people but don’t want to spend all day elbow-deep in batter. My family starts circling the kitchen like sharks whenever they see me grabbing the food dye, and my nephew actually asked if it was okay to have it for breakfast once (I mean, it’s practically bread, right?). Sometimes the black food coloring can be a bit of a pain, but I’ve found if you mix it in slowly, it’s not so bad. (And if you get it on your hands, just tell people you’re going as a witch for Halloween.)
What You’ll Need (Don’t Stress If You’re Missing Something)
- 2 cups all-purpose flour (I’ve swapped part for cake flour; it’s a bit lighter but not essential)
- 1 and 3/4 cups sugar (Brown sugar works in a pinch, gives it a slightly richer taste)
- 3/4 cup unsweetened cocoa powder (Dutch-process if you’ve got it, but plain old Hershey’s is fine—I’ve used both)
- 2 teaspoons baking powder
- 1 teaspoon baking soda
- 1 teaspoon salt
- 3 large eggs (Room temp, unless you forget like me half the time)
- 1/2 cup vegetable oil (Canola or melted coconut oil works too, I’ve even tried butter—didn’t hate it!)
- 1 cup buttermilk (Or just regular milk with a splash of vinegar if you don’t have buttermilk handy)
- 2 teaspoons vanilla extract (My gran swears by the real stuff, but honestly, I’ve used the cheap supermarket version and nobody noticed)
- 1 tablespoon black gel food coloring (Liquid works, but you’ll need more and the color isn’t as deep)
- 1 cup hot coffee (Decaf works, or water if you’re feeling lazy, but the coffee makes it taste richer)
How To Make It (Don’t Panic!)
- Preheat your oven to 350°F (180°C). Grease and line two 8-inch round cake pans. Or three, if you want thinner layers—up to you.
- In your biggest bowl, whisk together the flour, sugar, cocoa, baking powder, baking soda, and salt. (This is where I usually sneeze and cover the counter in cocoa. Fun!)
- Crack the eggs in, pour in the oil, buttermilk, and vanilla. Mix until it’s mostly smooth—don’t overthink it if there are a few lumps.
- Here comes the fun part: Add your black food coloring. Start with a tablespoon and work up from there. It’ll look scary at first…which is sort of the point! (Actually, it’s better to add a bit, mix, then add more if it’s not dark enough. Saves you from overdoing it and ending up with purple cake. Unless you want purple. No judgement.)
- Pour in your hot coffee and gently mix until combined. The batter will look runny—don’t freak out. That’s how it should be.
- Divide evenly between your pans (I eyeball it. Sometimes one layer’s a bit taller, no biggie.)
- Bake for 28-32 minutes, or until a toothpick comes out with just a few crumbs. Let them cool in the pans for 10 minutes (I usually get impatient here), then flip out onto a rack to cool completely. This is when I sneak a little corner—quality control, right?
- Frost with your favorite buttercream once cool. I like a classic vanilla, but cream cheese frosting is ace too.
My Notes (Aka What I’ve Learned The Hard Way)
- Don’t skimp on the black food dye. The first time, my cake was a sad grey. Not spooky. Not tasty.
- It tastes even better the next day, if you can resist.
- Let the cake cool. I always rush and my frosting slides off. Every. Single. Time.
If You Want To Mix It Up (Some Ideas That Worked…And Didn’t)
- Once I added orange zest to the batter. Wasn’t terrible, but not really my thing. Gave it a weird black-and-orange vibe.
- I tried a peanut butter frosting once—actually, it was awesome. Recommend.
- You can make cupcakes instead (bake about 18-20 minutes). Kids love ‘em, adults too.
About the Gear (And What To Do If You’re Missing Stuff)
I use my old hand mixer (bought it at a garage sale—no regrets) but you can totally mix by hand. No cake pans? Make it in a 9×13 baking dish. Wonky, but just as tasty. If you don’t have a wire rack, a clean dish towel on the counter works fine. Actually, sometimes I just leave the cakes in the pans till cool—maybe not ideal, but no disaster so far.
How To Store It (If You Have Any Left)
Technically it’ll keep on the counter for two days (or in the fridge up to five), but honestly, in my house it never lasts more than a day. If you do stash it, cover it well so it doesn’t dry out. Freezes okay too, just wrap slices well. Not that I ever have enough leftovers to bother, but you might!
Serving It Up (What I Like To Do)
I love serving this cake with a scoop of vanilla ice cream or just a strong cup of coffee. Sometimes I scatter some Halloween sprinkles on top if I’m feeling fancy; my niece likes to stick in little plastic spiders (clean ones, promise). Our family rule: whoever finds the hidden gummy worm in their slice has to tell a spooky story. (You don’t have to do that, but recommend!)
Lessons Learned (AKA My So-Called Pro Tips)
- Don’t use too much liquid food coloring—it can mess up the texture. Gel is your best bet.
- Patience is key with cooling. I once tried to frost it while warm and ended up with a chocolate avalanche. Still tasty though, just…messy.
- Actually, I find it works better if you make the frosting a day ahead. Flavors meld, you know?
People Actually Ask Me This (And Here’s What I Tell Them)
- How black does it really get? Pretty darn black if you use enough gel food coloring. Liquid stuff? It’s more of a spooky dark brown. Still cool.
- Can I make it vegan? You can! Swap eggs for flax eggs, use a plant-based milk, and go with vegan butter. I’ve done it for my mate who’s dairy-free, and it turned out spot on. More info on egg replacements here.
- What kind of frosting is best? I like classic vanilla buttercream (here’s a good recipe from Sally’s Baking Addiction), but really, anything goes. Cream cheese, chocolate, even orange if you’re feeling wild. Once tried marshmallow fluff—bit too sweet for me, but maybe that’s your jam?
- Wait, do I have to use coffee? Nah, but it deepens the flavor and you can’t taste the coffee after baking. Hot water works, but it’s not quite the same. Up to you!
- Can I skip the food coloring? You can, but then…it won’t be black! Just a heads-up.
Okay, I think that’s everything. If you give this Black Velvet Halloween Cake a go, let me know how it turned out (bonus points for sending spooky cake photos). If you want more Halloween ideas, I usually check out Sprinkle Bakes for inspiration—Heather’s stuff is wild. Anyway, happy baking, don’t let the ghosts get you, and remember: cake calories don’t count on holidays. Or, at least, that’s what I tell myself!
Ingredients
- 2 cups all-purpose flour
- 1 and 3/4 cups granulated sugar
- 3/4 cup unsweetened cocoa powder
- 2 teaspoons baking powder
- 1 teaspoon baking soda
- 1/2 teaspoon salt
- 3 large eggs
- 1 cup buttermilk
- 1/2 cup vegetable oil
- 1 cup hot water
- 2 teaspoons vanilla extract
- 2 teaspoons black gel food coloring
- 2 cups orange buttercream frosting
Instructions
-
1Preheat the oven to 350°F (175°C). Grease and line two 9-inch round cake pans.
-
2In a large bowl, whisk together flour, sugar, cocoa powder, baking powder, baking soda, and salt.
-
3Add eggs, buttermilk, vegetable oil, vanilla extract, and black gel food coloring. Mix until well combined.
-
4Gradually add hot water to the batter, mixing until smooth. Divide the batter evenly between the prepared pans.
-
5Bake for 30-35 minutes or until a toothpick inserted in the center comes out clean. Let cakes cool completely.
-
6Frost the cooled cakes with orange buttercream frosting. Decorate as desired for a spooky Halloween effect.
Approximate Information for One Serving
Nutrition Disclaimers
Number of total servings shown is approximate. Actual number of servings will depend on your preferred portion sizes.
Nutritional values shown are general guidelines and reflect information for 1 serving using the ingredients listed, not including any optional ingredients. Actual macros may vary slightly depending on specific brands and types of ingredients used.
To determine the weight of one serving, prepare the recipe as instructed. Weigh the finished recipe, then divide the weight of the finished recipe (not including the weight of the container the food is in) by the desired number of servings. Result will be the weight of one serving.
Did you make this recipe?
Please consider Pinning it!!




