Let’s Chat About Blueberry Bread (And Why I Can Never Wait for It to Cool)
So, you know how some recipes just happen to become a staple, even if you never meant them to? That’s what happened with this blueberry bread. The first time I made it, I was actually trying to impress my neighbor Sandra (she bakes, like, seriously good pies), but I forgot to buy lemons and used orange zest instead. Turned out it was a happy accident because, well, everyone ended up eating it straight from the loaf pan, and there were blue fingerprints all over my tablecloth for a week. Oops. But honestly, isn’t that half the fun?
Why I Keep Coming Back to This (Even When I’m Out of Eggs)
I make this when the blueberries at the market look plump and happy, or, honestly, when they’re on sale and I grab way too many punnets. My family goes absolutely bananas for this bread, especially toasted with a bit of butter (or cream cheese, if I’m feeling fancy). Sometimes, I’ve had to hide a slice for myself because my kids turn into little sneaky ninjas when it cools on the rack. Oh, and if you’ve ever tried to fold blueberries into a thick batter without squishing them all—solidarity, my friend. It’s not as neat as it looks on those fancy baking blogs.
What You’ll Need (And What I Swap When I’m Out of Stuff)
- 2 cups all-purpose flour (occasionally I’ll use half whole wheat if I’m feeling virtuous, but it does make it a bit denser)
- 1 cup sugar (I sometimes use brown sugar for a deeper flavor—my grandmother always insisted on Domino, but I’ll grab whatever’s at hand)
- 1/2 cup unsalted butter, melted (though I have, in a pinch, used coconut oil, which isn’t too bad)
- 2 large eggs (I’ve actually used flaxseed meal + water once when I ran out, and it worked… sort of?)
- 1 tsp vanilla extract
- 1/2 cup milk (anything from 2% to oat milk works, but I draw the line at almond milk—too thin!)
- Zest from one lemon (or orange, if that’s all you’ve got—it’s honestly quite good)
- 1 1/2 tsp baking powder
- 1/2 tsp salt
- 1 1/2 cups fresh blueberries (I’ve used frozen, just don’t thaw them first or you’ll get a purple swamp situation)
- Optional: 1/4 tsp cinnamon (I like it, but my husband says it’s ‘too much’—so, your call!)
How I Actually Make It (With a Few Side Notes)
- Preheat your oven to 350°F (175°C). Grease a standard loaf pan—though, once I accidentally used a small cake tin, and it was fine, just shorter and squatter. Line with parchment if you’re worried about sticking.
- In a biggish bowl, whisk together flour, baking powder, salt, and cinnamon if you’re using it. This is the stage where flour gets everywhere. Just me?
- In another bowl, whisk melted butter, sugar, eggs, milk, vanilla, and zest until it looks smooth-ish. I usually sneak a taste here (don’t tell anyone).
- Pour the wet into the dry ingredients. Gently fold together—don’t overmix, or you’ll get tough bread (ask me how I know…)
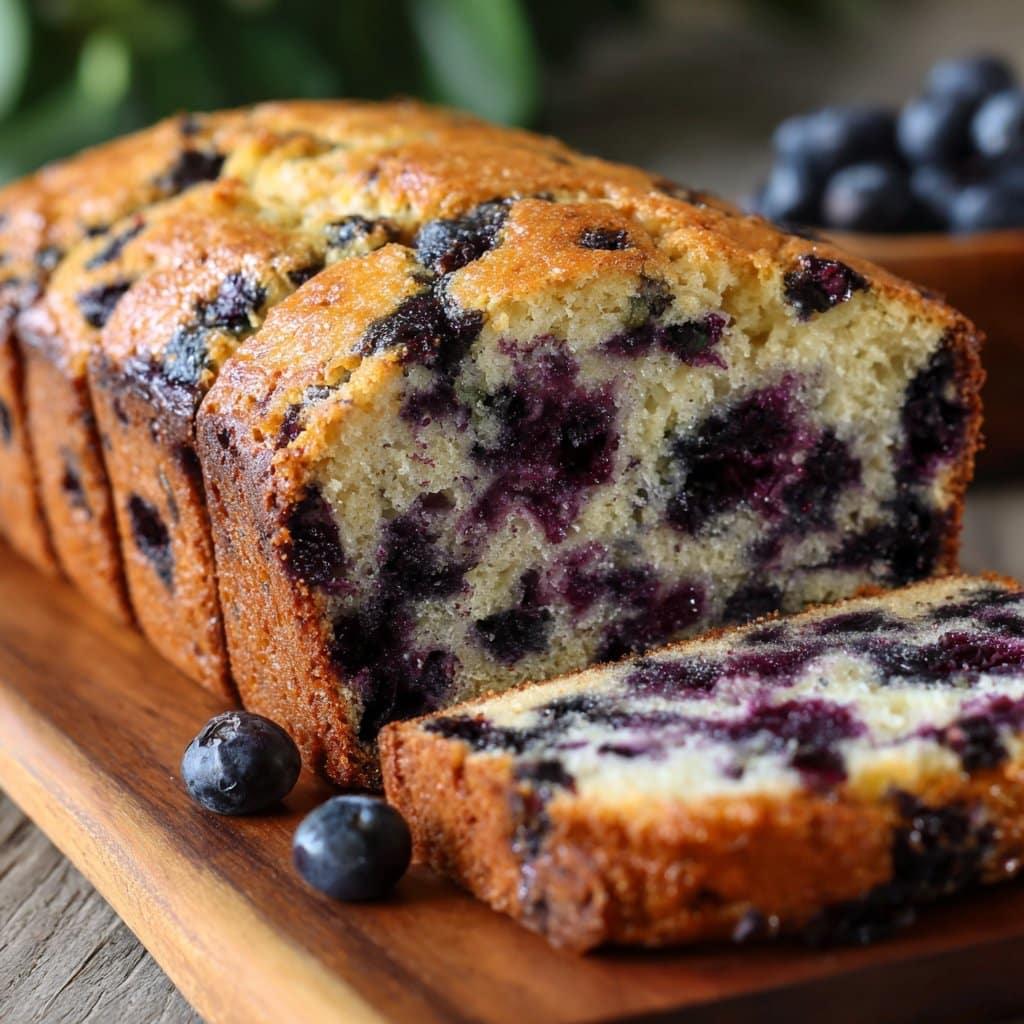
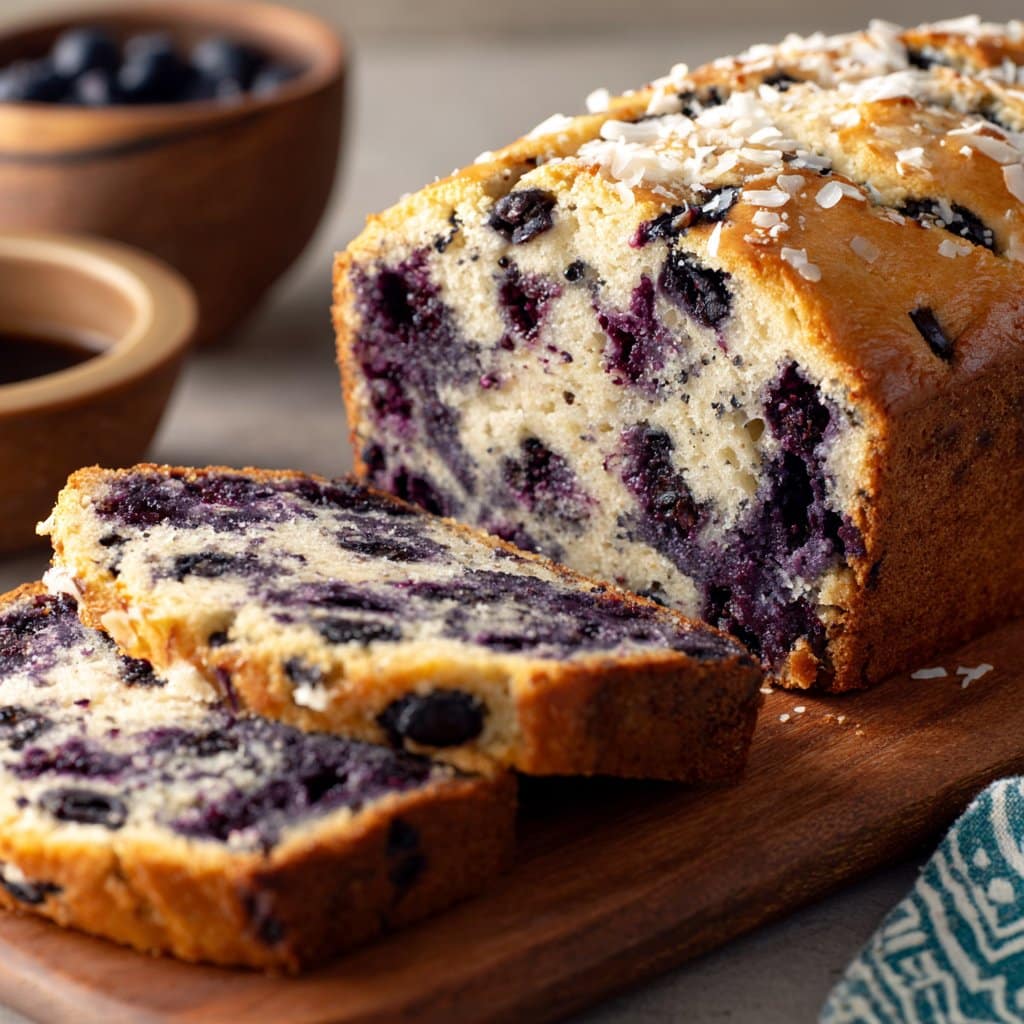
- Toss blueberries with a tablespoon of flour so they don’t all sink to the bottom. Gently fold them into the batter. Don’t be precious—some will burst and smear purple streaks. It’s all part of the charm.
- Pour batter into the prepared pan. Smooth the top with a spatula, or just give the pan a little jiggle.
- Bake for 55–65 minutes. Mine usually takes an hour, but sometimes (weirdly?) it’s done at 52 minutes. If the top’s browning too fast, loosely tent with foil.
- Let it cool in the pan for about 15 minutes, then run a knife around the edges and turn out onto a wire rack. Or just do what I do and hack off a warm slice while it’s still steaming (life’s too short).
Real-World Notes (Things I’ve Learned the Hard Way)
- If you overmix, it really does get tough. There’s no gentle way to say it. I always think, oh, just one more stir… Don’t.
- Frozen blueberries will turn the batter a bit purple—don’t worry, it tastes fine. Actually, sometimes I like the marbled look.
- Bread keeps better if you wrap it in a tea towel or foil instead of plastic wrap—otherwise, it gets kinda sticky and weird.
- Sometimes I forget the zest and it’s still good, just less zingy.
Stuff I’ve Tried (And That One Flop)
- Swapping out half the blueberries for raspberries—delicious, but messier and more tart. My son called it ‘surprise bread.’
- Adding a handful of chopped pecans: very good, but my aunt said it was ‘too much going on.’
- Trying to swirl in a bit of cream cheese—honestly, it just made a gloopy middle. Would not recommend, unless you are a cream cheese wizard.
What If I Don’t Have a Loaf Pan?
Honestly, any ovenproof dish that’s vaguely loaf-shaped works. I once used a brownie pan and just cut the bread into chunky squares. Or, if you’re feeling fancy, muffin tins (just cut the baking time in half). Heck, I’ve seen folks use sheet pans in a pinch. Don’t let equipment stop you!
How to Store It (Or: Disappearing Bread Syndrome)
Okay, technically it’ll keep for 2–3 days, wrapped up on the counter. But honestly, in my house, it never lasts more than a day! If (big if) you have leftovers, pop slices in the freezer between bits of parchment. They toast up nice straight from frozen.
How I Serve It (Including the ‘Eat It Straight from the Pan’ Method)
We like it best still a little warm, slathered with salted butter. Or next day, toasted with a drizzle of honey (try it, it’s like dessert for breakfast). And, when I’m feeling lazy (which is often), just plain, eaten with one hand while scrolling through baking blogs. If I’m making brunch, sometimes I’ll dust on a bit of powdery sugar just so it looks ‘extra’—fancy, right?
Lessons I’ve Learned (Usually the Hard Way)
- I once tried to rush the cooling, and the bread crumbled into pieces. Patience is a virtue, as my gran would say (or just use a fork, honestly).
- Don’t skip the flour toss on the blueberries—otherwise you end up with a blue bottom loaf (which is less fun than it sounds, trust me).
- If you use too much zest, it kind of tastes like you’re eating perfume. Less is more here.
So, Can I Answer a Few Questions?
- Can I use frozen blueberries? Totally! Just toss them in straight from the freezer—don’t thaw. The batter might turn a bit purple, but it’s all good.
- What if I don’t have lemon zest? Orange works surprisingly well. Or just skip it—on second thought, maybe add a splash of vanilla to make up for it.
- My bread sunk in the middle. What happened? Happens to me when I open the oven too early, or if I get lazy with the baking powder. Check it’s still fresh—old baking powder is sneaky.
- Can I make this gluten-free? Probably! I haven’t tried it, but a friend swears by King Arthur’s 1:1 gluten-free flour (here’s what she uses). If you try it, let me know!
- Is this more bread or cake? Ah, the age-old debate. I say it’s breakfast pretending to be dessert. Or maybe the other way around?
Well, if you’ve made it this far—cheers to you! Making blueberry bread is never quite the same twice, and that’s half the fun. If you’ve got stories (or kitchen disasters) to share, I’d honestly love to hear ‘em.
Ingredients
- 2 cups all-purpose flour
- 1 cup granulated sugar
- 1/2 cup unsalted butter, melted
- 2 large eggs
- 1/2 cup milk
- 1 1/2 cups fresh blueberries
- 1 teaspoon vanilla extract
- 2 teaspoons baking powder
- 1/2 teaspoon salt
Instructions
-
1Preheat the oven to 350°F (175°C). Grease a 9×5-inch loaf pan or line with parchment paper.
-
2In a large bowl, whisk together the flour, baking powder, and salt.
-
3In another bowl, combine the melted butter, sugar, eggs, milk, and vanilla extract. Mix until well blended.
-
4Add the wet ingredients to the dry ingredients and stir until just combined. Gently fold in the blueberries.
-
5Pour the batter into the prepared loaf pan and smooth the top. Bake for 50-55 minutes, or until a toothpick inserted into the center comes out clean.
-
6Allow the bread to cool in the pan for 10 minutes, then transfer to a wire rack to cool completely before slicing.
Approximate Information for One Serving
Nutrition Disclaimers
Number of total servings shown is approximate. Actual number of servings will depend on your preferred portion sizes.
Nutritional values shown are general guidelines and reflect information for 1 serving using the ingredients listed, not including any optional ingredients. Actual macros may vary slightly depending on specific brands and types of ingredients used.
To determine the weight of one serving, prepare the recipe as instructed. Weigh the finished recipe, then divide the weight of the finished recipe (not including the weight of the container the food is in) by the desired number of servings. Result will be the weight of one serving.
Did you make this recipe?
Please consider Pinning it!!




