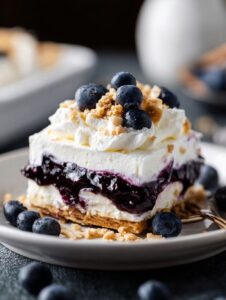
Let Me Tell You About This Blueberry Delight
Alright, friend, let me share something dangerously addictive, in the best way. Blueberry Delight is that dessert from my childhood that made regular weekends feel suddenly fancy. I first made it by accident—not exactly my finest kitchen moment. I was supposed to bring a pie to the church social, but had a minor disaster with the crust (long story short, flour went everywhere except where it should’ve been). So I ended up cobbling this together with what I had, and now it’s one of the only “signature” desserts my family begs for. Last summer, I caught my uncle sneaking a forkful for breakfast straight from the fridge; no judgment, by the way. This thing just sort of disappears.

Why You’ll Love Making This
I make this when I’ve got fresh blueberries practically threatening to take over the fridge (hello, farmer’s market impulse buys). My family goes crazy for this because of the creamy layer—my cousin calls it “cloud fluff.” Honestly, there were a few times it turned out a little runny and we just ate it with spoons; nobody complained. I love how forgiving it is. Doesn’t matter if the layers aren’t perfect or if you forgot to save some berries for topping (guilty, oops), it still tastes amazing. If you have kids, they’ll like helping dump stuff in bowls.
What You’ll Need (AKA Ingredients!)
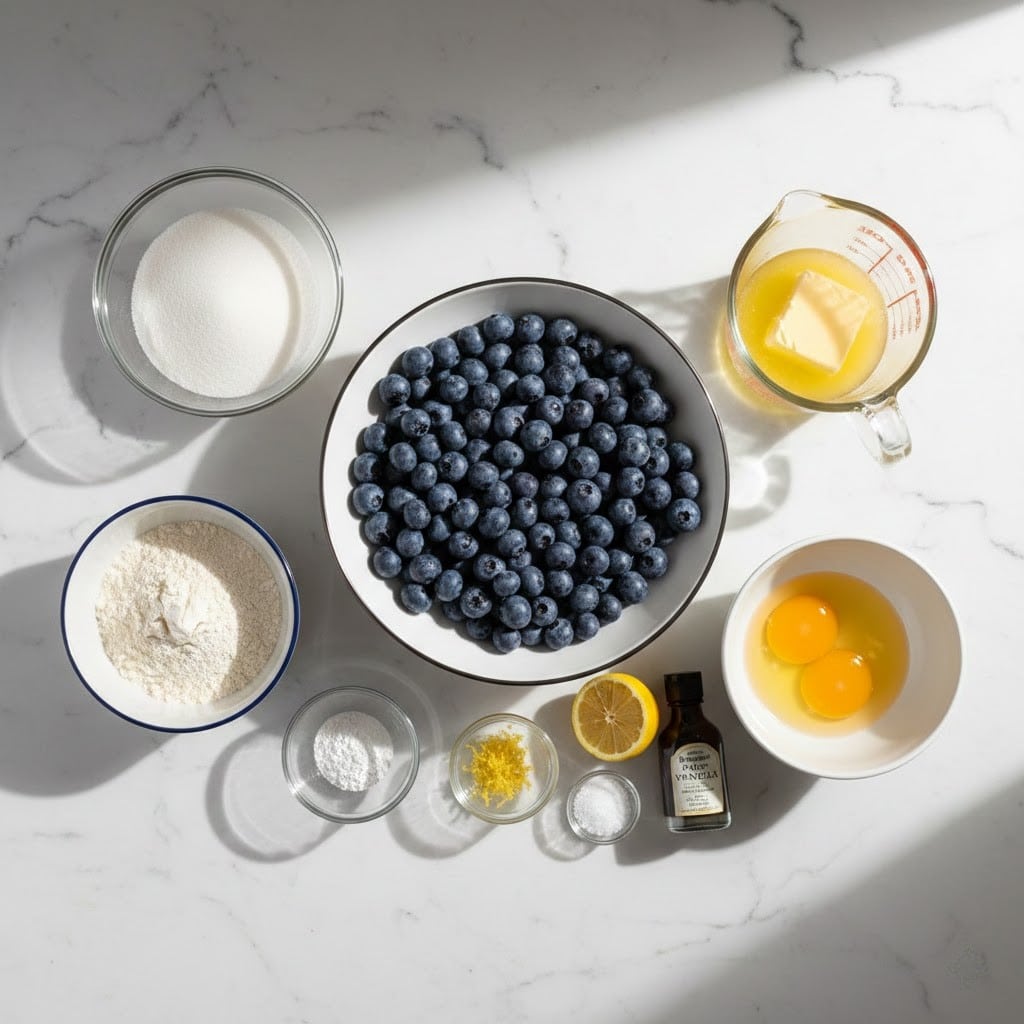
- About 1 1/2 cups graham cracker crumbs (I’ve used digestive biscuits too, when I’m feeling a bit fancy or, let’s be honest—out of grahams)
- 1/2 cup melted butter (my grandmother swore by salted butter, but honestly, regular works fine—sometimes I even use coconut oil if I’m out of butter)
- 1 cup powdered sugar (I once used regular sugar by accident. Not the same, don’t do it!)
- 8 oz cream cheese, softened (the kind in the block, but I’ve used whipped in a pinch; it’s just less tangy)
- 1 tub (around 8 oz) whipped topping (like Cool Whip—store brand is totaIly fine; homemade can work but it deflates)
- 2 cups fresh blueberries (or frozen, don’t even thaw ’em, as long as you’re not fussy)
- 1/2 cup sugar for the blueberry layer (I sometimes go a bit heavier if the berries are tart)
- 1/4 cup water
- 1 tablespoon cornstarch (or flour in a pinch, though it makes it a tad cloudy)
- Dash of lemon juice (optional, but I like the zing—bottled or fresh, whatever’s nearby)
How I Actually Make Blueberry Delight
- First up, the crust. Mix your graham cracker crumbs and melted butter right in the baking dish if you’re lazy like me (saves washing a bowl). Press into the bottom with your hands or whatever’s handy—a glass works, or your kid’s plastic cup in my case. Pop it into the fridge to set while you do the other bits.
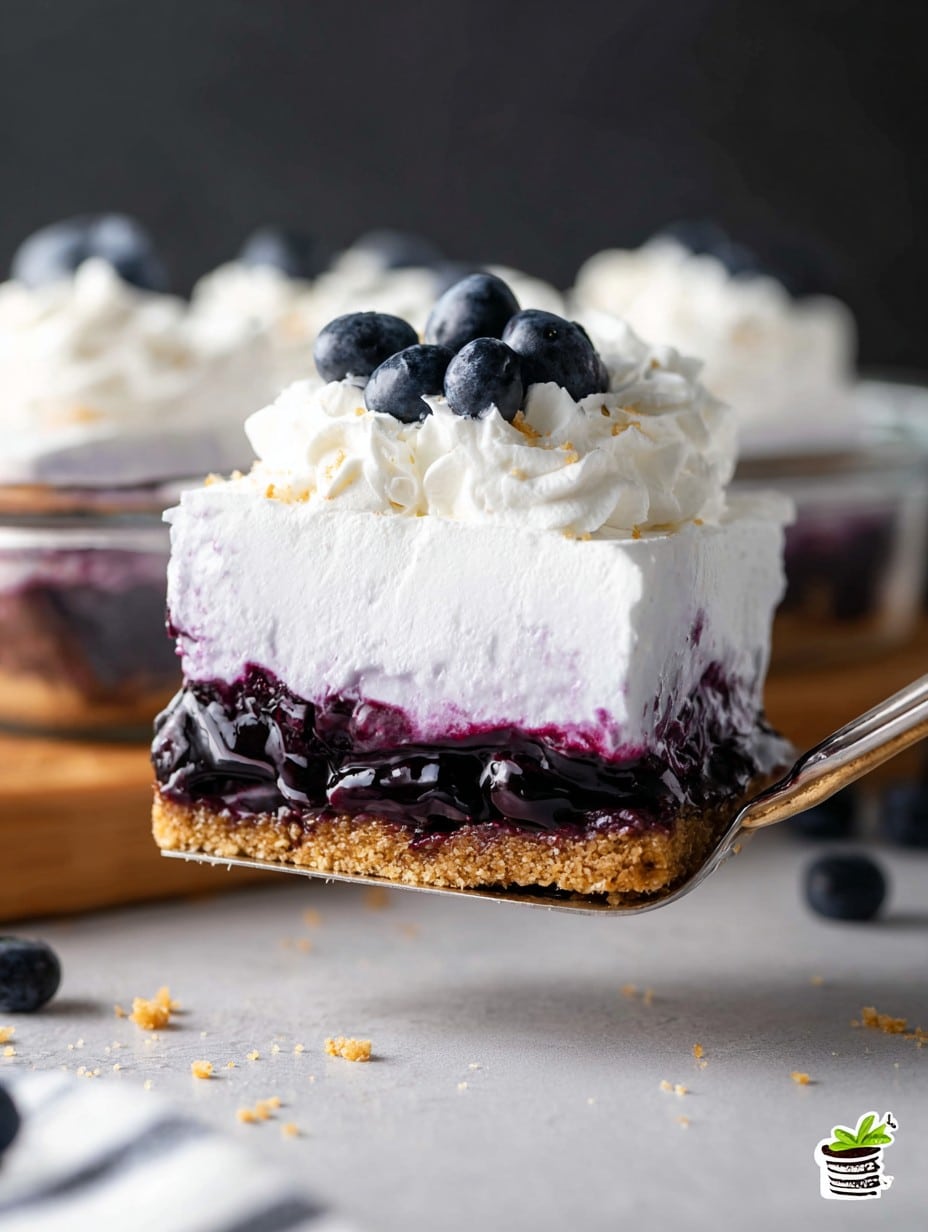
- The cream cheese layer. Grab a bowl. Blend the softened cream cheese with the powdered sugar until smoothish (a few lumps won’t ruin anything). Fold in most of the whipped topping—save a bit for the top if you’re fancy, or forget and use it all because, heck, who cares? Spread this onto your cold crust. I sneak a taste here because someone has to test if it’s sweet enough, right?
- Let’s talk blueberry layer. In a small saucepan, mix the blueberries, sugar, water, and cornstarch. Bring to a bubbling simmer. It’s going to look a little weird (and lumpy) but keep going. Stir for about 7-10 minutes till it thickens—it’s fine if some berries pop and some don’t. Add your lemon juice if you’re using it.
- Chill out. Let the berry mixture cool so it doesn’t melt your creamy middle. Spread it over the cream cheese layer as evenly as you can; don’t stress if it swirls together a bit. Sometimes mine looks like modern art, honestly.
- Finishing touch. Top with any reserved whipped topping, a handful of leftover blueberries if you didn’t eat them already. Throw in a sprig of mint if you want to look proper.
- Now, for the hard part. It needs to chill in the fridge for at least two hours, or overnight if you’ve got that kind of patience (spoiler: I rarely do). The layers set up better, but nobody’s judging if you dig in sooner.
Notes, Straight from My Kitchen
- Don’t sweat the cream cheese lumps; I used to panic over them but it’s cool, they disappear after chilling.
- Actually, I find the crust tastes better if you use salted butter, but that’s just me.
- If you use frozen berries, the layer might be runnier; just simmer it a minute or two longer (and pretend you meant for it to look rustic).
- I’ve tried less sugar for the cream cheese and it just tasted bland—don’t recommend.
Fun with Variations (and Oopsies!)
- Once I swapped raspberries instead of blueberries—everyone loved it, but watch for seeds.
- My least successful try? Using shortbread instead of graham crackers. It went… weirdly soggy. Wouldn’t do again. Live and learn, right?
- You can swirl in a bit of lemon zest with the cream cheese layer for a zing; totally optional.
- If you like things extra sweet (I don’t judge!), a drizzle of honey over the top is cheating, but good.
What If I Don’t Own All the Equipment?
Look, fancy stand mixers are overrated for this. A hand mixer is nice, but a fork and some elbow grease do the job. I sometimes use the back of a measuring cup to smash the crust down. If you don’t have an 8×8 dish, just use whatever—not too big though or it’ll be thin as a pancake.
How to Store It (if There’s Any Left…)
Cover with plastic wrap or foil. Should keep in the fridge 2–3 days, but honestly, in my house it never lasts more than a day! One time I tried freezing it; not great because the topping got icy. So, fridge is best.
How I Like to Serve Blueberry Delight
Chilled is best, straight form the fridge. Sometimes after dinner, sometimes as a midnight snack—don’t tell. At family BBQs, my sister-in-law piles on extra berries and calls it fruit salad, which is technically not wrong (and lets you eat more without feeling too naughty). Try it in little jars for picnics; people act like you’re Martha Stewart.
Pro Tips (or Lessons Learned the Hard Way)
- I once tried skipping the chilling step—bad idea, it oozed everywhere and made a mess. Patience is key here.
- Don’t use margarine instead of butter for the crust; tried it once, was super greasy.
- If you forget to cool the berries and dump it on too soon, you end up with a purple mess, but honestly, still tastes great!
FAQ (People Actually Ask Me These!)
- Can I use strawberries? Sure—just chop them up a bit. The layer might not set as thick, but that’s okay.
- Does it have to be Cool Whip? Nah, store brand, homemade, whatever’s in the freezer. Just don’t use spritz cream from a can—it melts into soup.
- What happens if my cream cheese layer is runny? Don’t panic. It’ll firm up mostly in the fridge. Or just eat it like pudding; honestly, who minds?
- Can I make this gluten free? Yep—grab gluten free crackers or cookies for the base. The rest is good to go.
- How long does Blueberry Delight keep? Technically up to 3 days, but let’s be real—it’s always gone before then.
So there you have it: Blueberry Delight—just the way I make it, blobs and all. Let me know how it goes, and if you spill powdered sugar on the floor, just call it kitchen confetti.
Ingredients
- 2 cups graham cracker crumbs
- 1/2 cup unsalted butter, melted
- 1 cup powdered sugar
- 1 package (8 oz) cream cheese, softened
- 1 container (8 oz) whipped topping, thawed
- 1 can (21 oz) blueberry pie filling
- 1 teaspoon vanilla extract
- Pinch of salt
Instructions
-
1In a bowl, combine graham cracker crumbs and melted butter. Press the mixture into the bottom of a 9×13 inch pan to form the crust.
-
2In a separate bowl, beat softened cream cheese until smooth. Add powdered sugar, vanilla extract, and salt; beat until well combined.
-
3Gently fold half of the whipped topping into the cream cheese mixture until fully incorporated.
-
4Spread the cream cheese mixture evenly over the graham cracker crust.
-
5Spoon blueberry pie filling over the cream cheese layer, spreading it evenly.
-
6Top with the remaining whipped topping. Chill in the refrigerator for at least 2 hours before serving.
Approximate Information for One Serving
Nutrition Disclaimers
Number of total servings shown is approximate. Actual number of servings will depend on your preferred portion sizes.
Nutritional values shown are general guidelines and reflect information for 1 serving using the ingredients listed, not including any optional ingredients. Actual macros may vary slightly depending on specific brands and types of ingredients used.
To determine the weight of one serving, prepare the recipe as instructed. Weigh the finished recipe, then divide the weight of the finished recipe (not including the weight of the container the food is in) by the desired number of servings. Result will be the weight of one serving.
Did you make this recipe?
Please consider Pinning it!!