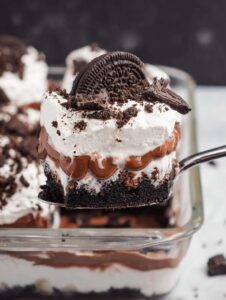
Let’s Chat About This Oreo Delight—A.K.A. That Dessert Everyone Fights For
I can’t even count the number of times this Oreo Layered Dessert (or Oreo Delight with Chocolate Pudding, if we’re getting fancy) has rescued me, usually about two hours before an unexpected party or a potluck that, let’s be real, I only remembered because someone texted “see you soon!”. There’s just something about the combo—crushed Oreos, dreamy pudding, and a cloud of whipped cream—that makes people go a bit bananas. I still remember the year my older brother tried to “save” the last third for himself—it mysteriously vanished by midnight. Sorry, Sean (not sorry, actually; it was my birthday). Anyway, if you like desserts that taste way more impressive than they are complicated, or you just want to wow a crowd with minimum sweat, you’re in the right spot.

Why You’ll Love This (Or at Least Find It Ridiculously Handy)
I make this for family barbeques (people basically hover near the fridge), or honestly anytime I need a dish that looks like I put in more effort than I really did. Kids go wild for it, my uncle never notices the difference between homemade and store pudding, and when it’s hot, you don’t even have to bake anything. Once, I tried making a healthy version—let’s just say, not one person asked for seconds, so lesson learned, some things just aren’t meant for kale powder!
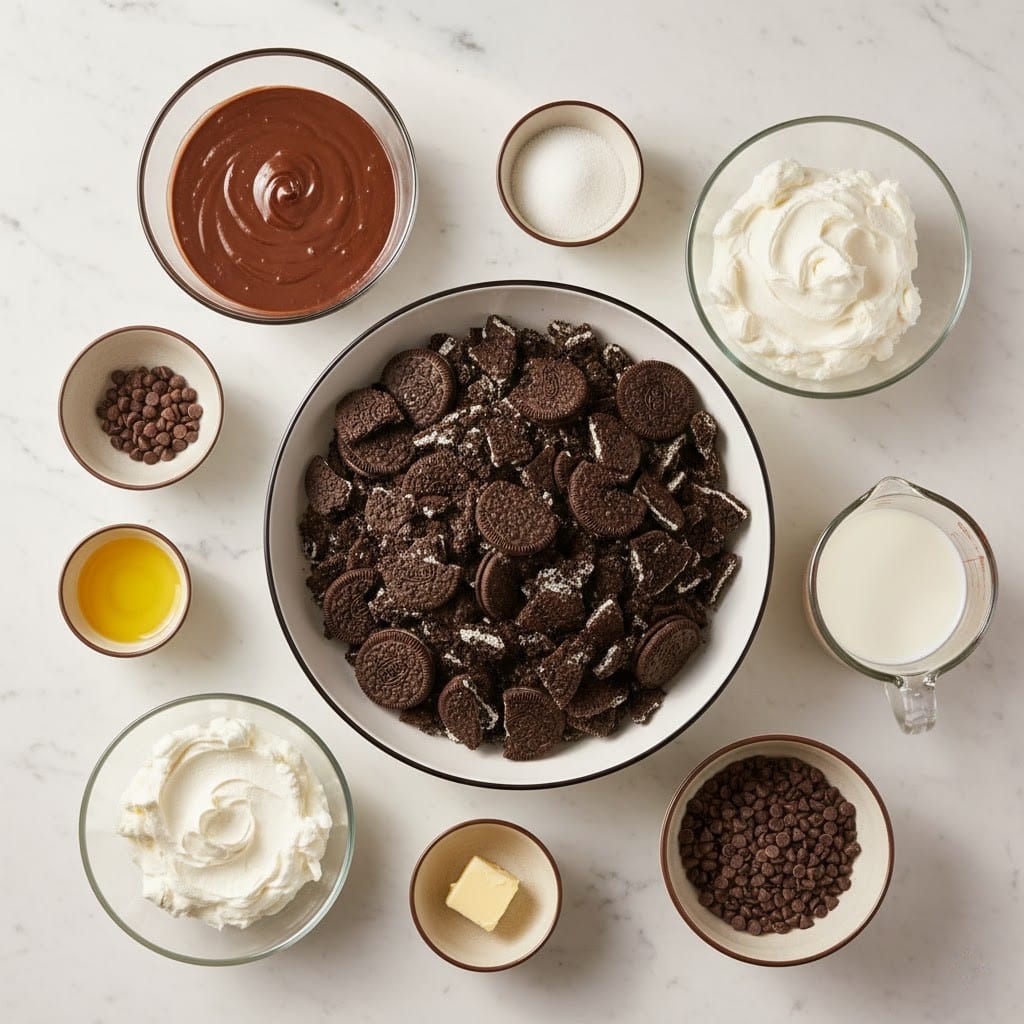
Your Cast of Characters (a.k.a. Ingredients)
- About 1 family-size pack of Oreo cookies (I’ve used store-brand too when I’m pinching pennies—honestly, barely anyone notices)
- 6 tbsp (or a big chunk) of butter, melted—salted or unsalted, it won’t make or break you
- 1 box (5.9 oz) instant chocolate pudding mix (sometimes I throw in a ‘cheat’ and use vanilla instead or even chocolate fudge… depends on what’s lurking in the cupboard)
- 3 cups cold milk—I usually grab whatever’s in the fridge, but almond milk will work too (though it sets a bit softer)
- 1 package (8 oz) cream cheese, softened (reduce to 6 oz if you want it lighter, or skip if you don’t have—just bump up the whipped topping. I tried Greek yogurt once, but… let’s move on!)
- 1 cup powdered sugar—regular sugar in a pinch, but you’ll need to stir a lot
- 1 container (12 oz) whipped topping (Cool Whip, store-brand, or your homemade magic if you’re patient—personally, I go for convenience)
- A handful of chocolate chips or extra Oreos for the top (not strictly necessary, but it looks like you tried a bit harder)
How to Throw It Together (No Need to Panic If You Mess Up)
- Demolish the Oreos. Put most of the Oreos into a zip bag and crush—rolling pin, potato masher, even your hands if you’re feeling feisty. You want crumbs but not dust; a few chunks are great. Save 8–10 cookies for topping later if you like.
- Mix the base. Combine about two-thirds of those crumbs with the melted butter, then press into the bottom of a 9×13″ pan. (Or I sometimes just use a big casserole dish, with sides high enough for all the layers.) I always ‘test’ the crust here—quality control, obviously.
- Whip up the cream cheese layer. In a bowl, blend cream cheese and powdered sugar until it’s smooth-ish—it won’t look perfect, and that’s fine. Fold in half the whipped topping. Spread it gently over the crust. If you drag up crumbs, don’t stress; it’ll be buried.
- Pudding time! Whisk the pudding mix and cold milk; let it thicken a few minutes (I once rushed this and it ran everywhere, so, patience). Spread over the cream cheese layer. Now it’s starting to look legit.
- Fluff city: the topping. Slap the rest of the whipped topping on the pudding. Sprinkle remaining Oreo crumbs and decorate with whatever you’re feeling (choc chips, those reserved Oreos, rainbow sprinkles if you’ve got a birthday in the house).
- Chill out. Into the fridge it goes for at least 3 hours. Actually, I think it tastes even better the next day, if you can wait that long. That’s optimism, honestly.
Genuine Notes form My Kitchen
- If the crust feels too dry, just drizzle a bit more melted butter—no point fighting with crumbs.
- I once forgot the cream cheese; the world didn’t end, it just tasted more like pudding pie. Still disappeared.
- Sometimes I get lazy and skip separating out the topping crumbs, so the whole thing looks a bit rustic, but you know, it gets eaten all the same.
Variations I’ve Actually Tried (and One I Wouldn’t Again)
- Peanut butter twist: Mix 1/4 cup peanut butter into the cream cheese. Kids loved it.
- Mint Oreos for the base—surprisingly wild, but not for everyone. Tasted a bit like toothpaste to me.
- Banana pudding instead of chocolate? Honestly, it turned out… odd. Maybe it’s an acquired taste.
- Real homemade whipped cream makes it fancier, but melts a bit after 2 days—just FYI!
Equipment: Don’t Sweat the Small Stuff
- 9×13″ pan or something roughly that size
- Electric mixer or a good whisk—if you don’t have one, a fork and some elbow grease does the trick. You’ll get a workout.
- Mixing bowls (I usually run out and start rinsing midway… classic)
- Spatula or a big spoon for spreading
How I (Try to) Store It
This keeps covered in the fridge for up to 3 days, but—honestly—it rarely survives 24 hours in my house. One tip: hiding it behind the veggies might gain you an extra day if your crew isn’t salad-inclined.
Serving: Our House Rules (Loose at Best)
I tend to slice big squares, but I’ve served it up in little cups for parties—easier for folks to grab (and, less mess). My sister likes it with a scoop of vanilla ice cream. Or, if you’re me, straight from the pan at midnight. No judgement here.
Pro Tips (a.k.a. Things I Messed Up So You Don’t Have To)
- Don’t rush the chilling—if you dig in too soon, you’ll be spooning pudding soup. Been there… sort of delicious? But messy.
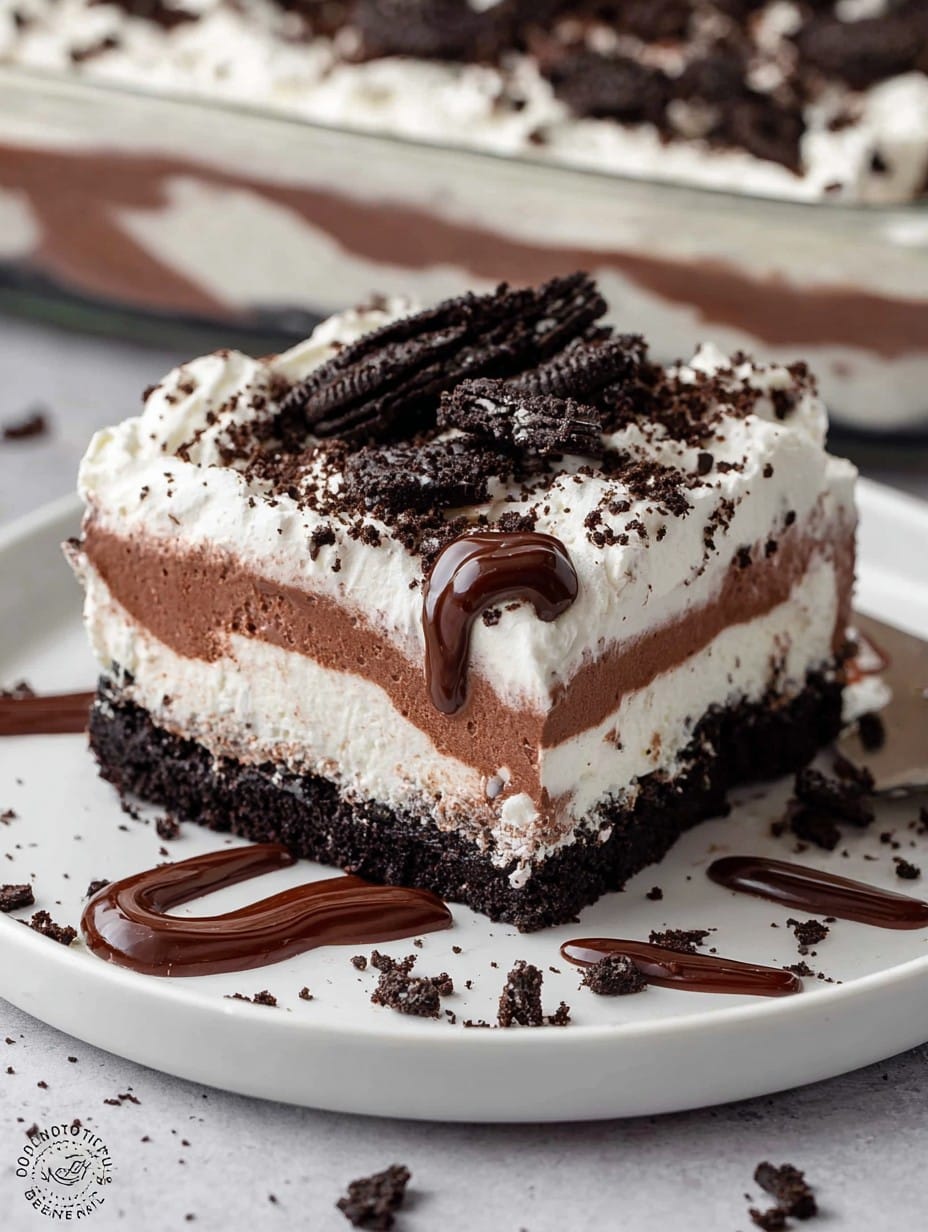
- If you want super clean layers for photos, pop it in the freezer for 30 min before slicing. If not, just embrace the chaos.
- I once tried using regular cream instead of whipped and, yeah, it tasted buttery. Not what I planned.
Your Questions, Answered (Because Folks Always Ask These!)
- Can I use double-stuf Oreos? Sure thing! It gets extra creamy—possibly a little messier, but who’s complaining?
- Do I have to use instant pudding? Nope, but that’s what makes it so quick. Cooked pudding works, just make sure it’s cool so it doesn’t melt the layers.
- Gluten-free possible? Yep—use gluten-free sandwich cookies. Texture’s a bit softer, but still tasty. Actually, I think the base is even more fudgey that way…
- How far ahead can I make this? At least a day before is fine; I do notice the cookies get a tad softer, which I honestly like. Not everyone does though.
- If I don’t have a mixer? I’ve used my potato masher for the cream cheese part—it’s a bit lumpy but who cares, it all gets eaten.
Okay, that’s probably more than you ever needed to know about Oreo Layered Dessert: Oreo Delight with Chocolate Pudding, but you wanted real talk, right? Let me know how it goes (or what you tweaked) because, honestly, people surprise me with their fearless dessert experiments all the time. And on a total side note: if you ever find a way to make this, say, healthy-ish and still decadent, shoot me an email. I’m still searching!
Ingredients
- 36 Oreo cookies
- 6 tablespoons unsalted butter, melted
- 1 package (8 oz) cream cheese, softened
- 1 cup powdered sugar
- 1 tub (12 oz) whipped topping, thawed and divided
- 2 packages (3.9 oz each) instant chocolate pudding mix
- 2 3/4 cups cold milk
- 1/2 cup mini chocolate chips or chocolate shavings (optional, for garnish)
Instructions
-
1Crush the Oreo cookies in a food processor or by placing them in a zip-top bag and crushing with a rolling pin. Reserve 1/2 cup for topping.
-
2Mix remaining crushed Oreos with melted butter. Press mixture firmly into the bottom of a 9×13-inch dish to form the crust.
-
3In a bowl, beat together cream cheese and powdered sugar until smooth. Fold in 1 1/2 cups of whipped topping. Spread evenly over crust.
-
4In another bowl, whisk together the chocolate pudding mixes with cold milk until thickened. Spread pudding over cream cheese layer.
-
5Top with remaining whipped topping. Sprinkle reserved crushed Oreos and mini chocolate chips or chocolate shavings as garnish.
-
6Refrigerate for at least 2 hours or until set. Slice and serve chilled.
Approximate Information for One Serving
Nutrition Disclaimers
Number of total servings shown is approximate. Actual number of servings will depend on your preferred portion sizes.
Nutritional values shown are general guidelines and reflect information for 1 serving using the ingredients listed, not including any optional ingredients. Actual macros may vary slightly depending on specific brands and types of ingredients used.
To determine the weight of one serving, prepare the recipe as instructed. Weigh the finished recipe, then divide the weight of the finished recipe (not including the weight of the container the food is in) by the desired number of servings. Result will be the weight of one serving.
Did you make this recipe?
Please consider Pinning it!!