So, About This Boston Cream Pie—and My Slight Obsession
Confession time: The first time I tried making Boston Cream Pie, I thought it was (you know) an actual pie. Imagine my surprise finding out it’s a big ol’ cake. Who names these things? Anyway, this recipe’s become my not-so-secret weapon for impressing relatives, and one time my dog almost got the custard—complete chaos, but hilarious. I’ve made this for birthdays and weirdly for a rainy Tuesday, because why not. Oh, and if you hate washing dishes, well…me too—but this cake’s worth it. I promise (mostly).
Why I Keep Making It (Even When I Swear I Won’t)
I make this when I want something that feels retro and a bit fancy, but isn’t ACTUALLY all that hard. My family goes bananas for the creamy custard middle—I have zero leftovers if my brother’s around. Sometimes I curse at the custard when it won’t thicken fast enough, but honestly, I think that’s part of the charm, like wrestling with a stubborn old kettle. This is also my go-to ‘I need to impress someone’ dessert (but don’t tell my book club how easy it really is…except the one time I forgot the eggs. Oops.)
What I Typically Toss In: The Ingredients
- For the Sponge Cake:
- 1 cup (200g) granulated sugar (brown sugar works in an emergency, but it’ll taste different)
- 4 large eggs
- 1 cup (125g-ish) all-purpose flour — though, one time I tried self-raising by mistake; wasn’t great but not a disaster
- 1/2 cup (120ml) milk (I’ve used oat milk when my vegan cousin visits, but the cake is just a bit denser)
- 1/4 cup (55g) unsalted butter, melted (Salted works if that’s all you’ve got; just skip a pinch of salt later)
- 1 tsp vanilla extract (my grandmother INSISTED on Nielsen Massey, but supermarket stuff does the trick too)
- A pinch of salt
- For the Custard Cream:
- 2 cups (500ml) whole milk (skim will work, though it’s not as lush)
- 1/2 cup (100g) sugar
- 4 egg yolks (Save the whites for a half-hearted omelette?)
- 1/4 cup (30g) cornstarch (or flour if you’re desperate; thickens slower)
- 1 tsp vanilla
- Pinch of salt (I’ve actually forgotten this and lived to tell the tale)
- For the Ganache:
- 1/2 cup (120ml) heavy cream
- 4oz (115g) dark or semi-sweet chocolate, chopped (I use whatever’s floating around; once used leftover chocolate bunnies. Not sorry)
- 1 tbsp butter (skip this if you want it firmer; I just like the shine)
Here’s How I Fumble Through the Steps
- For the Cake: Preheat your oven to 350F (175C). Butter and flour two 8-inch round pans (Or, butter and parchment; makes them pop out way easier).
- Whisk up eggs and sugar until they’re pale and kind of fluffy. This is the moment to use a stand mixer…if you don’t have one, grab a whisk and channel your inner gym rat.
- Stir in melted butter, vanilla, and salt. Add flour, slowly, folding it in while looking for that Goldilocks “just right” batter. Don’t overmix—unless you like it tough (I do not).
- Bake for 18–22 minutes. Should smell like heaven at this point. (This is when I usually sneak a taste of the leftover batter. Yes, I know.) Cakes should spring back in the center when poked. Cool fully, then gently take them out of the pans. No shame if one breaks—it all gets covered anyway.
- For the Custard: Heat milk in a saucepan. Don’t boil; just get it warm. In a bowl, whisk yolks, sugar, and cornstarch. Slowly add in the warm milk while whisking like a madperson so you don’t get scrambled eggs—a rookie mistake I’ve made.
- Back in the pan, simmer and stir constantly until it thickens (looks weird at first, then suddenly just happens all at once!). Remove from heat, stir in vanilla, and let cool—cover with cling film touching the custard so you don’t get that weird skin. Pop it in the fridge if you want it cold faster. Or just cross your fingers and hope it sets in time for dessert.
- For the Ganache: Heat cream until steaming (microwave works, to be honest—I do this when I’m in a rush). Pour over chopped chocolate and butter, wait a minute, then stir until glossy and smooth. Lick the spoon if you want—I always do.
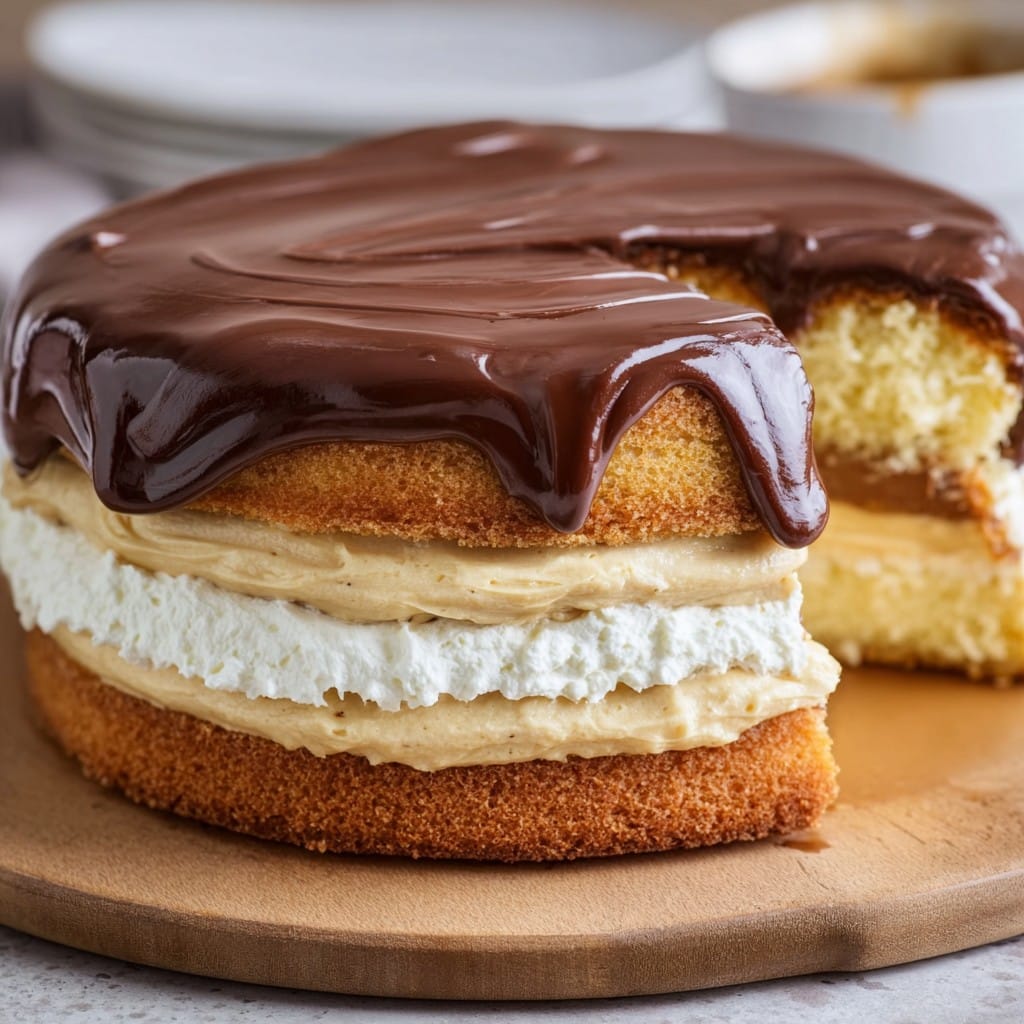
- Assemble: Place one cake layer on your plate, spread all that luscious custard (I use nearly all of it, but save a spoonful for later, chef’s treat). Top with the other cake layer. Pour ganache right on top, letting some ooze down the sides. Try not to think about the dishes piling up.
Notes Only a Real Person Would Make
- If (no, when) your ganache gets too thick, a splash more hot cream sorts it out.
- I’ve made this with 9-inch pans in a pinch — the cakes come out thinner but still tasty. Actually, I think the custard-to-sponge ratio is even better.
- No food processor? No worries—just mix with regular old arm muscle. My grandmother used a giant wooden spoon and looked like she’d arm-wrestled a bear.
- Speaking of which, don’t be hard on yourself if the cake isn’t perfectly even; once that ganache covers it, it’s basically cake camouflage.
A Few Fun (and Questionable) Variations
- I once tried swapping the ganache for salted caramel—didn’t love it, but the custard fans didn’t mind.
- Fresh berries between cake layers is great in the summer, though purists might faint.
- If you want a coffee twist, add a splash of espresso to the custard. Try it—and let me know if you like it, I’m still on the fence.
- Oh, and, a neighbor suggested a gluten-free flour blend but honestly it came out a bit gummy for me. Maybe you’ll have better luck?
What If You Don’t Have All the Fancy Stuff?
Don’t have a stand mixer? Your whisk (or even a fork, if you’re feeling feisty) will do the job; just expect a mini workout. No double boiler for the ganache? I just use the microwave in short blasts (life’s too short for extra pans). You don’t actually need a cake turntable unless you’re shooting for bakery vibes, which is possible, just not my style most days.
How I Store It (When It Mirage-Like Survives a Day)
If by some miracle you have leftovers, pop them in an airtight container in the fridge. Good for up to 3 days, though—honestly—this never actually happens in my kitchen. Sometimes I think it tastes even better the next day, but that might be wishful thinking. Don’t freeze with the custard inside unless you like soggy cake layers.
Serving: My Odd Little Ritual
Sometimes (don’t judge) I eat this straight outta the fridge, extra cold. My family does candles and the works—it’s tradition for Uncle Dave to sing off-key. Oh! Try topping slices with a spoonful of whipped cream or, on really hot days, a scoop of vanilla ice cream. Perfection. Once, we went rogue and drizzled some Irish cream on top. It’s not authentic but hey—neither are most of the things in my kitchen!
Pro Tips (Or, The Times I Goofed Up)
- I once tried to assemble everything while the cake was still warm—custard slid out, ganache slid off, the whole nine yards. Don’t be like me, just wait.
- Another time I didn’t chill the custard long enough and ended up with a slightly runny mess—still delicious, but more “trifle” than “pie.”
- If you overwhip the cake batter, it gets rubbery. Seriously, just fold it until it’s barely mixed.
FAQs from Real Folks (and Me Poking Fun at Myself)
- Can I use a box cake mix? You absolutely can (and I sometimes do when short on time). No shame. Just split the baked cake and add your own custard and ganache. Tastes pretty close! If you want to try making it all from scratch next time, check out Sally’s Baking Addiction for very detailed steps.
- How do I keep the custard from turning lumpy? Whisk constantly, and if you spot tiny lumps, just run it through a sieve. Or add a little more milk if it’s going weirdly thick. Happens to the best of us.
- Any make-ahead tips? You can make the cake and custard the day before (or even two, if you’re a planner—unlike me). Store them separately, assemble nearer to serving. If you need loads of cake inspiration, you should see Zoë Bakes’ approach at this post here.
- Why is it called Boston Cream Pie if it’s cake? No idea, mate. It’s been a mystery since the 1800s. Google says it was first baked at the Parker House Hotel in Boston. That’s my fun fact for the day.
- Can I make it gluten free? Yup, though the texture’s a bit different. Try a good all-in-one gluten free blend. Might need a splash extra milk.
And, for your cake-nerd research (I always go down a rabbit hole): Yankee Magazine’s story on the real deal is worth a gander. Now, do yourself a favour, put the kettle on, and give this Boston Cream Pie Recipe a whirl. (If you mess it up, send me a pic. Misery loves company!)
Ingredients
- 1 cup all-purpose flour
- 3/4 cup granulated sugar
- 4 large eggs
- 1/2 cup whole milk
- 4 tablespoons unsalted butter (melted)
- 1 teaspoon vanilla extract
- 1/4 teaspoon salt
- 2 cups whole milk (for custard)
- 4 large egg yolks
- 1/3 cup granulated sugar (for custard)
- 3 tablespoons cornstarch
- 1 cup semisweet chocolate chips
- 1/2 cup heavy cream (for glaze)
Instructions
-
1Preheat oven to 350°F (175°C). Grease and flour two 8-inch round cake pans.
-
2In a large bowl, beat eggs and sugar together until thick and pale. Gently mix in melted butter, milk, vanilla extract, flour, and salt until smooth.
-
3Divide batter evenly between prepared pans and bake for 25–30 minutes, or until a toothpick comes out clean. Cool cakes completely.
-
4For the custard filling, heat 2 cups milk over medium heat. In a separate bowl, whisk egg yolks, sugar, and cornstarch. Gradually add hot milk to the mixture, then return to the saucepan and cook, stirring constantly, until thickened. Let cool.
-
5Prepare the chocolate glaze by heating heavy cream until just simmering, then pour over chocolate chips. Let sit for 2 minutes and stir until smooth.
-
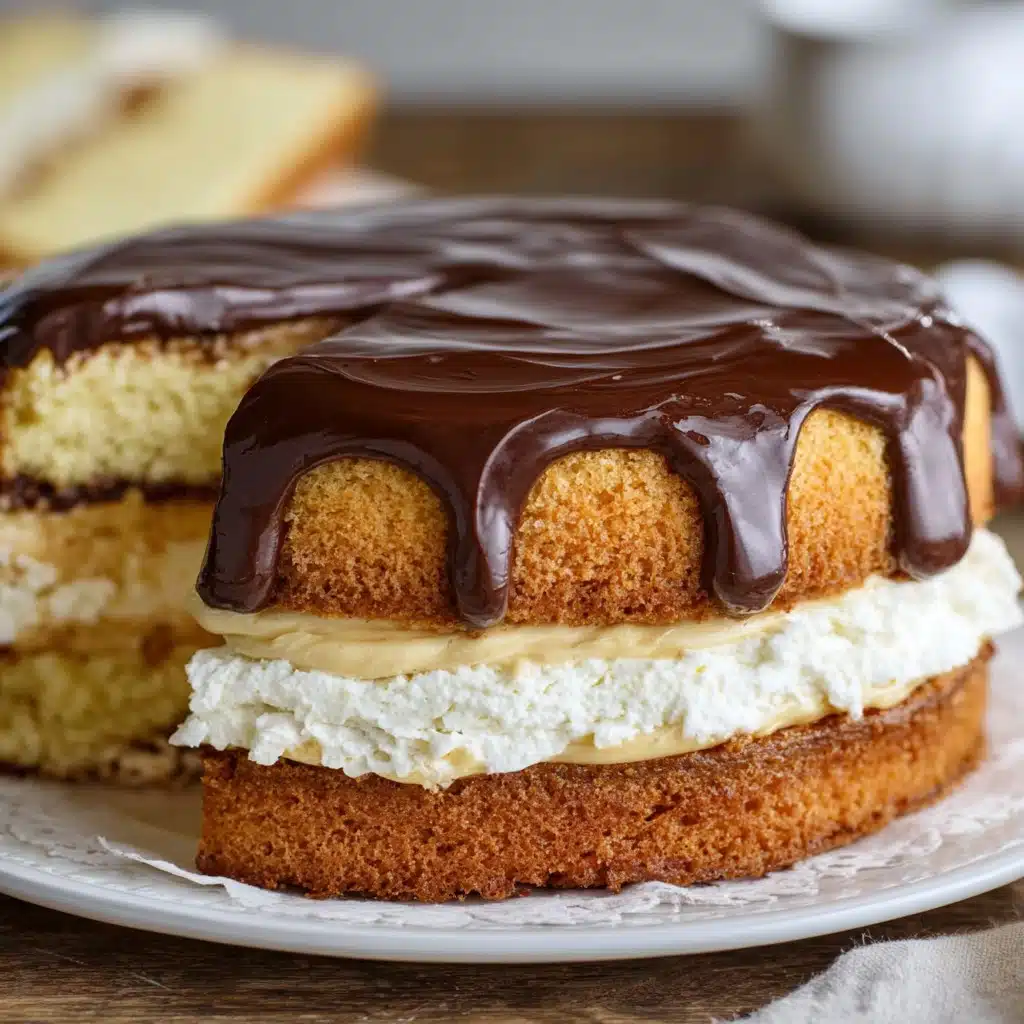
6Place one cake layer on a serving plate, spread with custard filling, top with the second cake layer, and pour chocolate glaze over the top. Chill before serving.
Approximate Information for One Serving
Nutrition Disclaimers
Number of total servings shown is approximate. Actual number of servings will depend on your preferred portion sizes.
Nutritional values shown are general guidelines and reflect information for 1 serving using the ingredients listed, not including any optional ingredients. Actual macros may vary slightly depending on specific brands and types of ingredients used.
To determine the weight of one serving, prepare the recipe as instructed. Weigh the finished recipe, then divide the weight of the finished recipe (not including the weight of the container the food is in) by the desired number of servings. Result will be the weight of one serving.
Did you make this recipe?
Please consider Pinning it!!




