Let’s Talk Snickerdoodles (Especially With Brown Butter)
Okay, real quick—if you’ve never browned butter before, you’re in for a treat and probably a bit of a mess if you’re anything like me! I got my first whiff of that nutty, toasty magic when I was supposed to be baking for a potluck. Ended up burning the first round (got distracted by my dog, who was being particularly needy), but honestly, even the burnt bits were good. These Brown Butter Snickerdoodles have since become my cookie of choice when I want to impress people—or just myself on a gloomy Saturday.
Oh, and fair warning: the cinnamon smell fills the kitchen so fast, you might get neighbors “just popping in” with suspicious regularity.
Why You’ll Love These, Or: The Reason My Cookie Jar is Never Full
I make this recipe when I want something a little more interesting than regular snickerdoodles but easier than those multi-step fancy cookies. My family goes nuts for them (especially my dad; I think he’d eat the dough straight from the bowl if I let him). Plus, if you ever doubted the power of browned butter, this is the cookie that’ll convince you. I had a phase where my snickerdoodles kept coming out dry—was almost ready to throw in the towel—but the brown butter? Total game-changer, moist and chewy every single time (well, except once when I missed the timer. Oops).
All The Ingredients (And a Few Lazy Swaps)
- 1 cup (about 225g) unsalted butter (if you’re desperate, salted works; just skip the added salt later)
- 1 and 1/3 cups granulated sugar (my friend uses turbinado for half—it’s crunchier that way)
- 2 large eggs (honestly, medium works fine in a pinch)
- 2 3/4 cups all-purpose flour (I’ve tried half whole wheat; it’s good but not as chewy)
- 2 teaspoons cream of tartar (my grandma swears by Clabber Girl but I use whatever’s cheap)
- 1 teaspoon baking soda
- 1/2 teaspoon salt (see above)
- 2 teaspoons ground cinnamon (plus more for dusting—no one is keeping count, really)
- 1/4 cup sugar (for rolling, or just toss some in a bowl and hope for the best)
How I Actually Make These (And Sometimes Mess Up)
- Brown the Butter: Pop your butter in a light pan on medium-ish heat; swirl and wait for it to foam, then get golden and nutty. And here’s my warning: Do. Not. Walk. Away. Or do, but come back quick! Pour into a bowl and let it cool a tad (I’ve used it hot before, but eggs will scramble… ask me how I know).
- Mix the Sugar and Eggs: Dump sugar in a big bowl. Add the cooled brown butter and stir like you mean it. Throw in eggs, one at a time. This is where I usually sneak a little taste. Tastes eggy, but, I dunno, I’m always optimistic.
- Dry Stuff: Add flour, cream of tartar, baking soda, salt, and cinnamon. I sift if I’m feeling fancy, or just whack it all in on a lazy day. Mix until just together; don’t beat the daylights out of it.
- Chill Out: Cover and refrigerate for at least 45 minutes (I sometimes don’t bother, but they flatten a bit more—your call).
- Scoop & Roll: Preheat oven to 350°F/175°C. Scoop balls (walnut sized? That’s what my aunt says; I use a medium cookie scoop). Roll in cinnamon sugar—use a bowl or just toss each one around with your hands.
- Bake: Bake on a lined tray for 9-11 minutes, until edges look just set and middles are soft (they always look underdone, but trust the process). Let ’em cool on the tray for a few minutes or they’ll fall apart (voice of experience here!).
A Few Random Notes Because I Never Remember Everything
- If you use dark brown sugar instead of white, you get a deeper flavor—it’s good, but lighter is more “classic.”
- Baked for 13 minutes once and got crunchy edges (not my vibe, but maybe yours?).
- If the dough feels sticky after chilling, just flour your hands—don’t add more flour or they get dry as old boots.
- Once, I doubled the cinnamon in the dough by accident and actually liked it.
Variations I’ve Tried—Some Winners, Some Not
- Added a few ounces of chopped white chocolate chips—made it gooey, kids loved it.
- Lemon zest once, thinking I’d get a lovely zing? Eh, not my favorite. Tasted a bit odd.
- Replaced half the butter with coconut oil when I ran out—came out more cakey, still yummy.
- For the gluten-free crowd: used Bob’s Red Mill mix; worked well but dough was stickier (worth it if you gotta).
If You Don’t Have Fancy Kitchen Gear
Cookie scoop is great, but two spoons work well enough. Also, mixing by hand makes you feel virtuous (or just a bit tired, honestly). Parchment paper is my best friend, but greased baking tray is fine—just don’t let them stick!
How to Store Them (Though, Ha, Good Luck)
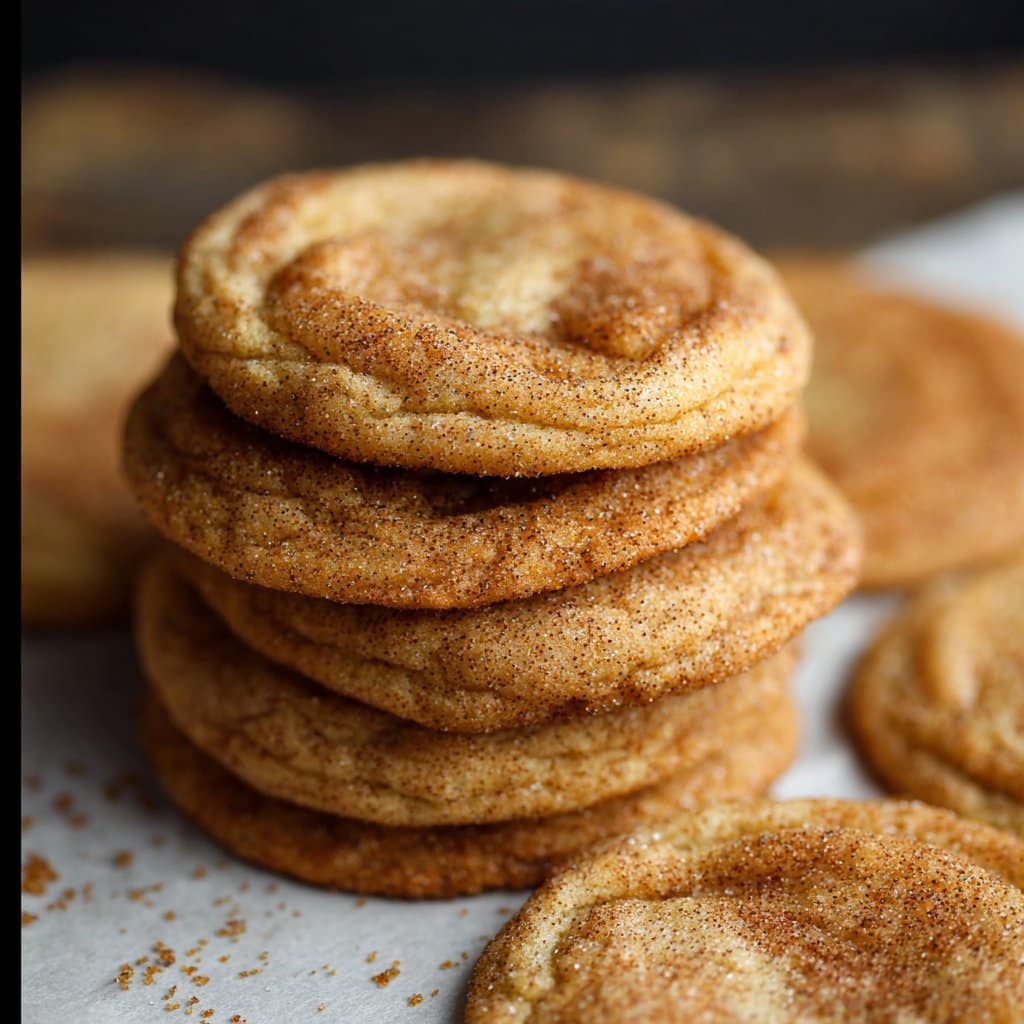
Technically, airtight container for 3 days. Actually, in my house, they’re gone within 24 hours—64 if I hide them behind the oats. They freeze well if you wrap ’em up, though I once forgot a bag in the freezer for 2 months, and they tasted fine (but slightly less soft).
Serving Them—Here’s What We Do
My favorite way? With a mug of milky coffee (or builder’s tea, if you live anywhere near Yorkshire). Sometimes I sandwich two together with vanilla ice cream—bit over the top, but impressive at a BBQ. No judgment if you just eat them for breakfast.
Some Tips I Learned by Messing Up
- If you melt the butter too fast, it burns and smells like a bonfire. Trust me on this.
- Don’t skip chilling—even 20 minutes helps. I tried to bake right away once and got pancake cookies.
- Go easy on the scoop size; bigger balls need more time and tend to spread too much. Learned that the hard way.
- Mixing cinnamon sugar in a zip bag is fun, but one time it popped open and I’m still finding cinnamon in my cutlery drawer.
FAQ—Real Questions from Friends (And Maybe My Mom)
- Can I use margarine instead of butter?
- Technically yeah, but it’s not quite the same—flavor is the whole deal here. Actually, I find it works better with real butter.
- Is cream of tartar required?
- I get this a lot. You can swap in 2 tsp baking powder in a pinch, but that signature tang goes missing.
- Can I freeze the dough?
- Absolutely! I often scoop balls, freeze on a tray, then bag them up. Bake from frozen (just add a minute or two).
- Help! My cookies came out flat!
- Probably the butter was too warm or you skipped the chilling. Don’t worry, still tastes good dunked in milk.
- Where do you buy cream of tartar anyway?
- Find it with the baking powder/spices. Or order it online, like at King Arthur Baking or The Spice House, ’cause grocery stores sometimes hide it on weird bottom shelves.
And Before I Forget…
Last week, I found out my neighbor puts pumpkin pie spice in his snickerdoodles. Tried it myself and honestly? Not bad, but a bit too autumnal for me. Curious if you give it a go! Oh, and if you need a basic snickerdoodle reference, Sally’s Baking Addiction has a nice classic version. Sometimes I read her stuff just to compare but…brown butter FTW.
Ingredients
- 1 cup (227g) unsalted butter
- 1 1/2 cups (300g) granulated sugar, divided
- 2 large eggs
- 2 3/4 cups (345g) all-purpose flour
- 2 tsp cream of tartar
- 1 tsp baking soda
- 1/2 tsp salt
- 2 tsp ground cinnamon
Instructions
-
1In a medium saucepan, melt butter over medium heat. Cook, stirring frequently, until the butter foams and then browns, about 5-7 minutes. Remove from heat and let cool slightly.
-
2In a large bowl, beat together the browned butter and 1 cup of sugar until combined. Add eggs one at a time, mixing well after each addition.
-
3In a separate bowl, whisk together flour, cream of tartar, baking soda, and salt. Gradually add dry ingredients to wet ingredients, mixing just until combined.
-
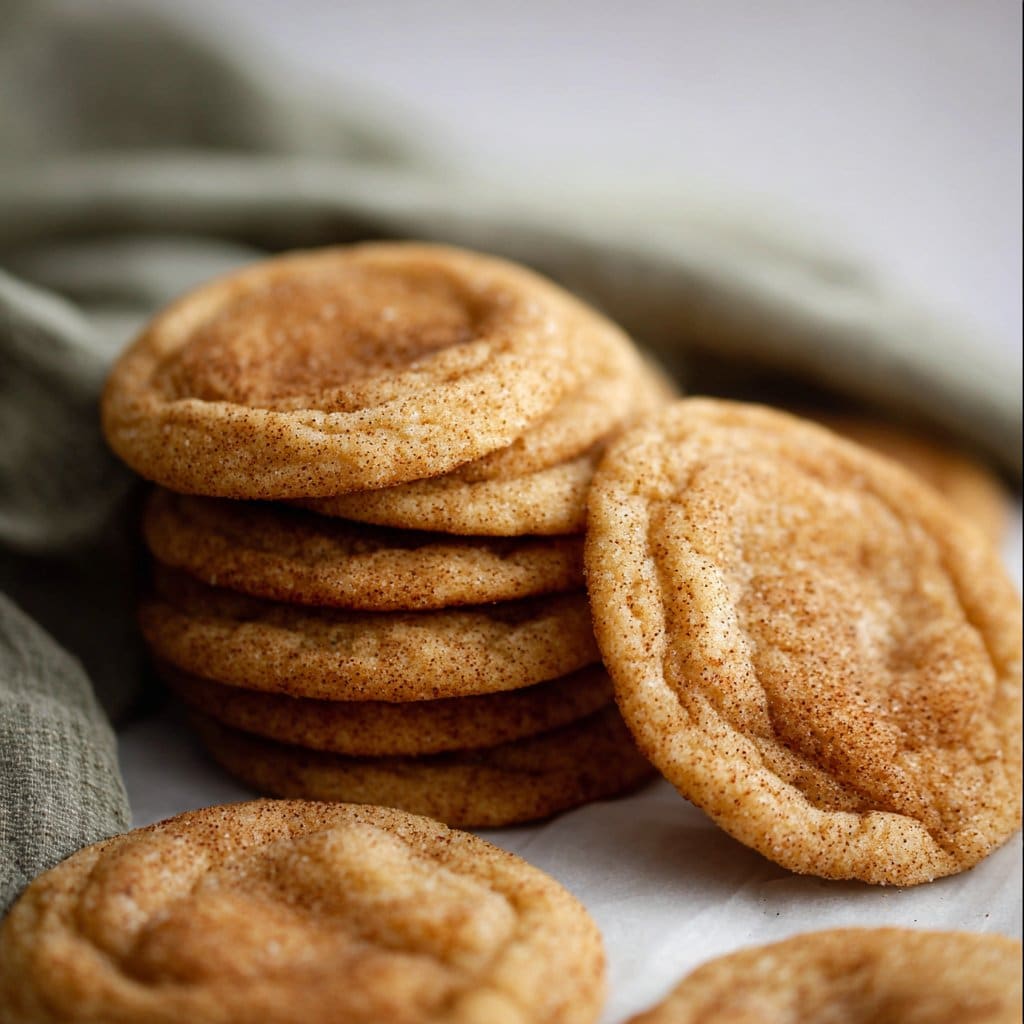
4In a small bowl, combine remaining 1/2 cup sugar with cinnamon. Scoop tablespoon-sized portions of dough and roll each into a ball, then toss in cinnamon sugar to coat.
-
5Place dough balls on a parchment-lined baking sheet about 2 inches apart. Bake at 350°F (180°C) for 10-12 minutes, or until edges are set but centers are still soft.
-
6Let cookies cool on the baking sheet for 5 minutes before transferring to a wire rack to cool completely.
Approximate Information for One Serving
Nutrition Disclaimers
Number of total servings shown is approximate. Actual number of servings will depend on your preferred portion sizes.
Nutritional values shown are general guidelines and reflect information for 1 serving using the ingredients listed, not including any optional ingredients. Actual macros may vary slightly depending on specific brands and types of ingredients used.
To determine the weight of one serving, prepare the recipe as instructed. Weigh the finished recipe, then divide the weight of the finished recipe (not including the weight of the container the food is in) by the desired number of servings. Result will be the weight of one serving.
Did you make this recipe?
Please consider Pinning it!!




