About This Slider Recipe (And Why It’s Basically a Party MVP)
You know that feeling when your friends text that they’re coming over in an hour and you want to feed them something miles better than stale chips? That’s pretty much how I stumbled into making these Buffalo Chicken Sliders. Honestly, I first made them for a Super Bowl party—more out of panic than polish—and ended up with a new family tradition. I once dropped a tray on the kitchen floor; dog was thrilled, guests were less impressed. We laugh about it now… mostly.
Why You’ll Absolutely Love These (Trust Me)
I whip these up when I need a guaranteed crowd-pleaser. Even my picky cousin (you know the one) hoards them like it’s his last meal. My family loses their minds for the tangy-spicy combo, and let’s be real, I make them when I’m craving something comforting but kinda want to pretend I’m at a pub. Oh, and if you’ve ever tried pulling chicken with two forks and wanted to dig a tunnel to escape—yeah, been there, but this recipe kinda makes it unintimidating (promise!).
What You’ll Need (And What Works if You’re Missing Stuff)
- 3 cups cooked shredded chicken (Rotisserie chicken is my go-to because, well, lazy days. But leftover roasted or even poached chicken works. Once, I used canned—wouldn’t really brag about it, but in a pinch…)
- 2/3 cup Buffalo sauce (Frank’s RedHot is the classic, but I’ve mixed in sriracha + butter when the bottle was empty. You do you.)
- 8-10 slider buns (Any soft roll does the trick. My grandmother insisted on those sweet Hawaiian rolls, yet honestly, regular dinner rolls work fine.)
- 1 cup shredded cheddar cheese (Sharp or mild. I even used that pre-shredded taco blend once and nobody cared)
- 2 tablespoons melted butter
- 1/2 teaspoon garlic powder
- Handful of chopped green onions (Optional, and only if I remember)
- Ranch or blue cheese dressing (To drizzle or dunk. I prefer ranch, but that’s the Midwest in me)
Let’s Get Cooking! Directions From My Kitchen to Yours
- Preheat your oven to 350°F (that’s 175°C if you’re anywhere but here).
- In a big bowl, toss the shredded chicken with Buffalo sauce. Use a spatula, or your hands if you’re feeling rustic. This is where I usually sneak a taste. If it burns your tongue, you did good.
- Slice all the slider buns in half horizontally (keep the bottoms together like a tray). Place the bottom halves in a baking dish lined with parchment if you just hate cleanup as much as I do.
- Spread the saucy chicken evenly over the buns (don’t worry if it looks a bit sloppy—perfection is overrated). Sprinkle cheese all over the top. I go heavy; you can go lighter if you want, but why?
- Plop the bun tops on. Mix melted butter with garlic powder, then brush it allll over the tops. Don’t skip this. I tried it once and… just don’t.
- Bake uncovered for about 13–15 minutes, or until the cheese is melty and tops are a little golden. Sometimes I broil for a minute at the end for extra crisp—just watch it closely (learned this the hard way; charcoal isn’t a flavor).
- Scatter those green onions if you have ‘em. Let cool just a couple minutes before slicing—if you wait too long, you’ll regret it, because the cheese is best when it’s still stretchy.
Notes from My Messy, Happy Kitchen
- If your buffalo sauce is super salty, maybe back off on the cheese a tad. I learned that once the hard way when my lips tingled for hours.
- You can totally make this ahead, assemble, cover, and refrigerate. Then just bake before serving. Actually, I find it works better if you let it sit 10 minutes out of the fridge before baking for even melting.
Variations I’ve Tried (Plus a Fail or Two)
- Sriracha + honey instead of buffalo sauce: sweet, spicy, but a little stickier. Not bad for a change-up.
- Pulled turkey: works, though it’s a bit drier; add more sauce if you go there.
- Jack cheese with some diced jalapeño: personal favorite, but only if you like things spicy.
- Once I tried plant-based “chicken”—it looked hopeful but, yeah, the texture wasn’t there. Your mileage may vary.
Equipment (Don’t Panic if You’re Missing Something)
- Baking dish (about 9×13 inches, but really, any oven-safe tray will do—I’ve used a pizza tray with foil before, total hack)
- Brush for the butter (if you don’t have one, just drizzle and spread with a spoon; it’s rustic!)
- Sharp knife for slicing—just be gentle so you don’t squish the buns flat
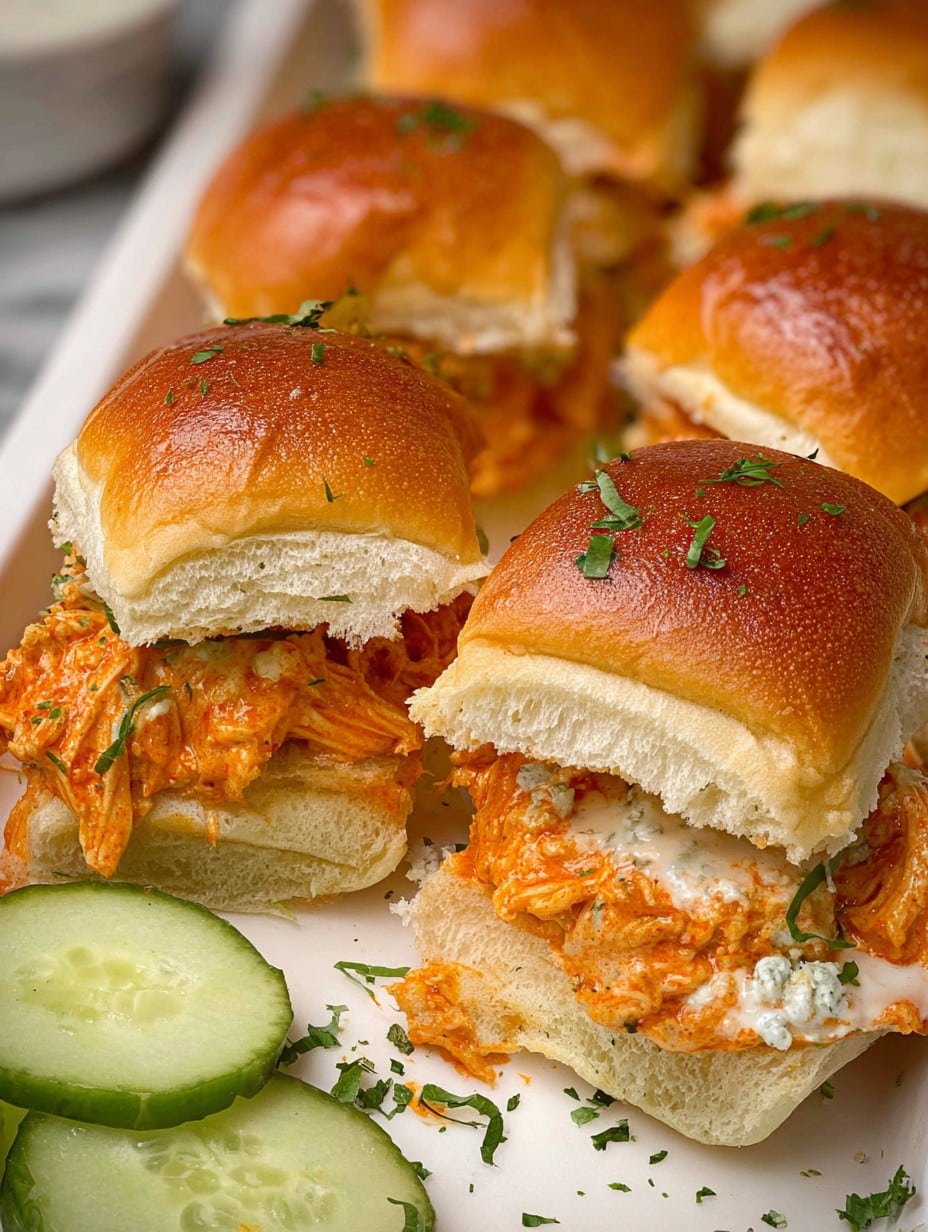
How to Store ‘Em (If You’re Not Feeding a Small Army)
If, by some miracle, you have leftovers, pop them in an airtight container in the fridge. Good for about two days. Though, honestly, in my house it never lasts more than a day! I think they’re actually better the next day, reheated for lunch. Learn more about good food storage safety at eatright.org if you want to get more official.
How I Serve These Up (And How My Family Gets Creative)
I usually pile them up on a big board, scatter a few celery sticks around (because, you know, health somewhere), and nudge a bowl of ranch in there for good measure. My sister dips hers in blue cheese and mutters about tradition. If it’s game night, we add pickles on the side. Actually, don’t knock it till you try it.
Stuff I Learned the Hard Way (So You Don’t Have To)
- Take the cheese all the way to the edges; otherwise, dry corners. I once tried rushing this step and regretted it because those outside pieces just aren’t as good.
- Don’t overbake—cheese gets oily, buns get weirdly hard. Set a timer, even if you think you won’t forget (I always do).
- Let them rest *just* a minute or so before slicing. Too early and everything leaks out, but too late and they’re stiff.
Wondering About Something? (FAQ Real Talk)
- Can I use pre-cooked shredded chicken from the deli?
- Absolutely. Honestly, that’s my secret when time’s tight. Just check it’s not too salty already. Or, well, rinse it off if it is!
- Do these freeze well?
- Sorta—freezing works in a pinch, but the buns get a little soggy after thawing. I usually just make as much as we’ll eat.
- How spicy are they?
- It really depends on the Buffalo sauce you use. Mine is medium, but if you want more kick, add extra sauce. Or, dial it back with more ranch on top—works every time.
- Can I use regular-sized buns if I don’t have sliders?
- Yep, just make ‘Buffalo Chicken Sandwiches’—I’ve done it many Saturday nights. Nothing wrong with a good messy handful, right?
Oh! Before I forget, if you wanna geek out about the difference between Buffalo sauce and hot sauce itself, check this totally helpful Spruce Eats guide. And if you need slider bun baking inspo, Sally’s Hawaiian Rolls recipe is genuinely ace.
Well, that’s the Buffalo Chicken Slider story. If you try ‘em, let me know what you think — unless you think my cheese layer is overkill, then maybe keep it to yourself (kidding!). Enjoy!
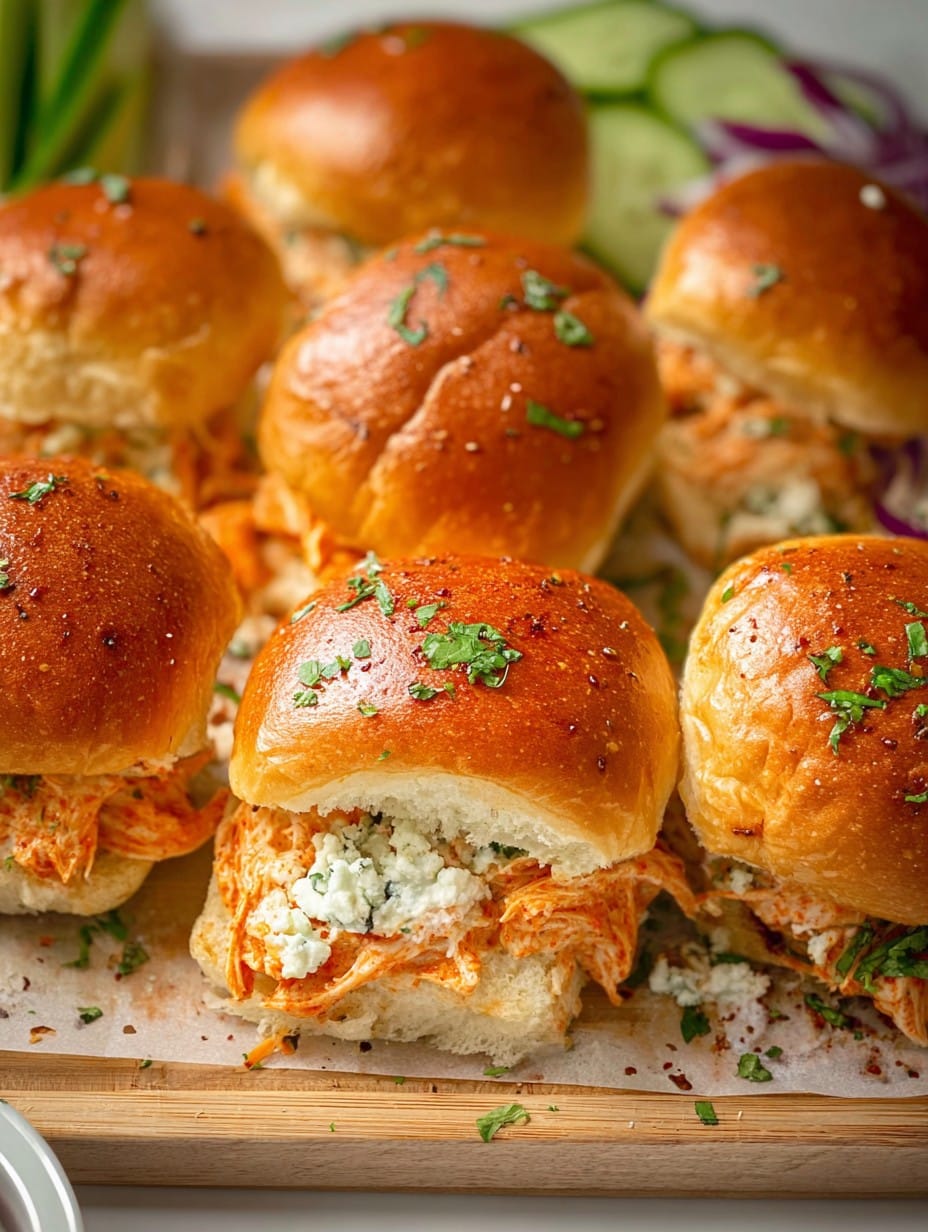
Ingredients
- 2 cups cooked shredded chicken
- 1/2 cup buffalo wing sauce
- 12 slider buns
- 6 slices provolone cheese, halved
- 1/4 cup ranch dressing
- 2 tablespoons unsalted butter, melted
- 1 tablespoon chopped fresh chives
- 1/2 cup coleslaw mix (optional)
Instructions
-
1Preheat oven to 350°F (175°C). Lightly grease a baking dish.
-
2In a medium bowl, toss the shredded chicken with buffalo wing sauce until evenly coated.
-
3Slice the slider buns in half horizontally. Place the bottom halves in the prepared baking dish.
-
4Evenly spoon the buffalo chicken mixture over the bun bottoms. Layer provolone cheese slices on top, then drizzle with ranch dressing and add coleslaw mix if using.
-
5Cover with the top halves of the buns. Brush the tops with melted butter and sprinkle with chopped chives.
-
6Bake for 18-20 minutes, until cheese is melted and sliders are golden. Serve warm.
Approximate Information for One Serving
Nutrition Disclaimers
Number of total servings shown is approximate. Actual number of servings will depend on your preferred portion sizes.
Nutritional values shown are general guidelines and reflect information for 1 serving using the ingredients listed, not including any optional ingredients. Actual macros may vary slightly depending on specific brands and types of ingredients used.
To determine the weight of one serving, prepare the recipe as instructed. Weigh the finished recipe, then divide the weight of the finished recipe (not including the weight of the container the food is in) by the desired number of servings. Result will be the weight of one serving.
Did you make this recipe?
Please consider Pinning it!!




