Let’s Talk: Why Candy Corn White Chocolate Blondies Are My Autumn Obsession
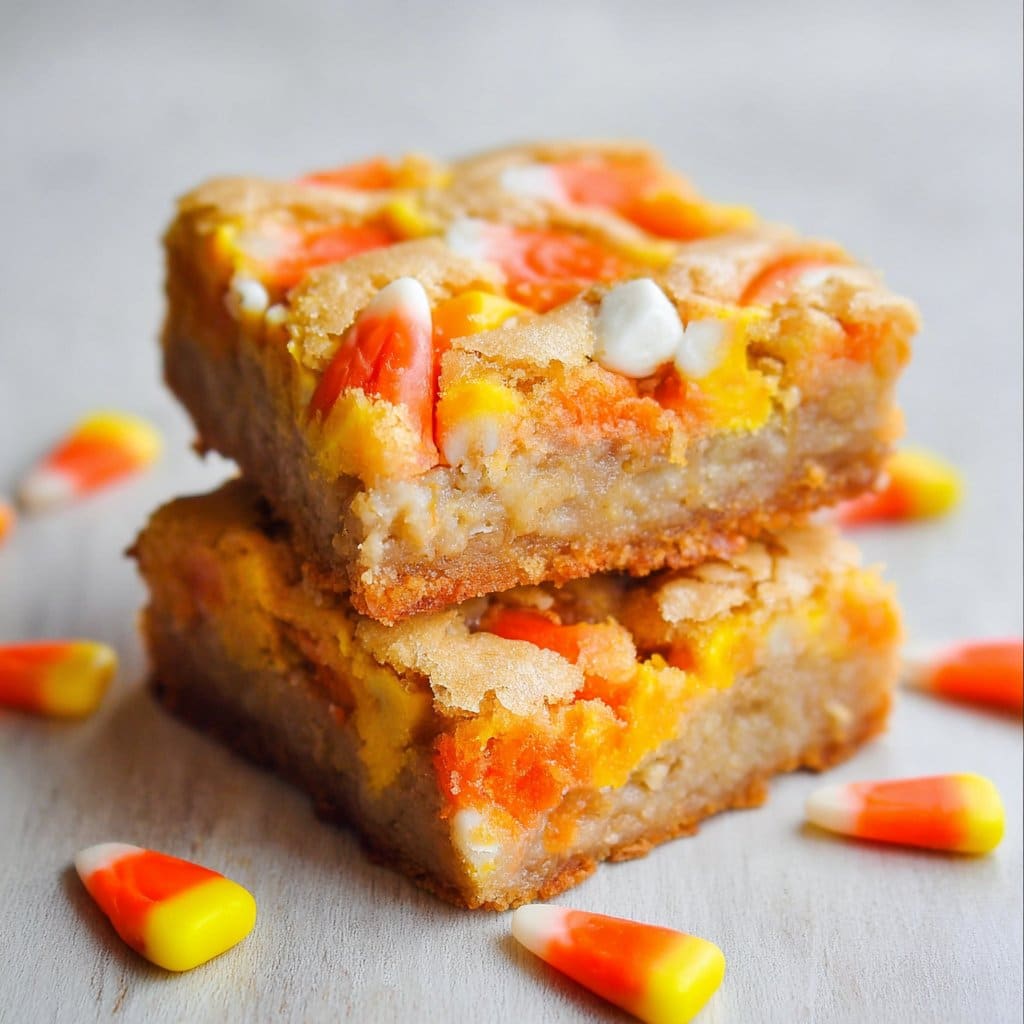
If you’d told me a few years back I’d be stockpiling candy corn for actual baking—rather than just sneaking them by the handful during October—I’d have probably laughed. But these Candy Corn White Chocolate Blondies? Total game-changer. My niece, Emma, still talks about the first batch I ever made; we ate them warm while watching some goofy Halloween special (gotta love how nostalgia sneaks in). And not to brag, but they’ve become a pretty strong contender for MVP of our family dessert table. But hey, their lopsided shapes are living proof I’ll never be a pastry chef. Anyway, if you’re in need of a treat that’s both cozy and—honestly—a little bit ridiculous, dive on in.
Here’s Why You’ll Probably Fall for These Too
I make these blondies when I want something with just the right amount of sticky-sweet and chewy; plus, candy corn is so divisive that serving it in a homemade baked good is like a sneaky peace treaty in my house. My family goes a bit nuts for the bites with extra white chocolate pockets. And sure, the first time I made these, I forgot to line the pan—ugh, what a sticky situation—but now I know better (most of the time). Oddly enough, the candy corn kind of melts and makes little pockets of gooeyness—VERY scientific, I know.
Gathering Ingredients: Swaps, Shortcuts & Odd Brand Loyalties
- 1/2 cup (1 stick) unsalted butter (sometimes I use salted and just dial down the added salt, honest mistake…or maybe genius?)
- 1 cup packed light brown sugar (my grandmother swore by C&H, but I think any will do!)
- 1 large egg (room temp—I do try, but sometimes straight from the fridge works, too)
- 2 tsp vanilla extract (I’ve even tossed in a tiny splash of almond when feeling wild)
- 1 cup all-purpose flour (have tried with cake flour, comes out slightly fluffier?)
- 1/2 tsp salt (unless your butter is salted, then a pinch’ll do)
- 3/4 cup white chocolate chips (Trader Joe’s ones are oddly creamy, but I’ve used off-brands and no one noticed)
- 1 cup candy corn (or… honestly, as much as you want. You do you.)
- Optional: 1/2 cup chopped walnuts or pecans for a nutty crunch, but my sister hates nuts, so…family drama avoided usually
Just Dive In: My (Imperfectly) Step-By-Step Directions
- Preheat oven to 350°F (180°C). Grease or line an 8×8-inch baking square with parchment—if you forget, just be ready with a sturdy spatula later.
- Melt your butter in the microwave or on the hob (my UK friend’s influence—just means stovetop, really). If using the microwave, check it—it goes from softly melted to volcanic in seconds. Let it cool a minute or two; you don’t want scrambled eggs in your batter. Seriously—I’ve done it.
- Mix your brown sugar into the melted butter until it looks smooth-ish and shiny. This is where I sometimes sneak a tiny taste (shh).
- Crack in the egg and slosh in the vanilla. Mix again; don’t overthink it.
- Stir in flour and salt. Don’t panic if the batter looks thicker than usual cake batter—think Play-Doh more than pancake.
- Fold in those white chocolate chips, then most of your candy corn. Save a small handful for pressing on top. Never fails to make them look fancy.
- Spread that dough into your pan—it’ll fight you a little, just coax it gently into the corners. Top with those reserved candy corns (artistic arrangement is optional—some days I just chuck them on).
- Bake about 22–26 minutes, or until the edges look set and a toothpick in the center comes out mostly clean. (A bit of goo is fine, better than overbaked!)
- Cool as long as your patience lasts—though warm, oozy ones with melty candy corn are pretty great. Cut into squares or… weird parallelograms if you’re me.
Extra Messy Notes (Learned the Hard Way)
- Baking longer for crunchier edges is fine, but the centers might get too tough—find your sweet spot (pun, accidental—promise).
- If the candy corn sticks up too much, it’ll sometimes get too toasty and turn weirdly crunchy. I actually like it, but my brother made a face last time.
- I sometimes add a pinch of cinnamon in October—controversial, but I like the spice kick.
Variations: Trials, Errors, and One Total Flop
- Sub dark chocolate for white for a deeper flavor—worked great, but less photogenic, if that matters.
- Tried M&M’s in place of candy corn (once, in a moment of pantry desperation)— it just wasn’t the same. I don’t recommend, but if you’re curious, go for it!
- Sprinkle of flaky sea salt on top before baking adds a grown-up twist. Discovered this by accident and loved it.
My Everyday Equipment List (And What To Use If You’re Missing Stuff)
- 8×8-inch baking pan (I once doubled the recipe for a 9×13, but the texture changed. Go smaller unless you like thinner blondies)
- Mixing bowl (big enough to get your arm in for stirring—no dainty bowls here)
- Rubber spatula or big spoon (have definitely used a clean hand in a pinch; not proud, but hey)
- Parchment paper is a lifesaver but, again, buttering the pan and crossing your fingers is sometimes enough
Storing and Keeping (Not That They Last Long)
Technically these blondies will keep in an airtight tin for 2–3 days at room temp, and up to a week in the fridge. But honestly, in my house, they’re gone basically overnight. If you do manage leftovers, don’t stack them with the candy corn side down. Trust me—you’ll regret the stickiness.
How I Like Serving ‘Em (Or: My Family’s Ritual)
Usually I let them cool just enough to slice but still warm, serve with mugs of cider (or, okay, coffee if it’s breakfast—absolutely not judging). At Halloween, we sometimes stick little plastic spiders on top for a laugh. Also, try them next to a scoop of vanilla ice cream while watching a slightly scary movie like Hocus Pocus—for, you know, full festive effect.
Pro Tips From Someone Who’s Messed Up More Than Once
- Don’t chill the dough too long (I did once because I got distracted by a text)—it baked up weirdly tough. The fresher the better for these.
- If you rush the melting butter step, you might end up with little scrambled egg bits. Actually, I find it works better if the butter’s cooled a minute before adding sugar.
- I used to skip parchment, thinking, “Eh, who cares?” Well, my cutting board does—save yourself some cleanup.
FAQ: Real Questions (and Actual Answers)
- Can I freeze Candy Corn White Chocolate Blondies?
Yup! Cut and wrap; they freeze for a few months. But, full disclosure, I always miss them too much and eat them frozen. Not proud. - Do I have to use real butter?
Actually, I’ve subbed in plant-based or margarine—it works, but, I dunno… the flavor’s just not quite as good. Maybe it’s just me. - Is it okay if the slices look messy?
Absolutely! They always look a bit chaotic—call it rustic charm if anyone asks. - Can I leave out the candy corn?
Technically, sure—but then you’ve just got regular blondies (still tasty but missing that Halloween-ish flair). - Can I use a glass pan instead of metal?
Yes, but you might need to watch the bake time. Seems to run a bit longer, at least in my dodgy oven.
Oh—one last thing. If you’re looking for more Halloween-ish snacks, I sometimes poke around Sally’s Baking Addiction for inspo, and for fancier blondie variations, Tasty usually has a few wild twists (though, honestly, these are still my favorite). Enjoy—and save a square for me, will you?
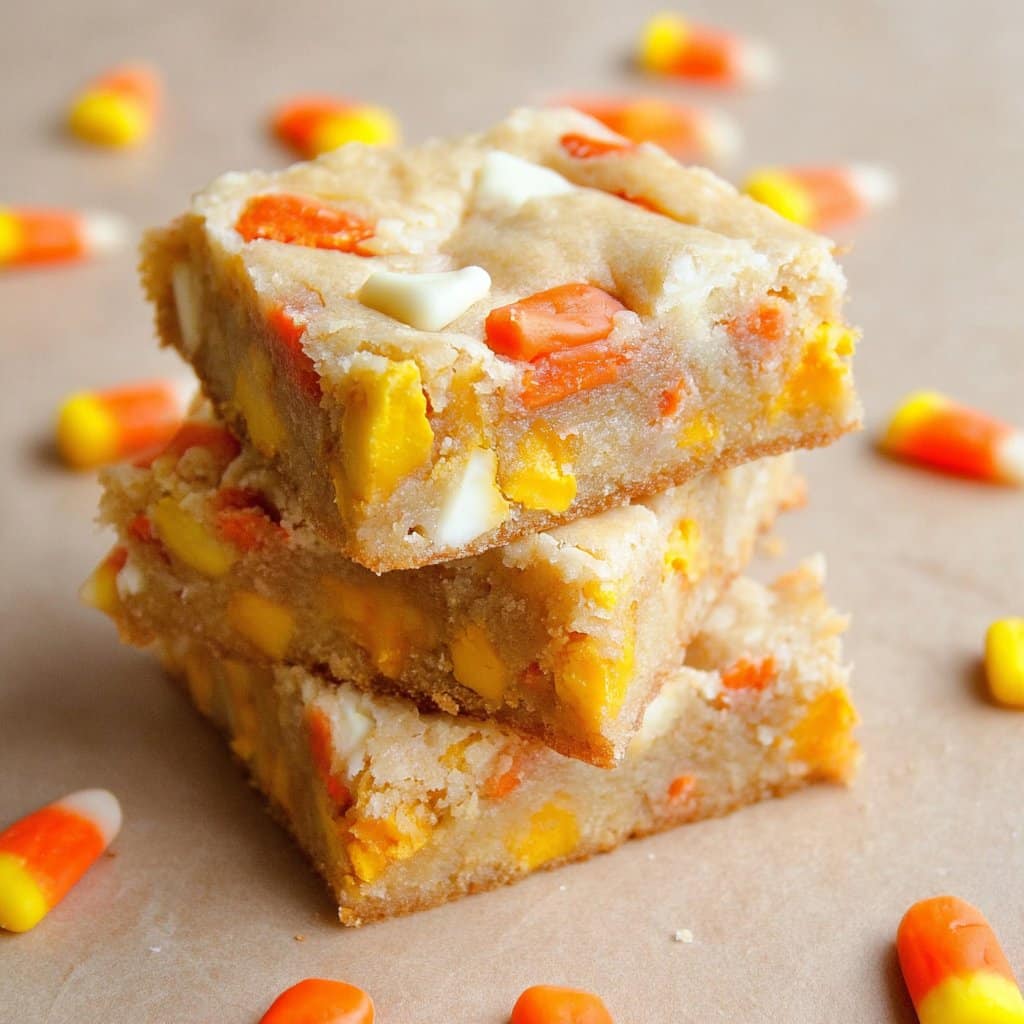
Ingredients
- 1 cup unsalted butter, melted
- 1 1/2 cups light brown sugar, packed
- 2 large eggs
- 2 teaspoons pure vanilla extract
- 2 cups all-purpose flour
- 1/2 teaspoon baking powder
- 1/2 teaspoon salt
- 1 cup white chocolate chips
- 1 cup candy corn
Instructions
-
1Preheat oven to 350°F (175°C). Line a 9×13-inch baking pan with parchment paper and lightly grease.
-
2In a large bowl, whisk together melted butter and brown sugar until smooth. Add eggs and vanilla, mixing until fully combined.
-
3In a separate bowl, whisk together flour, baking powder, and salt. Gradually add the dry ingredients to the wet ingredients, stirring until just combined.
-
4Fold in white chocolate chips and candy corn, reserving a handful of each for topping if desired.
-
5Spread the batter evenly in the prepared pan. Sprinkle the reserved candy corn and white chocolate chips over the top.
-
6Bake for 22-25 minutes, or until a toothpick inserted into the center comes out clean. Cool completely before cutting into squares.
Approximate Information for One Serving
Nutrition Disclaimers
Number of total servings shown is approximate. Actual number of servings will depend on your preferred portion sizes.
Nutritional values shown are general guidelines and reflect information for 1 serving using the ingredients listed, not including any optional ingredients. Actual macros may vary slightly depending on specific brands and types of ingredients used.
To determine the weight of one serving, prepare the recipe as instructed. Weigh the finished recipe, then divide the weight of the finished recipe (not including the weight of the container the food is in) by the desired number of servings. Result will be the weight of one serving.
Did you make this recipe?
Please consider Pinning it!!




