So, What’s the Story Behind These Cheesecake Squares?
Alright, friend, let me just say—cheesecake squares with creamy vanilla filling are my kitchen’s not-so-secret weapon. The first time I made these, I was trying to impress my neighbor who bakes like she belongs on the telly (she makes scones that could win prizes). I was nervous; my hands were shaking and I got cream cheese on my cat, but in the end, everyone was happy. These are the squares I whip up for birthdays, midnight cravings, or honestly, on a Tuesday just because. They’re easier than you think—unless you think they’re really easy, and then they’re just as easy as that. Oh, and one time I dropped the whole tray, but that’s a story for another day.
Why I Keep Coming Back to This Recipe
I make this when I’ve got friends coming over who say they “don’t like cheesecake” (they always eat two pieces anyway). My family goes crazy for this because the filling is so creamy and that buttery base is—well, buttery. Plus, if you’re like me and occasionally forget an ingredient at the shop, you can fudge this recipe a little and no one’s the wiser (unless you forget the cheese, in which case it’s just sad). Honestly, the only thing that’s ever annoyed me is waiting for it to cool. But then again, I’ve eaten it warm and survived, so there you go.
What You’ll Need (and What You Can Swap In)
- 200g digestive biscuits (graham crackers work too—my gran swore by McVitie’s but I use whatever’s cheapest)
- 100g melted unsalted butter (sometimes I use salted because honestly, who can tell?)
- 400g cream cheese, full fat (reduced fat works in a pinch but it’s not quite as lush)
- 2/3 cup granulated sugar (I’ve used brown sugar once, and it was pretty tasty, actually)
- 2 large eggs (medium eggs are fine, just don’t use tiny ones or you’ll regret it)
- 2 tsp vanilla extract (real, fake, or homemade—no one’s judging here)
- 1/2 cup sour cream (Greek yogurt is a decent swap if you’re out of sour cream)
- Pinch of salt (sometimes I forget this and, honestly, not a disaster)
Let’s Get Baking (Don’t Stress!)
- Preheat your oven to 160°C (320°F)—though once I forgot and just chucked it in cold, it took forever. Don’t do that.
- Line a square baking tin (about 8 inches or, you know, a round one if that’s all you’ve got) with baking paper. Leave a bit of overhang so you can lift the bars out later. Or just butter it really well if you’re feeling brave.
- Bash up the biscuits in a bag with a rolling pin until you’ve got crumbs (or whizz in a food processor, but sometimes it’s more fun—and louder—to just whack ’em by hand). Mix with melted butter and press into the bottom of the tin. I usually sneak a taste here. Pop it in the fridge while you work on the filling.
- In a big bowl, beat the cream cheese until smooth. Add the sugar; beat again. Then, one at a time, add the eggs, mixing well after each. If it looks a bit lumpy, don’t fret, the oven sorts it out.
- Stir in the vanilla extract, sour cream, and that pinch of salt. Give it all a good mix, but don’t go wild—just enough to get it smoothish.
- Pour the creamy filling over your biscuit base. Smooth the top, or don’t. I sometimes give the tin a gentle tap on the counter to get rid of bubbles, but not always.
- Bake for about 35-40 minutes, until the edges just start to puff and the centre’s still a little wobbly. Don’t over-bake; I did once and it went all weirdly rubbery.
- Cool completely in the tin (I know, it’s the worst bit). Then pop it in the fridge for a few hours. Or overnight, if you’ve got superhuman patience.
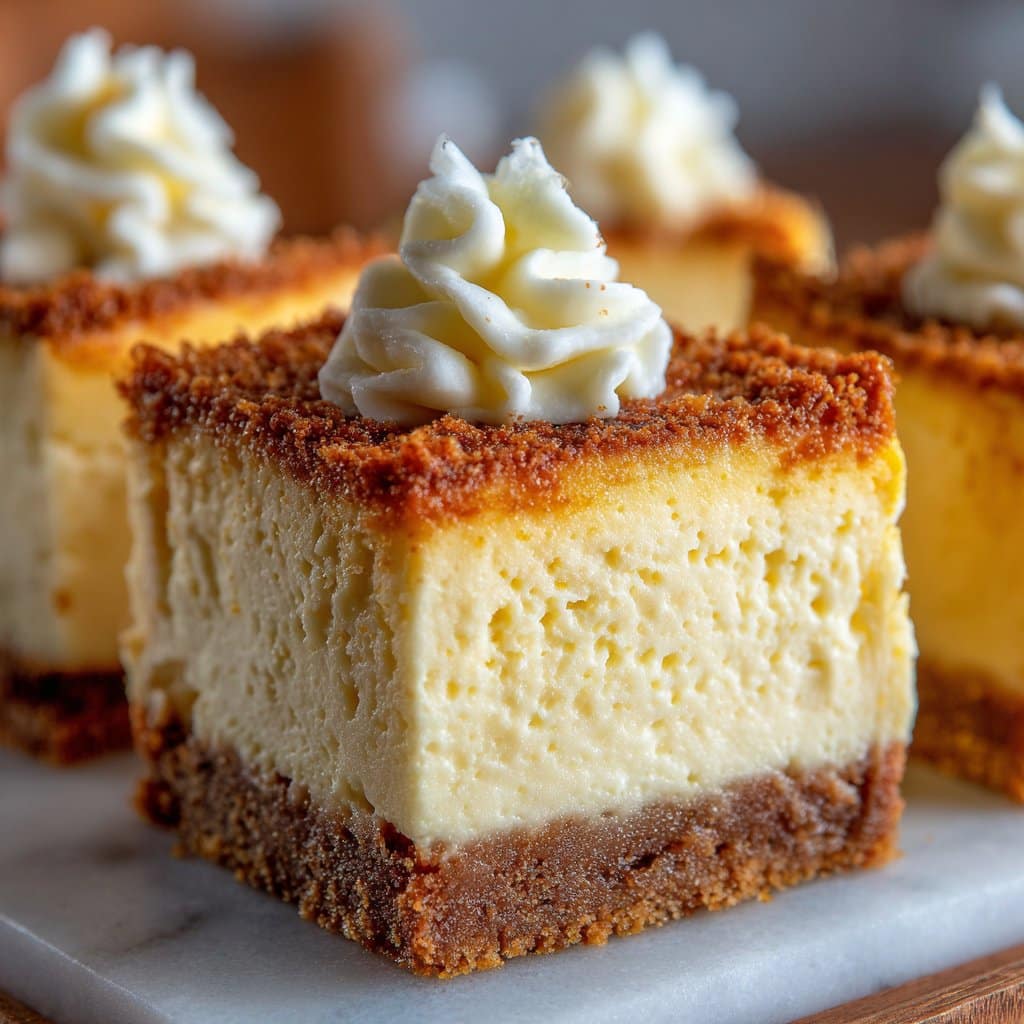
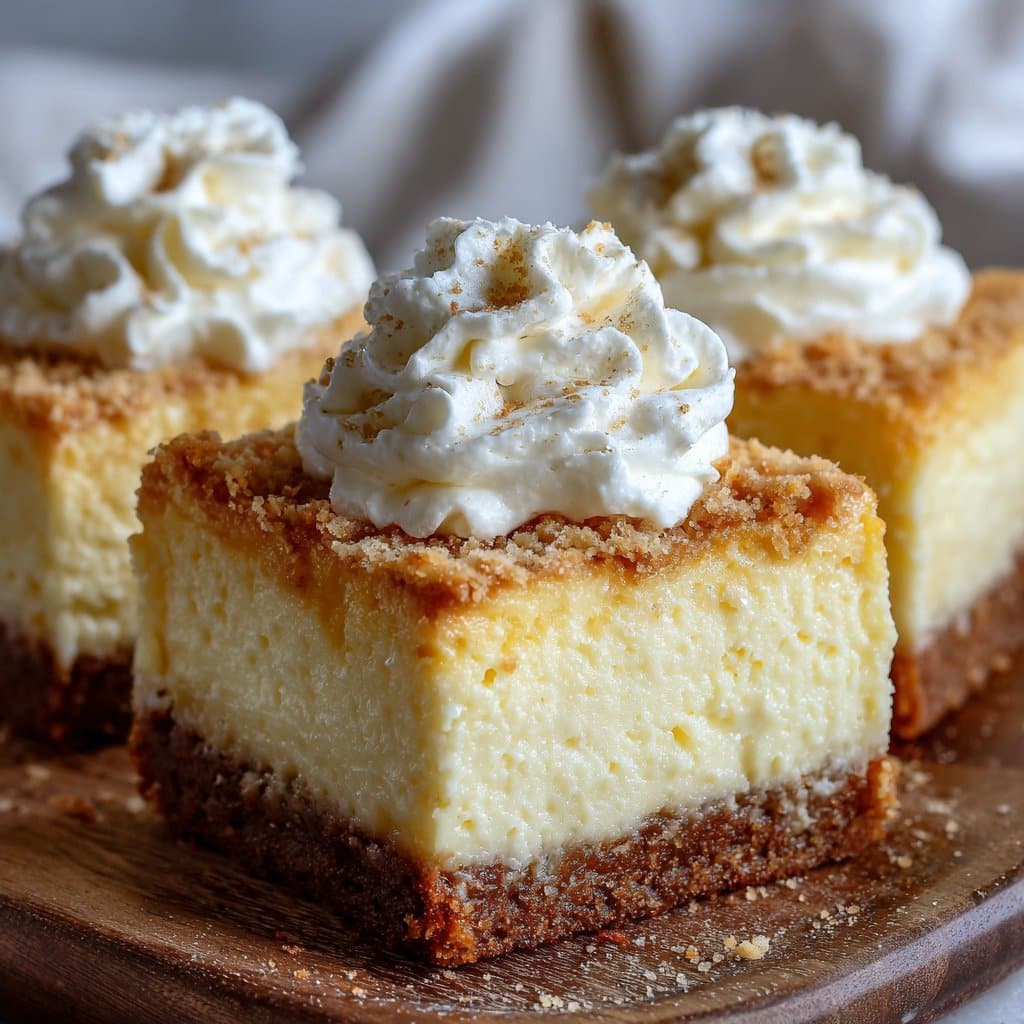
- Lift out, slice into squares, and marvel at your handiwork. Or just eat one straight from the pan—no judgement.
Notes from (Many) Experiments
- Once I tried using low-fat cream cheese and it was a bit sad and watery. Full-fat really is better here.
- If you’re in a hurry, you can skip the fridge chill. But the squares won’t be as neat—more like cheesecake blobs. Still tasty, just less photogenic.
- Don’t panic if there’s a little crack on top. I read somewhere it means you’re a real baker. Or maybe I just made that up, but it sounds nice, right?
Variations I’ve Tried (and Occasionally Regretted)
- Swapped half the vanilla for lemon zest—very zingy, my sister loved it.
- Added a swirl of raspberry jam before baking. Messy but delicious.
- Tried chocolate chips once… Actually, on second thought, they sank to the bottom and burned. Wouldn’t recommend.
Equipment You (Might Not) Need
- Mixing bowls (if you only have one, just rinse between steps—no biggie)
- An electric mixer makes life easier, but I’ve done it with a wooden spoon when the power was out. Bit of a workout, but it’s doable.
- Baking tin (square is neat, but I once used a loaf pan and just cut funny-shaped bars—tasted the same!)
- Baking paper (or a well-buttered tin—sometimes I just wing it)
How to Store ‘Em (If You Have Any Left…)
Stick any leftovers in an airtight container in the fridge—they’ll keep for 3-4 days. Though honestly, in my house it never lasts more than a day, especially if my brother’s around. You can freeze them, but they’re a little less creamy after defrosting. Still good for a sneaky midnight snack, though.
Serving Suggestions (And a Family Tradition)
I serve these cold, straight from the fridge. My cousin likes hers with a bit of whipped cream and a few blueberries (which makes them look way fancier). Sometimes I dust a little icing sugar over the top, but only if I remember. At Christmas, we eat them for breakfast—don’t tell my doctor.
Pro Tips (Learned the Hard Way!)
- Don’t try to rush the cooling. I once cut them while warm and made a right mess. Tasty, but you couldn’t serve them to guests unless your guests like chaos.
- If you’re doubling the recipe, use a bigger tin or they’ll never bake through—trust me, I’ve scraped raw cheesecake off the bottom of the pan before; not fun.
- Actually, I find it works better if you line the tin with two sheets of paper going both ways—less sticking.
FAQ (Actual Questions from My Inbox…and Mum!)
- Can I use low-fat cream cheese? You can, but I wouldn’t. It ends up a bit sad, texture-wise. But it still tastes like cheesecake, so—if you must!
- Do I really need sour cream? Nope. I’ve used Greek yoghurt and crème fraîche in a pinch. Works a treat.
- How do I keep the base from crumbling? Press it down hard. Like, really put your back into it. Or use the bottom of a glass (thanks, Sally’s Baking Addiction—she taught me that trick!)
- Can I make these gluten-free? Yep! Just use gluten-free biscuits for the base. I tried it once with oatcakes, which was… interesting, but not bad.
- Can I halve the recipe? Sure thing. Just use a smaller tin or you’ll get a very thin cheesecake (which, honestly, isn’t the worst thing ever).
And there we are—cheesecake squares with creamy vanilla filling, tried and tested and, occasionally, dropped on the floor. Give it a go! Oh, and if you want more unpretentious baking fun, King Arthur’s version is worth a look too.
Ingredients
- 1 1/2 cups graham cracker crumbs
- 1/3 cup unsalted butter, melted
- 2 tablespoons granulated sugar
- 16 oz cream cheese, softened
- 3/4 cup granulated sugar
- 2 large eggs
- 1/2 cup sour cream
- 2 teaspoons pure vanilla extract
- 1 tablespoon all-purpose flour
- 1/4 teaspoon salt
Instructions
-
1Preheat the oven to 325°F (163°C). Line an 8×8-inch baking pan with parchment paper, leaving an overhang on the sides.
-
2In a medium bowl, combine graham cracker crumbs, melted butter, and 2 tablespoons sugar. Press the mixture firmly into the bottom of the prepared pan to form the crust.
-
3In a large bowl, beat the cream cheese and 3/4 cup sugar until smooth and creamy. Add eggs one at a time, mixing well after each addition.
-
4Mix in sour cream, vanilla extract, flour, and salt until just combined. Pour the filling over the crust and spread evenly.
-
5Bake for 35 minutes or until the center is set but still slightly jiggly. Cool completely at room temperature, then refrigerate for at least 3 hours before cutting into squares.
Approximate Information for One Serving
Nutrition Disclaimers
Number of total servings shown is approximate. Actual number of servings will depend on your preferred portion sizes.
Nutritional values shown are general guidelines and reflect information for 1 serving using the ingredients listed, not including any optional ingredients. Actual macros may vary slightly depending on specific brands and types of ingredients used.
To determine the weight of one serving, prepare the recipe as instructed. Weigh the finished recipe, then divide the weight of the finished recipe (not including the weight of the container the food is in) by the desired number of servings. Result will be the weight of one serving.
Did you make this recipe?
Please consider Pinning it!!




