Honestly, I Could Eat These Cheesy Garlic Chicken Wraps Every Day
You know those kinda wild days where the clock’s racing you and you’re feeling a bit peckish, but also not in the mood for a big kitchen clean-up? That’s usually when I pull out my go-to: cheesy garlic chicken wraps. First time I made these, I was running late after football practice (my kid, not me—those days are behind me, ha!) and just needed something everyone would eat without fuss. My partner’s not a huge fan of leftovers (he swears food ‘just tastes different’ the next day), but even he asks for these wraps again and again. Oh, and there was this one time I ran out of tortillas and used pita bread instead… not my best move, but it got the job done. Anyway, let’s get on with it before I start rambling about last weekend’s grocery trip and my ongoing cheese obsession (which is, honestly, a whole separate conversation).
Why I Keep Coming Back to This Recipe
I make these wraps when I’m after something quick and, let’s be honest, when I’m craving cheese (which is often). My family goes a bit nuts for them, especially because you can eat these with one hand while scrolling on your phone (not ideal, but hey, I pick my battles). The garlicky chicken is so easy, and the melty cheese sort of glues everything together. I’ve tried fancier versions, but I keep returning to this one because it’s fast and doesn’t demand a lot of brainpower after a long day. Plus, I finally figured out not to overload the wraps—learned that lesson the messy way.
What You’ll Need (With My Usual Shortcuts)
- 2 chicken breasts, chopped (I sometimes use rotisserie chicken when I can’t be bothered to cook from scratch—saves heaps of time!)
- 1 cup shredded cheese (cheddar’s my go-to, but mozzarella or Monterey Jack work—my nan swore by a sharp Red Leicester, but honestly, use what you’ve got)
- 4 large flour tortillas (whole wheat if you’re feeling virtuous; once I tried corn wraps and they fell apart but tasted fine)
- 2–3 cloves garlic, minced (jarred minced garlic is totally fine in a pinch, no shame)
- 2 tablespoons sour cream (Greek yogurt if you’re feeling healthy-ish)
- Small handful fresh parsley, chopped (or skip this if your herb garden’s looking sad)
- 1 tablespoon olive oil (or just use whatever oil is handy—sunflower, canola… it’s all good)
- Pinch each: salt & pepper
How I Throw These Wraps Together (With Honest Commentary)
- Heat a frying pan on medium heat. Splash in the olive oil, then toss in your chicken. I usually add a little salt and pepper now, but sometimes I forget and add it later—no biggie.
- Let the chicken cook until it starts getting those golden bits (about 6–7 minutes). Don’t fuss if it sticks a little; that’s flavor. This is where I sneak a piece to check if it’s cooked. Actually, I find it works better if you don’t move it around too much at first.
- Chuck in the garlic. Stir for a minute. If you love garlic, maybe add more—I won’t tell.
- Take the pan off the heat and stir in the sour cream and half your cheese, plus parsley if you’re using it. The cheese won’t fully melt yet, but that’s fine; it’ll get oozy in the wrap. If it looks a bit gloopy, that’s totally normal.
- Lay out your tortillas and spoon the mixture down the middle of each. Sprinkle over the rest of the cheese. Try not to overfill (I do, every single time, and regret it later).
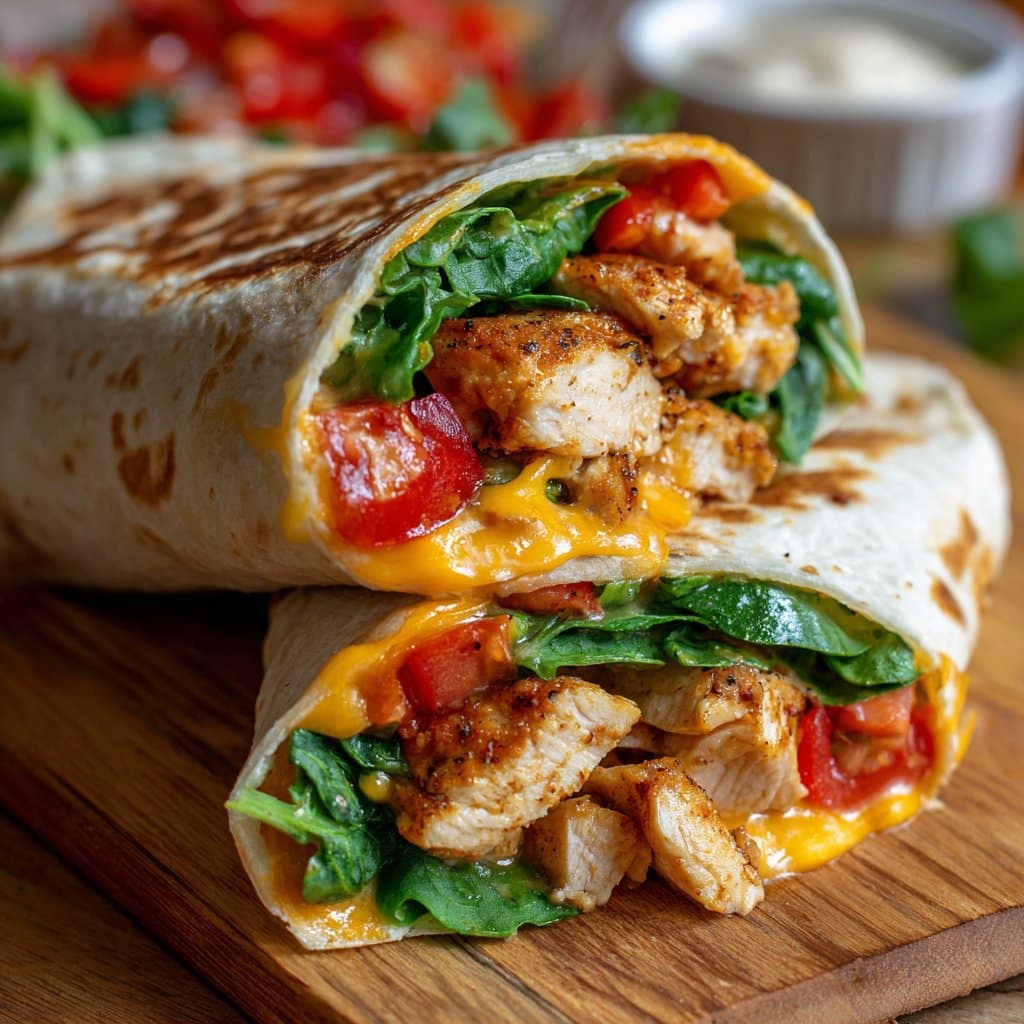
- Roll up each wrap like a burrito—tuck, roll, fold in the ends—then pop them back, seam-side down, into the pan. I don’t bother cleaning it in between, just wipe out any big bits. Press them down gently and let them sizzle for a couple minutes per side so everything gets golden and melty.
- Cut in half, ideally with a sharp knife (though once I used kitchen scissors—worked fine, actually). Serve hot, preferably without burning your tongue (which I do about half the time).
Notes from Trial and Error (Learned the Hard Way)
- If you use pre-cooked chicken, just warm it through with the garlic—it dries out fast, so don’t overdo it.
- Don’t try to add lettuce before grilling—wilt city. Learned that the hard way.
- Actually, I find these taste even better with a bit of chili flake if you like a kick.
- Oh, and if you add too much sour cream, the filling gets kind of runny. Happens to the best of us!
Variations I’ve Tried (Some Good, Some… Not So Much)
- I’ve swapped in leftover roast turkey (after Christmas) and it worked a treat.
- Added cooked broccoli once for “health”—my family wasn’t fooled, but I liked it.
- Tried feta and spinach instead of cheddar. It was… okay, but not quite as comforting. Maybe a bit too posh for a Tuesday night?
- If you’re feeling wild, a little bacon crumbled in is lovely, but it’s totally optional.
Do You Actually Need Special Equipment?
I use a big nonstick frying pan, but honestly, any pan will do. If you don’t have a pan big enough, you can even toast the wraps one at a time in a sandwich press or under the grill. (Or, in a pinch, microwave them for 30 seconds, but just know you’ll miss the crispy bits!)
How to Store (Though They Don’t Last Long…)
If you miraculously end up with leftovers, just pop them in a sealed container in the fridge. They’ll keep fine for a day or so—though honestly, in my house it never lasts more than a day! You can reheat in the microwave, but I prefer a hot pan to bring back the crunch.
How I Like to Serve Cheesy Garlic Chicken Wraps
We usually serve these with a quick side salad (whatever’s in the fridge) or some oven chips if we’re feeling cheeky. And sometimes I make this quick garlic dip to really bring out the garlic (as if there isn’t enough already). Sometimes, my son dunks his in ketchup—don’t ask me why, but it keeps him happy.
Pro Tips (a.k.a. My Past Mistakes)
- Don’t rush the browning step. I once tried to hurry things up and ended up with soggy, sad wraps. Take your time—it’s worth it.
- Don’t be shy with the cheese—but do watch out for overfilling. The first time I made these, I practically needed a mop.
- If you’re new to tortilla-wrapping, this video helped me loads (I still mess it up occasionally, though).
FAQ (Real Questions, Real Answers)
Can I freeze these wraps?
Umm, sort of. They freeze okay, but the texture gets a bit weird when you reheat. If you don’t mind a less crispy finish, go for it!
Is it okay to use garlic powder instead of fresh?
Absolutely (I’ve done it in a pinch). Just use about half a teaspoon—honestly, garlic powder’s kinda underrated.
What other cheeses work?
Honestly, anything melty. Gouda’s lovely. Swiss is okay. I tried blue cheese once—bit too funky for my lot.
Can I make this vegetarian?
Sure! Use cooked mushrooms or chickpeas instead of chicken. Actually, I think mushrooms taste fab here.
Can I prep these ahead?
Yeah, you can. Just keep the filling and wraps separate until you’re ready to assemble and toast.
Oh, and before I forget—if you’re ever in a hurry and forget the parsley, don’t sweat it. Nobody will notice. Well, unless your family’s super picky, in which case… good luck!
Ingredients
- 2 cups cooked chicken breast, shredded
- 1 cup shredded mozzarella cheese
- 1/2 cup shredded cheddar cheese
- 2 tablespoons unsalted butter
- 3 cloves garlic, minced
- 4 large flour tortillas
- 1/4 cup chopped fresh parsley
- Salt and black pepper to taste
Instructions
-
1In a skillet over medium heat, melt the butter. Add minced garlic and sauté for 1-2 minutes until fragrant.
-
2Add the shredded chicken to the skillet. Season with salt and black pepper, and stir to combine with the garlic butter.
-
3Remove the skillet from heat. Stir in mozzarella and cheddar cheese until melted and evenly mixed with the chicken.
-
4Warm the flour tortillas in a dry pan or microwave for a few seconds to make them pliable.
-
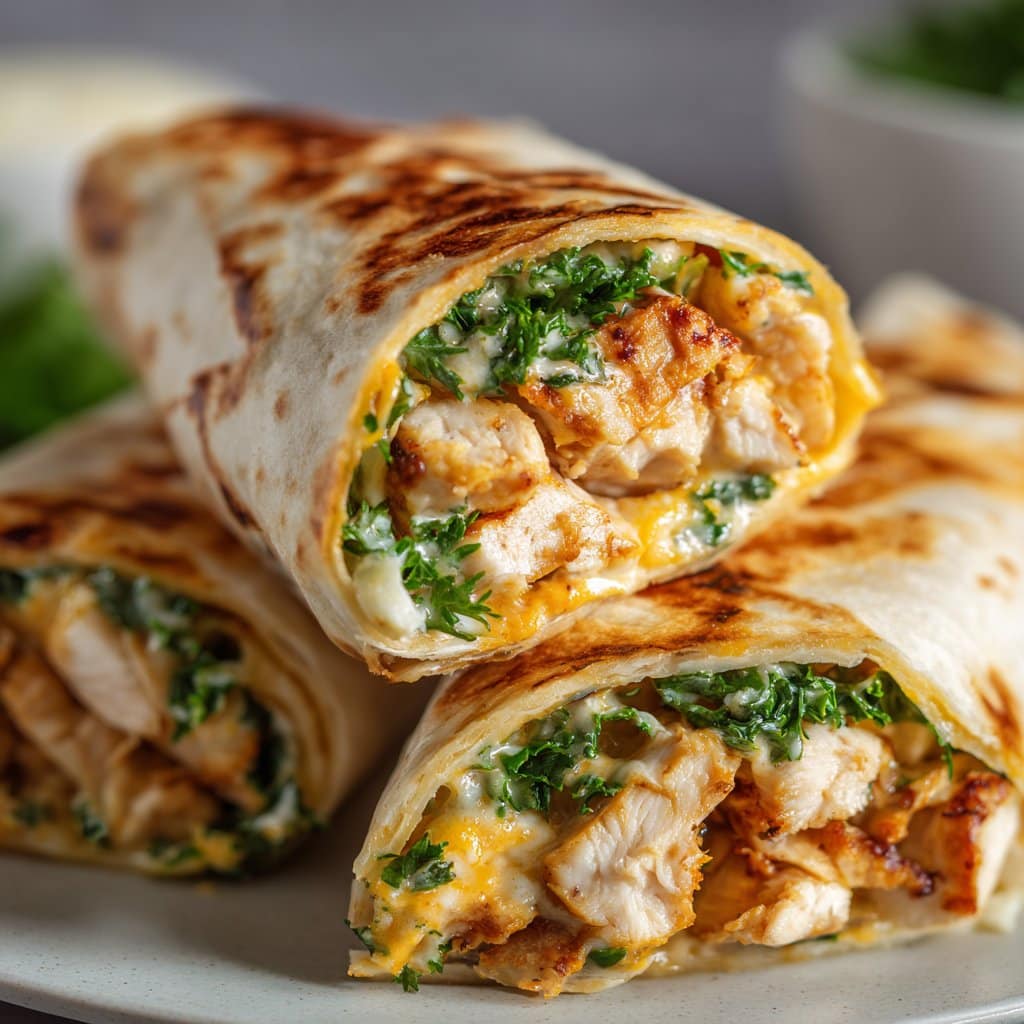
5Divide the cheesy garlic chicken mixture evenly among the tortillas. Sprinkle with chopped parsley.
-
6Roll up each tortilla tightly to form wraps. Serve warm and enjoy.
Approximate Information for One Serving
Nutrition Disclaimers
Number of total servings shown is approximate. Actual number of servings will depend on your preferred portion sizes.
Nutritional values shown are general guidelines and reflect information for 1 serving using the ingredients listed, not including any optional ingredients. Actual macros may vary slightly depending on specific brands and types of ingredients used.
To determine the weight of one serving, prepare the recipe as instructed. Weigh the finished recipe, then divide the weight of the finished recipe (not including the weight of the container the food is in) by the desired number of servings. Result will be the weight of one serving.
Did you make this recipe?
Please consider Pinning it!!




