Alright, Let’s Talk Cherry Berry Dump Cake (and Why My Kitchen Smells Like Jam)
You know those days when you want something sweet—like, fruit-bomb-in-your-mouth sweet—but you really can’t be bothered to measure everything to the last crumb? That’s when I whip up this Cherry Berry Dump Cake. The first time I made it, I was babysitting my cousin’s twins (who, by the way, ate half the cake before it even cooled). Ever since then, whenever I see a can of cherry pie filling, I get a bit nostalgic—and slightly nervous about sticky fingers everywhere.
Why You’ll Love This (Or, Why My Family Begs For It)
I make this when I want to feel like a domestic goddess without actually doing much. My family basically polishes off the pan before I even get to sit down. It’s the ultimate lazy-day dessert, especially when I just can’t face creaming butter and sugar together (ugh, the arm workout). Honestly, I sometimes make it just to annoy my brother, who claims he doesn’t like fruit desserts—then he asks for seconds. Go figure.
Grab These Ingredients (Swaps Welcome!)
- 1 can (about 540ml) cherry pie filling—I’ve used the cheap store brand and the fancy one; both work fine.
- 2 cups mixed berries (fresh or frozen)—if I’m in a pinch, I just use whatever berry is in my freezer. Blueberries are kinda my favorite, but raspberries add a nice punch too.
- 1 box vanilla or yellow cake mix (about 425g)—my gran swore by Betty Crocker, but I once used a generic and honestly, no one noticed.
- 1/2 cup (1 stick) unsalted butter, melted—sometimes I just slice it really thin and scatter it, but melting does give a more even result (yup, learned this the messy way).
- Optional: handful of chopped pecans or walnuts—my friend Lauren adds them, says it’s a game-changer. I’m team “nut-free” though, mostly because my son is suspicious of anything crunchy.
- Optional: sprinkle of cinnamon or a squeeze of lemon—depends on my mood. Or if I remembered to buy lemons.
How I Make It (Don’t Overthink It, Trust Me)
- Preheat your oven to 180°C (350°F). Or, if you forget (like I did last week), just add five extra minutes to the bake time. No biggie.
- Grab a 9×13 inch baking dish. Grease it, unless you love scraping cake bits off the corners (I don’t).
- Dump the cherry pie filling in and spread it out. Then toss your berries on top—frozen or fresh, both are good. Give them a gentle mix if you want more even berry action. This is the part where I usually sneak a berry or two. Strictly for quality control.
- Sprinkle the cake mix evenly over the fruit. Try to cover all the fruit, but don’t stress if a berry peeks through—it’s rustic, not a wedding cake.
- Drizzle the melted butter all over the dry cake mix. If you miss a spot, just do your best to dab it with a spoon. It’ll sort itself out in the oven. Trust the process.
- If you’re feeling fancy, toss on some nuts or cinnamon now. Or not. Up to you.
- Bake for about 40 to 45 minutes, until the top is golden and you can see bubbly, jammy fruit around the sides. Don’t worry if it looks a little uneven—once you scoop it out, nobody cares what it looked like in the dish. Actually, I think the messier it looks, the better it tastes.
Stuff I Wish I’d Known (Notes from a Slightly Messy Cook)
- Don’t skimp on the butter, or you’ll get dry patches of cake mix. Learned that one the hard, crunchy way.
- If you use frozen berries, it might take a smidge longer to bake (maybe 50 minutes). Oh, and don’t bother thawing, unless you love extra dishes.
- I once tried microwaving leftovers straight from the dish—um, metal pan + microwave = bad idea. Use a plate.
Wild Experiments (And a Fail or Two)
- I swapped out cherry for peach pie filling once—pretty good, though maybe a bit too sweet for me. Cherry-berry is my actual favorite.
- Once, I tried a chocolate cake mix instead of vanilla. It looked like a mudslide and tasted…odd. Not recommended, unless you really like chocolate and cherries together (I don’t, apparently?).
- Adding a splash of almond extract to the berries? Awesome. But just the tiniest splash, or it tastes like marzipan perfume.
Do You Really Need Fancy Equipment?
I usually use my trusty glass baking dish and a wooden spoon, but if you only have a metal pan or even a deep roasting tin, that’ll do. Don’t have a proper cake spatula? Who does, honestly. I just use a big spoon or even a clean mug once (don’t ask).
Storage: If It Lasts That Long
Technically, this keeps in the fridge for up to 3 days, covered. But to be straight with you, I’ve never seen leftovers last past breakfast the next morning. If you do have some left, a quick zap in the microwave brings it back to life. Or eat it cold—which I actually prefer.
How I Like to Serve It (Spoiler: With Ice Cream)
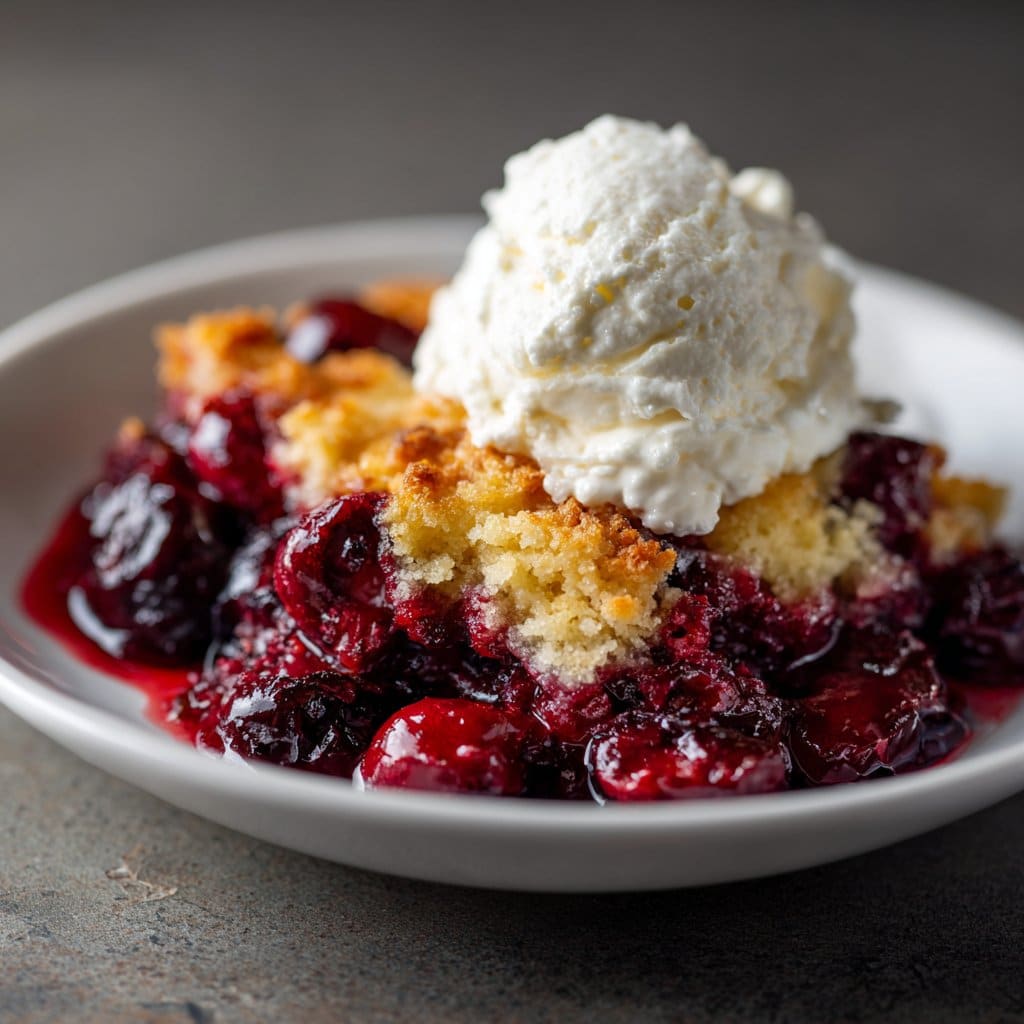
We almost always have it warm with a scoop of vanilla ice cream; sometimes I sprinkle a few extra berries or even a cheeky drizzle of caramel. In the winter, I tried it with a dollop of Greek yogurt for breakfast—no regrets!
Lessons From Oops Moments (Pro Tips from My Kitchen Fails)
- Don’t try to rush the cooling time. I did once, and the fruit lava burned my tongue. Worth it? Maybe. But, you’ve been warned.
- If you skimp on spreading the butter, the cake mix gets weird and powdery in spots. I used to try to save time by not melting it—actually, it’s worth the 30 seconds.
- Don’t overthink the toppings—less is more. Overloading with nuts or spices just hides the fruity goodness.
Questions I Actually Get (FAQ Style, Sort Of)
- Can I use all frozen fruit? Oh, totally! Just chuck it in frozen. Might need to bake a smidge longer, that’s all.
- Can I make this gluten-free? Sure, just grab a gluten-free cake mix (I like this one from King Arthur Baking), but don’t expect it to taste exactly the same—it’s still good, though.
- What about dairy-free? Use a plant-based butter; I’ve done it with Earth Balance and no one noticed. (If you need more tricks, Minimalist Baker has loads of ideas.)
- Can I halve the recipe? You can, just use a smaller dish—maybe an 8×8. Or, and hear me out, make the full batch and eat leftovers for breakfast. I won’t tell.
- Is there a way to make it less sweet? Maybe—use unsweetened berries and a tart pie filling if you can find it. Or just cut down on the cake mix a bit. But honestly, it’s meant to be sweet, right?
By the way, if you’re looking for other super-simple desserts, you have to check out Sally’s Blueberry Dump Cake—she’s got some tips for adding lemon zest that I might try next time.
Anyway, sorry if I rambled on a bit—once I start talking about easy desserts, I can go on for yonks. If you try this Cherry Berry Dump Cake, let me know what you think, or if you invent a new combo. (Just, uh, maybe skip the chocolate cake mix.)
Ingredients
- 1 can (21 oz) cherry pie filling
- 2 cups mixed berries (fresh or frozen, such as blueberries, raspberries, and blackberries)
- 1 box (15.25 oz) yellow cake mix
- 1/2 cup (1 stick) unsalted butter, melted
- 1/2 teaspoon vanilla extract
- 1/4 cup granulated sugar
- 1/4 teaspoon salt
- Optional: whipped cream or vanilla ice cream for serving
Instructions
-
1Preheat your oven to 350°F (175°C). Lightly grease a 9×13-inch baking dish.
-
2Spread the cherry pie filling evenly over the bottom of the prepared baking dish.
-
3Scatter the mixed berries evenly over the cherry pie filling.
-
4Sprinkle the dry yellow cake mix evenly over the fruit layer. Do not stir.
-
5Drizzle the melted butter and vanilla extract evenly over the cake mix. Sprinkle with granulated sugar and salt.
-
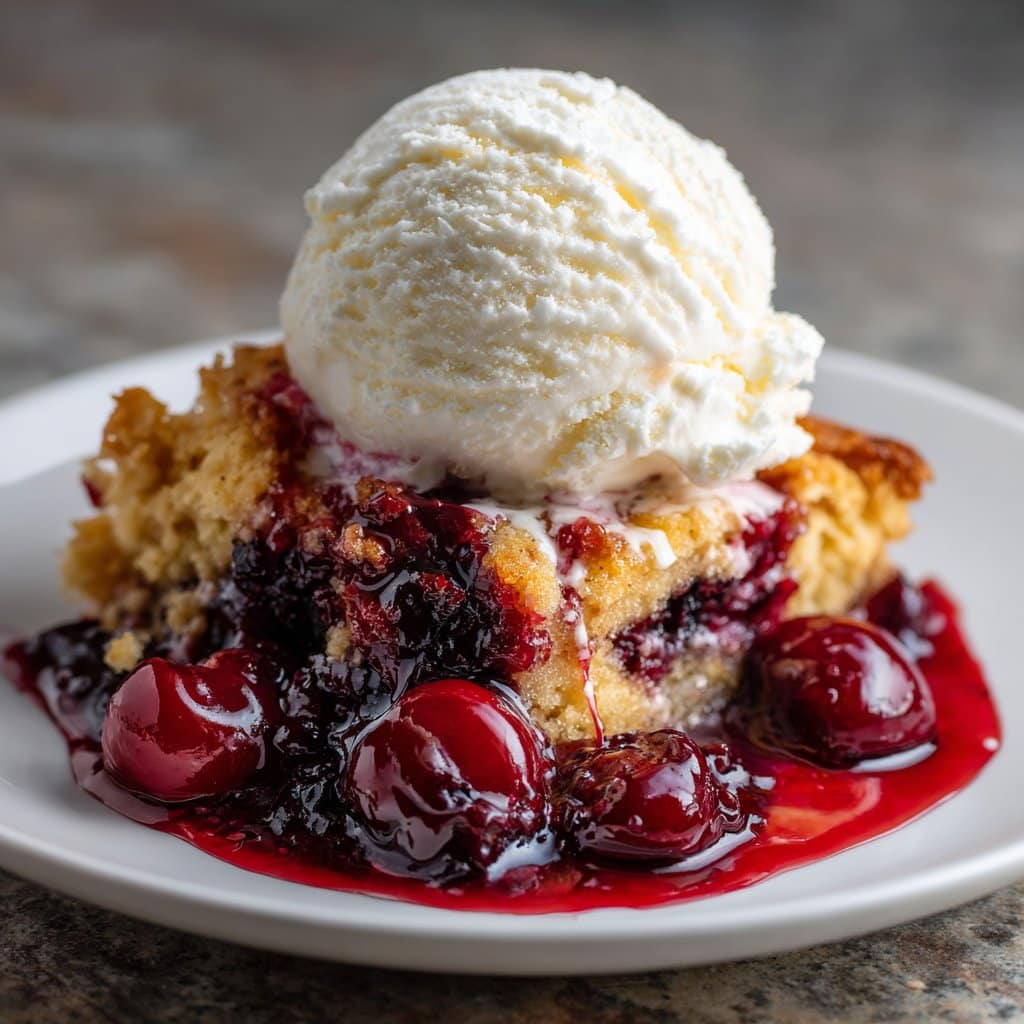
6Bake for 40-45 minutes, or until the top is golden brown and the fruit is bubbling. Serve warm with whipped cream or vanilla ice cream if desired.
Approximate Information for One Serving
Nutrition Disclaimers
Number of total servings shown is approximate. Actual number of servings will depend on your preferred portion sizes.
Nutritional values shown are general guidelines and reflect information for 1 serving using the ingredients listed, not including any optional ingredients. Actual macros may vary slightly depending on specific brands and types of ingredients used.
To determine the weight of one serving, prepare the recipe as instructed. Weigh the finished recipe, then divide the weight of the finished recipe (not including the weight of the container the food is in) by the desired number of servings. Result will be the weight of one serving.
Did you make this recipe?
Please consider Pinning it!!




