Let’s Talk Chili Cheese Dog Sliders (And Why You Need ‘Em)
Hey there! Okay, so picture this: it’s game day, or maybe just a random Friday when everyone’s hungry, and you’re kind of in the mood for something fun but, let’s be honest, you don’t want to spend ages in the kitchen. That’s me most weekends. My kids once called these “the ultimate couch snack” (which is a pretty big deal, considering they eat everything with a fork). And yes, the first time I made them, I totally set off the smoke detector because I got distracted by a rerun of The Great British Bake Off. It happens! But honestly, once you try these chili cheese dog sliders, all the little mishaps are forgotten. Plus, they’re the sort of thing you eat with your hands and then wipe on your jeans—just kidding (sort of).
Why I Keep Making These (Even When I Swore I’d Try Kale)
I make this when I want something everybody actually agrees on—no “is there anything green in this?” complaints. My family goes absolutely wild for these because, well, they’re cheesy, slightly spicy, and just messy enough to feel like a treat. (Sometimes I wish they’d appreciate a salad like this, but, you know.) There’s also almost zero arguing about seconds. And if I’m honest, on those days when I don’t really feel like cooking (which is most Tuesdays), these are a lifesaver. Plus, the smell alone brings teenagers out of their rooms, which is pretty much magic.
What You’ll Need (And What I Sometimes Swap In)
- 12 small slider buns (I’ve used Hawaiian rolls, regular dinner rolls, or whatever’s in the freezer—Hawaiian rolls are my favorite for a tiny sweet kick)
- Hot dogs, 6-8 (halved, or sometimes I use smoked sausage if that’s what I grabbed by mistake. Turkey dogs work okay too, but they’re not my first pick…)
- 2 cups chili (canned is fine—I know my grandmother would side-eye me, but sometimes you just can’t be making chili from scratch. Wolf Brand is decent, or honestly, Aldi’s version does the trick)
- 2 cups shredded cheddar cheese (I’ve used the stuff in a bag but grating it yourself makes it gooier—if you have time for that sort of thing)
- 1/4 cup diced onions (totally optional; my partner skips these, but I think they add a little bite)
- 2 tablespoons butter (for brushing the tops, but once I just sprayed them with cooking spray and called it a day and nobody noticed)
- 1 teaspoon garlic powder (or onion powder, or nothing, if you forget because honestly, it’s not a dealbreaker)
How I Throw These Together (With Zero Stress)
- Preheat your oven to 350°F (that’s about 180°C for the international crowd).
- Slice those slider buns in half. I usually just do the whole pack in one go, horizontally, like a big sandwich. Lay the bottoms in a 9×13-inch baking dish (or whatever fits—as long as it has sides, you’re good).
- Halve the hot dogs and nestle them onto the buns. If they’re a bit crowded, that’s alright. This is where I sometimes steal a bite of hot dog—cook’s privilege!
- Spoon the chili all over the top. Don’t worry if it looks like a bit of a mess; it sorts itself out while baking.
- Scatter a big pile of cheese over everything. Seriously, just go for it.
- Sprinkle onions if you’re using them (sometimes I forget and add them later, and it’s honestly still fine).
- Put the top buns on. Melt the butter with the garlic powder and brush (or pour) it over the tops. Don’t have a brush? Just use a spoon or your (clean!) fingers.
- Bake for 20-25 minutes until it’s all melty and the tops get light brown. If the buns get too dark, just cover loosely with foil. But honestly, crispy tops are my favorite bit.
- Let them cool a sec—otherwise, the chili cheese will try to make a run for it. Then dig in.
Notes No One Tells You (But Should)
- Chili quantity doesn’t have to be exact; I’ve done it with less and it’s still a hit. More chili just means messier hands.
- If your chili is super thick, add a splash of water (or beer, which I did once on a dare and it wasn’t half bad).
- Actually, I find it works better if you toast the bottom buns for a couple of minutes before assembling, especially if your chili is runny. But, you know, sometimes I forget.
Variations I’ve Tried (With Varying Success)
- Jalapeños: Added some fresh slices on top of the cheese. Only my spice-loving cousin liked it, but hey, you might too!
- Vegan version: Tried veggie dogs and non-dairy cheese once for a friend. It worked! (Tofu dogs though… not my jam, but you do you.)
- Chili Mac: Once mixed in some macaroni with the chili. Honestly, it was a carb overload. Not my brightest moment, but the kids thought it was “epic.” Your call.
Equipment (But Don’t Stress If You’re Missing Stuff)
- 9×13-inch baking dish: Or anything oven-safe that sort of fits the buns. I once used two pie dishes. Worked great!
- Basting brush: If you have it, cool. If not, fingers work. Seriously.
- Serrated knife: For the buns—though I’ve used a bread knife, and even a steak knife in a pinch. Just, uh, be careful.
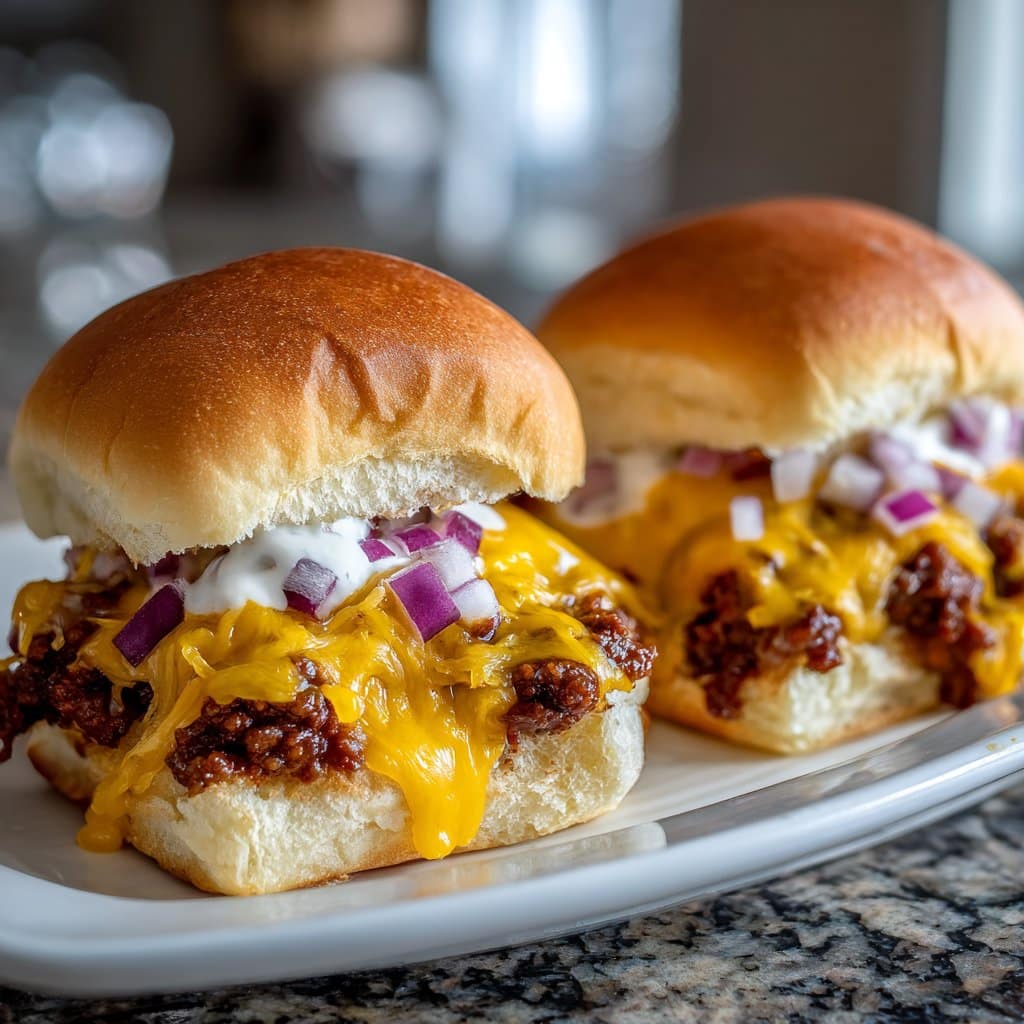
How to Store Leftovers (If You Even Have Any…)
Technically, you can put extras in an airtight container and keep ’em in the fridge for up to 2 days. But honestly? In my house these never make it past breakfast the next morning. They reheat decent in the microwave, but the oven keeps the buns from going soggy—10 minutes at 350°F does the trick. I think they even taste better the next day, though my kids would disagree (they say “it’s just not the same, mom”).
How I Like to Serve These (And a Bit About Pickles)
Okay, so my favorite way is just straight out of the pan, maybe with a big bowl of potato chips on the side. My dad, for some reason, insists on extra mustard and a cold root beer. Sometimes I put out a plate of sliced pickles—not sure why, but it feels right. Oh, and my friend Jen swears by a little drizzle of Frank’s RedHot—so, give that a whirl if you want some kick.
Pro Tips (Learned the Hard Way)
- Don’t rush the cooling time. I once served these straight outta the oven and nearly lost all the chili off the sides. Give it five minutes, trust me.
- If you only have super soft buns, toast ’em a bit first so they don’t go soggy. I learned this the messy way.
- Actually, piling the cheese under the chili keeps buns from getting too wet, but… let’s be real, I always forget and it still works out.
Real Questions I’ve Been Asked (And My Actual Answers)
- Can I use veggie dogs? Yep, done it. Tastes different, but still good—maybe up the seasoning in your chili though.
- Do I have to use cheddar? Nope! Monterey Jack, Colby, even mozzarella if that’s all you’ve got—I’ve tried them all. (Swiss was a bit weird, though.)
- Can I make this ahead? Sort of. You can build the sliders and keep them in the fridge (covered) for a few hours, but bake them fresh or you’ll end up with, well, sad buns.
- How spicy is it? Totally depends on your chili. If you’re worried, just use mild and skip the onions—or go wild. Up to you!
- What’s the best chili to use? Oh man, that’s like asking the best pizza—everyone’s got an opinion. I like this Texas-style chili when I’m going all out, but honestly, store-bought is usually just fine for a weeknight.
Alright, I think that’s pretty much everything. Oh! One time I forgot to put the tops on before baking and ended up with a sort of chili cheese toast. Not bad, but… not quite a slider either. Anyway, hope you give these a whirl—and if you find a new twist, let me know. Sharing recipes is half the fun, right?
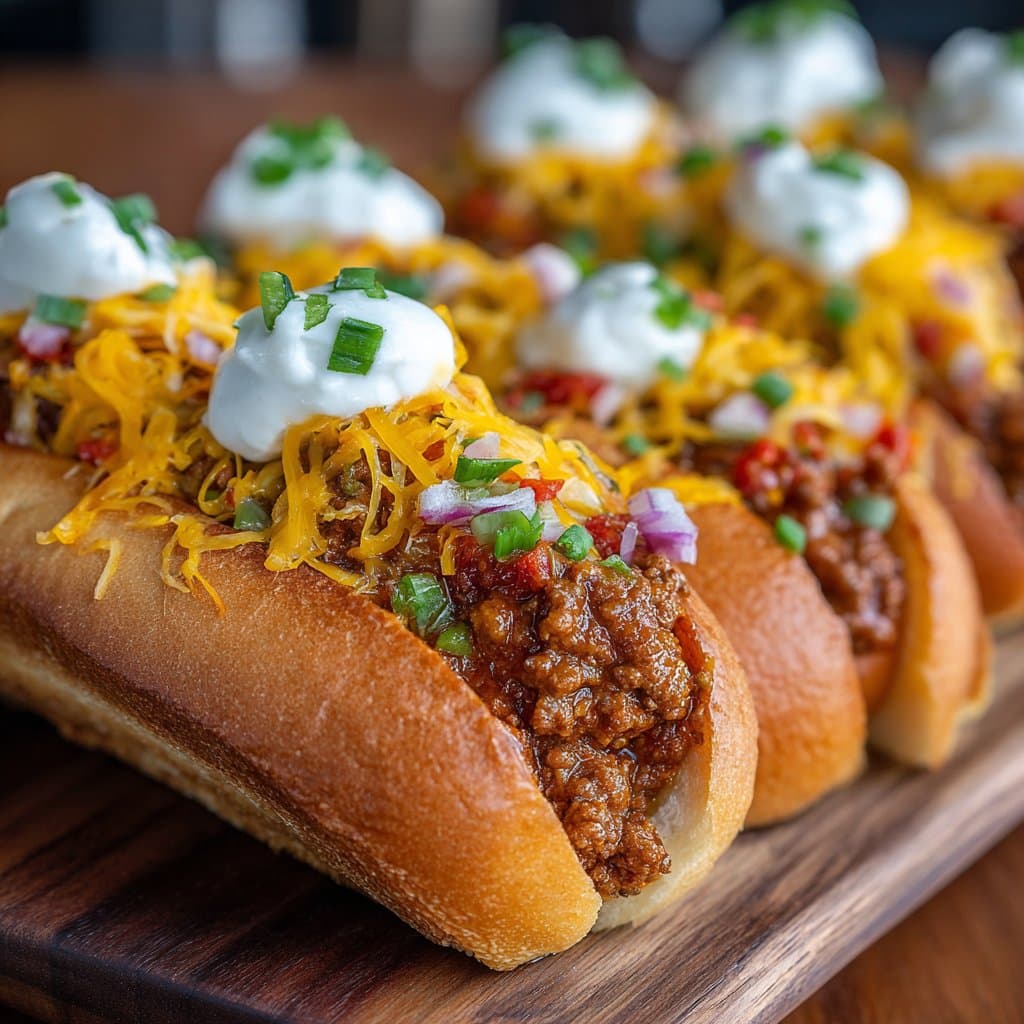
Ingredients
- 12 slider buns
- 12 mini hot dogs or cocktail sausages
- 2 cups prepared chili (canned or homemade)
- 2 cups shredded cheddar cheese
- 2 tablespoons melted butter
- 1 tablespoon yellow mustard
- 1/2 cup diced onions
- 1 tablespoon chopped fresh parsley (optional)
Instructions
-
1Preheat the oven to 350°F (175°C). Lightly grease a 9×13-inch baking dish.
-
2Slice the slider buns in half horizontally and place the bottom halves in the prepared baking dish.
-
3Place a mini hot dog on each bun. Evenly spoon the chili over the hot dogs, then sprinkle with diced onions and shredded cheddar cheese.
-
4Place the top halves of the buns over the cheese. In a small bowl, mix melted butter and yellow mustard, then brush over the tops of the buns.
-
5Cover with foil and bake for 15 minutes. Remove foil and bake for an additional 5 minutes, or until the cheese is melted and the tops are golden.
-
6Garnish with chopped parsley if desired. Serve warm.
Approximate Information for One Serving
Nutrition Disclaimers
Number of total servings shown is approximate. Actual number of servings will depend on your preferred portion sizes.
Nutritional values shown are general guidelines and reflect information for 1 serving using the ingredients listed, not including any optional ingredients. Actual macros may vary slightly depending on specific brands and types of ingredients used.
To determine the weight of one serving, prepare the recipe as instructed. Weigh the finished recipe, then divide the weight of the finished recipe (not including the weight of the container the food is in) by the desired number of servings. Result will be the weight of one serving.
Did you make this recipe?
Please consider Pinning it!!




