The Story Behind My Creamy 4th of July Ice Cream Cake
Alright, friend, let me start by saying that this cake was born out of pure laziness and sticky summer chaos. Somewhere around the third barbecue of the season, my nephew (he’s four, and has very strong opinions about desserts) declared that “boring cake” wouldn’t cut it—and, honestly, I agreed. Long story short: we started throwing together ice cream, cookies, and whatever festive bits I could dig out of the pantry, and this “Creamy 4th of July Ice Cream Cake” sort of became the family’s only expectation. No pressure or anything! Oh, and fair warning: there’s no way to make this without a little mess. You’ll wear some of it, and the dog might too. But that’s summer for you!
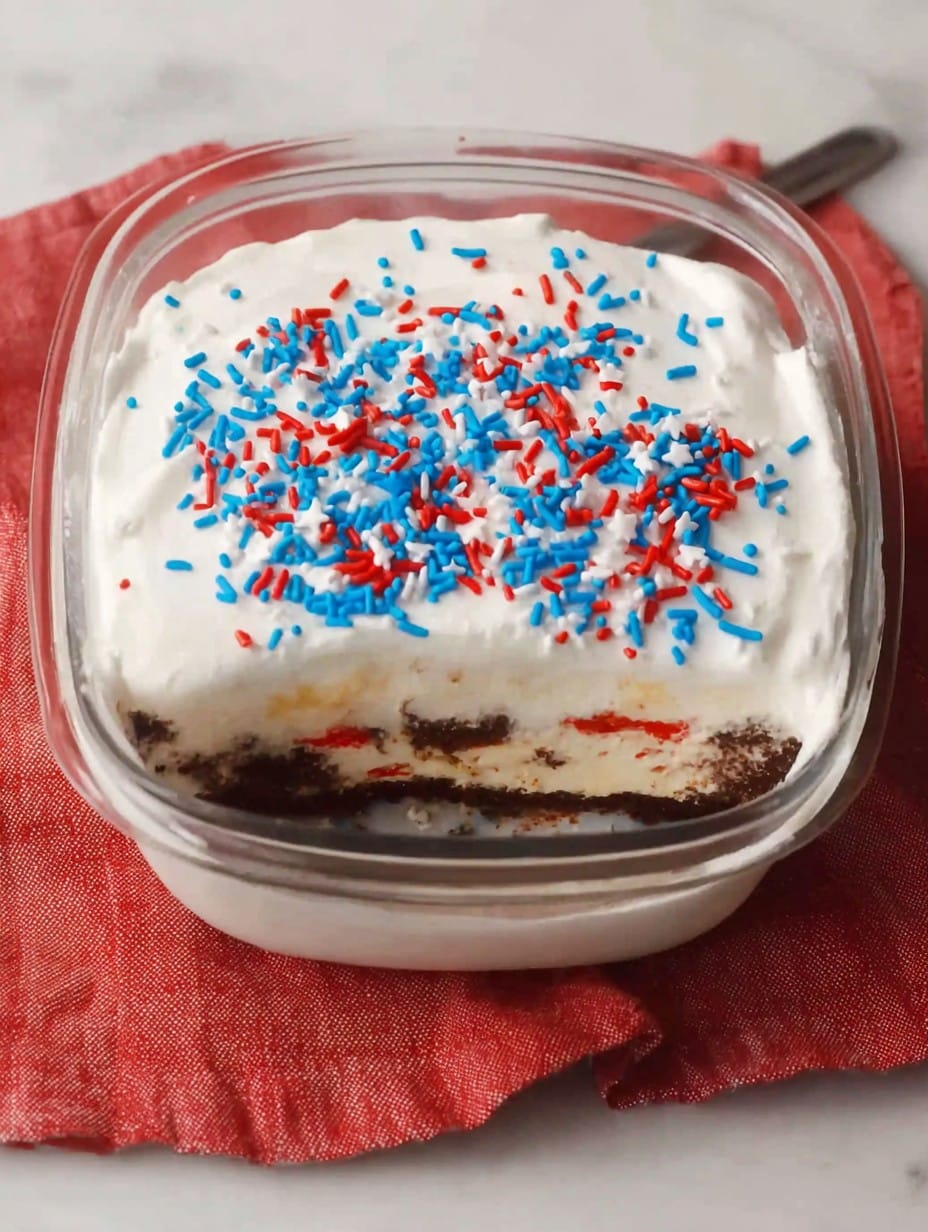
Why I Keep Making This (Even When It Melts)
I make this whenever the weather is hotter than a two-dollar pistol and nobody wants to turn on the oven. My family just loses its mind for the creamy layers, the crunchy bits (sometimes they fish them out, not gonna lie), and all the fruity red and blue swirls. Plus—confession—if I can just mash some softened ice cream and cookies together without fancy equipment? That’s a win. One year I tried to get fancy with layers and nearly made a Jackson Pollock painting in my freezer. Turns out, as long as it’s cold and creamy, nobody cares what it looks like, especially once you add sprinkles. Or, honestly, I think it’s better a little messy.
What You’ll Need (Substitutions a-Plenty)
- 1 1/2 quarts vanilla ice cream (any brand—my grandma swears by the fancy stuff, but store brand has gotten me through many a meltdown…literal or otherwise)
- 1 1/2 quarts strawberry ice cream (sometimes I use raspberry when that’s all the store has—nobody noticed!)
- 25 Oreo cookies (or really, any chocolate sandwich cookie; the off-brand works if you don’t tell anyone)
- 4 tablespoons butter, melted (honestly, I’ve used margarine, and it’s fine—once I even just skipped it in a pinch and everything held together alright)
- 1 pint heavy cream (whipping cream; I’ve used the canned stuff in an emergency, but it melts super fast)
- 1/4 cup powdered sugar
- 1 teaspoon vanilla extract (the real deal is best, but no shame if you’ve only got the imitation stuff—it’s July after all!)
- 1 cup blueberries (fresh; but frozen works, though they can bleed a bit)
- 1 cup sliced strawberries (if you hate slicing, just buy the pre-sliced or use raspberries—no judgement)
- Festive sprinkles for topping (I once used crushed freeze-dried strawberries—kids still ate it!)
How to Build This (Real-Life Steps—Not Fancy!):
- Let both ice creams sit out till they’re easily scoopable but not puddles—think soft but still holding shape. Warning: If you forget and they go full soup, freeze ’em a bit and try again. (Ask me how I know…)
- Crush the cookies in a big zip bag (rolling pin, hands, or even a can of beans—whatever’s handy). Mix with melted butter until it looks like tasty, damp gravel. I taste-test here. Every. Time.
- Press the cookie mix into the bottom of a 9-inch springform pan or any deep round cake dish. If you only have a regular casserole dish, go for it! Toss it in the freezer while you prep the rest, so it gets a bit firmer.
- Spoon the vanilla ice cream evenly over the crust. Smooth it gently—it doesn’t have to be perfect; just avoid big air pockets unless you like surprise holes. Freeze 20 minutes or so to firm up a bit.
- Scatter half your berries over the vanilla layer (or just more cookies if your crew hates fruit—I’ve done both). Then spread a layer of strawberry ice cream over the berries. Sometimes it’s a wrestling match. Just do your best.
- Pop the whole thing back in the freezer for about 45 minutes, or longer if you forget and get distracted wrangling kids—won’t hurt it.
- Meanwhile, in a mixing bowl, whip the heavy cream with powdered sugar and vanilla till you’ve got soft peaks. Or, if you’re using the canned stuff, just make sure it’s nice and cold and don’t overthink it!
- After the cake is firm, spread the fresh whipped cream over the top. Swirl it with the back of a spoon so it looks intentionally messy (which is my secret to hiding any mistakes!)
- Top with remaining berries and go wild with sprinkles. Sometimes I add little American flag toothpicks if I’m feeling cute. Stick it all back in the freezer just till it’s set—usually an hour or more.
- To serve, run a warm knife around the pan edge to loosen. Slice with a sharp knife (run it under hot water if you want tidy slices… or just poke at it till pieces come out). Relish the mess.
A Few Notes from Experience (and Mistakes…)
- Letting the layers firm up between steps is key or everything smushes together (unless that’s your style, which is totally valid).
- If the cake sits out for long, it will get very melty. It’s still delicious, just stickier.
- Frozen berries sometimes turn the layers a weird purple. Nobody’s ever complained, so I call it “festive.”
- Don’t stress if your crust isn’t perfect. Once the ice cream freezes everything, it glues itself together somehow…like culinary magic.
Variations I’ve Attempted (Some Worked, Some Didn’t…)
- Chocolate ice cream instead of strawberry is extremely popular with the chocolate crowd.
- I once tried tossing mini marshmallows into the crust, thinking it’d be s’mores-esque. It got weirdly chewy, so maybe skip that one.
- Crushed pretzels mixed with the cookies = amazing salty-sweet deal.
- If you only have one kind of ice cream, go full monochrome and top with ALL the berries. Still just as tasty.
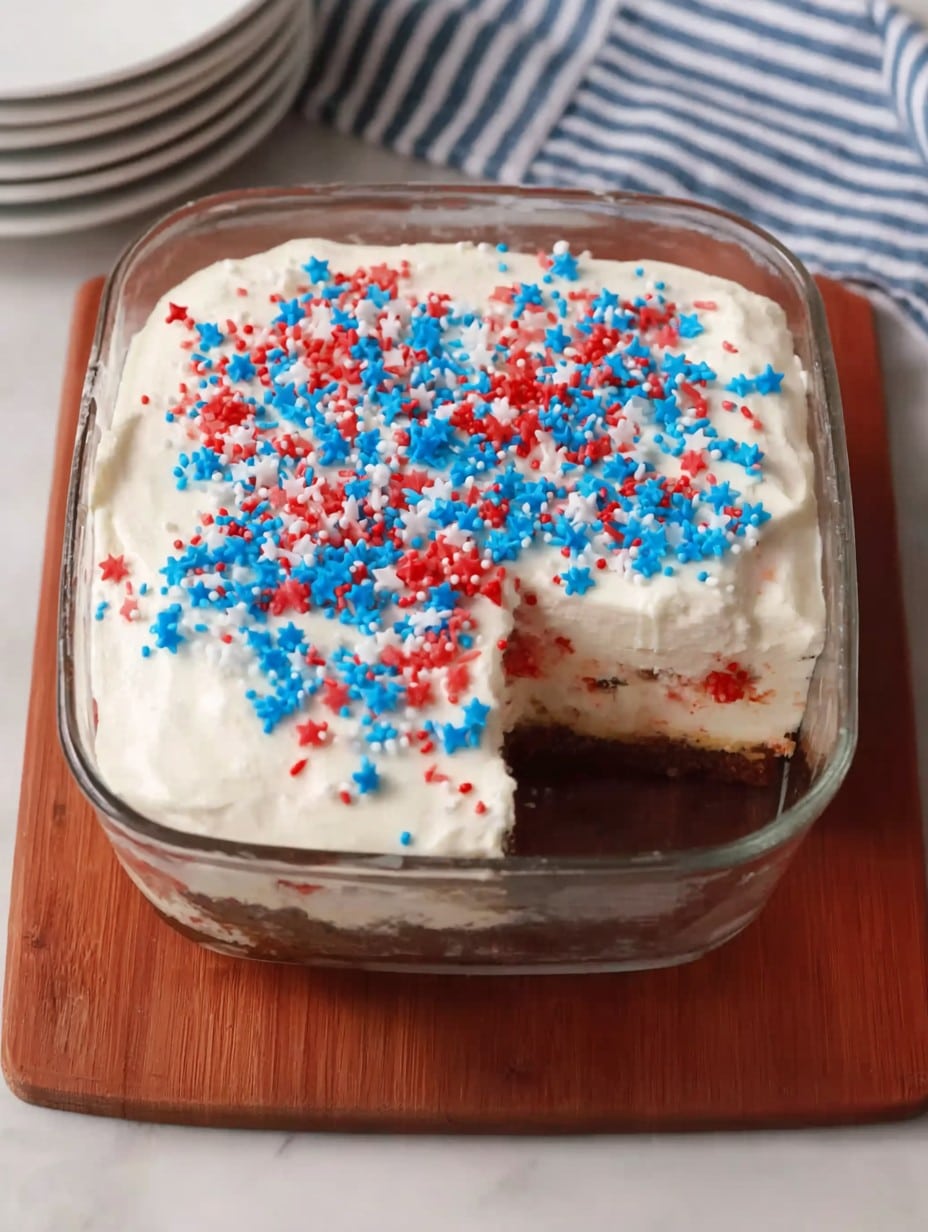
Equipment Chat (A Realist’s List)
- Springform pan (makes it easy to pop out, but I’ve used an 8×8 baking pan with parchment too—just pull it up like a sling)
- Mixing bowl for whipped cream (or a big mug in a pinch, but that gets messy)
- A sturdy spoon (icy ice cream fights back)
- Electric mixer is nice, but a whisk and elbow grease work; just take turns if your arm gives out!
Storage (AKA: Does It Ever Last?)
Wrap leftovers in foil or plastic wrap (I sometimes balance a cutting board on top—real high-tech solutions here) and keep in the freezer up to 5 days… though honestly, in my house it never lasts more than a day, so can’t vouch for later!
Serving It Up (My Way, Anyway)
I like to serve big wedges straight from the freezer, sometimes with extra whipped cream on top for the adults who made it through another July cookout. My sister insists on more sprinkles (the sky’s the limit), and occasionally we light a sparkler in the cake. Just, uh, don’t eat the sparkler. That’s the only rule!
Pro Tips—Learned the Hard Way
- I once rushed the freezing stage and everything just smooshed into a rainbow puddle—not my proudest moment. Actually, let each layer set, even if it means waiting longer than you want.
- If you don’t line your pan, you may regret it…unless you like eating with a spoon straight from the pan (which, for the record, is a legit approach).
- Tidy slices come from a hot, sharp knife—otherwise, embrace the chaos.
FAQ—Actual Questions From Curious Folks (And Me)
- Can I use store-bought whipped topping instead of making my own? Yup! It’s not quite as rich, but it works. Just keep it cold and don’t expect it to stand tall in the heat.
- How far ahead can I make this? I’ve made it a full two days ahead, just keep it tightly wrapped. Oh, and maybe write “do not eat” or it’ll slowly disappear with midnight snackers.
- What if I don’t have a springform pan? Any deep-ish dish works. One time, I lined a loaf pan with plastic wrap and my cake came out like a big, patriotic brick—everyone still loved it.
- Can I make this dairy-free? Probably! I haven’t tried, but coconut milk ice cream and coconut whipped cream would probably do the trick. It won’t be exactly the same but messaging me if you try it, because I’m curious.
- Is it really super messy to serve? Well…yes. But that’s part of the charm, isn’t it?
Also, quick side note (not that you asked): every time I make this, the dog lingers nearby because I once dropped a scoop and she’s never forgotten. So be careful when you turn your back! Anyway, have fun and happy 4th—just don’t wear white pants, trust me.
Ingredients
- 1 1/2 quarts vanilla ice cream (any brand—my grandma swears by the fancy stuff, but store brand has gotten me through many a meltdown…literal or otherwise)
- 1 1/2 quarts strawberry ice cream (sometimes I use raspberry when that’s all the store has—nobody noticed!)
- 25 Oreo cookies (or really, any chocolate sandwich cookie; the off-brand works if you don’t tell anyone)
- 4 tablespoons butter, melted (honestly, I’ve used margarine, and it’s fine—once I even just skipped it in a pinch and everything held together alright)
- 1 pint heavy cream (whipping cream; I’ve used the canned stuff in an emergency, but it melts super fast)
- 1/4 cup powdered sugar
- 1 teaspoon vanilla extract (the real deal is best, but no shame if you’ve only got the imitation stuff—it’s July after all!)
- 1 cup blueberries (fresh; but frozen works, though they can bleed a bit)
- 1 cup sliced strawberries (if you hate slicing, just buy the pre-sliced or use raspberries—no judgement)
- Festive sprinkles for topping (I once used crushed freeze-dried strawberries—kids still ate it!)
Instructions
-
1Let both ice creams sit out till they’re easily scoopable but not puddles—think soft but still holding shape. Warning: If you forget and they go full soup, freeze ’em a bit and try again. (Ask me how I know…)
-
2Crush the cookies in a big zip bag (rolling pin, hands, or even a can of beans—whatever’s handy). Mix with melted butter until it looks like tasty, damp gravel. I taste-test here. Every. Time.
-
3Press the cookie mix into the bottom of a 9-inch springform pan or any deep round cake dish. If you only have a regular casserole dish, go for it! Toss it in the freezer while you prep the rest, so it gets a bit firmer.
-
4Spoon the vanilla ice cream evenly over the crust. Smooth it gently—it doesn’t have to be perfect; just avoid big air pockets unless you like surprise holes. Freeze 20 minutes or so to firm up a bit.
-
5Scatter half your berries over the vanilla layer (or just more cookies if your crew hates fruit—I’ve done both). Then spread a layer of strawberry ice cream over the berries. Sometimes it’s a wrestling match. Just do your best.
-
6Pop the whole thing back in the freezer for about 45 minutes, or longer if you forget and get distracted wrangling kids—won’t hurt it.
-
7Meanwhile, in a mixing bowl, whip the heavy cream with powdered sugar and vanilla till you’ve got soft peaks. Or, if you’re using the canned stuff, just make sure it’s nice and cold and don’t overthink it!
-
8After the cake is firm, spread the fresh whipped cream over the top. Swirl it with the back of a spoon so it looks intentionally messy (which is my secret to hiding any mistakes!)
-
9Top with remaining berries and go wild with sprinkles. Sometimes I add little American flag toothpicks if I’m feeling cute. Stick it all back in the freezer just till it’s set—usually an hour or more.
-
10To serve, run a warm knife around the pan edge to loosen. Slice with a sharp knife (run it under hot water if you want tidy slices… or just poke at it till pieces come out). Relish the mess.
Approximate Information for One Serving
Nutrition Disclaimers
Number of total servings shown is approximate. Actual number of servings will depend on your preferred portion sizes.
Nutritional values shown are general guidelines and reflect information for 1 serving using the ingredients listed, not including any optional ingredients. Actual macros may vary slightly depending on specific brands and types of ingredients used.
To determine the weight of one serving, prepare the recipe as instructed. Weigh the finished recipe, then divide the weight of the finished recipe (not including the weight of the container the food is in) by the desired number of servings. Result will be the weight of one serving.
Did you make this recipe?
Please consider Pinning it!




