Let Me Tell You About These Cookie Bars…
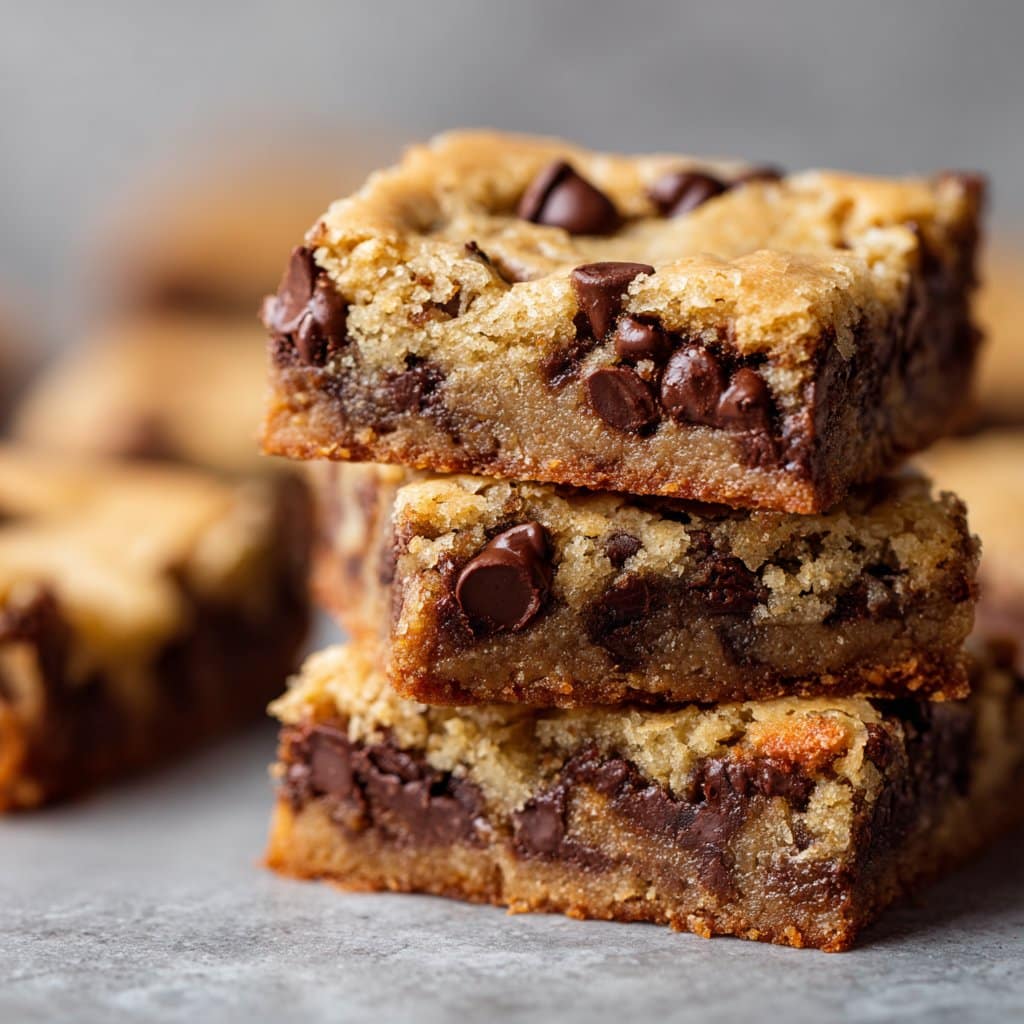
Alright, true confession time: the first time I made chocolate chip cookie bars was on a Tuesday night after a really long day (one of those days where the dishwasher breaks, you stub your toe, and the dog finds the one muddy patch in the yard). I just wanted cookies, but I couldn’t be asked to stand there scooping dough onto dozens of trays. Enter: cookie bars, my new lazy-baker BFF. Turns out, they’re not only way less effort, but also just the right mix of chewy edges and gooey middle. Plus, you get to cut them into whatever size you want—my partner always goes for the corner pieces, and I’m a middle-square sort of person. Also, my mum calls these “the only cookies worth sharing at the office.” Can’t argue with that, eh?
Why You’ll Love Making These
I whip these up when I want that homemade-cookie smell drifting through the house without the faff of rolling dough. My family goes a bit nuts for them (no shame in hiding a few pieces for yourself, by the way). They’re perfect for those busy days or when you’ve got friends coming over and want to look like you’ve got it all together—even if you’ve just thrown them in the oven twenty minutes before. Oh, and if you’ve ever burnt a batch of cookies because you forgot the second tray; you’ll appreciate that these bake all at once. No juggling, just one pan and done. (I used to overthink the bake time, but honestly, slightly underbaked is where the magic happens).
Gathering the Ingredients (Substitutions Welcome!)
- 1 cup (225g) unsalted butter, melted (I’ve used salted butter in a pinch—just go a bit easy on extra salt)
- 1 and 1/4 cups (250g) brown sugar, packed (light or dark works, though my Nan swears by dark for that rich flavour)
- 1/2 cup (100g) granulated sugar
- 2 large eggs (room temp is best, but I’ve been known to forget and use them straight from the fridge—works fine)
- 2 teaspoons vanilla extract (I’m not judging if you go heavy-handed here)
- 2 and 1/4 cups (280g) all-purpose flour (I sometimes use a bit of whole wheat if I’m feeling virtuous, but it’s not the same, honestly)
- 1/2 teaspoon baking soda
- 1/2 teaspoon salt (skip if your butter’s salted or you just forget—it happens)
- 2 cups (about 340g) chocolate chips (semi-sweet is classic, but I’ve used chopped chocolate bars or even M&M’s when I was short)
- Optional: a handful of chopped nuts, a drizzle of caramel, or some flaky sea salt on top (my fussy eater vetoes nuts, but you do you)
How I Throw It All Together (With Some Side Notes)
- Preheat your oven to 350°F (175°C). Grease a 9×13-inch pan. Sometimes I line mine with parchment so I can just lift the bars out, but if I’m in a rush, I just grease it up and hope for the best.
- In a big bowl, mix the melted butter, brown sugar, and granulated sugar together. It’ll look kind of grainy at first. That’s normal. (This is where I usually sneak a taste—don’t judge. Well, maybe just don’t eat half the bowl like my sister did once.)
- Add eggs and vanilla. Stir until smooth. It’ll get glossy and look a bit like caramel.
- In another bowl (or honestly, right on top if you’re careful), toss in flour, baking soda, and salt. Stir until it’s just combined. Don’t over-mix—no one wants tough bars.
- Fold in the chocolate chips and any extras (nuts, whatever tickles your fancy). The dough will be thick, almost sticky. That’s what you want.
- Plop the dough into your prepared pan. I use a spatula to spread it out, but sometimes just my hands (clean, promise). Don’t worry if it looks uneven; it sorts itself out in the oven.
- Bake for 23-28 minutes. Edges should look golden, but the center might seem a bit underdone—trust me, pull it out then. It’ll finish setting as it cools. (I once baked these until they seemed totally done and regretted it—too dry. Learn from my mistake!)
- Let cool in the pan if you can resist. Or, cut into squares while warm for that melty, gooey middle.
Notes From My Own Mishaps (& Discoveries)
- If you forget to melt the butter and just cream it, you’ll get fluffier bars. Not bad, just different. Actually, I find it works better if you do melt it for that chewy texture.
- I once tried baking in a glass dish, and it took a good 10 minutes longer (so check around 25 minutes, but trust your nose).
- Letting them cool completely makes cutting neater squares, but who actually waits that long?
What Else Can You Try? (And One Missed Attempt)
- I’ve swapped half the chocolate chips for butterscotch—wow, it’s sweet but good.
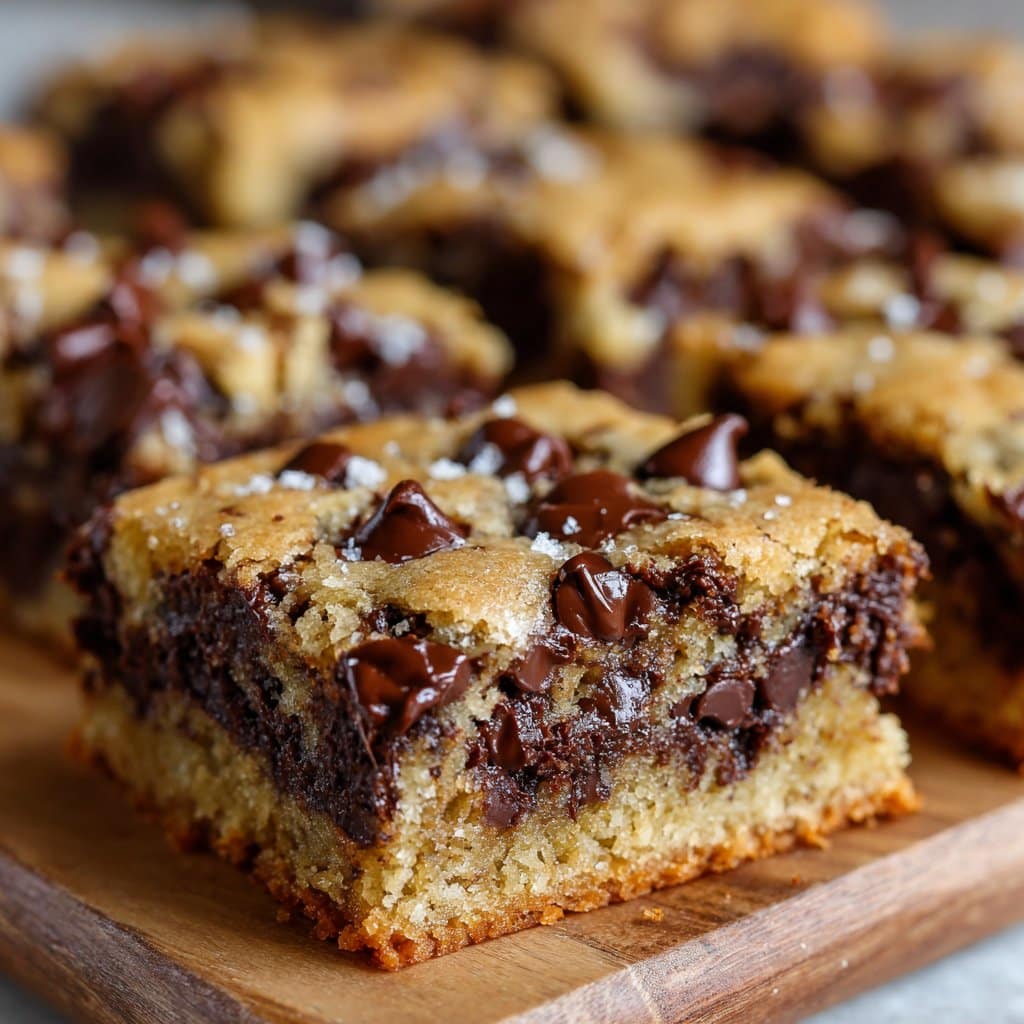
- Sprinkling a little sea salt on top right after baking is a gamechanger (unless you forget, then it’s just cookies, and that’s fine too).
- Once, I tried swirling in raspberry jam—it looked pretty but tasted weird (maybe it’s just me, but I wouldn’t recommend it).
Do You Really Need Fancy Equipment?
Honestly, just a bowl and a spoon works. You could use a stand mixer if you’ve got one, but I usually just use a big old wooden spoon and my favorite mixing bowl (it’s got a chip in the rim, but it’s sentimental). If you don’t have a 9×13-inch pan, two 8×8 pans work, or even a rimmed baking sheet—just adjust the bake time a smidge.
Let’s Talk Storage (Not That You’ll Need It)
They keep in an airtight tin for 3-4 days, but honestly, in my house, they never last more than a day! If you do want them to last, stash them in the fridge for a firmer bite, or freeze in layers (wax paper between) for up to three months. But, there’s nothing wrong with eating them for breakfast the next day… speaking form experience.
How I Like to Serve ‘Em
My youngest always begs for ice cream on top, but I’m partial to a warm square with a splash of cold milk. Or, if we’re feeling fancy, a drizzle of chocolate sauce and a scoop of vanilla. At Christmas, we cut them into weird shapes and dust with icing sugar—festive, if not exactly tidy.
Lessons I’ve Learned the Hard Way (Pro Tips)
- Once, I tried rushing the cooling step and ended up with a gooey mess everywhere—wait at least 10 minutes, even if it’s tough.
- Don’t over-bake! The edges cook quicker, so remember: slightly under is better than too dry.
- On second thought, if you like crunchy, go for the corners—they’re the real prize.
FAQ (Actual Questions I’ve Gotten!)
- Can I use margarine instead of butter? You can, but the flavor just isn’t the same (in my humble opinion). If it’s all you’ve got, go for it. But maybe add a splash of extra vanilla.
- Do I have to use chocolate chips? Can I use chunks? Absolutely! Chunks, chopped bars, or even leftover Easter eggs (yep, I’ve done it) all work. Just be ready for some bits to melt a little more—messy in the best way.
- Can I halve the recipe? Sure thing. Use an 8×8 pan and cut the bake time by a few minutes. Or just make the full batch and freeze some squares; future-you will be grateful.
- What if I don’t have brown sugar? I’ve made these with just white sugar in a pinch—they’re a bit less chewy but still delicious. Or, mix white sugar with a spoonful of molasses if you’ve got some lying around.
- Are these gluten-free? Not as written. But, I’ve had luck with a 1:1 gluten-free flour blend (like Bob’s Red Mill). Texture’s a tiny bit different, but not bad at all! If you want more gluten-free ideas, this recipe is lovely too.
And if you want to geek out a bit, I love the science-y breakdowns at Sally’s Baking Addiction—it’s where I first learned about underbaking for gooeyness.
By the way, anyone else have random kitchen utensils disappear mysteriously? I swear I had three wooden spoons last month…
Ingredients
- 2 1/4 cups all-purpose flour
- 1 teaspoon baking soda
- 1/2 teaspoon salt
- 1 cup unsalted butter, melted
- 3/4 cup granulated sugar
- 3/4 cup packed brown sugar
- 2 large eggs
- 2 teaspoons vanilla extract
- 2 cups semisweet chocolate chips
Instructions
-
1Preheat oven to 350°F (175°C). Grease a 9×13-inch baking pan or line with parchment paper.
-
2In a medium bowl, whisk together the flour, baking soda, and salt.
-
3In a large bowl, combine melted butter, granulated sugar, and brown sugar. Mix until smooth. Beat in eggs and vanilla extract.
-
4Gradually add the dry ingredients to the wet ingredients, mixing until just combined. Fold in the chocolate chips.
-
5Spread the dough evenly into the prepared pan. Bake for 22-25 minutes, or until golden brown and a toothpick inserted in the center comes out clean.
-
6Allow to cool completely in the pan before cutting into bars and serving.
Approximate Information for One Serving
Nutrition Disclaimers
Number of total servings shown is approximate. Actual number of servings will depend on your preferred portion sizes.
Nutritional values shown are general guidelines and reflect information for 1 serving using the ingredients listed, not including any optional ingredients. Actual macros may vary slightly depending on specific brands and types of ingredients used.
To determine the weight of one serving, prepare the recipe as instructed. Weigh the finished recipe, then divide the weight of the finished recipe (not including the weight of the container the food is in) by the desired number of servings. Result will be the weight of one serving.
Did you make this recipe?
Please consider Pinning it!!




