Let Me Tell You About These Brownie Bombs…
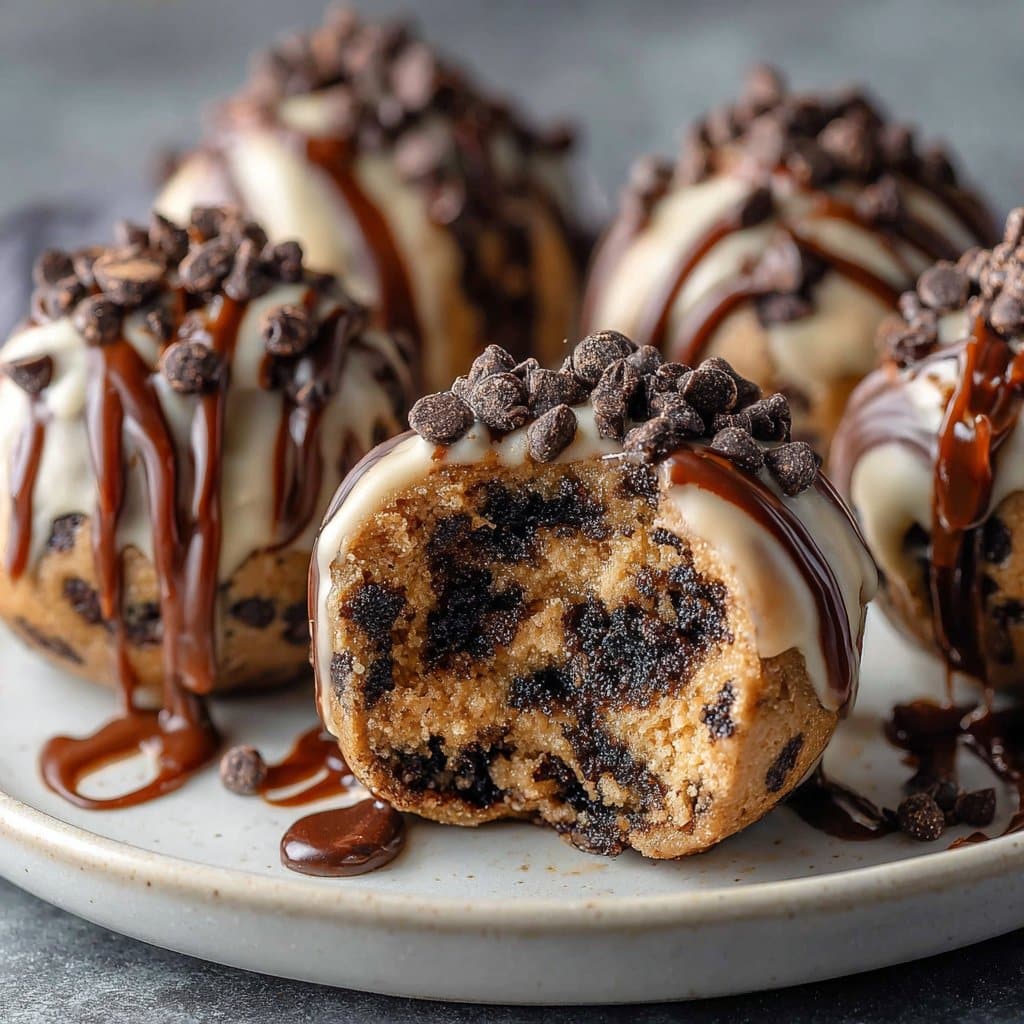
If you ever wondered what would happen if a brownie and chocolate chip cookie dough had a love child, well, wonder no more! These Chocolate Chip Cookie Dough Brownie Bombs are my family’s kryptonite. I first made them during a snowstorm (because what else are you going to do?), and now they’re basically a requirement at every get-together. Honestly, the first time, I made a gigantic mess and forgot to buy enough chocolate for dipping—so half of them were more like cookie dough brownies with a frosting hat. My kids still remind me.
Why You’ll Love This
I make these whenever my sweet tooth won’t shut up (which is most Saturdays, let’s be real). My partner says they’re their favorite because you get more cookie dough in each bite than any actual cookie. And the best part? You don’t have to turn on the oven for the cookie dough part, so it’s great for hot days. Sometimes I get a bit lazy and use boxed brownies, and no one has ever complained (if they did, I didn’t hear them over the munching). Oh! I used to hate the step where you have to chill everything, but I’ve learned it’s the secret to not ending up with a gooey disaster.
Here’s What You’ll Need (And What You Can Swap)
- 1 box of brownie mix (or your favorite homemade recipe—I’ve totally used this one from Serious Eats when feeling fancy)
- 2 cups all-purpose flour
- 1 cup unsalted butter, softened (but I’ve melted it in the microwave when in a rush, shh)
- 1 cup light brown sugar (my grandma swore by dark brown, so go wild)
- 1/2 cup granulated sugar
- 2 tablespoons milk (almond or oat milk works too, actually)
- 1 teaspoon vanilla extract (sometimes I double it, no regrets)
- 1/2 teaspoon salt (I’ve used salted butter and skipped this—it’s fine)
- 1 1/2 cups mini chocolate chips (or whatever you’ve got—chunks, M&Ms, leftover Easter candy, you name it)
- 2 cups semisweet or dark chocolate for melting (chocolate bark or candy melts work in a pinch)
How To Actually Make ‘Em
- Bake your brownies in an 8×8″ or 9×9″ pan. Let them cool completely—I know, waiting is the worst. Slice ‘em into 1-inch chunks. It’s fine if a few are messy, you’ll smoosh them anyway.
- Make the cookie dough: Cream together butter and both sugars until fluffy. Add in your milk and vanilla, mix again. Then stir in the flour and salt until just combined (don’t overthink it). Fold in chocolate chips. This is where I usually sneak a taste—no eggs, so why not?
- Shape the dough: Take a square of brownie, wrap a scoop of cookie dough around it, and roll into a ball. If things get sticky, a little flour on your hands helps (or just lick your fingers, who’s judging?). Place the balls on a lined tray.
- Chill! Pop the tray in the freezer for 30 minutes. I’ve tried to skip this and deeply regretted it—don’t.
- Dip in chocolate: Melt the chocolate (microwave in 30-sec bursts or use a double boiler if you’re feeling posh). Use a fork to dip each ball and tap off excess. Set back on the tray. If you want, sprinkle with more chips or flaky salt before the chocolate sets.
- Let them set up (I stick them back in the fridge because patience isn’t my strong suit). Eat one before anyone else notices, it’s the chef’s tax.
A Few Notes From My Kitchen
- If your dough feels too sticky, a tablespoon of flour fixes it.
- I once tried using all dark chocolate chips and the whole thing was a bit too intense. Maybe mix half milk chocolate in?
- Don’t panic if your balls aren’t perfect. Once they’re dipped, no one can tell.
Some Variations I’ve Tried (with Mixed Results)
- Peanut butter chips in the dough—totally delicious, but my friend said it’s a crime against the original. You decide.
- Boxed blondies instead of brownies: Actually, I find it works better if you stick with classic brownies. The blondies kind of melt apart. Oops.
- Add a pinch of espresso powder to the brownie layer if you want to feel fancy. It’s subtle but nice!
Equipment? Well, Kinda…
- A stand mixer or hand mixer is great, but I’ve done it with a big wooden spoon and some elbow grease. I mean, who needs a gym membership?
- Parchment paper for lining (or just spray the tray and hope for the best, which works, sorta)
- Microwave safe bowl or double boiler for melting—if you don’t have one, just use a saucepan and a heatproof bowl on top. Improvise!
Keeping Them Fresh (If You Must)
Store these in an airtight container in the fridge for about 5 days, or freeze for longer. But honestly, in my house they barely last one night. On the odd chance you have leftovers, they’re great straight from the fridge. I think they taste better the next day (but that’s just me).
How I Like to Serve These
We’ve had these with ice cream as a wild sundae (vanilla—boring but classic), or just with a big mug of coffee. My cousin dunks hers in hot chocolate, which is both genius and dangerous. During the holidays, I put them in mini cupcake liners for gifting—looks way fancier than it is.
Pro Tips, Learned the Hard Way
- I once tried to skip the chilling step. Huge mistake. Cookie dough everywhere—looked like a toddler’s art project.
- Don’t use super hot melted chocolate, it melts the dough and gets messy. Let it cool a bit first.
- If you use a boxed brownie that’s extra fudgy, chill it longer before wrapping. Trust me, or the whole thing sticks to your hands.
FAQ: Real Questions I’ve Had (Some Odd Ones Too)
- Can I use store-bought cookie dough?
Yeah, you can, but the homemade dough is honestly much better. Pre-made dough can be a bit too salty, and sometimes it’s weirdly grainy. Still, if you’re desperate, it works. - How do I make these gluten free?
Just swap in your favorite 1:1 gluten-free flour blend. I’ve done it with King Arthur’s blend (here), and it turned out spot on. - What if I don’t have a mixer?
No problem, just use a big spoon and flex those biceps. Takes a little longer, but gets the job done. - Is it safe to eat raw flour?
Technically, you should heat treat it first—spread it on a baking sheet and bake for 5 minutes at 350°F. I’ll be honest, I sometimes skip this, but it’s up to you. - Why do my bombs fall apart?
Usually it’s because the brownie or dough wasn’t chilled enough. Try popping them in the freezer a bit longer. Or maybe make them smaller—less likely to collapse under their own weight.
So there you go—Chocolate Chip Cookie Dough Brownie Bombs, warts and all. If you want to see a visual step-by-step (with fewer typos, probably), I like Sally’s Baking Addiction’s version too. Now go make a mess and enjoy every bite!
Ingredients
- 1 box brownie mix (plus ingredients required on package)
- 1/2 cup unsalted butter, softened
- 1/2 cup brown sugar, packed
- 1/4 cup granulated sugar
- 2 tablespoons milk
- 1 teaspoon vanilla extract
- 1 cup all-purpose flour
- 1 cup mini chocolate chips
- 2 cups semisweet chocolate chips (for coating)
- 1 tablespoon coconut oil (optional, for melting chocolate)
Instructions
-
1Prepare the brownie mix according to package instructions. Bake in a 9×13-inch pan and allow to cool completely.
-
2In a large bowl, cream together the softened butter, brown sugar, and granulated sugar until light and fluffy.
-
3Mix in the milk and vanilla extract. Gradually add the flour and mix until combined. Stir in the mini chocolate chips to form the cookie dough.
-
4Scoop out small portions of cookie dough and roll into 1-inch balls. Place on a parchment-lined tray and freeze for 20 minutes.
-
5Cut cooled brownies into squares. Flatten a brownie square, wrap it around a cookie dough ball, and roll into a smooth ball. Repeat with remaining dough and brownies.
-
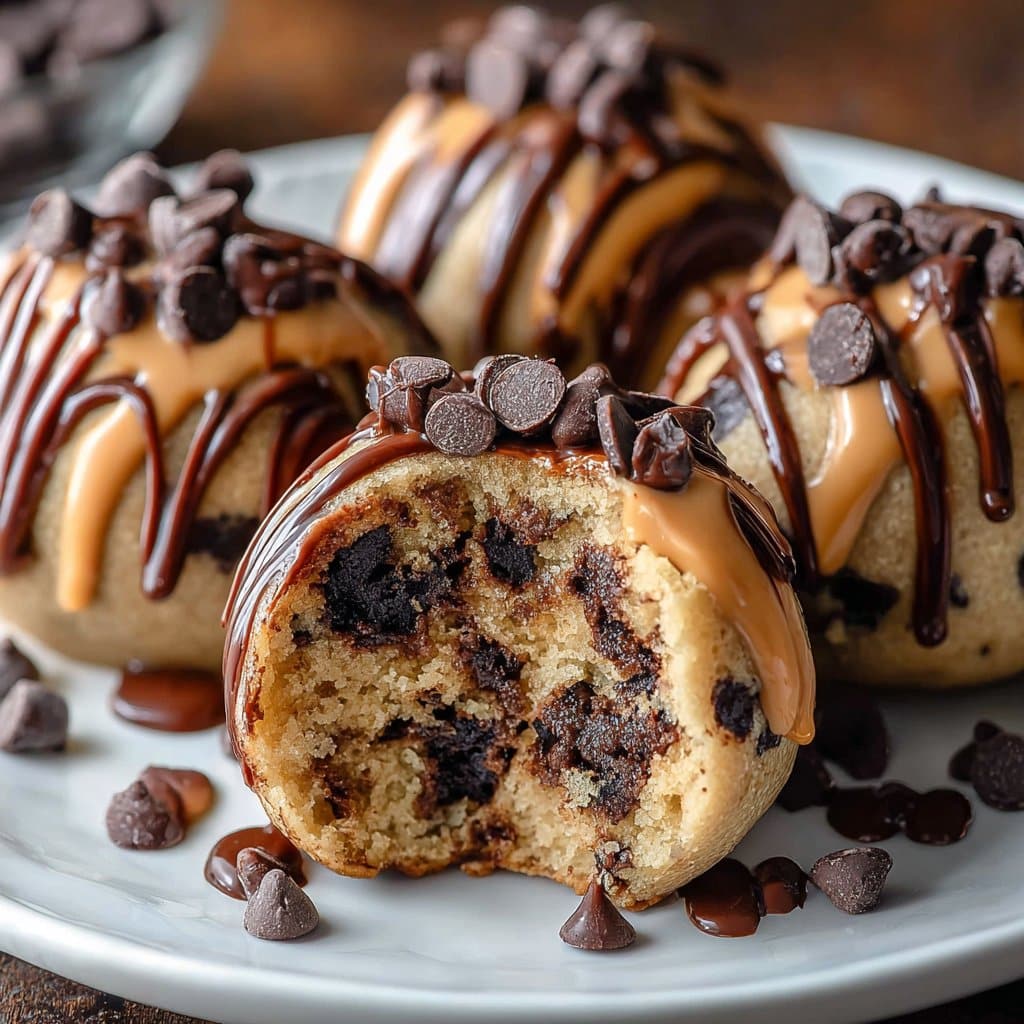
6Melt the semisweet chocolate chips with coconut oil until smooth. Dip each brownie bomb into the melted chocolate, place on parchment, and let set until firm. Serve and enjoy!
Approximate Information for One Serving
Nutrition Disclaimers
Number of total servings shown is approximate. Actual number of servings will depend on your preferred portion sizes.
Nutritional values shown are general guidelines and reflect information for 1 serving using the ingredients listed, not including any optional ingredients. Actual macros may vary slightly depending on specific brands and types of ingredients used.
To determine the weight of one serving, prepare the recipe as instructed. Weigh the finished recipe, then divide the weight of the finished recipe (not including the weight of the container the food is in) by the desired number of servings. Result will be the weight of one serving.
Did you make this recipe?
Please consider Pinning it!!




