Let’s Chat Cookies: Chocolate Chip Pumpkin for Fall
It’s that time of year again—when the air smells like wet leaves (which I always like, is that weird?) and my kitchen practically demands I bake something pumpkin-y. The first time I made these Chocolate Chip Pumpkin Cookies, I was actually just trying to use up some leftover canned pumpkin from a soup disaster, but wow—they turned out way better than the soup. Now, every time autumn rolls around, my family starts hinting (not so subtly) that it’s cookie o’clock. And honestly, who am I to say no? Also, if you’re wondering, yes—sometimes I eat the dough. You probably will too.
Why I Keep Coming Back to This Recipe
I make these when the weather turns chilly and my hands need something to do besides scrolling my phone. My family goes a bit wild for these because they’re like the perfect marriage of soft pumpkin bread and classic chocolate chip cookies—except honestly, they’re easier (and you don’t need to fuss about loaf pans sticking). That spicy pumpkin smell is a hug for your nose, which sounds silly but it’s true. I used to struggle with cookies turning out too cakey (which is fine, but not what I wanted). But this recipe’s the closest I’ve gotten to that magical chewy-soft middle ground. (The trick is actually not overmixing, but we’ll get to that.)
Here’s What You’ll Need (and What You Might Swap)
- 1 cup canned pumpkin puree (not pumpkin pie mix—learned that the hard way, but if that’s all you’ve got, just cut back on the sugar a bit)
- 1/2 cup melted butter (sometimes I use coconut oil if I’m out, but butter’s my favorite)
- 3/4 cup brown sugar, packed (granulated works in a pinch, but brown sugar gives it oomph)
- 1/2 cup white sugar
- 1 large egg
- 2 teaspoons vanilla extract (my grandmother swore by Nielsen-Massey, but whatever’s handy is fine)
- 2 cups all-purpose flour (I tried whole wheat once—too dense for my liking)
- 1 teaspoon baking soda
- 2 teaspoons ground cinnamon
- 1/2 teaspoon nutmeg (skip it if you don’t have it, honestly)
- 1/2 teaspoon salt
- 1 cup chocolate chips (or more, live your dreams)
- Optional: a handful of chopped pecans or walnuts, if you’re feeling fancy
How I Throw These Together (With Some Wiggle Room)
- Preheat your oven to 350°F (or 175°C, if you’re across the pond). Line a couple baking sheets with parchment. Or don’t—just grease ’em if you’re out of parchment, it’s all good.
- In a big bowl, whisk together the pumpkin, melted butter (give it a minute to cool or you’ll end up with scrambled eggs), both sugars, egg, and vanilla. It’ll look a bit like baby food at this stage, but don’t get worried.
- In another bowl, mix the flour, baking soda, cinnamon, nutmeg, and salt. I usually just give it a quick stir with a fork unless I’m feeling extra proper and want to sift.
- Now, dump your dry ingredients into the wet. Stir until just combined—if you see a streak of flour, that’s okay. Actually, I find it works better if you under-mix a smidge. Overmixing = weird texture.
- Fold in your chocolate chips (and nuts, if you’re using them). This is where I sneak a few chips for myself. No regrets.
- Drop tablespoons of dough onto the baking sheets. You can use a cookie scoop if you have one, but a couple spoons work fine. The dough’s kinda sticky, so don’t stress.
- Bake for about 10-12 minutes. They won’t look super browned—pumpkin keeps them soft. If they seem set around the edges but still soft-ish in the center, you nailed it.
- Let them cool for a few minutes on the tray (or just grab one and risk burning your tongue—your call), then transfer to a wire rack if you’re fancy like that.
Notes From My (Occasionally Messy) Kitchen
- If you want chewier cookies, chill the dough for 30 minutes before baking. I almost never remember to do this, but when I do, it’s worth it.
- I once tried subbing honey for part of the sugar. Not my best idea—they spread weirdly and tasted a bit off. Stick with sugar.
- The cookies look underdone but firm up as they cool. Do not panic.
Variations I’ve Actually Tried (Some Flops, Some Faves)
- Add a handful of dried cranberries for a Thanksgiving-y twist—surprisingly good.
- White chocolate chips instead of regular—my niece loves this, I think it’s a bit sweet, but hey, to each their own.
- I tried subbing almond flour once (was feeling adventurous); honestly, they turned out kind of mushy. Wouldn’t recommend unless you’re gluten-free and desperate.
Do You Need Fancy Equipment?
A stand mixer is nice, but I mostly use a big bowl and an old wooden spoon—more satisfying that way, and fewer dishes. If you don’t have parchment paper, just butter your trays well. Cookie scoop? Use two spoons. Or your hands, but beware: sticky fingers galore.
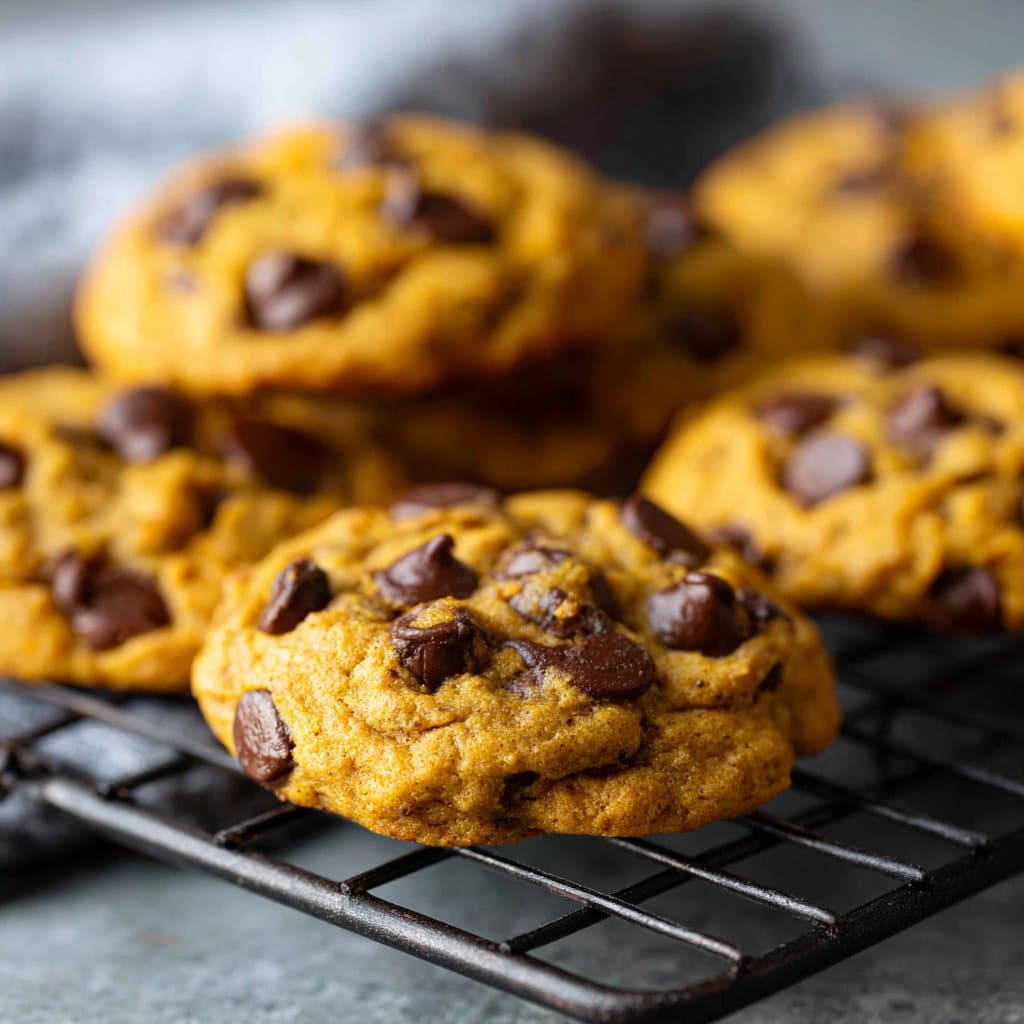
Storing These Beauties (If You Somehow Have Leftovers)
Store in an airtight container at room temp. They’re best within 2-3 days, but honestly, in my house it never lasts more than a day! If you do want to keep them longer, toss ’em in the freezer (they defrost quick). Or eat them frozen, I won’t judge.
How We Serve ‘Em at My Place
warm, with a cold glass of milk. Sometimes we sandwich vanilla ice cream between two cookies for dessert (my kids call it the “pumpkinwich”). If I’m feeling extra, I drizzle a little caramel sauce. Oh, and they’re pretty excellent with coffee on a chilly morning—try it!
Things I’ve Learned the Hard Way (So You Don’t Have To)
- Don’t rush the cooling—once I did, and they stuck together in a sad, doughy clump.
- Resist the urge to add more pumpkin for “extra moistness”—it makes them dense and kinda gummy.
- Sifting is nice, but skipping it won’t ruin your cookies, trust me.
FAQ: Real Questions I’ve Been Asked (Usually By Hungry People)
- Can I use fresh pumpkin instead of canned? Sure, just roast and mash it, but get out as much liquid as you can or your dough might be soup. I usually can’t be bothered, but if you’re ambitious, go for it.
- Do these freeze well? Yup! Pop ’em in a freezer bag. I’ve even eaten them straight form the freezer (not bad, honestly).
- How do I make them vegan? Swap in coconut oil or vegan butter, and use a flax egg. I’ve done it for a friend, and they turned out great—just a little different in texture.
- Can I double the recipe? Oh, absolutely. I do it whenever we have people over, or, you know, just because.
- Why are my cookies so puffy? It’s the pumpkin and the not-overmixing. If you want them flatter, press them a bit before baking.
P.S. If you want more pumpkin inspiration, Sally’s Baking Addiction has a killer recipe too. And for the science behind why pumpkin in cookies is trickier than it looks, check out this King Arthur Baking article. I’ve learned a thing or two there—sometimes the hard way!
Anyway, hope you give these a whirl. If you end up with flour on your shirt, you’re doing it right.
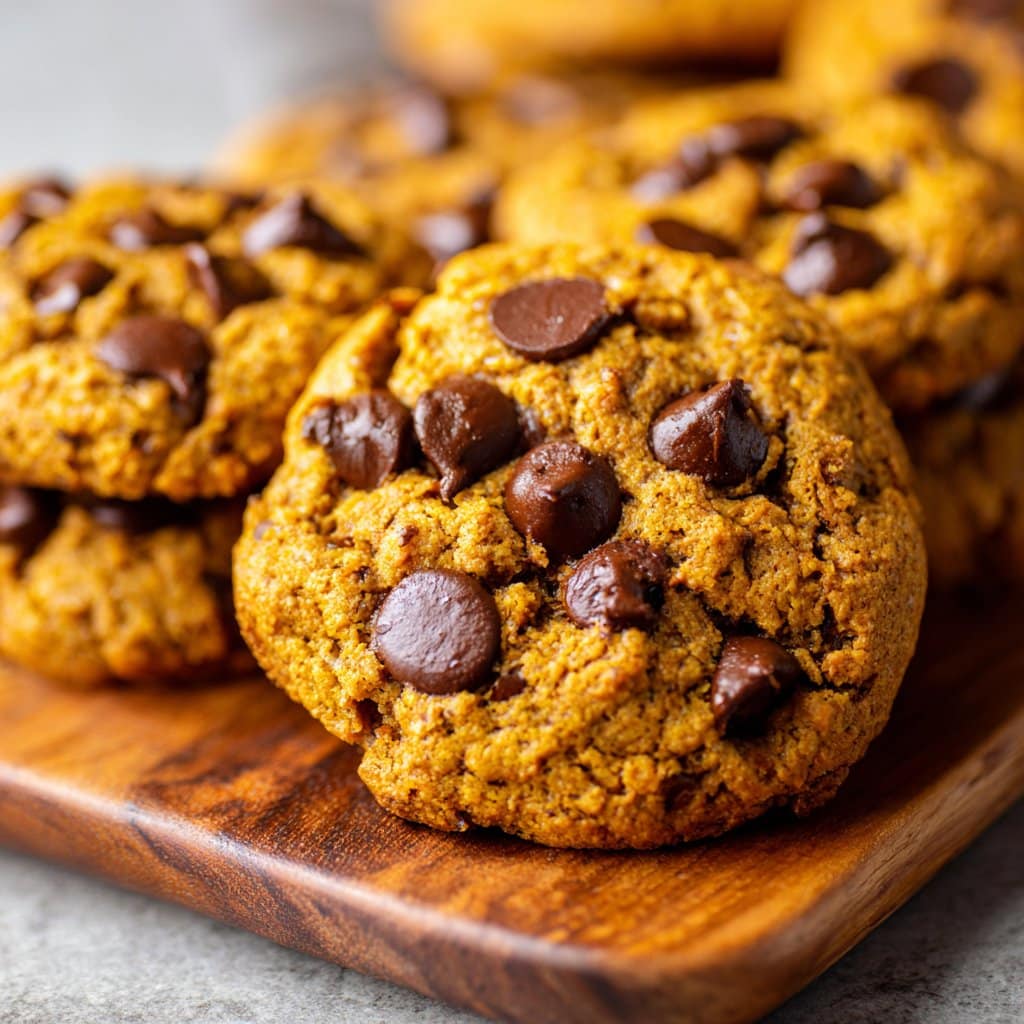
Ingredients
- 1 1/2 cups all-purpose flour
- 1/2 teaspoon baking soda
- 1/2 teaspoon ground cinnamon
- 1/4 teaspoon ground nutmeg
- 1/4 teaspoon salt
- 1/2 cup unsalted butter, softened
- 3/4 cup brown sugar, packed
- 1/2 cup canned pumpkin puree
- 1 large egg
- 1 teaspoon vanilla extract
- 1 cup semisweet chocolate chips
Instructions
-
1Preheat the oven to 350°F (175°C) and line two baking sheets with parchment paper.
-
2In a medium bowl, whisk together the flour, baking soda, cinnamon, nutmeg, and salt.
-
3In a large bowl, cream the softened butter and brown sugar until light and fluffy. Beat in the pumpkin puree, egg, and vanilla extract until well combined.
-
4Gradually add the dry ingredients to the wet ingredients, mixing just until combined. Fold in the chocolate chips.
-
5Drop tablespoonfuls of dough onto the prepared baking sheets, spacing them about 2 inches apart.
-
6Bake for 12-15 minutes, or until the edges are set and the centers look slightly soft. Allow cookies to cool on the baking sheet for 5 minutes before transferring to a wire rack to cool completely.
Approximate Information for One Serving
Nutrition Disclaimers
Number of total servings shown is approximate. Actual number of servings will depend on your preferred portion sizes.
Nutritional values shown are general guidelines and reflect information for 1 serving using the ingredients listed, not including any optional ingredients. Actual macros may vary slightly depending on specific brands and types of ingredients used.
To determine the weight of one serving, prepare the recipe as instructed. Weigh the finished recipe, then divide the weight of the finished recipe (not including the weight of the container the food is in) by the desired number of servings. Result will be the weight of one serving.
Did you make this recipe?
Please consider Pinning it!!




