Let Me Tell You About the Chocolate Oreo Crumbl Cookie (and My Oops)
So, hear me out: I baked these Chocolate Oreo Crumbl Cookies on a rainy Sunday when I absolutely should have been folding laundry, but you know how that goes. I mean, who needs clean socks when you can have freshly baked, gooey chocolate cookies instead? Also, my uncle once tried hiding these from my cousin—didn’t work. They are THAT good. And I’ll admit, the first time I made these, I cracked an egg directly over the bowl… only to discover a bit of eggshell surfing across my batter. Rookie mistake, but hey, we move on (just fish it out, right?).
Why I Keep Coming Back to This Recipe
Honestly, these cookies are my go-to when cravings hit (you know, those 10pm “I need something chocolate now” moments). My family sort of loses their minds for these. And if I bring them to a party, they’re always the first to disappear. (Shoutout to my neighbor Sheila for eating four before dinner—no judgment, Sheila!) They’re massive, so you get the bakery feel but in your own kitchen. The only frustration? Trying not to eat the dough before baking. If you find a solution, let me know.
What You’ll Need (Plus Handy Shortcuts)
- Butter: Unsalted, soft enough you can poke it. Salted is okay if that’s all you have (just go light on extra salt).
- Light brown sugar: I use it for chewy texture. Granulated sugar works in a pinch but the flavor won’t be as deep.
- White sugar: For that crisp cookie edge, but I’ve done it with coconut sugar before—fun, but just…different.
- Eggs: Room temp, if you remember (I usually don’t, so I stick ’em in warm water for 5 mins).
- Vanilla extract: My grandma swears by imitation, but I’ve honestly never noticed a huge difference here.
- All-purpose flour: The trusty classic. I’ve even dared to try half bread flour once for chewier cookies—wasn’t mad about it!
- Cocoa powder: Dutch-process is my favorite, but natural works for a more homey flavor.
- Baking soda & salt: Don’t skip.
- Oreos (or store brand): About a big handful, gently crushed. Pro tip: Save a few for topping.
- Chocolate chips: I go semisweet, but milk or dark if that’s your jam.
How to Make These Cookies (It’s Easier Than You Think)
- Preheat oven to 350°F/180°C. Line a baking tray with parchment paper (or foil if that’s what’s around, but parchment is less sticky).
- Cream butter and both sugars until fluffy—about 3 min with a mixer, or some arm muscle if you’re doing it old-school.
- Add eggs and vanilla. Mix—don’t worry if it looks a bit split, it always comes together once you add the dry stuff!
- Whisk flour, cocoa, baking soda, and salt in a different bowl. Tip this into your wet mix. Stir gently. Try not to overmix.
- This is where I usually sneak a taste (for quality assurance… right?).
- Fold in Oreo chunks and chocolate chips. Save a few to stick on top for bakery looks.
- Scoop huge balls of dough (like, almost baseball-sized; I use an ice cream scoop). Plop onto the tray, and squish them down a bit.
- Bake for 10-12 mins. Edges should be set; middle will look underdone—trust me, that’s how you get fudgy centers.
- Let cool on the tray for 5 minutes (or until you can pick them up without burning your hands… learned that the hard way).
Lil’ Extras and Notes
- Honestly, don’t skip letting these rest on the tray. Straight from the oven they fall apart… I’ve tried. Multiple times.
- If your dough feels dry, add a splash of milk—it probably just needed a little more love.
- Chill the dough for extra thickness. But honestly, that’s for days when I’m patient (so, not often).
Variations I’ve Tried (And One I Kinda Regretted)
- Mint Oreos are surprisingly good—remind me of ice cream cake!
- Peanut butter chips mixed in is next-level (but don’t tell my sister, she’s allergic).
- I tried white chocolate chips… but actually, I find it makes them a bit too sweet for my liking. Maybe that’s just me.
Equipment: Or What I Use (Most Days)
So a stand mixer makes life easier, but a big wooden spoon and some elbow grease works fine; you might just break a sweat. Oh, and if you don’t have parchment, butter up your tray really well. Ice cream scoops are great, but a big tablespoon does the job.
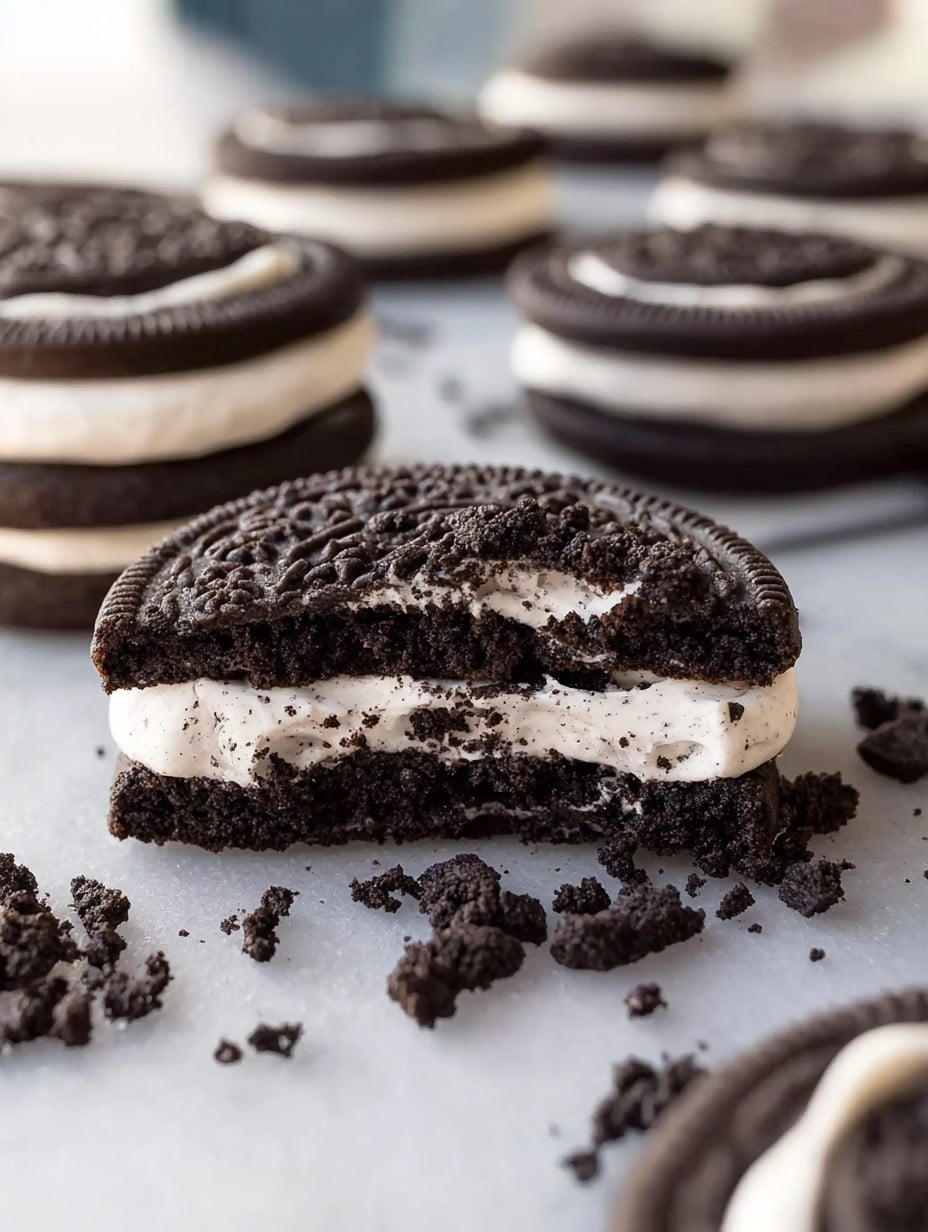
How to Store ‘Em (If They Survive That Long)
Airtight container on the counter—good for up to 3 days, though honestly, in my house it never lasts more than a day! If you do hide a few, they freeze beautifully. Let them thaw a bit, and they’re almost as good as fresh. Or microwave for 10 seconds. Heaven.
Best Way to Serve? (Here’s Our Weekend Ritual)
Okay, so we usually have these slightly warm with a scoop of vanilla ice cream, and sometimes (when I’m feeling posh) I drizzle a little salted caramel sauce over the top. Kids dunk them in cold milk. Once, my husband crumbled his over pancakes—kind of wild, but not bad. You do you.
Tips I Learned the Hard Way
- I once tried speeding through the sugar-and-butter step. Nope—ended up dense, not dreamy. Take your time here, future self.
- Don’t bother crushing Oreos too fine. Chunks = magic.
- If they’re a little flat, check that your baking soda ain’t ancient (honestly, mine was nearly as old as my first cell phone once… not ideal).
Actually Useful Links
- I buy my favorite cocoa powder form King Arthur Baking Company sometimes; their blog is great if you get nerdy about baking chemistry.
- For ice cream to go with these, our crew loves to browse Jeni’s Splendid Ice Creams—so many flavors, not sponsored or anything; just yum.
Answering Some Real-Life Cookie Questions
- Can I skip the Oreos? Technically yes, but then it’s just a chocolate cookie (still tasty, but c’mon—live a little).
- Can I use gluten-free flour? I tried Bob’s Red Mill 1 for 1 once—it worked, just a tad more crumbly.
- Can I make them smaller? Sure can. Just shave a bit off your baking time—start checking at 8 minutes. But honestly, big ones are funnier.
- Are they better the next day? I tend to think so, actually. Flavors deepen! Also, they travel well for camping trips (just in case you’re planning).
- I don’t have a mixer—can I do this by hand? Yup, just expect a doughy workout, and maybe some flour on your face.
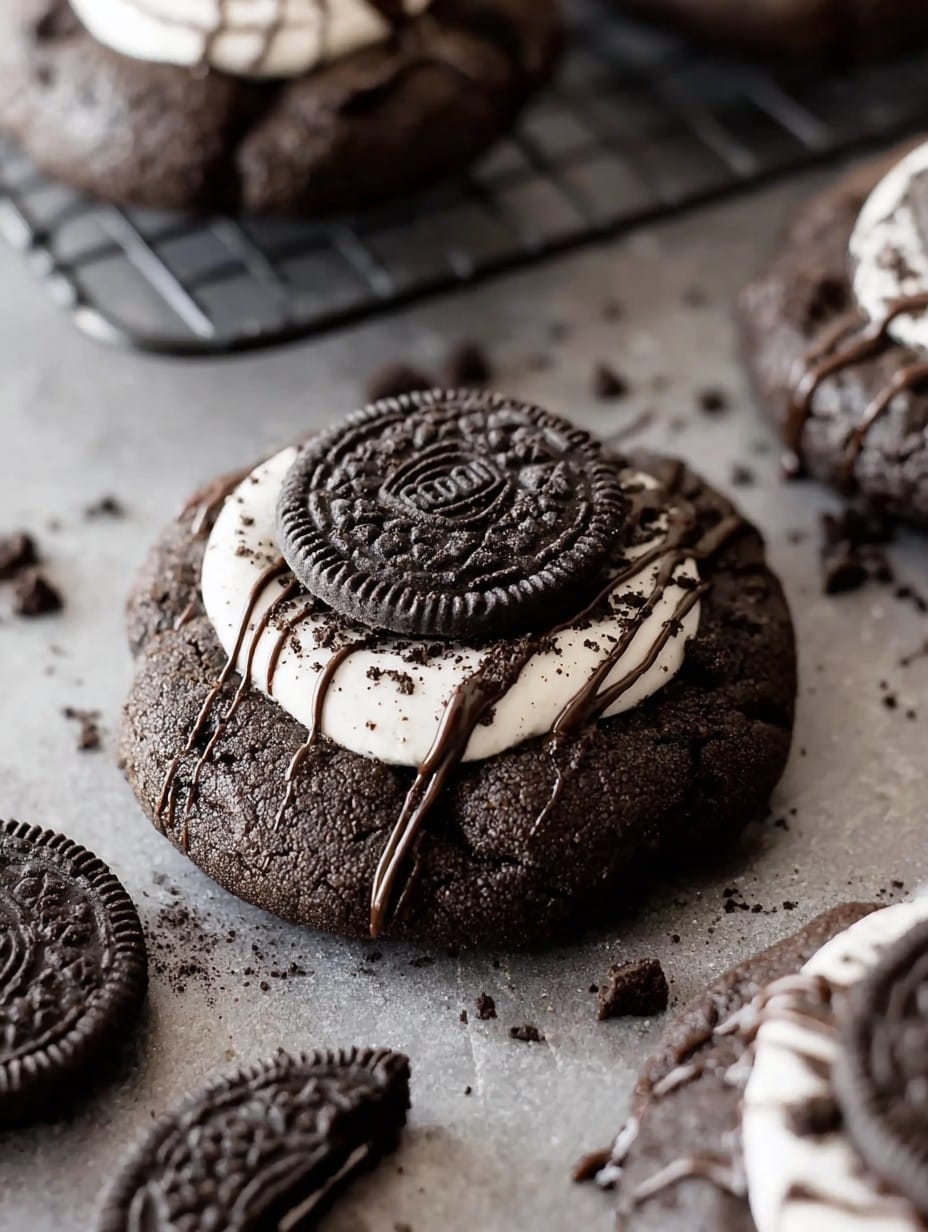
Ingredients
- 1 1/4 cups all-purpose flour
- 1/2 cup unsweetened cocoa powder
- 1/2 teaspoon baking powder
- 1/4 teaspoon salt
- 1/2 cup unsalted butter, softened
- 3/4 cup granulated sugar
- 1/2 cup packed brown sugar
- 1 large egg
- 1 teaspoon vanilla extract
- 1 cup chopped Oreo cookies (about 10 Oreos)
- 3/4 cup semi-sweet chocolate chips
Instructions
-
1Preheat your oven to 350°F (175°C) and line a baking sheet with parchment paper.
-
2In a medium bowl, whisk together the flour, cocoa powder, baking powder, and salt.
-
3In a large bowl, cream together the softened butter, granulated sugar, and brown sugar until light and fluffy.
-
4Add the egg and vanilla extract to the butter mixture and mix until well combined.
-
5Gradually mix in the dry ingredients until just combined, then fold in chopped Oreo cookies and chocolate chips.
-
6Scoop large dough balls onto the prepared baking sheet and bake for 11-12 minutes, or until edges are set but centers are still soft. Cool on the baking sheet for 10 minutes before transferring to a wire rack.
Approximate Information for One Serving
Nutrition Disclaimers
Number of total servings shown is approximate. Actual number of servings will depend on your preferred portion sizes.
Nutritional values shown are general guidelines and reflect information for 1 serving using the ingredients listed, not including any optional ingredients. Actual macros may vary slightly depending on specific brands and types of ingredients used.
To determine the weight of one serving, prepare the recipe as instructed. Weigh the finished recipe, then divide the weight of the finished recipe (not including the weight of the container the food is in) by the desired number of servings. Result will be the weight of one serving.
Did you make this recipe?
Please consider Pinning it!!




