Alright, So Chocolate Sourdough Biscotti – Let’s Talk
If you’ve ever found yourself with a bit too much sourdough starter (guilty), and a craving for something sweet that’s a little fancier than your average cookie, this chocolate sourdough biscotti is for you. Actually, this recipe was born from one Saturday morning when I realized I still had half a jar of starter in the fridge, and my husband had just mentioned (hinted at, really) that he missed those crunchy biscotti his gran used to bring over. Cue me rummaging around for chocolate and quietly cursing the flour dust in my coffee. But hey, this one’s a keeper—and way easier than it sounds. Plus, it makes the house smell like a proper Italian bakery. Or at least it does when you’re not burning the first batch, which I have definitely done before!
Why Do I Keep Making These?
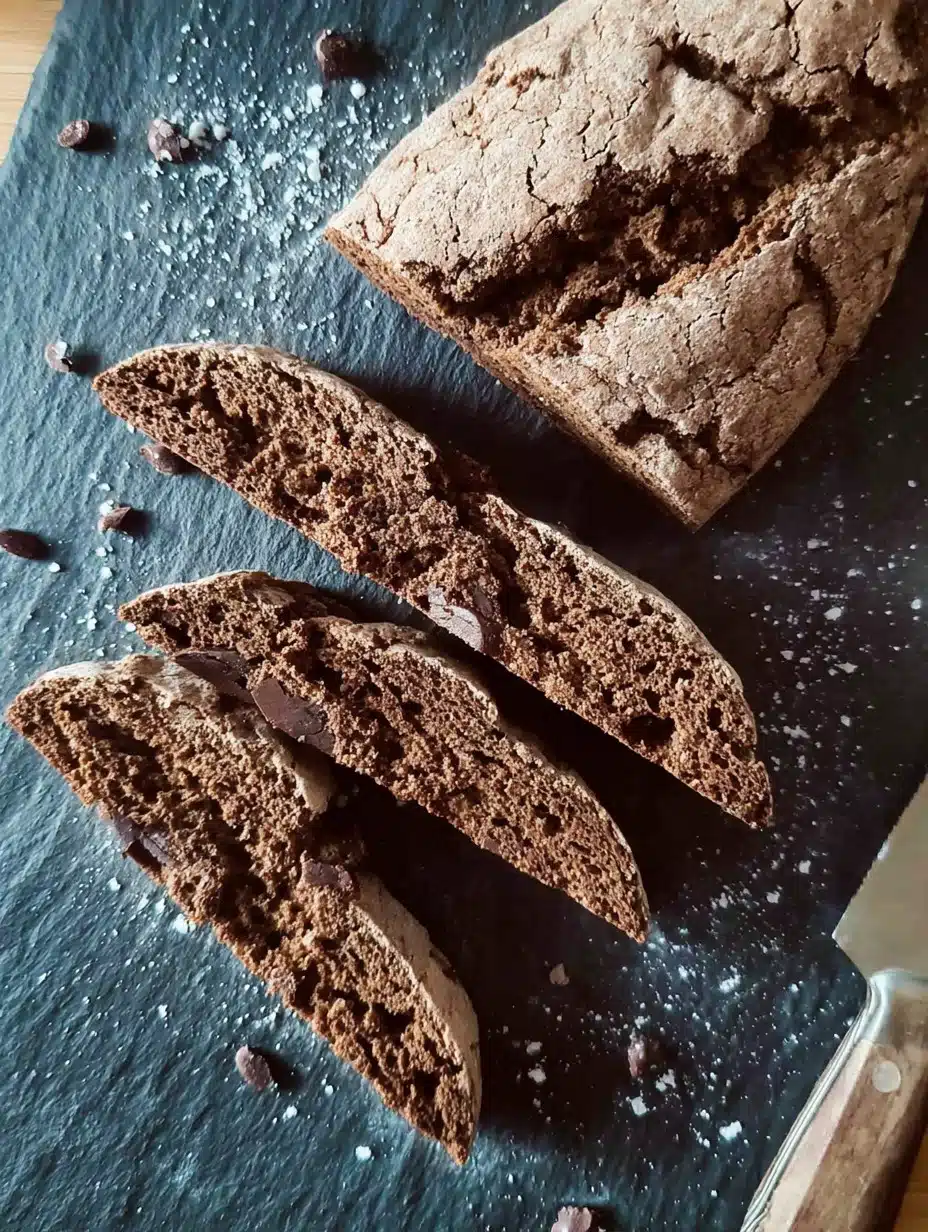
I whip up a batch whenever I spot a lonely jar of starter in the back of the fridge—or, let’s be real, when I just want to dunk something chocolatey in my afternoon coffee (even if it’s 3pm and I should be working). These biscotti have a sort of soft crunch that makes them, weirdly, better for nibbling while chatting. My family loves them because, apparently, they “feel like a treat,” whatever that means, and also because you can go wild with add-ins; sometimes I throw in walnuts, sometimes dried cherries, and sometimes nothing because I’m out and too lazy to run for groceries. If you’re worried about dry biscotti, don’t be—I used to always overbake until I realized leaving them a little fudgy in the middle actually makes them better (oops, happy accident!).
What You’ll Need (And What I Use When I Can’t Find Stuff)
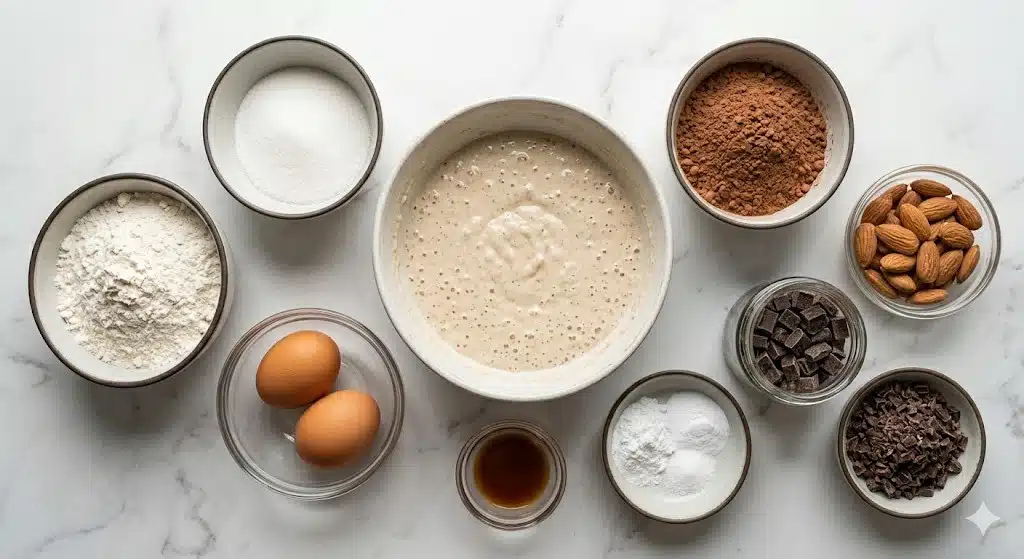
- 1 cup (about 240g) unfed sourdough starter (though if mine is bubbly from feeding, I just use that anyway)
- 1/2 cup (100g) granulated sugar (brown sugar works fine—adds more of a caramel vibe)
- 1/3 cup (75g) unsalted butter, melted (I use salted sometimes and just skip the pinch of salt)
- 2 large eggs (or 1 egg plus 2 tablespoons extra melted butter if you run out, which… has happened to me)
- 1 teaspoon vanilla extract (the real stuff is great, but honestly, store brand is fine—my grandma swore by the cheap kind)
- 1 3/4 cups (220g) all-purpose flour (sometimes I swap in a quarter of whole wheat if I want to feel “healthier”)
- 1/3 cup (30g) cocoa powder (Dutch-process is fancy, but usually it’s Hershey’s at my place)
- 1 teaspoon baking powder
- 1/2 teaspoon salt (unless your butter is salted, then just pinch)
- 2/3 cup (115g) chocolate chips (I never actually measure—just add till it “looks right”)
- Optional: a handful of chopped dried cherries, nuts, or even coconut if you’re feeling wild
Here’s How It Goes Down
- Preheat your oven to 350°F (about 175°C), and line a baking sheet with parchment or a silicone mat (if you skip the liner, just expect a bit of sticking, nothing major).
- In a biggish bowl, whisk together the sourdough starter, sugar, melted butter, eggs, and vanilla until nice and smooth. This is where I usually taste a little because, well, nostalgia (ignore the raw egg police).
- In another bowl, mix up your flour, cocoa powder, baking powder, and salt. Don’t be shy about sifting if your cocoa’s clumpy—unless you’re like me and just mash it with a spoon.
- Pour the dry stuff into the wet, scrape it around until it starts to come together. The dough will look a bit sticky and messy—don’t worry, this is normal. Actually, if it’s too wet, just add a dusting of flour.
- Stir in your chocolate chips and whatever extra bits you’re using. Hands work best here, but a spatula will do if you’re feeling dainty.
- Divide the dough into two blobs, plonk them onto the lined sheet, and shape each into a log about 10 inches long and 2-3 inches wide. If your logs look more like weird flat sausages, you’re doing it right. Wetting your hands helps stop things getting too sticky.
- Bake for 25 minutes, until logs are just set and you press a finger and it springs back a little.
- Let the logs cool on the tray about 20-25 minutes—just walk away; I always cut them too soon and regret it.
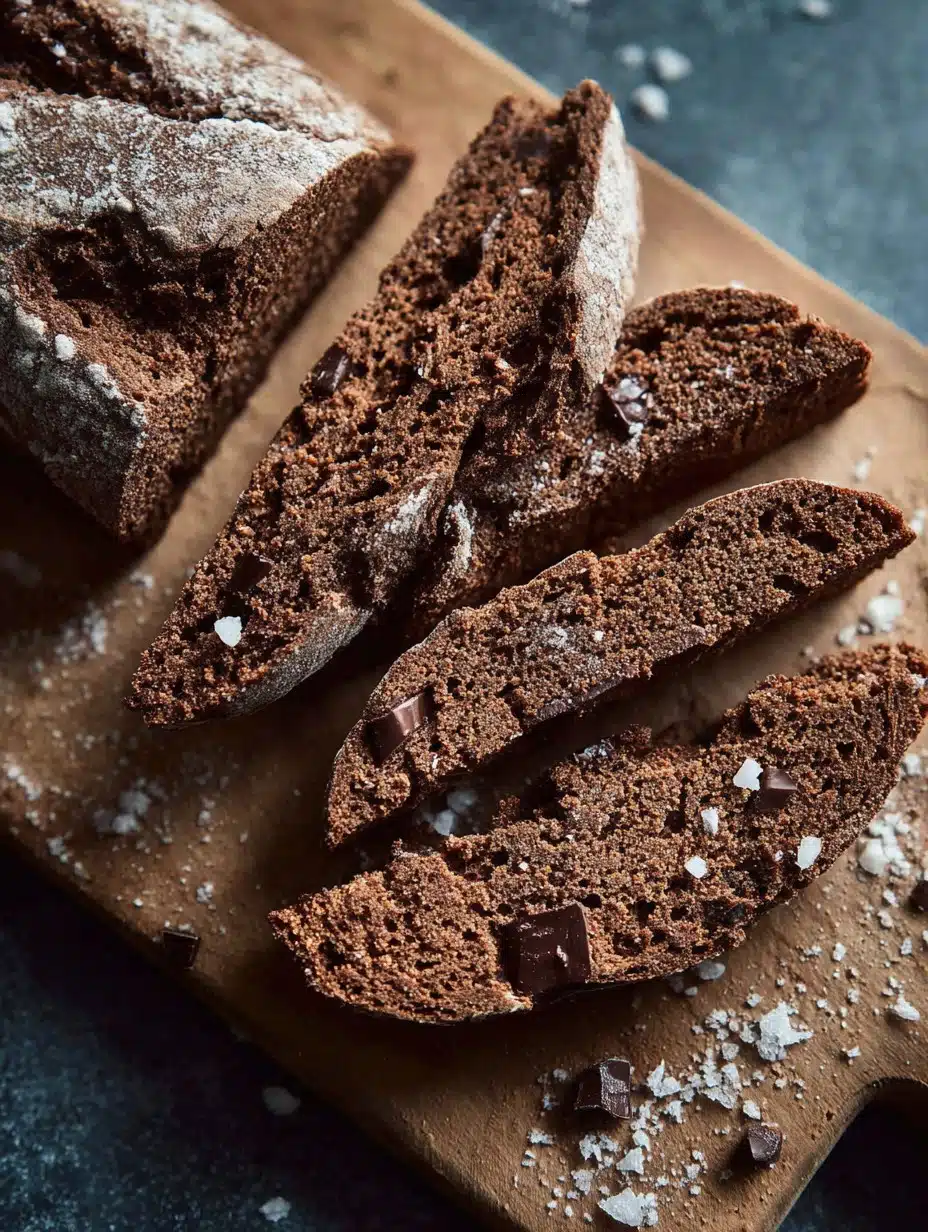
- Reduce the oven temp to 300°F (150°C). With a serrated knife (I use my bread knife), slice the logs into pieces about 3/4 inch thick, kind of on the diagonal if you want to be fancy, but straight across is fine too (I’ve never had anyone complain either way).
- Lay the slices cut side down back on the tray, and bake for another 15-20 minutes, flipping halfway. They’ll crisp up as they cool; don’t panic if they’re still a bit soft after baking.
Little Notes (What I Wish I’d Known Sooner)
- If you accidentally overmix, the biscotti might be a bit tough—but a good cup of coffee fixes everything.
- The dough sticks, so really, the wet hands trick is golden.
- I think these taste better the next day, but they hardly ever last that long here.
- If you use dried cherries, chop them up or they’ll tear the dough—ask me how I know!
Variations I’ve Tried (Some Winners, Some… Not)
- Almonds instead of chocolate chips—nice crunch, but the chocolate version always wins at our place.
- Adding orange zest: super zippy, almost makes it taste like those fancy chocolate oranges at Christmastime.
- Tried swirling in peanut butter. Looked cool, tasted oddly bland—probably won’t bother again. But hey, it’s all edible in the end, right?
Do You Really Need That Fancy Biscotti Pan?
Honestly, I just use a regular baking sheet, or even the back of one when I’m running low. If all else fails, line a casserole dish—it’s not a dealbreaker. Biscotti are forgiving, like your favourite sweater that’s a bit pilly but still perfect.
Storing Your Biscotti (For As Long As They Last…)
Keep them in an airtight container, and they’re still good a week later; but honestly, in my house, they disappear by the next day. My teenager once hid the last three in her backpack. If you want to freeze them, I find they do okay, but eat them within a month before they taste like freezer ghost.
How We Love Them (Because There’s No Wrong Answer)
I serve them with whatever hot drink’s on hand—coffee, tea, even warm milk when it’s snowing. My dad likes dunking his so long it nearly dissolves, which I find horrifying (but to each their own). Occasionally, I’ll drizzle melted chocolate on top. Fancy, yeah?
Some Hard Won Pro Tips
- I once tried to slice the logs before they cooled. Regret. All I got was biscotti rubble, which… makes for stellar ice cream topping, so I suppose there’s a silver lining.
- Don’t skip the flipping-on-second-bake step. Trust me. I forgot once and got one side that was softer than the other; oddly lopsided.
Burning Questions I Actually Get (And Honestly Answer)
- Can I use fed starter? Sure, it’s a bit different in texture, but still yummy. I use whatever’s around, because who plans this stuff anyway?
- Can I make them gluten free? Haven’t tried myself, but a friend swapped with a gluten free flour mix—the taste was great, but darn, they crumbled more. Let me know if you crack the code.
- Do I melt the butter or just soften it? I melt, because I’m impatient. If you only have softened, that’s fine—just mix extra well.
- Why are my biscotti so soft? Either they need some extra second-bake time, or you just need to cool them longer. Mine are never super brick-hard, though—just the way I like ’em.
- Do these freeze? Yes, but they’re best freshish. If they taste a bit sad after thawing, pop ’em in the oven for a couple minutes—resurrection achieved.
And oh—if you find yourself eating them straight off the tray before they cool, I get you. That’s just the cook’s tax. Honestly, making biscotti is less about perfection and more about that second, chocolatey crunch with a good mug in hand. Enjoy!
Ingredients
- 1 cup (about 240g) unfed sourdough starter (though if mine is bubbly from feeding, I just use that anyway)
- 1/2 cup (100g) granulated sugar (brown sugar works fine—adds more of a caramel vibe)
- 1/3 cup (75g) unsalted butter, melted (I use salted sometimes and just skip the pinch of salt)
- 2 large eggs (or 1 egg plus 2 tablespoons extra melted butter if you run out, which… has happened to me)
- 1 teaspoon vanilla extract (the real stuff is great, but honestly, store brand is fine—my grandma swore by the cheap kind)
- 1 3/4 cups (220g) all-purpose flour (sometimes I swap in a quarter of whole wheat if I want to feel “healthier”)
- 1/3 cup (30g) cocoa powder (Dutch-process is fancy, but usually it’s Hershey’s at my place)
- 1 teaspoon baking powder
- 1/2 teaspoon salt (unless your butter is salted, then just pinch)
- 2/3 cup (115g) chocolate chips (I never actually measure—just add till it “looks right”)
- Optional: a handful of chopped dried cherries, nuts, or even coconut if you’re feeling wild
Instructions
-
1Preheat your oven to 350°F (about 175°C), and line a baking sheet with parchment or a silicone mat (if you skip the liner, just expect a bit of sticking, nothing major).
-
2In a biggish bowl, whisk together the sourdough starter, sugar, melted butter, eggs, and vanilla until nice and smooth. This is where I usually taste a little because, well, nostalgia (ignore the raw egg police).
-
3In another bowl, mix up your flour, cocoa powder, baking powder, and salt. Don’t be shy about sifting if your cocoa’s clumpy—unless you’re like me and just mash it with a spoon.
-
4Pour the dry stuff into the wet, scrape it around until it starts to come together. The dough will look a bit sticky and messy—don’t worry, this is normal. Actually, if it’s too wet, just add a dusting of flour.
-
5Stir in your chocolate chips and whatever extra bits you’re using. Hands work best here, but a spatula will do if you’re feeling dainty.
-
6Divide the dough into two blobs, plonk them onto the lined sheet, and shape each into a log about 10 inches long and 2-3 inches wide. If your logs look more like weird flat sausages, you’re doing it right. Wetting your hands helps stop things getting too sticky.
-
7Bake for 25 minutes, until logs are just set and you press a finger and it springs back a little.
-
8Let the logs cool on the tray about 20-25 minutes—just walk away; I always cut them too soon and regret it.
-
9Reduce the oven temp to 300°F (150°C). With a serrated knife (I use my bread knife), slice the logs into pieces about 3/4 inch thick, kind of on the diagonal if you want to be fancy, but straight across is fine too (I’ve never had anyone complain either way).
-
10Lay the slices cut side down back on the tray, and bake for another 15-20 minutes, flipping halfway. They’ll crisp up as they cool; don’t panic if they’re still a bit soft after baking.
Approximate Information for One Serving
Nutrition Disclaimers
Number of total servings shown is approximate. Actual number of servings will depend on your preferred portion sizes.
Nutritional values shown are general guidelines and reflect information for 1 serving using the ingredients listed, not including any optional ingredients. Actual macros may vary slightly depending on specific brands and types of ingredients used.
To determine the weight of one serving, prepare the recipe as instructed. Weigh the finished recipe, then divide the weight of the finished recipe (not including the weight of the container the food is in) by the desired number of servings. Result will be the weight of one serving.
Did you make this recipe?
Please consider Pinning it!




