The Story (Or, Why My Kitchen Smells Like a Cinnabon)
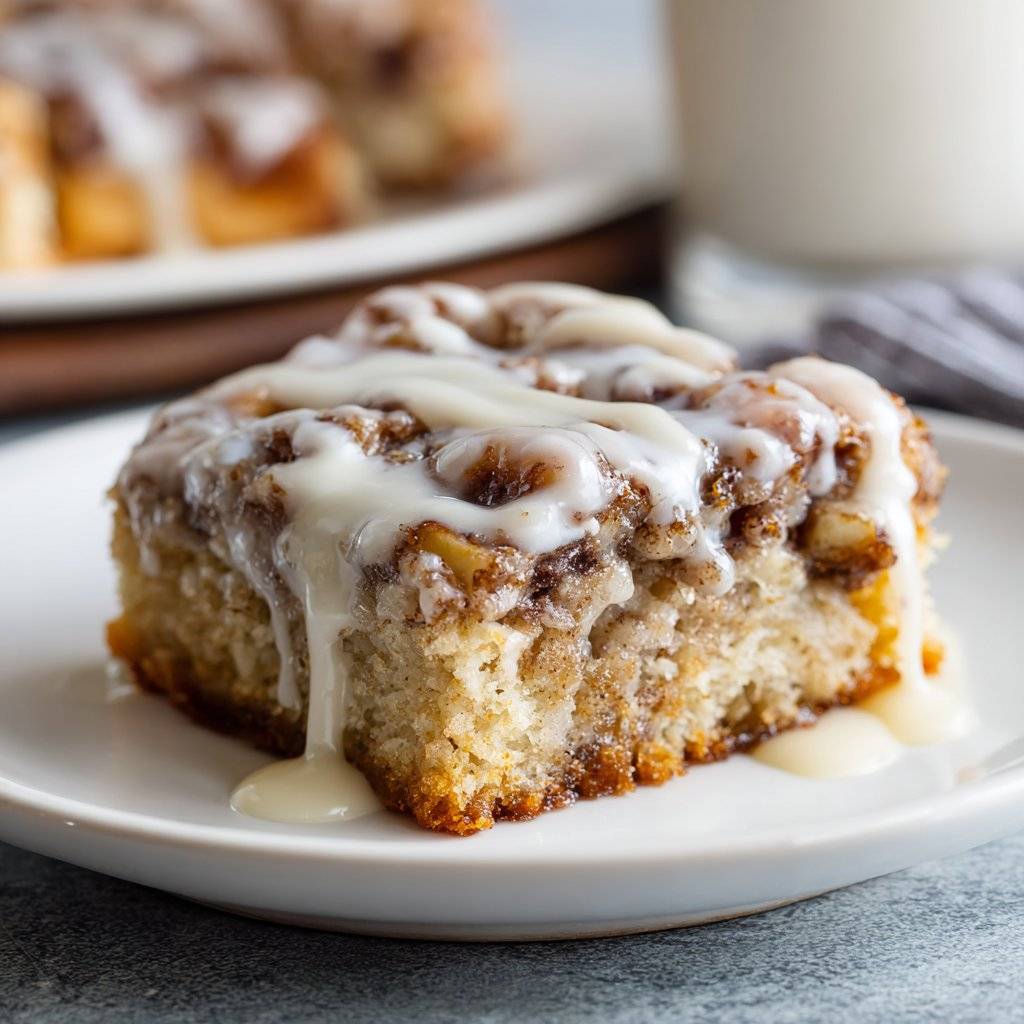
Alright, so you know those days when you just want dessert but don’t have the time (or frankly, the energy) to deal with rolling dough and waiting for things to rise? That’s how these Cinnamon Roll Bliss Bars with Glaze came to grace my kitchen. I remember the first attempt, a gloomy Tuesday, when I was supposed to be folding laundry but ended up covered in flour instead (priorities, love). My brother wandered in, sniffed the air, and declared, “Smells like someone’s hiding a bakery.” It’s become my go-to when I want the joy of cinnamon rolls without wrestling a sticky dough monster.
Why You’ll Love This (Or, Why I Keep Making Them)
I make these Cinnamon Roll Bliss Bars when a full-on baking project is a bit too much — like, say, after a long workday when the only thing I want rising is my feet. My family goes bonkers for these, especially because you get gooey middles and crispy edges (everyone fights over the corner pieces, for real). I used to get frustrated that my cinnamon rolls were either too dry or too doughy; these bars dodge that bullet beautifully! Also, they make the house smell downright magical, which is a win when you’re trying to hide the fact you haven’t vacuumed in a week.
What’s In ‘Em? (Ingredients & Some Cheeky Swaps)
- 2 cups all-purpose flour (sometimes I swap in half whole-wheat if I’m feeling “responsible”)
- 1/2 teaspoon baking soda
- 1/2 teaspoon salt
- 3/4 cup unsalted butter, melted (salted works fine too, just dial back the salt a bit)
- 1 cup packed brown sugar (my gran always swore by dark brown, but honestly, use what you’ve got)
- 1/2 cup granulated sugar
- 2 large eggs
- 2 teaspoons vanilla extract
- 1 teaspoon ground cinnamon (sometimes a pinch more, because why the heck not?)
- 1/2 teaspoon nutmeg (skip if you’re not a fan, but I think it adds something cozy)
- For the glaze: 1 cup powdered sugar, 2–3 tablespoons milk, 1/2 teaspoon vanilla
- Optional: 1 cup chopped pecans or walnuts (if you’re nutty, ha)
I’ve even used gluten-free flour blend once or twice — it turned out a bit crumbly, but still devoured!
How to Make ‘Em (With a Few Side Notes)
- Preheat your oven to 350°F (or about 180°C if you’re on my side of the pond). Grease a 9×13 pan. No parchment? Butter works in a pinch.
- In a big bowl, whisk flour, baking soda, salt, cinnamon, and nutmeg. This is where I usually toss in a little extra cinnamon — you do you, pal.
- In another bowl (sorry about the dishes), melt the butter and let it cool just a touch. Stir in both sugars. Add eggs and vanilla, mix until smooth. Sometimes my mixture looks a bit separated at this stage — don’t panic, it comes together, promise.
- Gently mix the dry with the wet. Don’t overdo it; just till combined. Add nuts if you’re using ‘em. The dough should be thick and sticky — like cookie dough with ambition.
- Spread the dough into your pan. Pro tip: wet your hands a bit so it doesn’t stick everywhere. This is where I sneak a taste (quality control, right?).
- Bake for 22–27 minutes or until the top is golden and a toothpick comes out mostly clean — a few moist crumbs are perfect. Don’t overbake, or you’ll miss the gooey magic.
- While it’s cooling a bit (10 minutes or so), whip up the glaze: mix powdered sugar, vanilla, and milk until it’s pourable but not watery. Drizzle alllllll over those warm bars.
- Let the glaze set up for 15 min if you can stand the wait. Or don’t — I never do.
What I’ve Learned the Hard Way (Notes from the Trenches)
- Don’t use cold butter — it just gets clumpy. Once, I microwaved it too long and ended up with scrambled eggs. Not ideal.
- I always think I can get away with less glaze, but honestly, just go for it. Life’s too short for naked bars.
- If you want super-clean slices, wait till they’re totally cool. But who’s got that kind of patience?
Tweaks I’ve Tried (And One I Regret)
- I’ve tossed in raisins — good if you like ‘em, but the kids staged a small rebellion.
- Swapped out nuts for chopped dried apples once — surprisingly lovely, bit like apple pie met a cinnamon bun at a party.
- Tried using maple extract in the glaze. Eh, not my favorite. Maybe I just used too much, but it got a bit overpowering.
Gear You’ll Need (And Improv if You Don’t)
- 9×13 baking pan (I once used two loaf pans instead; worked, but the slices were… creative.)
- Mixing bowls — two, unless you’re feeling wild and want to do one bowl and wing it (done that, not the end of the world)
- Whisk, spatula, and a trusty spoon. Or just use whatever you have. I’ve stirred with a chopstick in a pinch, no lie.
How to Store ‘Em (If You Even Need To)
In an airtight container at room temp, they’re good for two or three days — though honestly, in my house it never lasts more than a day! If you want to freeze them, wrap tightly and stash for up to a month. They taste almost as good warmed up with a splash of milk on the side.
How I Like to Serve Cinnamon Roll Bliss Bars
So, confession: I love these still a bit warm, with a scoop of vanilla ice cream melting on top. My cousin dips hers in coffee (weird, but it works). Sometimes for brunch, I cut them into tiny squares so everyone thinks they’re behaving, then they come back for seconds anyway.
What I’d Tell My Past Self (Pro Tips)
- I once tried rushing the cooling step and just ended up with a hot, sticky mess. Actually, I find it works better if you wait at least 10 minutes.
- If you use parchment, let it overhang the sides for an easy lift (learned this trick from King Arthur Baking, which is a goldmine for other bar recipes too).
- Don’t skip the salt — it wakes up all the flavors! Trust me, I forgot once and it tasted kinda flat.
FAQs (Because Folks Always Ask)
- Can I double the recipe? — Yep, just use two pans (or one big sheet if you’ve got it, but watch the bake time, it might be a bit less).
- Can I make this dairy free? — I’ve swapped the butter for vegan spread and used oat milk in the glaze. Not quite the same richness, but still delish.
- Why are my bars dry? — Usually means they baked a bit too long (or oven runs hot — those things are never totally accurate). I’d say, check them at 20 minutes the first time.
- Can I use self-raising flour? — You probably can, but skip the extra baking soda and salt. Results are a bit puffier, but not a dealbreaker.
- What if I have no eggs? — I’ve used a flax “egg” once when I ran out (1 tbsp ground flax plus 3 tbsp water, let it sit). Not quite as rich, but bars still held together!
- Oh! For more cinnamon bar inspo, I sometimes check out Sally’s Baking Addiction because she’s got some wild ideas (and her stories are as fun as the recipes).
- Random, but if you spill cinnamon like I always do, a damp cloth is way better than trying to sweep it up. Learned that the hard way.
Anyway, enjoy making these Cinnamon Roll Bliss Bars with Glaze — and if you find yourself with flour in your hair, just tell everyone it’s the latest look. Happy baking!
Ingredients
- 1 1/2 cups all-purpose flour
- 1/2 teaspoon baking powder
- 1/2 teaspoon salt
- 1 teaspoon ground cinnamon
- 1/2 cup unsalted butter, melted
- 1 cup light brown sugar, packed
- 1 large egg
- 2 teaspoons vanilla extract
- 1/2 cup powdered sugar (for glaze)
- 1-2 tablespoons milk (for glaze)
Instructions
-
1Preheat the oven to 350°F (175°C). Line an 8×8-inch baking pan with parchment paper and set aside.
-
2In a medium bowl, whisk together the flour, baking powder, salt, and ground cinnamon.
-
3In a large bowl, mix the melted butter and brown sugar until smooth. Add the egg and vanilla extract, stirring until combined.
-
4Gradually add the dry ingredients to the wet ingredients, mixing until just combined. Spread the batter evenly into the prepared pan.
-
5Bake for 22-25 minutes, or until the bars are set and a toothpick inserted in the center comes out clean. Let cool completely in the pan.
-
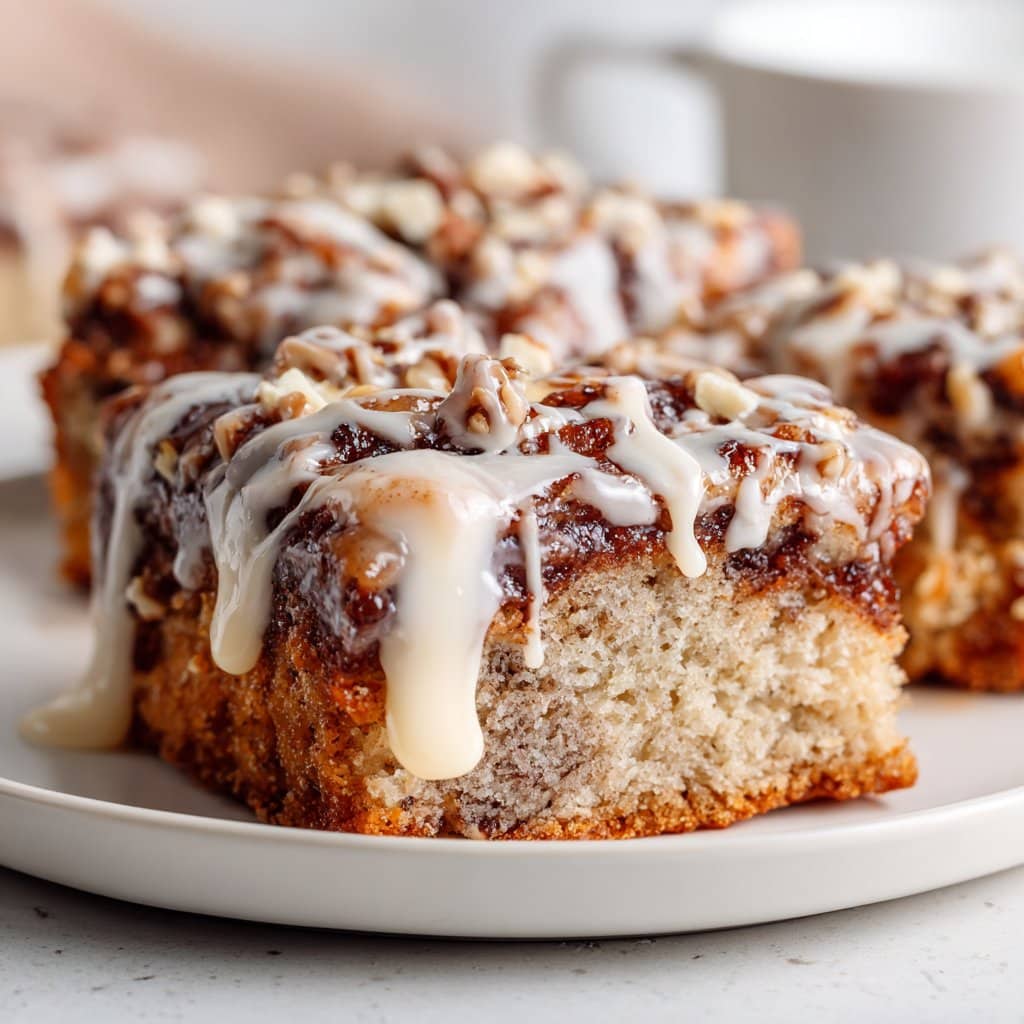
6For the glaze, whisk together powdered sugar and milk until smooth. Drizzle over cooled bars, then cut into squares and serve.
Approximate Information for One Serving
Nutrition Disclaimers
Number of total servings shown is approximate. Actual number of servings will depend on your preferred portion sizes.
Nutritional values shown are general guidelines and reflect information for 1 serving using the ingredients listed, not including any optional ingredients. Actual macros may vary slightly depending on specific brands and types of ingredients used.
To determine the weight of one serving, prepare the recipe as instructed. Weigh the finished recipe, then divide the weight of the finished recipe (not including the weight of the container the food is in) by the desired number of servings. Result will be the weight of one serving.
Did you make this recipe?
Please consider Pinning it!!