Let’s Talk About Strawberry Jello Poke Cake (Retro!)
I don’t know about you, but nothing says summer at grandma’s quite like a big, bouncy slice of strawberry Jello poke cake. The first time I made it myself was, honestly, a bit of a circus—powdered sugar everywhere, and my dog almost ate a rogue strawberry (don’t worry, I caught her in time). But the kitchen smelled amazing, and every time I take that first forkful, I get this rush of happy, low-stakes nostalgia—like school’s out and I might just run through the sprinkler after dessert. Look, if you’re after a fancy flourless torte, this is not it. If you want something that makes people go, “Oh! I remember this!”—then keep reading. Plus, there’s something mischievous about poking holes in a cake on purpose, right?
Why You’ll Love This (Or Why I Keep Making It, Anyway)
I make this cake whenever it’s too hot to fuss with complicated desserts, or when my family demands something “that tastes like childhood.” My sister claims she could eat half a pan (I believe her). It’s one of those desserts that looks cheerful, even if it’s a bit messy. Oh, and the jello colors just make it feel like a party, even if it’s just you and a cup of tea. I used to get annoyed when the cake stuck to the pan, but then I started using parchment. Actually, on second thought, sometimes I just serve it right out of the baking dish (less washing up). If you love that combo of soft cake and cool, fruity jello—yeah, this one’s for you.
Here’s What You’ll Need (and Some Swaps I’ve Tried)
- 1 box white cake mix (I sometimes use yellow cake mix if that’s what’s in the cupboard. My grandmother insisted on Duncan Hines white, but honestly, any will do—I’ve used Aldi’s and nobody noticed.)
- Ingredients called for on box (usually eggs, oil, water—one time I was out of oil and used melted butter, turned out great!)
- 1 box (3 oz) strawberry Jello (you could use raspberry, or even lime if you’re wild, but strawberry is the classic, obviously)
- 1 cup boiling water (I just boil the kettle, but stovetop works too)
- 1/2 cup cold water (or a handful of ice cubes if you’re in a hurry)
- 1 tub whipped topping, like Cool Whip (homemade whipped cream is fancier, but the tub stuff holds up well in the fridge)
- 1-2 cups sliced fresh strawberries (totally optional, but I like the fresh pop—sometimes I skip if they’re silly expensive)
How To Make This—Step by Step, Sorta
- First, bake the cake: Make your cake mix as directed on the box. I use a 9×13 inch pan. Grease it up (I sometimes forget, but it’s not the end of the world—just a bit messier when serving).
- Let it cool: After baking, let the cake cool for at least 30 minutes. Don’t rush this, or the jello just goes everywhere (ask me how I know).
- Poke the cake: Using a fork or the handle of a wooden spoon, poke holes all over the cake. Go wild! This is the fun part—my nephew loves helping with this. Just don’t poke all the way to the bottom, or the jello will escape (learned that the hard way).
- Mix up the jello: Dissolve your jello in the boiling water. Stir till there’s no grainy bits, then add the cold water (or throw in some ice if you’re feeling cheeky).
- Pour the jello: Slowly pour the jello over the cake, trying to get it in all those holes. It looks a bit weird at this stage—like a science experiment. Don’t worry, it always looks better once chilled.
- Chill it: Pop the cake in the fridge for at least 2 hours (overnight is even better—actually, I think this cake tastes best the next day, but who has that much patience?).
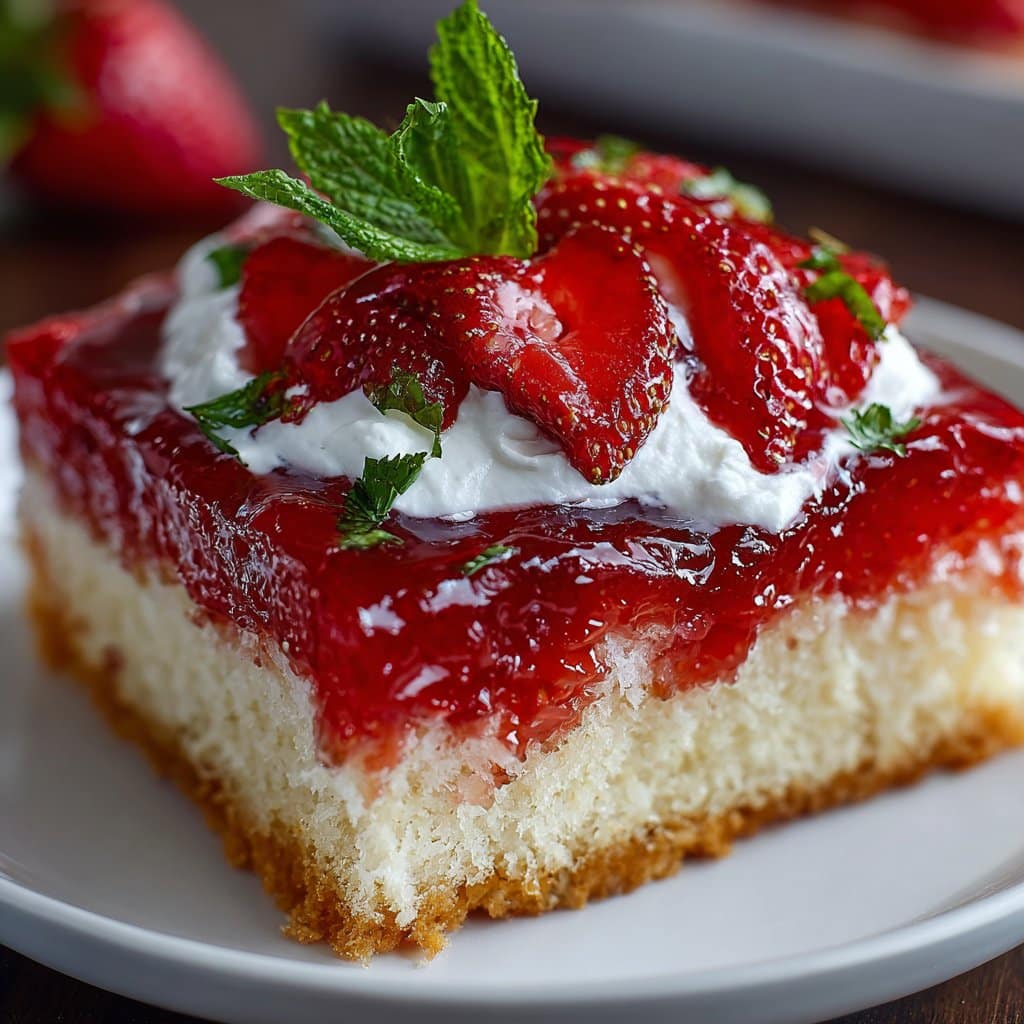
- Top it up: Slather on the whipped topping, then pile on the sliced strawberries if you’re feeling fancy. This is where I usually sneak a taste—quality control and all that.
Notes From My Own Kitchen Fumbles
- If you forget to cool the cake enough, the jello just pools at the bottom. Learned that the sticky way.
- Fresh strawberries look pretty, but sometimes I just use extra jello instead—nobody complains.
- I’ve tried making a double layer version; honestly, it was too much. Stick with the classic single layer unless you want a mega-cake.
Variations I’ve Tried (And a Fail or Two)
- Raspberry jello with lemon cake mix—it’s zingy, but a bit sweet for my taste
- Adding a hit of lemon zest to the whipped topping—gives it a nice tang if you’re into citrus
- Chocolate cake with cherry jello—not my favorite, but my cousin loved it (tastes a bit like a chocolate-covered cherry)
- One time I tried using yogurt instead of Cool Whip, but it got weirdly runny—wouldn’t recommend unless you like a messy dessert
Equipment? Don’t Worry Too Much
- 9×13 inch baking pan is ideal, but I’ve used two square pans in a pinch—just reduces the chill time
- Wooden spoon handle or a thick chopstick works for poking holes (fork is fine, but you’ll get smaller holes)
- No electric mixer? Use a whisk and some elbow grease. Good for the arms!
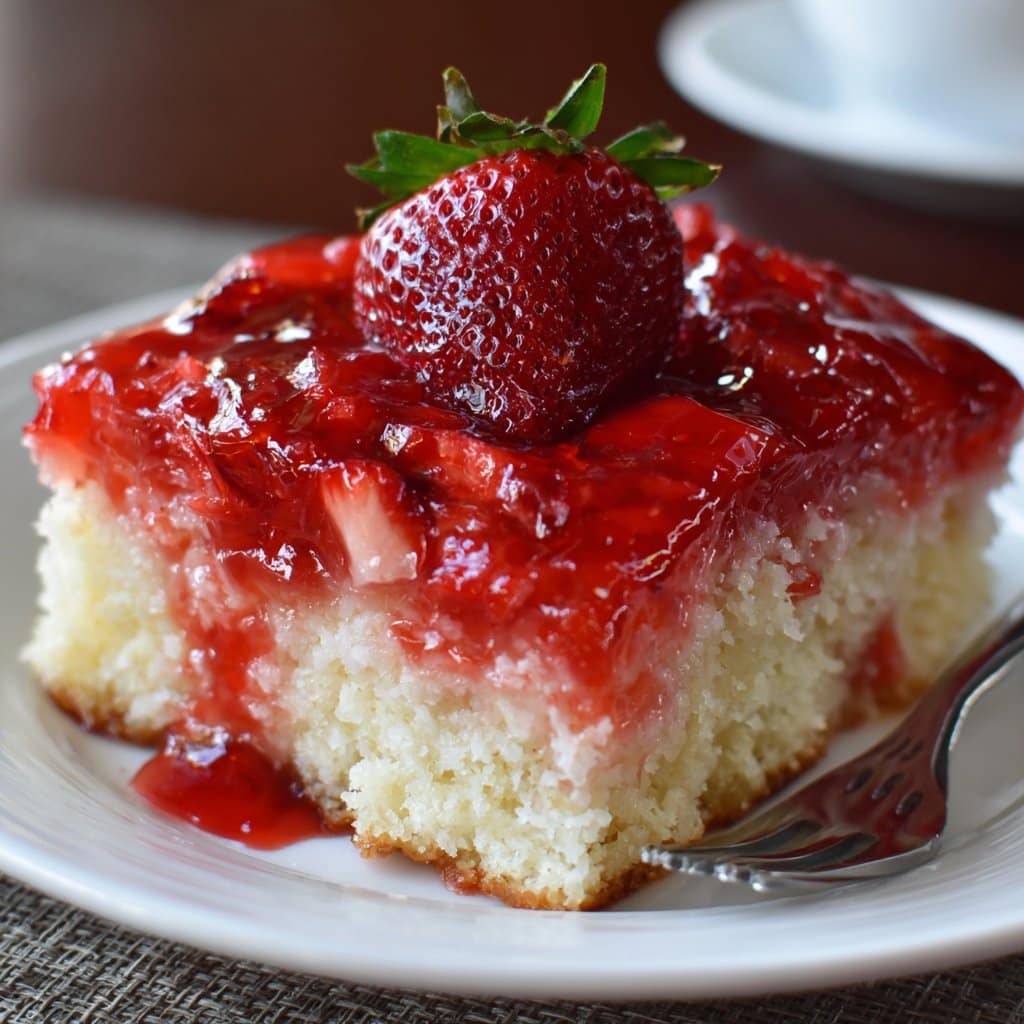
How to Store It (If You Actually Have Leftovers…)
Just pop the whole pan (covered) into the fridge. It’ll keep for about 3 days, but honestly, in my house it never lasts more than a day! The jello keeps it really moist, so no worries about it drying out.
Want to Serve It Up Fancy?
I sometimes sprinkle extra berries and a handful of toasted coconut on top, just for fun. Or, if it’s a birthday, I set out sprinkles. My uncle insists on eating it with a mug of black coffee—says it’s the only way.
Little Things I’ve Learned (Usually the Hard Way)
- I once tried rushing the chilling step and regretted it—cake was soggy, and the whipped topping slid right off. Don’t be like me. Give yourself time.
- Cut pieces with a sharp knife and wipe between slices for clean layers (I forget this about 80 percent of the time, but when I remember? Looks so neat.)
Let’s Answer Some Real-Life Questions
- Can I use another flavor of jello? Oh, definitely! Just about any flavor works, but strawberry really is the classic. I’ve had good luck with raspberry and orange too. Grape? Hmm, not my favorite but you do you.
- Can I make it ahead? Yup! Actually, I find it works better if you make it at least the night before. The flavors settle in, and the cake holds together more.
- Does this freeze well? Short answer: Not really. The texture gets kinda weird once thawed and the whipped topping can go a bit grainy. If you must, freeze without the topping, then add it fresh later.
- Is there a way to make it less sweet? You can try a tart jello flavor and go light on the whipped topping. Or use homemade whipped cream instead of Cool Whip—but then it won’t last as long in the fridge.
- Where’d you learn this? Oh, from my mom’s battered old church cookbook (you know the kind—spiral-bound, half the pages falling out). If you want a good reference, check out Taste of Home’s poke cake recipe. Or for a homemade cake version, Sally’s Baking Addiction has a lovely strawberry cake guide.
And just as a side note—last time I made this, my neighbor’s cat tried to sneak into the kitchen while I was letting the cake cool. Maybe it’s the strawberries? Or maybe she just wanted to see what all the fuss was about.
Ingredients
- 1 box (15.25 oz) white cake mix
- 1 cup water
- 1/2 cup vegetable oil
- 3 large eggs
- 1 box (3 oz) strawberry flavored gelatin (Jello)
- 1 cup boiling water
- 1/2 cup cold water
- 1 container (8 oz) whipped topping (such as Cool Whip), thawed
- 1 cup fresh strawberries, sliced (optional, for garnish)
Instructions
-
1Preheat oven to 350°F (175°C). Grease a 9×13-inch baking pan.
-
2Prepare the white cake mix according to package instructions using water, oil, and eggs. Pour batter into the prepared pan and bake for 28-30 minutes, or until a toothpick inserted in the center comes out clean.
-
3Allow the cake to cool for 15 minutes. Using the handle of a wooden spoon, poke holes all over the cake, about 1 inch apart.
-
4In a medium bowl, dissolve the strawberry gelatin in 1 cup boiling water. Stir in 1/2 cup cold water. Pour the gelatin mixture evenly over the cake, allowing it to soak into the holes.
-
5Refrigerate the cake for at least 2 hours to set. Spread the whipped topping evenly over the chilled cake.
-
6Garnish with sliced fresh strawberries if desired. Slice and serve chilled.
Approximate Information for One Serving
Nutrition Disclaimers
Number of total servings shown is approximate. Actual number of servings will depend on your preferred portion sizes.
Nutritional values shown are general guidelines and reflect information for 1 serving using the ingredients listed, not including any optional ingredients. Actual macros may vary slightly depending on specific brands and types of ingredients used.
To determine the weight of one serving, prepare the recipe as instructed. Weigh the finished recipe, then divide the weight of the finished recipe (not including the weight of the container the food is in) by the desired number of servings. Result will be the weight of one serving.
Did you make this recipe?
Please consider Pinning it!!




