Let’s Talk Peanut Butter Cookie Memories
Okay, confession time: I totally didn’t realize how much I loved Classic Old-Fashioned Peanut Butter Cookies until I burned my first batch. (Long story, the oven was cranky… blame the oven.) But that smell? It took me straight back to my grandma’s kitchen—old radio humming, dog underfoot, flour dust in the air, and her always rolling her eyes at me for sneaking raw dough. I still sneak it, by the way. Sorry, salmonella police. These cookies? They’re pure nostalgia and yet, somehow, they still taste better than my memory says they should. Maybe because I finally stopped burning them; or maybe because I make a strong cup of tea to go with.
Why You’ll Love These (Or: Why I Keep Making Them)
Honestly, I bake these when I’m in need of chew + comfort. My family goes absolutely bonkers for them (especially my youngest, who will offer to sweep the kitchen in exchange for two cookies—neat trick, huh?). Sometimes I whip up a double batch cause the first round always disappears before the kettle even boils. Even my neighbor asks if I’m making “those cookies” when she smells them through our drafty walls. And I’ll admit, I love the way the peanut butter gives that slightly crumbly, slightly sticky bite. If you’re having “one of those days,” these guys are a seriously reliable pick-me-up (minor dough mishaps aside).
So, Here’s What You’ll Need
- 1 cup creamy peanut butter (or crunchy if you like a bit of texture—I switch it up when I’m feeling wild)
- 1/2 cup unsalted butter, softened (Grandma swore by the yellow brand, but honestly, any butter will do. Margarine works in a pinch, though not my top pick)
- 1/2 cup white sugar (sometimes I do 1/4 white and 1/4 brown if I’m low, it gives a richer flavor)
- 1/2 cup packed light brown sugar
- 1 large egg (I always forget to bring it to room temp, but it hasn’t ruined anything yet)
- 1 tsp vanilla extract (fancy stuff or knock-off, your call—nobody can tell in the baked cookie, IMO)
- 1 + 1/4 cups all-purpose flour (but I once used self-raising by accident and it was actually okay. The cookies were a little puffier, if that’s your thing.)
- 1/2 tsp baking soda
- 1/4 tsp salt (sometimes I skip this if my peanut butter is salty enough)
Alright, Here’s How I Make Them
- Preheat your oven to 180°C (350°F, or as close as your old oven manages—mine has “hot” and “not as hot” settings). Line a baking tray with parchment, foil, or honestly, I just grease the heck out of the tray if I’m out.
- Cream together the peanut butter, butter, and both sugars. Don’t stress if your butter’s still a bit firm; it’ll mush eventually. I use my electric mixer when I’m rushed, but a big spoon and elbow grease does the job (plus, an arm workout for free).
- Beat in the egg and vanilla. It might look a little lumpy at this stage—don’t panic. This is where I usually sneak a taste, for “science.” (Pro-tip: wash hands before and after. Learned that the hard way with doughy fingerprints on the fridge.)
- Dump in the flour, baking soda, and salt. Mix it up, but don’t overdo it. I used to obsess over getting it perfectly smooth, but now I stop as soon as it all comes together. Saves time, and I think the cookies are less tough.
- Roll into balls about the size of a ping-pong ball, or just use a big spoonful for each. Place them on your tray an inch or so apart (they’ll spread a bit).
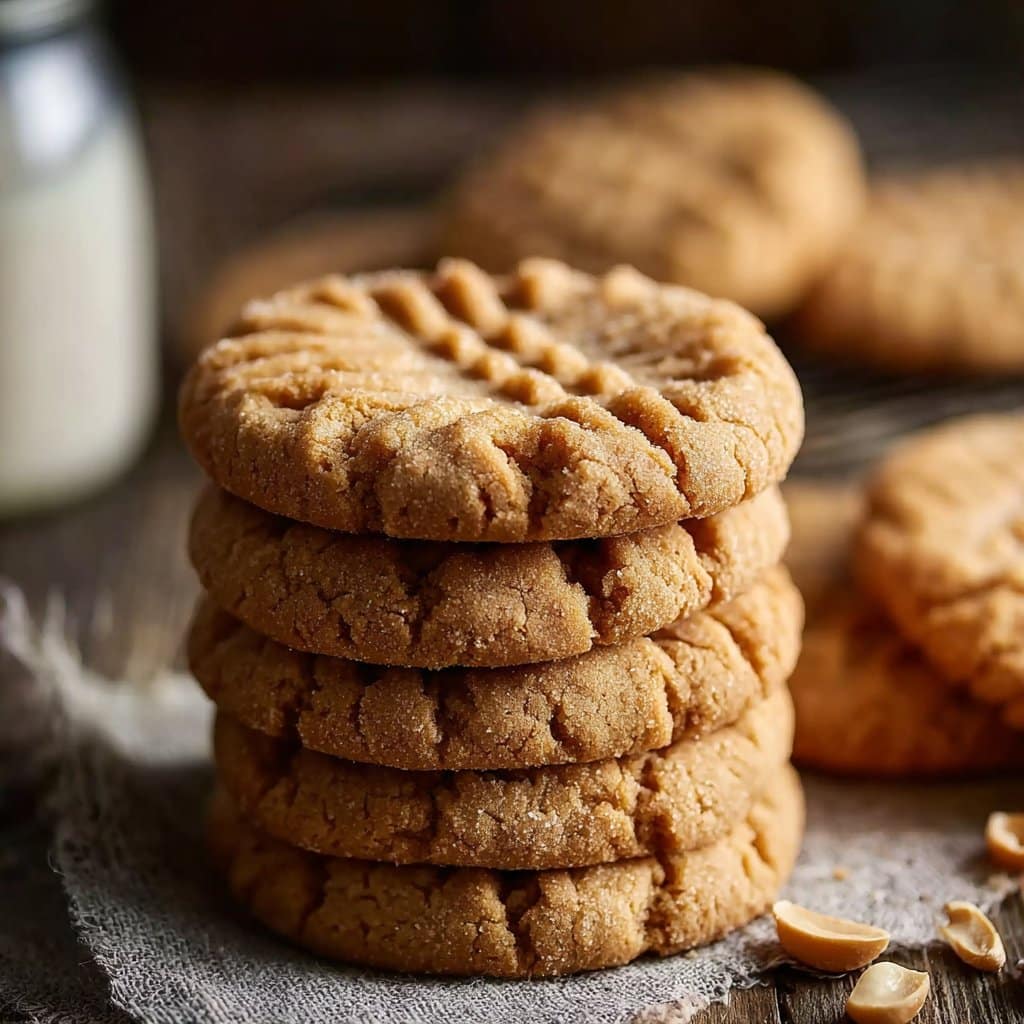
- Press each ball flat with a fork—the classic crosshatch look. Sometimes my kid helps and they all end up at odd angles. Adds character, right?
- Bake for 10-12 minutes. Pull ’em when the edges are just golden but the centers still look soft. Seriously, they’ll set up as they cool. I’ve over-baked them before… they still taste good dunked in tea but, eh, softer is better.
- Cool on a wire rack (or, on the tray for a bit if you don’t have a rack—no biggie). Try not to eat them all while they’re warm, but realistically, who’s got that sort of willpower?
Some Notes (Stuff I Learned On Accident)
- If you forget to soften butter, just cut it up small and let it sit out a few mins—it’ll work itself out.
- Baking time varies if you make them bigger or smaller. Tiny cookies are fun but dry out fast.
- I once tried using natural peanut butter. You can, but stir it really well and expect a slightly crumblier cookie.
- I like them best the day after, though in our house they barely last that long.
Variations I’ve Tried (And One Not-So-Great One)
- Sometimes I toss in a handful of chocolate chips or chopped peanuts—great for texture.
- I even tried a dollop of jam on top (like a thumbprint) and it was surprisingly good, though a bit messy to eat.
- One time I attempted swapping sugar with honey. Did not love. The cookies got way too sticky, kinda gluey, and tasted odd. Live and learn!
- There’s a three-ingredient version floating around here if you want something almost suspiciously easy, but I like the classic way better.
Don’t Have All the Gadgets? No Worries
So, about that wire rack? I used to think it was essential, but turns out some paper towels spread out on a cool counter will do (learned that at my cousin’s place when raiding her kitchen for cookies). No mixer? Use an old-fashioned wooden spoon and some determination.
How to Store Them (Or: Theoretically Speaking)
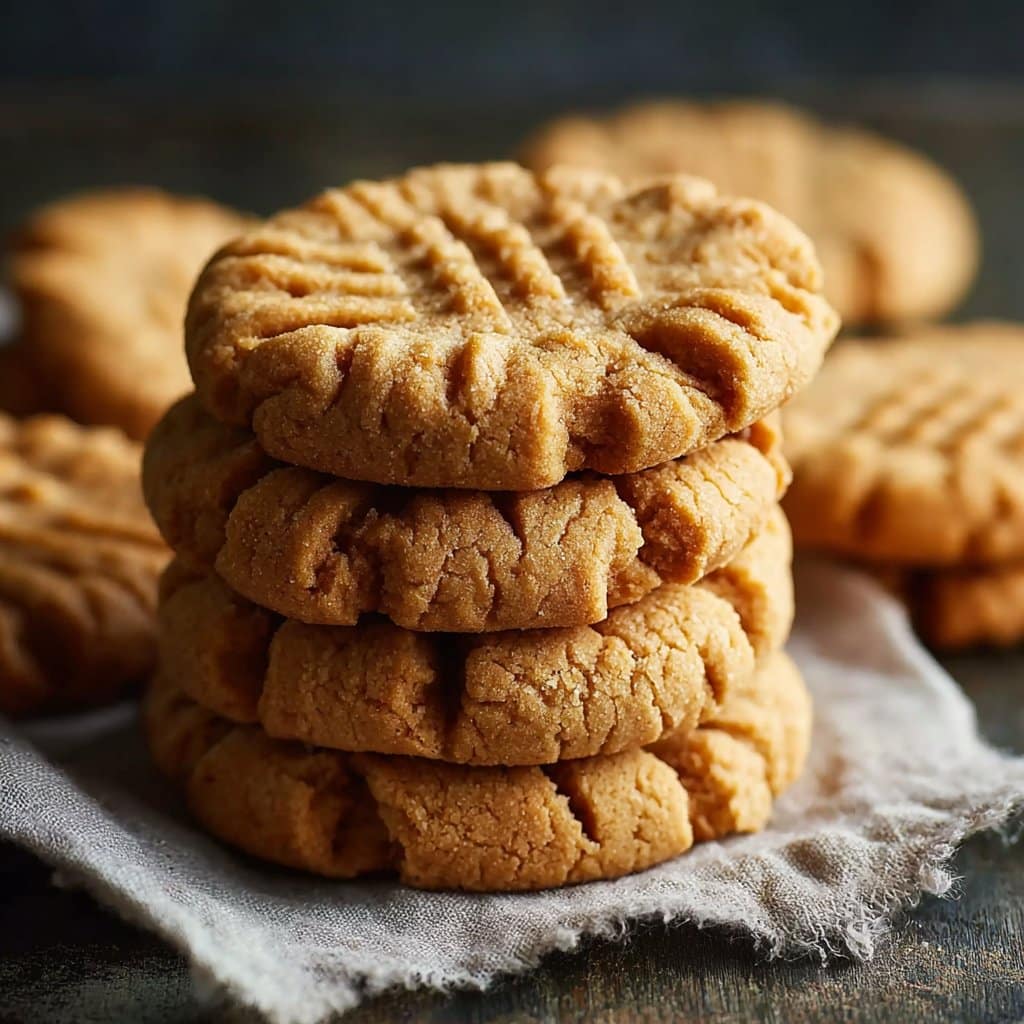
These cookies keep in an airtight container for about a week. I read somewhere you can freeze the dough, too, which is handy if you’re prepping for holidays (here’s a freezing tip I like). But, honestly, in my house, a single batch never lasts past the next morning. Not even kidding.
Serving Them Up at My House
We go old-school: glass of cold milk (or oat milk if my sister visits), plate of cookies on the table, and everyone dives in. At birthdays, I sandwich two together with a bit of Nutella—decadent, sure, but wow.
My Real-World Pro Tips
- I once tried to rush the creaming step—big mistake, the texture was kinda clunky. Actually, it’s worth taking a minute to get peanut butter and butter nice and fluffy together.
- Baking too long? The edges get crunchy fast, so I keep a hawk eye on them after the 10-minute mark.
- If you only have salted butter, maybe cut the added salt in the recipe—or don’t. I forget sometimes and it’s fine, just saltyish cookies.
FAQ (People Really Ask Me These!)
Can I use crunchy peanut butter?
Absolutely! Gives ’em a little surprise in every bite. Sometimes I mix half creamy, half crunchy when I’m feeling wobbly about deciding.
Why do my cookies fall apart?
Happens! Usually, it’s from overbaking or skipping the egg (I forget the egg more than I should admit). Also, natural peanut butter sometimes makes them crumbly, like I mentioned before.
Can I make these vegan?
Probably! Sub the egg with a flaxseed one (though, full disclosure, I’ve only tried that once, and it was… okay, but a little different in texture. Worth a shot if you need dairy-free. Oh, and use vegan butter too, obviously.)
Do I really have to do the fork crosshatch thing?
Nah, it’s mostly tradition. But they bake better if they’re a bit flattened. And the lines look fun. But you do you!
Are they freezer friendly?
Yep, both baked and unbaked dough. My cousin freezes the dough in balls and bakes from frozen—add a minute or two to the time and they’ll turn out just fine.
So that’s my version of Classic Old-Fashioned Peanut Butter Cookies—imperfections, minor messes, and all. Let me know if you try any wild variations! And if you want to geek out over flour types or more old-school baking, I like this Serious Eats guide to vanilla extract (if you’ve ever wondered whether the fancy stuff matters).
P.S. If you find yourself licking the mixing bowl while the cookies are in the oven, that’s entirely normal. Or at least, it is around here.
Ingredients
- 1 cup creamy peanut butter
- 1/2 cup unsalted butter, softened
- 1 cup granulated sugar
- 1/2 cup packed brown sugar
- 1 large egg
- 1 1/2 cups all-purpose flour
- 1 teaspoon baking soda
- 1/4 teaspoon salt
- 1 teaspoon vanilla extract
Instructions
-
1Preheat oven to 350°F (175°C). Line two baking sheets with parchment paper.
-
2In a large mixing bowl, beat together peanut butter, unsalted butter, granulated sugar, and brown sugar until creamy and smooth.
-
3Add the egg and vanilla extract; beat until well combined.
-
4In a separate bowl, whisk together all-purpose flour, baking soda, and salt. Gradually add the dry ingredients to the wet mixture and mix until just combined.
-
5Scoop tablespoon-sized balls of dough and place them on the prepared baking sheets. Flatten each ball with a fork, making a crisscross pattern.
-
6Bake for 10-12 minutes until the edges are lightly golden. Let the cookies cool on the baking sheet for a few minutes before transferring to a wire rack.
Approximate Information for One Serving
Nutrition Disclaimers
Number of total servings shown is approximate. Actual number of servings will depend on your preferred portion sizes.
Nutritional values shown are general guidelines and reflect information for 1 serving using the ingredients listed, not including any optional ingredients. Actual macros may vary slightly depending on specific brands and types of ingredients used.
To determine the weight of one serving, prepare the recipe as instructed. Weigh the finished recipe, then divide the weight of the finished recipe (not including the weight of the container the food is in) by the desired number of servings. Result will be the weight of one serving.
Did you make this recipe?
Please consider Pinning it!!




