Sit Down, Friend—This Mac and Cheese Has a Story
Alright, so here’s the thing: this creamy winter mac and cheese isn’t just dinner—it’s my go-to when the wind howls and the kids are making faces about “too many veggies.” I’ve made this on cold nights when the only thing that makes sense is something warm and cheesy, and even my cousin who claims he “hates pasta” (lies!) will finish a bowl. Maybe it’s because I put a little extra love in there, or maybe it’s the double cheese situation. Honestly, I don’t even know anymore. But it’s comfort food at its best, and it’s the only way I survived last February’s endless snow, with a glass of whatever was open. Also, I once burned the roux while trying to answer the door for a package, so if you’re feeling distracted, I get it.
Why You’ll Love This Mac (Or at Least Why I Do)
I make this when I need a meal nobody will complain about—which is rare in my house, believe me. My family goes crazy for this because it’s velvety and rich without being heavy. (And okay, I always sneak some sautéed onions in, but nobody’s noticed yet, so shhh.) It’s forgiving, too; if you forget to buy fancy cheese, it’ll still turn out. Plus, and this is important, it reheats beautifully for lunch the next day. Actually, I think it tastes even better after a night in the fridge—unless, like at my place, it magically disappears overnight.
What You’ll Need (aka: Ingredient Flexibility is Key)
- 350g (about 12 oz) macaroni or other short pasta (I sometimes use penne if that’s all we’ve got—fusilli is fun too)
- 2 cups whole milk (or 1 cup milk, 1 cup cream if you’re feeling a bit extra, which, let’s be honest, I usually am)
- 2 tbsp butter (my grandmother always insisted on salted, but honestly, any kind works fine)
- 2 tbsp all-purpose flour
- 1 ½ cups shredded sharp cheddar (I’ll use mild if that’s all I find in the fridge, but sharp is best)
- 1 cup gruyere or gouda (or whatever melty cheese you have—swiss is good in a pinch, just use what you like)
- ½ tsp mustard powder (optional, but it makes a difference, trust me)
- ½ tsp garlic powder
- Salt and black pepper, to taste (I’m generous with the pepper, personally)
- 1 small onion, finely chopped (trust me, it disappears in there)
- Optional: a pinch of nutmeg, some chili flakes, or a splash of hot sauce for the daredevils
How I Make It (And Sometimes Mess It Up)
- First off, boil your pasta in a big pot of salted water. Cook it just shy of al dente—maybe a minute less than the package says. (It’ll finish in the sauce, so don’t stress if it’s a bit firm.) Drain and set aside, but don’t rinse it. The starch helps the sauce stick better. (I forgot this once—never again.)
- Meanwhile, grab a large saucepan and melt the butter on medium heat. Toss in the onions and cook until soft and a bit golden. Add the flour and stir like mad for a minute or two; don’t wander off here or it’ll clump up. (This is where I usually sneak a taste of the cheese—quality control, right?)
- Slowly whisk in the milk (and cream, if using). If it looks weird or lumpy, don’t panic. Just keep whisking, it’ll smooth out—promise.
- Keep cooking, stirring pretty often, until it thickens up. You want it to coat the back of a spoon, not run off. If it’s taking ages, just bump the heat a tad but watch it, or you’ll scorch the bottom (ask me how I know).
- Take it off the heat and stir in all the cheese, mustard powder, garlic powder, and whatever else you’re feeling. It’ll get all gooey and irresistible. Taste for salt and pepper. Actually, I find it works better if you slightly over-season at this point because the pasta will mellow it out.
- Mix the sauce and drained pasta together. Dump it all into a buttered baking dish, or just mix in your big pot if that’s easier. Totally up to you.
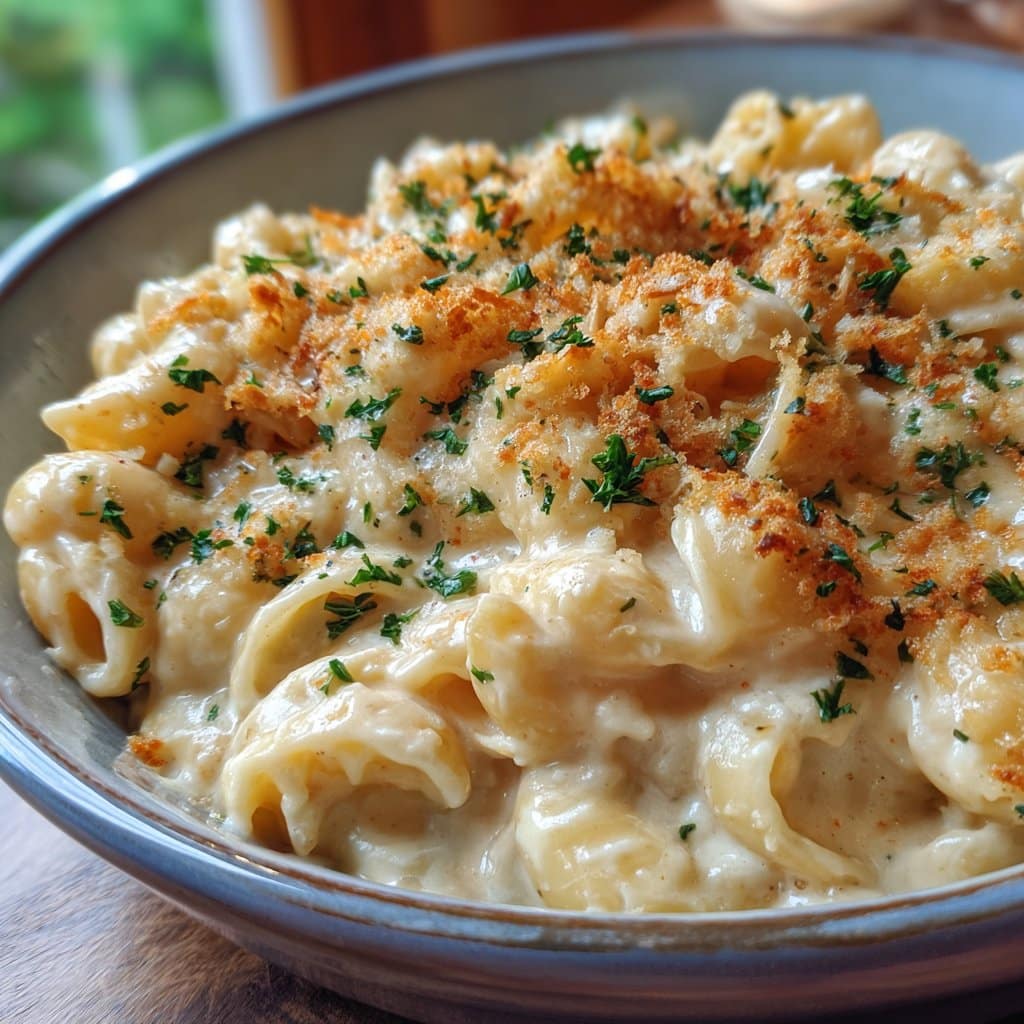
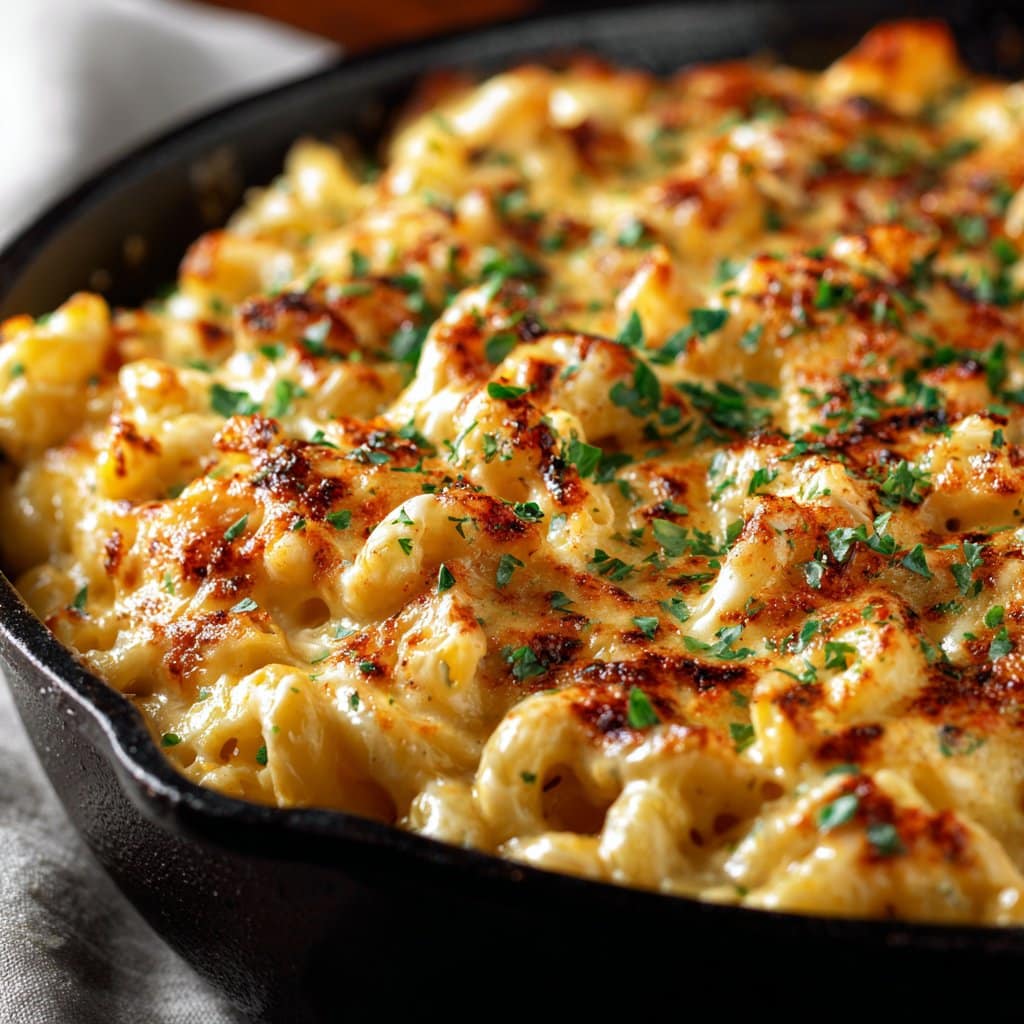
- Optional: Top with more cheese (of course) or some breadcrumbs tossed in olive oil. Bake at 180°C (350°F) for about 20 minutes until bubbly and golden. Or, if you’re impatient, just broil it for a few minutes—watch it like a hawk, though!
What I’ve Learned (aka: Notes From Experience)
- If you use pre-shredded cheese, the sauce can be a tad grainy. Not a dealbreaker, but fresh is smoother.
- Don’t skip the mustard powder. Seriously. I thought it was silly once, but it makes the cheese flavor pop.
- Adding a splash more milk before baking keeps it extra creamy—just a bit, not too much.
- I’ve tried using whole wheat pasta. I mean, it’s fine…but not really my thing for this dish. Regular pasta is just better here.
Switch It Up: Variations I’ve Actually Tried
- Broccoli mac: Steam some florets and stir them in before baking. My kids call this “ninja broccoli” since it hides in the cheese.
- Bacon bits: If you’re not vegetarian, toss in some crispy bacon. I did this once with leftover ham—oh man.
- Spicy version: A swirl of sriracha or a diced jalapeno. Not for the faint of heart. (My husband loves it, I think it tastes a bit wild.)
- Cornflakes topping: Once, I tried a crushed cornflakes topping instead of breadcrumbs. It was…oddly sweet? Wouldn’t do that again, but hey, you never know till you try.
What Gear You Need (And What To Do If You Don’t Have It)
- Big saucepan or Dutch oven (I once used a giant frying pan—worked, but the sauce nearly escaped over the edge.)
- Baking dish: A casserole dish is perfect, but I’ve used a metal roasting pan in a pinch. Or just eat it straight from the pot—who’s judging?
- Whisk: Essential for no lumps. If you don’t have one, a fork and some elbow grease will do the trick.
How Long It Lasts (Not That It Ever Lasts Long Enough)
Technically, this keeps in the fridge for up to 3 days, tightly covered. But honestly, in my house it never lasts more than a day! If you do manage to hide some leftovers, reheat gently with a splash of milk. Freezing? You can, but it’s never quite as creamy after defrosting—just fair warning.
How I Love to Serve It (And Maybe You Will Too)
I always put a little extra black pepper on top and serve it with a crisp green salad (for balance, y’know?). Sometimes we’ll have roasted tomatoes or even just some sliced apples on the side, which sounds odd, but the sweetness actually works. Oh, and hot sauce at the table is a must for the grown-ups.
Lessons Learned (By Trial and Error… and Error)
- I once tried to rush the baking step by cranking up the oven. Ended up with burnt cheese crust and soupy middle, so don’t do that. Slow and steady wins the cheese race.
- Don’t skip preheating the oven. I thought it wouldn’t matter, but the top never browned right.
- If you try to use only low-fat cheese, it gets clumpy. I mean, maybe that’s just my experience, but full-fat is the way to go here.
Some Real FAQs (Because Yes, People Ask)
- What if I don’t have gruyere? No worries! Use more cheddar, or sub in mozzarella or even a bit of cream cheese. It won’t be quite the same, but it’ll still be delish.
- Can I make this ahead? Yep, just assemble it, cover, and refrigerate. Bake when ready (maybe add 5 extra minutes if it’s coming straight form the fridge).
- Is it possible to make this gluten-free? I’ve used gluten-free pasta and flour blend and it worked just fine. The sauce was slightly thinner, but nobody minded.
- Can I freeze it? You can, but the texture gets a bit weird after thawing. Still edible, but not my favorite.
- Do I have to bake it? Honestly, sometimes I just mix it all in the pot and serve straight away. The baking step gives you the crispy top, but it’s not mandatory.
- Where do you get your cheese? I usually grab whatever they’ve got on special at Cheese.com just to try something new, though my local shop has a great cheddar. If you want to geek out on cheese types, Serious Eats has a fun guide.
Oh, and one last thing—don’t get too hung up on making it “perfect.” This winter mac and cheese is forgiving, just like those jumpers we all wear when it’s cold enough to see your breath indoors. If you decide to throw in some peas or swap out the pasta shape, I won’t tell. In fact, let me know how it goes!
Happy (and cheesy) cooking!
Ingredients
- 12 oz elbow macaroni
- 2 cups shredded sharp cheddar cheese
- 1 cup shredded mozzarella cheese
- 2 cups whole milk
- 3 tbsp unsalted butter
- 3 tbsp all-purpose flour
- 1/2 tsp garlic powder
- 1/2 tsp salt
- 1/4 tsp ground black pepper
- 1/4 cup grated Parmesan cheese (optional for topping)
Instructions
-
1Bring a large pot of salted water to a boil. Add elbow macaroni and cook according to package instructions until al dente. Drain and set aside.
-
2In a large saucepan, melt butter over medium heat. Whisk in flour and cook for 1-2 minutes until lightly golden.
-
3Gradually whisk in the milk, stirring constantly until the mixture thickens, about 3-5 minutes.
-
4Reduce heat to low and add cheddar cheese, mozzarella cheese, garlic powder, salt, and black pepper. Stir until the cheese is fully melted and the sauce is smooth.
-
5Add the cooked macaroni to the cheese sauce and stir until well combined. If desired, transfer to a baking dish, sprinkle with Parmesan cheese, and broil for 2-3 minutes until golden and bubbly.
-
6Serve hot and enjoy your creamy winter mac and cheese!
Approximate Information for One Serving
Nutrition Disclaimers
Number of total servings shown is approximate. Actual number of servings will depend on your preferred portion sizes.
Nutritional values shown are general guidelines and reflect information for 1 serving using the ingredients listed, not including any optional ingredients. Actual macros may vary slightly depending on specific brands and types of ingredients used.
To determine the weight of one serving, prepare the recipe as instructed. Weigh the finished recipe, then divide the weight of the finished recipe (not including the weight of the container the food is in) by the desired number of servings. Result will be the weight of one serving.
Did you make this recipe?
Please consider Pinning it!!




