So, about these crispy chicken thighs in the air fryer…
Okay, can I just say, nothing smells quite like chicken sizzling away in the air fryer. I remember the first time I tried to get that perfect crunch; I sort of hovered over the basket, poking at the chicken too many times (not helpful, it turns out). My family wandered in, noses in the air, and now it’s sort of our Friday night ritual. Also, fair warning: at least one thigh disappears before it hits the table—blame the cook’s privilege! Oh, and if you’re anything like me, there’s always a random dog hair floating by, so just ignore that and carry on.
Why you’ll probably make this again (and again)
I make this when I want dinner that feels like I really tried (but didn’t spend hours). My crew goes wild for the shatteringly crispy skin (I mean, who wouldn’t?). I started making this because oven-fried chicken always left me with a sad, soggy mess. Plus, it doesn’t heat up the whole house like the oven does. And (on days when I’m feeling a little lazy) I just throw it all in, hit the button, and let the air fryer do its magic. If you’ve ever felt betrayed by limp chicken skin, this is your salvation.
What you’ll need (and my slightly chaotic substitutions)
- 4 bone-in, skin-on chicken thighs (I sometimes use boneless, but the skin is the whole point, really)
- 1 tablespoon olive oil (any neutral oil works – my aunt swears by avocado oil, but I’m not that fancy)
- 1 teaspoon smoked paprika (plain works if that’s all you’ve got)
- 1/2 teaspoon garlic powder
- 1/2 teaspoon onion powder
- 3/4 teaspoon salt (I just eyeball it, to be honest)
- 1/2 teaspoon black pepper
- 1/4 teaspoon cayenne (totally optional, but I like a hint of heat)
- A squeeze of lemon, for serving (not required, but don’t sleep on this)
(Sometimes I’ll toss in dried thyme or a pinch of chili flakes if I’m feeling wild. My grandmother swore by Lawry’s, but honestly, anything in your spice rack will work in a pinch.)
How I actually cook these thighs (plus some wandering thoughts)
- First, pat the chicken thighs really dry with a paper towel. Like, absurdly dry. I read somewhere this helps with crispiness, and turns out, it’s true. Don’t skip this. (Unless you forget, in which case, it’s probably fine.)
- Next, toss the thighs in a big bowl with oil, paprika, garlic powder, onion powder, salt, pepper, and cayenne. I use my hands (just easier, but if raw chicken gives you the ick, use tongs). Make sure every nook and cranny gets coated. This is where I usually sneak a whiff, because the spices just smell so good together.
- Preheat your air fryer to 400°F (about 200°C). Or don’t—some days I forget and honestly, they still turn out fine, just maybe a smidge less crispy.
- Arrange the chicken thighs skin side down in the basket. Don’t overcrowd. If you have to smoosh them, better to do two batches. (And no, stacking doesn’t work…I tried. Trust me.)
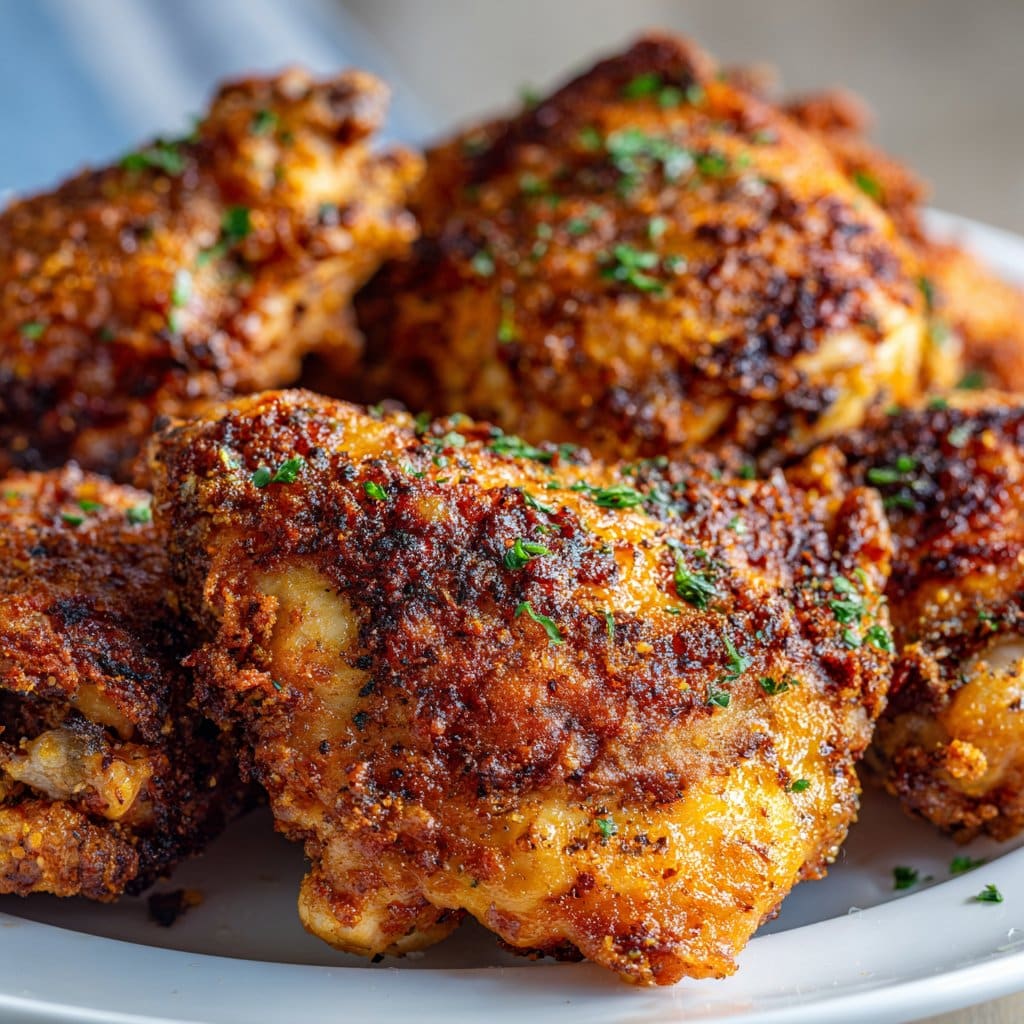
- Cook for 12 minutes. Flip ‘em over, then cook another 10-12 minutes until the skin is crispy and the juices run clear. The official safe temp is 165°F/74°C, but I sometimes go a bit higher for extra crunch. If you’re into thermometers, great; if not, just cut into one and check.
- Rest for a few minutes before digging in. This is the hardest part. My son always hovers at this point, demanding a taste test.
By the way, don’t fret if the chicken looks a bit blotchy after flipping. It’ll crisp up as it rests. (I used to panic at this point, but it sorts itself out.)
A few things I’ve learned the hard way
- If you skip drying the skin, you’ll regret it. Soggy city.
- Don’t use too much oil. I once got overenthusiastic and ended up with greasy chicken (not the good kind).
- Stacking the chicken = sadness. It just doesn’t crisp.
- Actually, I find it works better if you let the spices sit on the chicken for ten minutes before cooking—but who has time, really?
Things I’ve tried (with, uh, mixed results)
- Swapping thighs for drumsticks—works, but they need a little less time.
- Using a breadcrumb crust: I wanted extra crunch, but it just fell off in the fryer and made a mess. Would not repeat.
- Spritzing with extra oil halfway through: This sometimes helps, but can also make the skin a bit chewy. Go easy.
- Adding a spoon of hot honey before serving—surprisingly addictive.
What if you don’t have an air fryer?
Honestly, I used to think you had to have the fancy air fryer with digital presets (mine is this one from Serious Eats), but actually, a good convection oven at the highest fan setting works in a pinch. Just use a wire rack over a tray. You won’t get exactly the same crunch, but it’s close enough that I’ve done it at my mum’s house and nobody complained.
How to store leftovers (not that we ever have any!)
Pop any extras (ha!) in a sealed container in the fridge for up to 3 days. They lose a bit of crisp, but a quick blast in the air fryer brings them right back. Or eat them cold while standing at the fridge, because honestly, who’s judging? I’ve been known to snack on one for breakfast.
If you’re wondering how to serve…
I love these with a heap of coleslaw and some roasted potatoes. My partner insists on ketchup (I know, I know). Sometimes I do a really lazy green salad. For actual guests, I’ll throw together these crispy potato wedges (they’re worth it). For a Southern touch, try with biscuits or cornbread—the whole nine yards!
Lessons from my own kitchen mishaps
- I once skipped preheating because I was in a rush—regretted it. The skin just didn’t get the same snap.
- Don’t walk away during the last five minutes. I once got distracted by a text and nearly burnt the lot. Oops.
- Also, if you use frozen chicken thighs, make sure they’re thoroughly thawed. I learned this the hard way (cold spots, yikes).
Some questions people actually ask me
- Can I use boneless thighs?
- Yep! They cook a bit faster (maybe 16-18 minutes total). But bone-in is juicier. That’s just my take, though.
- What if I don’t have paprika?
- You can skip it, or use a pinch of chili powder for color. Or nothing, honestly. The world won’t end.
- Can I double the recipe?
- Sure, but do it in batches. Crowding the basket is a rookie mistake (ask me how I know).
- Is it really better than oven-fried?
- In my humble opinion, yes. But if you like the oven method, stick with it! There’s room for both in the world.
- Why is my chicken not crispy?
- Probably too much oil, or not dry enough. Or maybe your air fryer runs cool—some do. Next time, try a bit less oil and dry those thighs like you mean it.
And hey, if you want to geek out on air fryer science, Cooks Illustrated has a great explainer (not sponsored, just really nerdy).
Alright, enough chit chat—go make some chicken! And if you figure out a way to make the skin even crispier, let me know. I’m all ears. Or, as my uncle used to say, ‘I didn’t come all this way for soggy chicken.’
Ingredients
- 4 bone-in, skin-on chicken thighs
- 1 tablespoon olive oil
- 1 teaspoon garlic powder
- 1 teaspoon smoked paprika
- 1 teaspoon onion powder
- 1/2 teaspoon dried thyme
- 1/2 teaspoon salt
- 1/2 teaspoon black pepper
Instructions
-
1Preheat your air fryer to 400°F (200°C) for 3 minutes.
-
2Pat the chicken thighs dry with paper towels. Place them in a large bowl.
-
3Drizzle olive oil over the chicken thighs. Add garlic powder, smoked paprika, onion powder, dried thyme, salt, and black pepper. Toss to coat evenly.
-
4Arrange the chicken thighs skin-side down in the air fryer basket in a single layer.
-
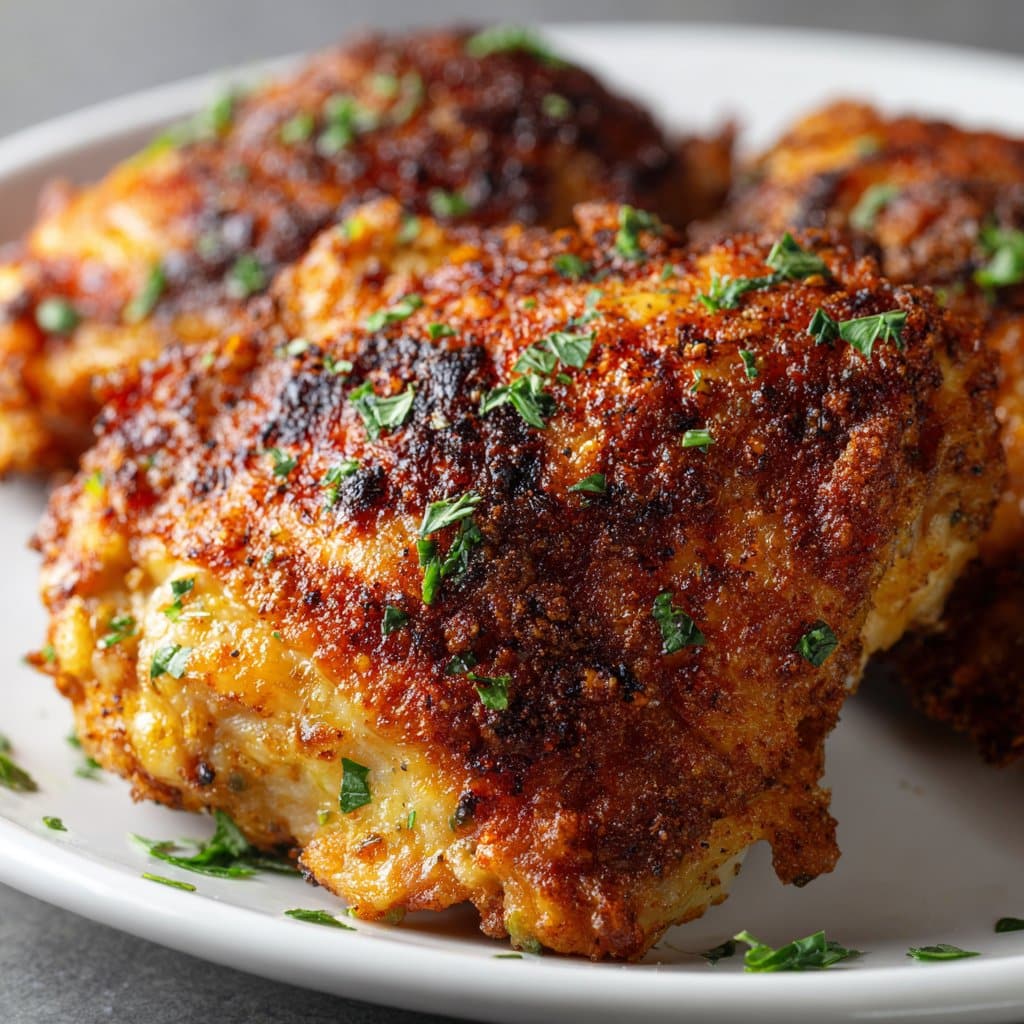
5Air fry for 12 minutes, then flip the chicken thighs and cook for an additional 10 minutes, or until the skin is crispy and the internal temperature reaches 165°F (74°C).
-
6Remove from the air fryer and let rest for 2 minutes before serving.
Approximate Information for One Serving
Nutrition Disclaimers
Number of total servings shown is approximate. Actual number of servings will depend on your preferred portion sizes.
Nutritional values shown are general guidelines and reflect information for 1 serving using the ingredients listed, not including any optional ingredients. Actual macros may vary slightly depending on specific brands and types of ingredients used.
To determine the weight of one serving, prepare the recipe as instructed. Weigh the finished recipe, then divide the weight of the finished recipe (not including the weight of the container the food is in) by the desired number of servings. Result will be the weight of one serving.
Did you make this recipe?
Please consider Pinning it!!




