The Story Behind My Famous Crispy Chocolate Peanut Butter Treats
So, let me tell you—I’ve been making these Crispy Chocolate Peanut Butter Treats since that bizarre snowed-in weekend when my siblings and I basically inhaled an entire pan before dinner (sorry, Mum). Honestly, the smell of chocolatey peanut butter kind of makes me feel like a little kid again, even though my metabolism disagrees nowadays. There was even that one time I tried doubling the recipe for a party, but ended up with a sticky mess oozing onto the counter. Lesson learned: bigger isn’t always better in home kitchens. Still, nothing makes my slightly frazzled Tuesdays brighter than whacking together a batch of these because they’re basically foolproof; if you can stir, you’re halfway there. Plus, am I the only one who still picks the crispy bits out of the mixing bowl? No? Good, I knew we were friends.
Why I Keep Making These (and Why You Might, Too)
I honestly whip these up when I need a last-minute treat, like when my daughter tells me at 9pm she has a bake sale the next day (thanks for that). My family is nuts for anything with peanut butter and chocolate, so they usually disappear—and hardly ever make it to the actual event (oops). The best part? No baking faff. And you can sort of wing it with amounts or swap out ingredients (I once even used granola instead of rice cereal… not bad, just crunchier than expected). It’s the dessert that forgives you for missing a step or being distracted by the dog (or your phone—hey, we’ve all done it), but still comes out tasting fantastic.
The Ingredients (Substitutions Welcome!)
- 1 cup peanut butter (smooth or chunky; I sometimes use almond butter if it’s hiding at the back of the fridge)
- 1/2 cup honey or maple syrup (my gran said corn syrup, but seriously, these days who even has that?)
- 1/4 cup unsalted butter (I’ve used salted and no one’s noticed)
- 3 cups crispy rice cereal (generic store brand works perfectly fine; just not the puffed rice kind because that’s like eating air)
- 1 cup semi-sweet chocolate chips (I sneak in dark chocolate if I’m feeling fancy or, let’s face it, if I’ve run out of the usual)
- Pinch of sea salt (optional, but please try it once—delicious)
How I Throw This Together (or: My Not-So-Precise Directions)
- Line an 8×8 inch pan with parchment or foil. Don’t have parchment? Butter up the dish or, honestly, just cross your fingers a little.
- Combine peanut butter, honey (or whatever sticky thing you’re using), and butter in a big saucepan. Warm it over lowish heat; keep it moving so it doesn’t catch. (This is when I usually taste-test.)
- Take the pan off the heat, then stir in the rice cereal. Get it all coated—sometimes it looks too thick but just keep folding. It comes together, promise!
- Dump the mixture into the pan. I use a spatula, my hands (washed!), or sometimes a bit of wax paper to press everything down. Don’t panic if it’s uneven—rustic is in.
- Melt the chocolate chips in a bowl—microwave style for about 30 seconds at a time, stirring in between so it doesn’t seize up (learned that the hard way). If you’re a proper kitchen whiz you can do it over a double boiler but, honestly, who’s got the time?
- Pour the melty chocolate over the peanut butter base and spread it around. Sprinkle a bit of salt if you like that sweet-salty thing.
- Now comes the hard part: Into the fridge for 1 hour, or until set. I’ve definitely tried to cut it early, and…well, let’s just say patience wins here.
- Slice into squares. Nibble on the scraps for quality control. Voila!
Notes From My Kitchen Fiascos
- The cereal sometimes gets a little crushed if you’re too enthusiastic mixing. I say, who cares?
- If the chocolate looks weird (bit of bloom or stiffness), it still tastes fine. The fridge works miracles.
- It’s extra delicious the next day, though, actually, it rarely survives overnight in my place (people here swipe slabs when I’m not looking).
- Oh, and accidentally doubling the salt still works if you have a sweet tooth and like it salty-sweet (I do but the kids didn’t, so your mileage may vary).
My Experiments (Some Keeper Variations, One Not So Much)
- Swapped in cashew butter once—rich and slightly fancier, but gets pricey.
- Tried marshmallow fluff for a ‘Rice Krispies treat’ vibe; it’s crazy sticky, and nobody complained, but I still prefer it with good old honey.
- Once I tried those “healthy” protein cereals… didn’t hold together and tasted a bit sad. Not recommended, unless you love disappointment.
Gear You (Might) Need, but Workarounds Welcome
- A square pan (I’ve totally used a pie dish—just cut in triangles instead of squares, works a treat)
- Parchment paper or foil (but a well-greased pan is fine—expect to do some pan-scraping, though)
- Mixing bowl, saucepan, spatula (failing that, your trusty old wooden spoon—never lets you down)
The Sad Truth About Storage (Ha!)
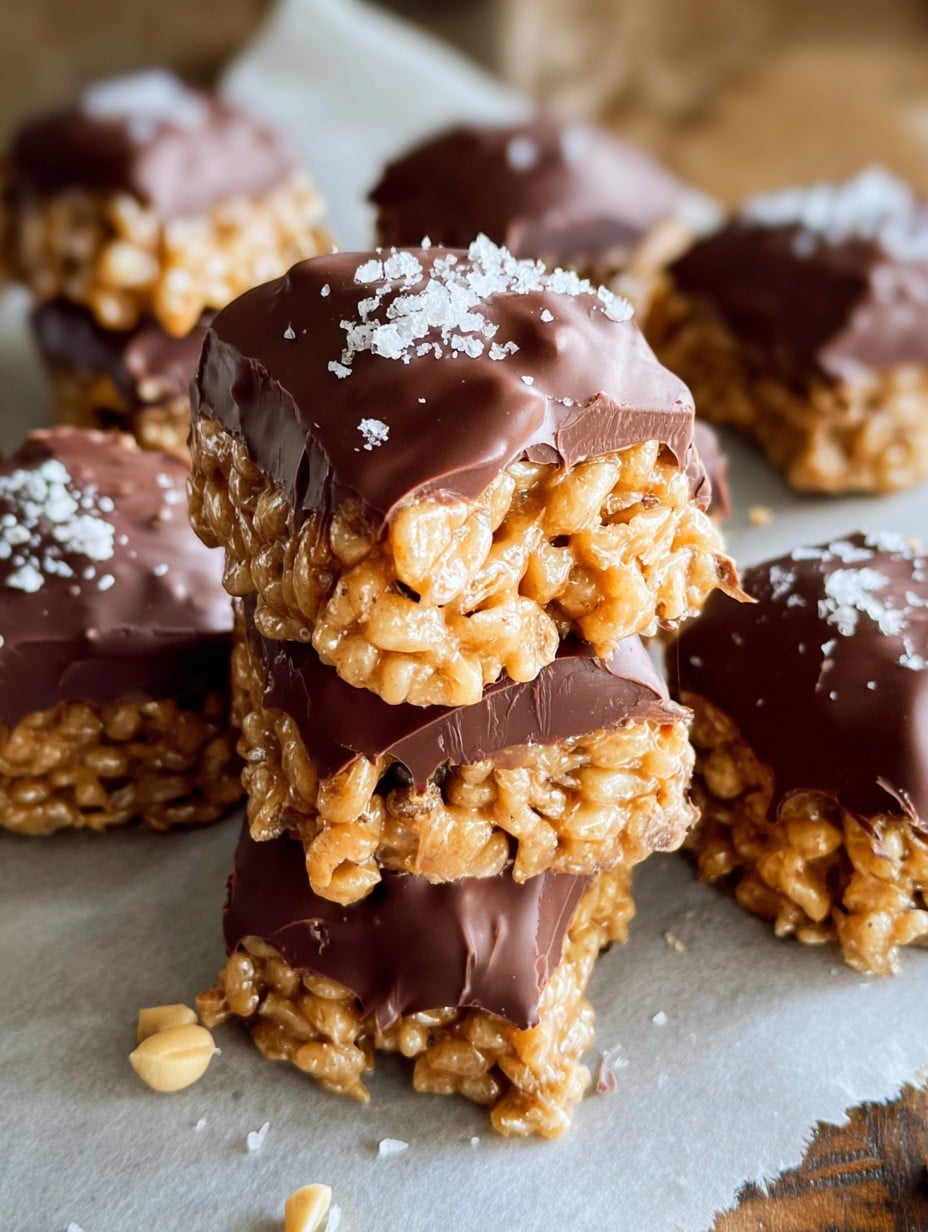
Keep them in the fridge if you can, in an airtight box for up to 5 days. Let them soften at room temp before eating for gooey goodness. But—let’s be honest—they tend to, uh, sort of vanish the first day in my house. If you’ve got willpower, kudos.
How I Serve These in My House
Honestly, straight from the cutting board, sometimes while I’m still slicing (my spouse calls this “quality assurance”). Friends love them with strong coffee; I’ve actually put a little scoop of vanilla ice cream on top, which turns it into something special. Christmas? I chop them tiny and add to cookie gift boxes (messy but folks love it). Or just sneak one mid-afternoon: zero judgement here.
The Stuff I Wish I Knew Sooner (Pro Tips)
- Don’t rush the fridge step. Tried cheating once—ended up with chocolate on my elbows and panic in my heart.
- If you try to swap out all the honey for syrup, things get looser and a bit more crumbly. Not the end of the world, just pre-warned.
- Don’t skip the parchment, unless you love dishwashing or, you know, prying treats out with a spatula—your call.
Questions I’ve Actually Received (and My Real Answers)
- Q: Can I make these nut-free? Yep! Sunflower seed butter works, though it tastes slightly different. It’s kind of its own thing, but definitely scrumptious.
- Q: What about vegan? Sure—swap butter for coconut oil and use vegan choc chips; maple syrup instead of honey is easy.
- Q: Are these gluten-free? As always, check your cereal’s label, but generally yes—just keep an eye on sneaky ingredients.
- Q: Can I freeze these? You can! Wrap tightly. I, uh, usually eat them all first but in theory they freeze up to a month.
- Q: What if my chocolate goes weird? If it splits or seizes, try stirring in a teaspoon of coconut oil—it saved my bacon once.
- Q: Where do you get your peanut butter? No posh brands here! I usually go for regular old Jif or store brand, but I’ve used powdered peanut butter in a pinch—doesn’t taste quite the same, mind.
- Q: Do you have a video for this? Not yet, but if you want to see it in action, Gemma’s got a good one.
- Q: Any recipes for savoury snacks? Oh, that’s a whole other story—but you could check Smitten Kitchen’s popcorn party mix for a salty fix!
Got your own twist? Tell me. Oh! Before I forget—has anyone tried adding a hit of espresso powder to the chocolate? Next on my list. Thanks for reading to the end—if I ever figure out how to make these last longer than a day in my house, I’ll report back. Cheers!
Ingredients
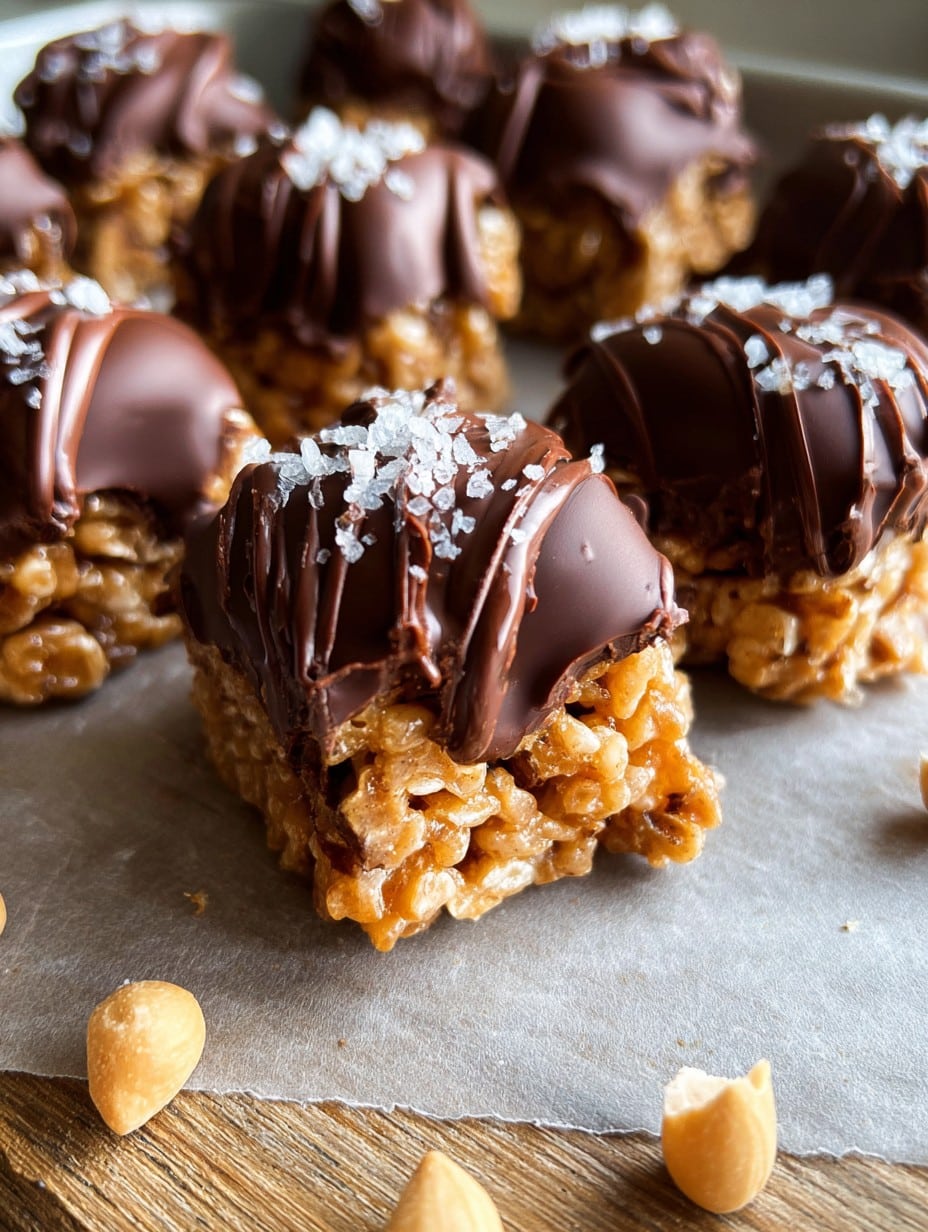
- 3 cups crispy rice cereal
- 1 cup creamy peanut butter
- 1/2 cup honey or light corn syrup
- 1/4 cup unsalted butter
- 1 1/2 cups semi-sweet chocolate chips
- 1/2 teaspoon vanilla extract
- 1/4 teaspoon salt
Instructions
-
1Line an 8-inch square baking dish with parchment paper and lightly grease it.
-
2In a medium saucepan over medium heat, melt butter, peanut butter, honey, and salt, stirring until smooth and well combined.
-
3Remove from heat and stir in vanilla extract. Add crispy rice cereal and fold gently until fully coated.
-
4Press the mixture evenly into the prepared baking dish using a spatula or wax paper.
-
5In a microwave-safe bowl, melt chocolate chips in 30-second intervals, stirring between each, until smooth. Pour melted chocolate over the cereal mixture and spread evenly.
-
6Refrigerate for at least 1 hour, or until set. Cut into bars and serve.
Approximate Information for One Serving
Nutrition Disclaimers
Number of total servings shown is approximate. Actual number of servings will depend on your preferred portion sizes.
Nutritional values shown are general guidelines and reflect information for 1 serving using the ingredients listed, not including any optional ingredients. Actual macros may vary slightly depending on specific brands and types of ingredients used.
To determine the weight of one serving, prepare the recipe as instructed. Weigh the finished recipe, then divide the weight of the finished recipe (not including the weight of the container the food is in) by the desired number of servings. Result will be the weight of one serving.
Did you make this recipe?
Please consider Pinning it!!




