You’re Going To Laugh, But Here’s Why I Love Baking These
Imagine this: it’s pouring outside, you’re in your fluffiest socks, and (honestly) in need of chocolate, but regular cookies just aren’t gonna cut it. That was me the first time I whipped up these gluten-free chocolate ginger cookies. Took me back to an old family holiday when my uncle swore the ginger was “spicy” and ate five anyway, face red as a beet. Still, these cookies pull double-duty—warming spice, buckets of chocolate, and perfect for those needing to avoid gluten without feeling like they’re missing the good stuff. Oh, and don’t worry—if you completely forget they’re gluten free, I’ll take it as a compliment.
Why You’ll Love This? Let Me Count (Some of) the Ways
- I make this whenever my craving for something cozy meets my need for chocolate. Seriously, ginger + chocolate is underrated.
- My family goes a bit wild for these—my teens even demand I pack extras in their lunches (once, my son tried to barter them for someone’s homemade sushi…I mean, I get it).
- I used to fear gluten-free baking (so many sad, flat cookies), but these turn out soft, a bit chewy, and downright moreish every time. Plus, not much faff.
- If you’re prone to baking at odd hours like me, you’ll appreciate how you don’t need special flour, just what’s in the cupboard. (Though, honestly I once almost subbed out ginger for mixed spice… learn from my panic.)
What You’ll Need (With My Chaos Substitutions)
- 1 cup (about 140g) gluten-free flour blend (I use Bob’s Red Mill; honestly, any all-purpose GF blend you like is fine)
- 1/2 cup unsweetened cocoa powder (sometimes I grab Dutch-process; regular works too)
- 1/2 tsp baking soda
- 1/2 tsp salt (I’ve forgotten this and, oops, not recommended)
- 1 tsp ground ginger (sometimes I double this if I’m feeling wild—as my mate Jasper says, ‘more zing, more sing’)
- 1 tsp cinnamon (optional, but I think it adds lovely warmth)
- 1/2 cup (110g) butter or coconut oil (my grandmother swears by Kerrygold, but let’s face it, store brand is fine too)
- 3/4 cup packed brown sugar (or coconut sugar for that slightly caramel vibe)
- 1 large egg (room temp…or honestly, I just stick it in warm water for 5 mins if I forget)
- 1/4 cup molasses or maple syrup (oddly, date syrup worked OK when I ran out once)
- 1 tsp vanilla extract
- 1/2 cup dark chocolate chips or chunks (milk chocolate if that’s your jam—no hate)
How To Make The Magic Happen
- Preheat your oven to 350°F (175°C). Line a big tray with parchment paper—unless you don’t have any, in which case just grease it like mad.
- Mix the dry: Grab a biggish bowl and whisk the gluten-free flour, cocoa, baking soda, salt, ginger, and cinnamon. If it clumps, I just smash it with a spoon. Not fancy.
- Cream the wet stuff: In another bowl, beat the butter and brown sugar till it’s sort of fluffy. You can use a mixer, but a wooden spoon works if you’ve got some elbow grease. Add the egg, molasses/maple, and vanilla, and mix till combined—don’t stress if it looks a bit broken; mine does before the flour goes in.
- Tip your dry mixture into the wet. Now, don’t panic! It’s going to look thick, like something’s gone wrong. It hasn’t. Stir it together and, if you’re like me, sneak a taste (raw eggs, yes, I know—don’t tell Mum).
- Stir in the chocolate chips. Or, if you forgot to save some, sprinkle a few on top later. (Been there, done that.)
- Scoop out small blobs—a heaped tablespoon or so—onto your tray, leaving some space. Not a science; if they run together, just eat two at once and call it a day.
- Pop them in the oven for 10-12 minutes. They look a bit undone when you bring them out, but trust me, that’s what you want. Let ‘em cool on the tray for a bit before moving to a rack, otherwise they might fall through. (This is where I usually lose one to breaking. Cook’s treat, right?)
Notes: Because Mistakes Were Made
- Actually, I find letting the dough chill in the fridge for 30 min makes a thicker cookie—if you’re patient, which I’m, like, 50% of the time.
- Once tried doubling the ginger and cinnamon… yeah, don’t go wild unless you LOVE spice (or want to prank someone). Maybe don’t.
- If you like them chewier, slightly underbake. But if you want crispier edges, add one minute. Personal taste, innit?
Variations: My Tinkering (And a Fail)
- I swapped out the cocoa and used carob once—strange but, in a good way? Worth a go if you can’t do caffeine.
- Once threw in crystallized ginger chunks, thinking I was a genius. Was a bit much, tastes better chopped very fine or stick to powder.
- Defo tried these with half oat flour. They spread more (like, a lot) but were still tasty—so maybe bake in a pan for “cookie bars” if you do that.
Equipment: What You Actually Need (Or Don’t)
You’ll want a couple of mixing bowls, a sturdy spoon, and a baking tray. Honestly, I don’t own a hand mixer so it’s all elbow grease here—if you’ve got kids, recruit them! And if your oven runs hot, maybe check them at eight minutes; once mine burned two batches because I got distracted by the dog (I miss that tray). If you don’t have a cooling rack, just use the back of a baking sheet—it’s less fancy, works the same.
How To Store Them (If You Somehow Have Leftovers)
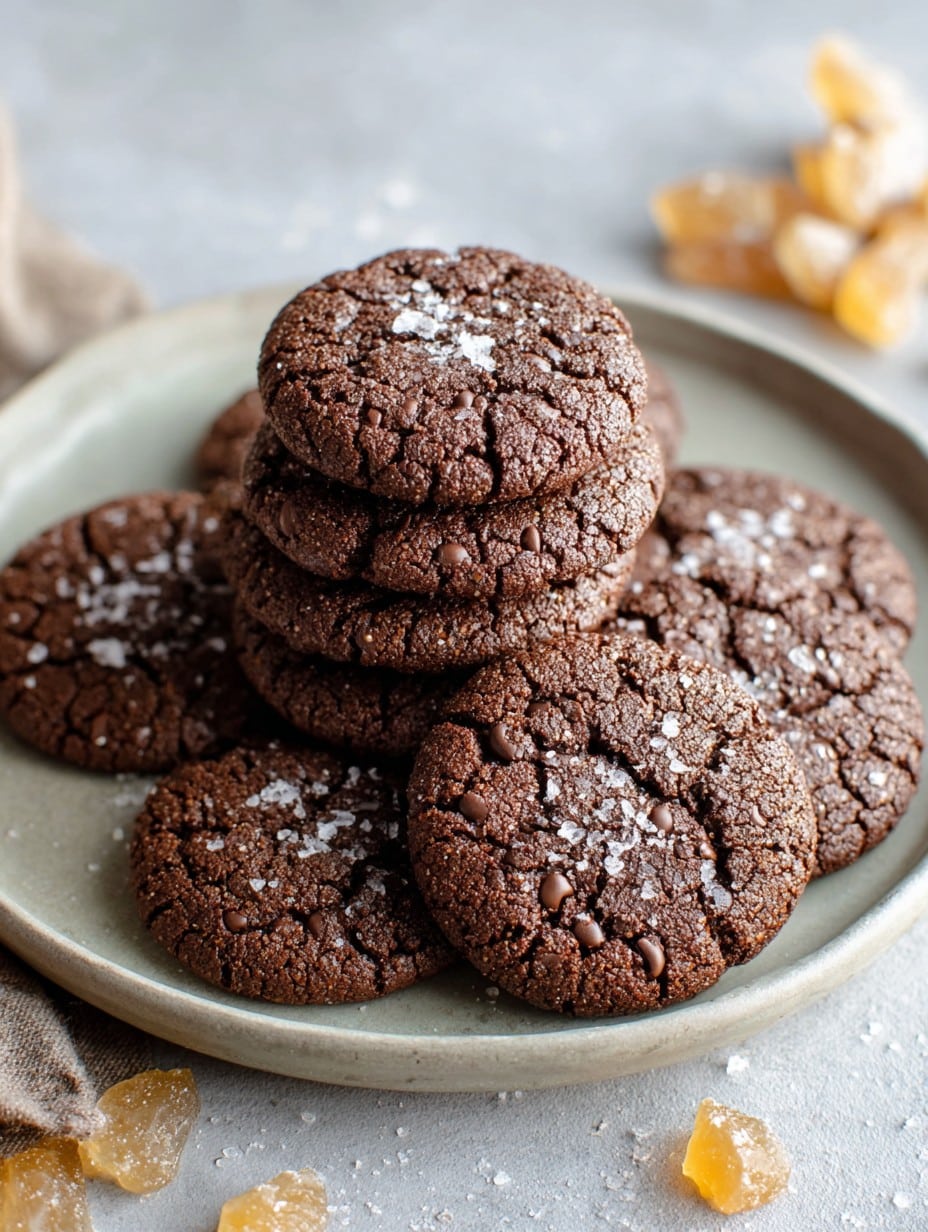
Supposedly you can keep these in an airtight tin for 3-4 days, but—let’s be real—they’ve never survived longer than 24 hours in my house. I did freeze a batch once (layered with wax paper) and they thawed nicely for lunchboxes, so that’s handy.
Serving Suggestions (aka, How We Really Eat Them)
We eat these still-warm, right off the rack, occasionally with a scoop of vanilla ice cream (absolute heaven). Around Christmas, I dust them with a little powdered sugar for a “snowy” look that gets me all nostalgic. If you’re feeling extra, dunk one in hot coffee—the ginger-chocolate makes it taste like a grown-up treat. And, minor digression: once my pal Rosie crumbled them over yogurt for breakfast. Not sure if that’s legal, but it was surprisingly brilliant.
Pro Tips I Wish I’d Known
- Once I tried rushing the cooling part and, yeah, regret! They break if you poke them too soon. (Patience is a virtue… sometimes.)
- Actually, using parchment is much less mess than greasing, unless washing up is your jam.
- If you’re using coconut oil, make sure it’s slightly soft or it mixes better—otherwise, you’ll be chasing chunks round the bowl for ages.
FAQ (Things People Always Ask Me)
- Can I make these vegan?
- Yep! Use coconut oil instead of butter and a flax egg. They’re a touch denser but still yum (I’ve forgotten the egg, didn’t die.)
- Do they taste “gluten-free”?
- Not really—my cousin Pete refuses to eat “health stuff” and still ate three, so… take it from Pete?
- Can I freeze the dough?
- Absolutely! Roll into balls, freeze on a tray, then bag them up. Bake straight from frozen, just add a minute or two—so handy for midnight cravings.
- What’s the best gluten-free flour for these?
- I just use a general all-purpose blend, but Minimalist Baker’s DIY blend is solid if you’re into making your own. (I’m not, if I’m honest.)
- Can I use fresh ginger?
- You can grate a bit in, maybe 1/2 teaspoon; it’ll be spicier and wetter, so maybe skip half the powder or add a bit more flour. I like the powder for convenience though. Oh, and here’s a handy guide: Sub Ginger, No Worries.
- Do I really need chocolate chips?
- Well, not “need”, but come on—life’s too short for chocolate-less cookies.
Last thing! If you give these a whirl, let me know how it goes. If you want to dive deeper into the art (and failures) of gluten-free baking, you might fancy this soft batch guide—I totally borrowed their chill-the-dough wisdom.
Ingredients
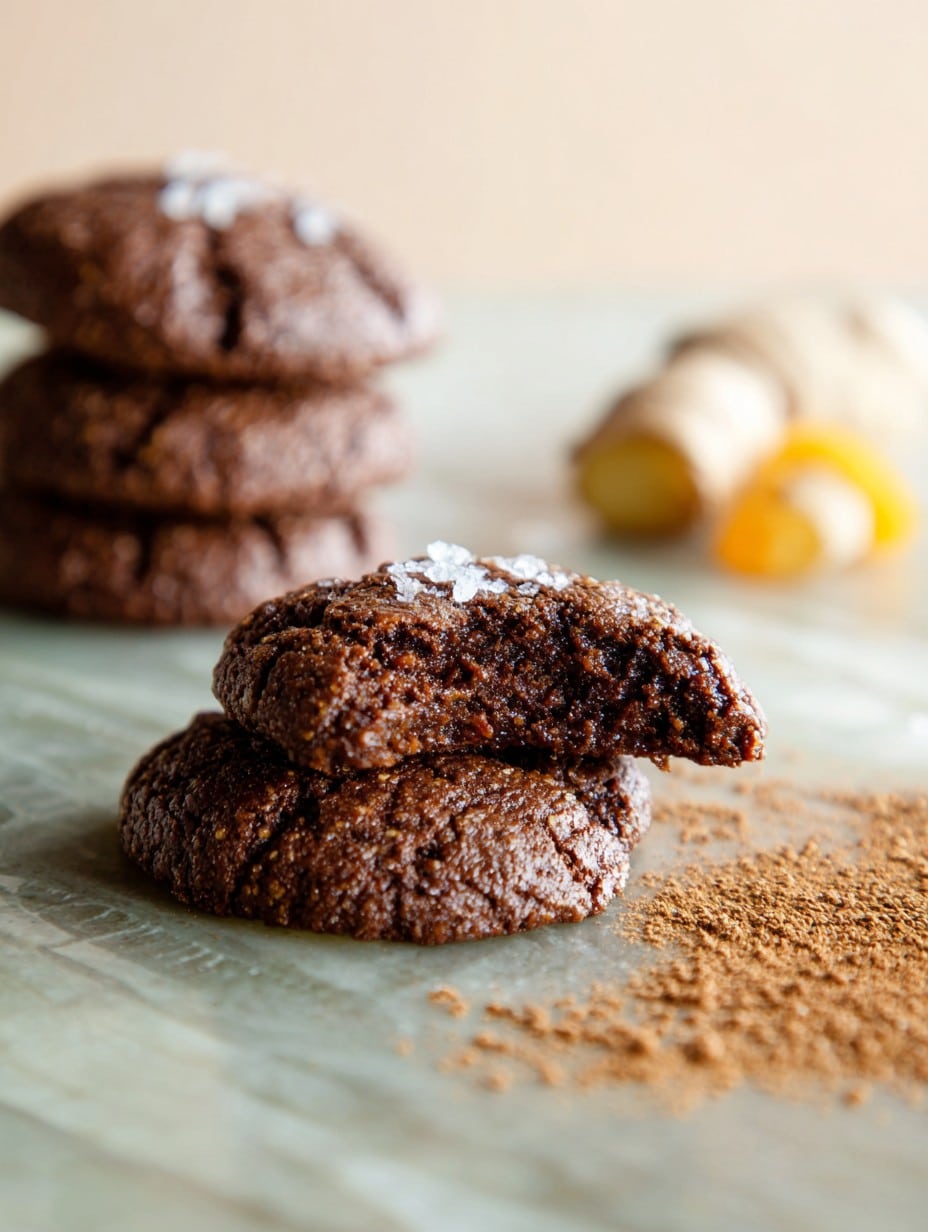
- 1 cup gluten-free all-purpose flour blend
- 1/2 cup unsweetened cocoa powder
- 1/2 teaspoon baking soda
- 1/4 teaspoon salt
- 1 teaspoon ground ginger
- 1/2 cup unsalted butter, softened
- 3/4 cup brown sugar, packed
- 1 large egg
- 1 teaspoon vanilla extract
- 1/2 cup semi-sweet chocolate chips
- 2 tablespoons crystallized ginger, finely chopped
Instructions
-
1Preheat your oven to 350°F (175°C) and line two baking sheets with parchment paper.
-
2In a medium bowl, whisk together the gluten-free flour, cocoa powder, baking soda, salt, and ground ginger.
-
3In a large mixing bowl, cream the softened butter and brown sugar until light and fluffy. Beat in the egg and vanilla extract.
-
4Gradually blend the dry ingredients into the wet mixture until just combined. Fold in the chocolate chips and crystallized ginger.
-
5Scoop heaping tablespoons of dough onto the prepared baking sheets, spacing them 2 inches apart.
-
6Bake for 10-12 minutes, or until the cookies are set around the edges. Cool on the baking sheet for 5 minutes before transferring to a wire rack to cool completely.
Approximate Information for One Serving
Nutrition Disclaimers
Number of total servings shown is approximate. Actual number of servings will depend on your preferred portion sizes.
Nutritional values shown are general guidelines and reflect information for 1 serving using the ingredients listed, not including any optional ingredients. Actual macros may vary slightly depending on specific brands and types of ingredients used.
To determine the weight of one serving, prepare the recipe as instructed. Weigh the finished recipe, then divide the weight of the finished recipe (not including the weight of the container the food is in) by the desired number of servings. Result will be the weight of one serving.
Did you make this recipe?
Please consider Pinning it!!




