Let’s Talk About Crispy Roasted Cauliflower (and why I can’t stop making it)
You know that recipe you reach for whenever you want to impress people but don’t actually want to spend an hour in the kitchen? For me, that’s this crispy roasted cauliflower. I actually made this first for a book club, thinking “Oh, no one really likes cauliflower, but it’s all I’ve got.” I was wrong—people were basically elbowing each other for the last piece. Now, even my picky cousin who claims vegetables are the enemy asks for this every holiday. (Mum still says hers is better. She’s probably right, but this is less faff.)
Why You’ll Love This—Or At Least Why I Do
I make this when I want something crunchy but not potato chips. My family goes bonkers for it, especially if I do a double batch (which, let’s be real, is usually necessary because otherwise I end up eating half off the tray before it hits the table). Plus, it’s super flexible—sometimes I go fancy with smoked paprika, other days it’s just olive oil and salt, no shame in that game.
And honestly, the only part I used to hate was cleaning up the little cauliflower bits that inevitably fly everywhere. (On second thought, I still hate that bit. Worth it though.)
Here’s What You’ll Need (Substitutions Welcome!)
- 1 big head of cauliflower (or a couple of small ones—sometimes I grab a bag of florets from the supermarket to save time, no judgment)
- 3 tablespoons olive oil (I’ve used avocado oil in a pinch and it’s fine—my grandmother swears by Bertolli, but honestly, any decent olive oil works)
- 1 teaspoon garlic powder (or a couple of crushed garlic cloves if that’s more your style)
- 1/2 teaspoon smoked paprika (I skip this when I don’t have it; regular paprika totally works)
- 1/2 teaspoon salt (plus a bit more for sprinkling at the end if you’re a rebel like me)
- Black pepper, to taste (I probably use more than I should, but hey—live a little)
- Optional: A handful of grated Parmesan (sometimes I use nutritional yeast if my vegan mate is coming round, but don’t tell her I prefer the cheese version!)
How I Actually Make It (With a Few Side Comments)
- Preheat your oven to 220°C (about 425°F). Yes, it needs to be that hot, otherwise you get sad, limp cauliflower—trust me, I’ve tried.
- Chop the cauliflower into bite-sized florets. If you’ve got a bag of pre-cut, skip this and feel smug. But don’t stress if the florets aren’t perfectly even. Actually, I think the little crispy bits are the best part.
- Throw the florets onto a big baking tray—bigger is better here because crowded cauliflower gets steamed instead of roasted. If you only have a small tray, maybe do it in two rounds (or just accept less crispiness, I won’t tell).
- Drizzle with olive oil, then sprinkle on garlic powder, paprika, salt, and pepper. Toss with your hands (seriously, just get in there) until everything’s nicely coated.
- Spread out the florets so none are on top of each other. This is where I sneak a tiny floret—raw cauliflower is underrated, by the way.
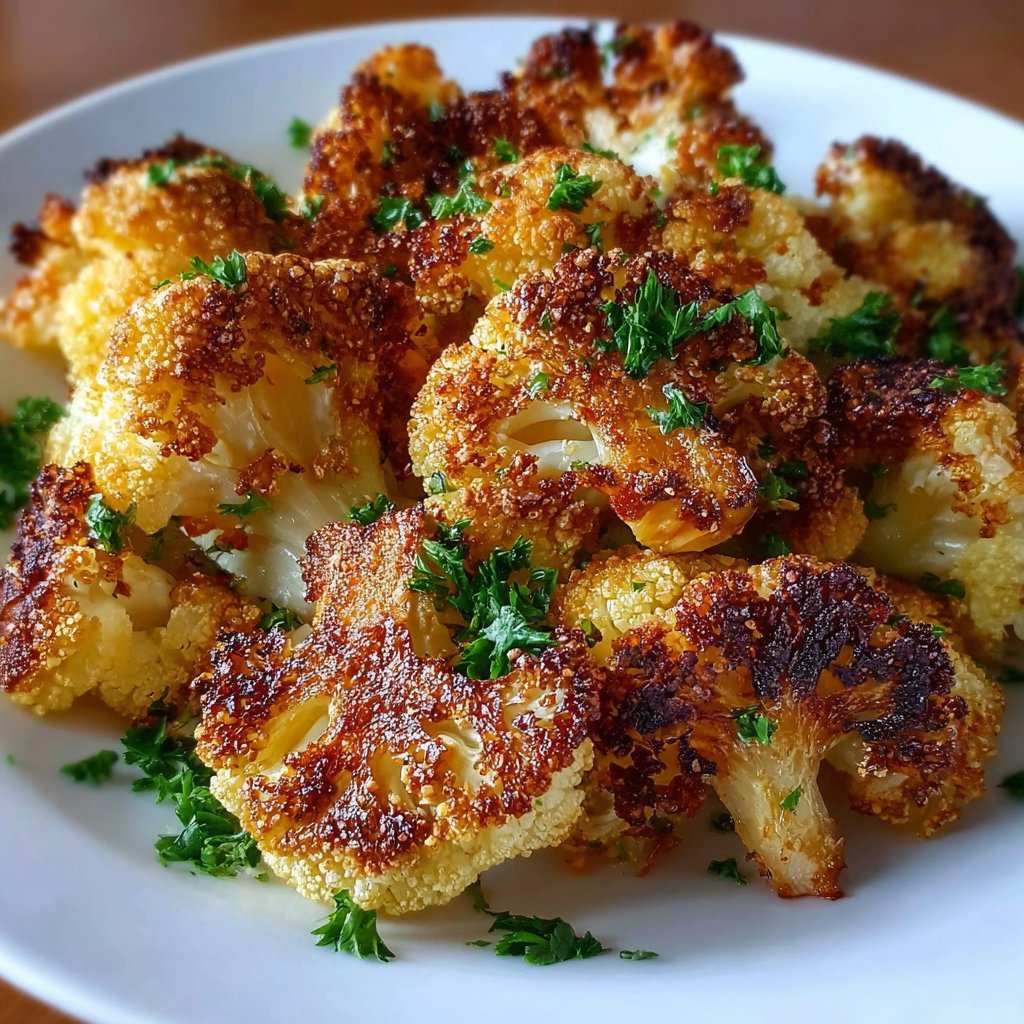
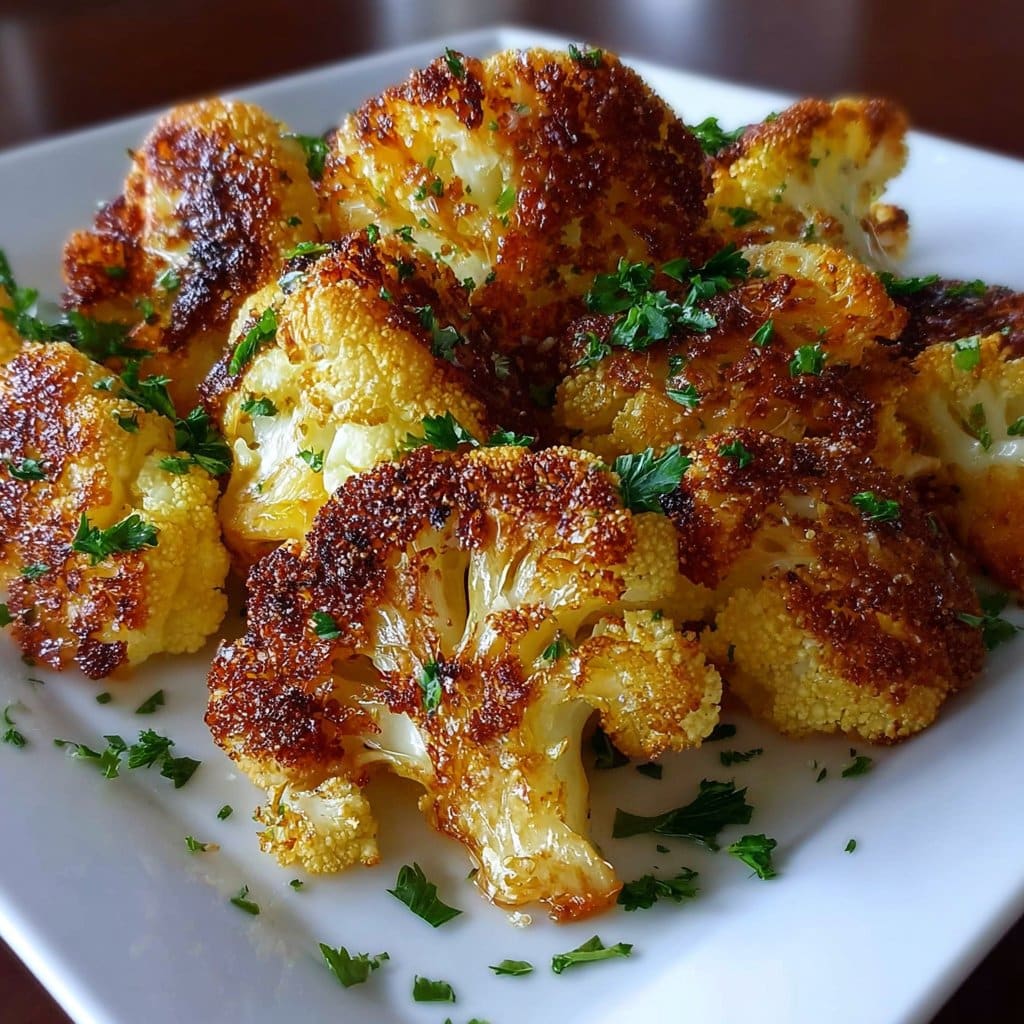
- Roast for 25–35 minutes, tossing once halfway through. Don’t worry if it looks a bit weird at this stage; about 18 minutes in, it always does. Just trust the process. You want deep golden-brown edges and some crispy, almost burnt bits (the best kind).
- If you’re using Parmesan, sprinkle it on for the last 5 minutes so it gets all melty and golden. Or skip it—your call.
Some Notes from My Kitchen Blunders
- If you forget to toss halfway, you’ll get unevenly crispy bits. Doesn’t ruin it, but worth the extra effort.
- Sometimes I use parchment paper, sometimes I just go straight on the tray. Both work, but parchment saves on scrubbing. Not essential, though.
- The quantities are flexible; if your head of cauliflower is enormous, just add a splash more oil and an extra pinch of spices. I never measure exactly, honestly.
Variations I’ve Tried (Some Winners, Some Not)
- Curried Cauliflower: Toss in a spoonful of curry powder—excellent with a squeeze of lime at the end.
- Buffalo Cauliflower: Mix with a little hot sauce and melted butter before roasting, though I once overdid the sauce and ended up with, well, soggy cauliflower. Wouldn’t recommend drowning it.
- Lemon Zest: Just a bit grated on top after roasting. Brightens it right up!
Equipment (But Honestly You Don’t Need Fancy Stuff)
- Large baking tray or sheet pan (if you only have a small one, just roast in batches or pile it up and accept the slightly less crispy fate)
- Mixing bowl (I sometimes just toss everything right on the tray to save washing up. Lazy or efficient? You decide.)
- Knife and chopping board
Oh, and if you’re short on trays, you can even use a pizza pan—I did once during a kitchen move and it was grand (didn’t even miss my usual stuff).
How Long Does It Keep? (Rarely an Issue Here)
Technically, you can store leftovers in an airtight container in the fridge for up to 3 days. But honestly, in my house it never lasts more than a day. If you do manage to save some, just reheat in the oven for 5-10 minutes to bring the crunch back (microwave will make it a bit soggy, but it’s still edible—I mean, I’ve eaten it cold and it’s fine).
How I Like to Serve It (Family Favourites)
I like piling it into a big bowl and putting it right in the middle of the table, with a little bowl of Greek yogurt or tzatziki for dipping. Or, if I’m feeling fancy, I’ll scatter chopped parsley over the top and pretend I’m a chef. My brother sometimes douses his in sriracha, which, well, to each their own.
Pro Tips (Learned the Hard Way—Don’t Be Like Me)
- I once tried rushing the roasting at a higher temp and just ended up with burnt edges and raw middles. Not my finest hour.
- Don’t skip the toss halfway; it helps, really.
- If you want even more crispiness, you can finish it off under the broiler/grill for a minute or two, but watch it like a hawk—the difference between crispy and charcoal can be less than 30 seconds.
Real Questions I’ve Actually Gotten (Or Asked Myself)
- Can I make this in an air fryer? Absolutely! Just do it in batches and cook for about 15 minutes at 200°C (400°F), shaking the basket halfway. Gets even crispier, somehow.
- Can I use frozen cauliflower? You can, but I find it comes out a bit softer—still tasty, just not as crisp. Thaw and dry it as much as possible first.
- Is it healthy? I mean, it’s a vegetable, right? Plus, you control the oil, so I’d say yes. (But I’m not a nutritionist!)
- What do I serve it with? Anything, honestly. I like it with roast chicken or as part of a vegetarian spread. Or cold from the fridge when I’m peckish late at night—don’t judge.
- Do you have a favorite dipping sauce? I do! There’s a lemon tahini sauce here that’s fab, and sometimes I use this quick “liquid gold” thing I found online.
- Can I prep ahead? You can chop the cauliflower and mix the seasonings ahead, but honestly, it’s best roasted fresh. I tried prepping and storing the seasoned florets in the fridge overnight, but it got a bit soggy. Still tasted good though.
If you have any other questions (or weird ideas for a cauliflower experiment), let me know! I’m always up for a kitchen adventure. Also, did you know some people put cauliflower on pizza? I haven’t tried it yet, but it’s on my list for next month. Anyway, happy roasting!
Ingredients
- 1 large head cauliflower, cut into florets
- 3 tablespoons olive oil
- 1/2 teaspoon garlic powder
- 1/2 teaspoon smoked paprika
- 1/2 teaspoon salt
- 1/4 teaspoon black pepper
- 1/4 cup grated Parmesan cheese (optional for serving)
- 2 tablespoons chopped fresh parsley (for garnish)
Instructions
-
1Preheat the oven to 425°F (220°C). Line a large baking sheet with parchment paper.
-
2In a large bowl, toss the cauliflower florets with olive oil, garlic powder, smoked paprika, salt, and black pepper until evenly coated.
-
3Spread the cauliflower in a single layer on the prepared baking sheet, making sure the florets are not crowded.
-
4Roast in the preheated oven for 25-30 minutes, flipping halfway through, until the cauliflower is golden brown and crispy on the edges.
-
5Remove from the oven and, if desired, sprinkle with grated Parmesan cheese while hot. Garnish with chopped fresh parsley before serving.
Approximate Information for One Serving
Nutrition Disclaimers
Number of total servings shown is approximate. Actual number of servings will depend on your preferred portion sizes.
Nutritional values shown are general guidelines and reflect information for 1 serving using the ingredients listed, not including any optional ingredients. Actual macros may vary slightly depending on specific brands and types of ingredients used.
To determine the weight of one serving, prepare the recipe as instructed. Weigh the finished recipe, then divide the weight of the finished recipe (not including the weight of the container the food is in) by the desired number of servings. Result will be the weight of one serving.
Did you make this recipe?
Please consider Pinning it!!




