Okay, Let’s Talk About These Swirled Chocolate Cupcakes
I’m honestly grinning just thinking about the last time I made Swirled Chocolate Cupcakes with Creamy Chocolate Filling. You know that moment when you bite into something and it’s so rich you feel a little mischievous for eating it? That’s these. I first made them for a birthday (actually, it was my own… treat yourself, right?), and now the recipe’s scribbled on the back of an old electric bill in my kitchen drawer. If you ever hear me sighing in the kitchen, it’s probably because I overfilled the liners again – but more on that later.
Why I Keep Coming Back to These Cupcakes
I make these when it’s been that kind of week, you know? My family goes mad for them, maybe because they’re like a little surprise inside (or maybe just because there’s more chocolate per bite, honestly). Sometimes I bake these for movie night, but, truthfully, I just like having an excuse to sneak the leftover filling with a spoon. It took me ages to nail the swirl – I used to end up with what looked like a chocolate tornado, but in a weird way, that’s part of the charm. If your swirls are a bit of a mess, welcome to the club.
What You’ll Need (But Feel Free to Improvise)
- 1 heaping cup all-purpose flour (my grandma swore by Gold Medal, but I’ve used store brand plenty… it’s fine!)
- 1/2 cup unsweetened cocoa powder (Dutch-processed or natural, whichever you dig out first)
- 3/4 cup sugar – I’ve subbed in light brown sugar in a pinch, changes the flavor a smidge
- 1 tsp baking powder
- 1/2 tsp baking soda
- 1/4 tsp salt (I just sort of toss in a small pinch, to be honest)
- 2 eggs, room temp is best but I forget half the time
- 1/2 cup sour cream (plain Greek yogurt also works, but the cupcakes end up a bit tangier)
- 1/4 cup vegetable oil – Actually, melted butter is even richer, but makes it heavier
- 1 tsp vanilla extract (sometimes I overpour, oops)
- 1/2 cup whole milk (I’ve used oat milk once, not bad)
For the Creamy Chocolate Filling:
- 100g dark chocolate (splurge on the good stuff or use chocolate chips, your call)
- 1/2 cup heavy cream
- 1 tbsp butter
- Pinch of salt
There’s also the optional sprinkle of sea salt for the tops, which I love, but my mum thinks is “pretentious.”
How I Actually Make These (And Sometimes Mess Up)
- Preheat your oven to 350°F (or 175°C, if you speak Celsius). Line a muffin tin with papers (or just grease it if you’re out; I do this way too often).
- In a biggish bowl, whisk together your dry stuff: flour, cocoa, sugar, baking powder, soda, and salt. Don’t worry if you spill a bit, happens to the best of us.
- In another bowl, beat together eggs, sour cream, oil, vanilla, and milk. Sometimes I let my kid do this and end up with half the vanilla on the counter. Oh well.
- Combine the wet and dry. Mix just until it’s together – the batter looks a bit lumpy and thick, but that’s right. This is where I usually sneak a taste.
- For the filling, melt chocolate, cream, butter, and salt in a saucepan over low heat, stirring until silky. Let it cool a bit so it doesn’t turn your batter runny.
- Spoon about a tablespoon of cupcake batter into each liner. Plop a teaspoon of chocolate filling in the center, then cover with more batter until about 3/4 full. Swirl with a toothpick or the end of a fork – don’t overthink it! It looks pretty even if it’s messy.
- Bake for 17-20 minutes, or until a toothpick (not jabbed right into the chocolate center) comes out clean. If you’re like me, you’ll get distracted and forget a batch. They’re still good a little overbaked, in my (unpopular?) opinion.
- Let them cool. Or burn your tongue, like I do practically every time because I can’t wait.
Things I’ve Learned Along the Way
- Don’t microwave the chocolate filling too long – it’ll seize up and go clumpy. Ask me how I know.
- The swirl never looks perfect, so just go for it.
- I think these taste even better the next day, but my family disagrees (because there’s never actually any left by then).
Some Wild (and Not-So-Wild) Variations
- Once, I swapped dark chocolate for peanut butter chips in the filling. Tasted awesome, but the filling oozed out everywhere. Would still eat, just not for company.
- If you’re feeling fruity, push a raspberry or a cherry into the center instead of chocolate – not traditional, but gives a nice pop!
- Honestly, white chocolate didn’t work for me. Too sweet, filling got weirdly gloopy. Maybe you’ll have better luck?
Do You Really Need All That Equipment?
You’ll want two bowls, a muffin tin, and a saucepan. If you don’t have a mixer, a whisk and some elbow grease are fine. And for swirling, I once used a chopstick – worked a treat. Don’t panic if you lack fancy stuff.
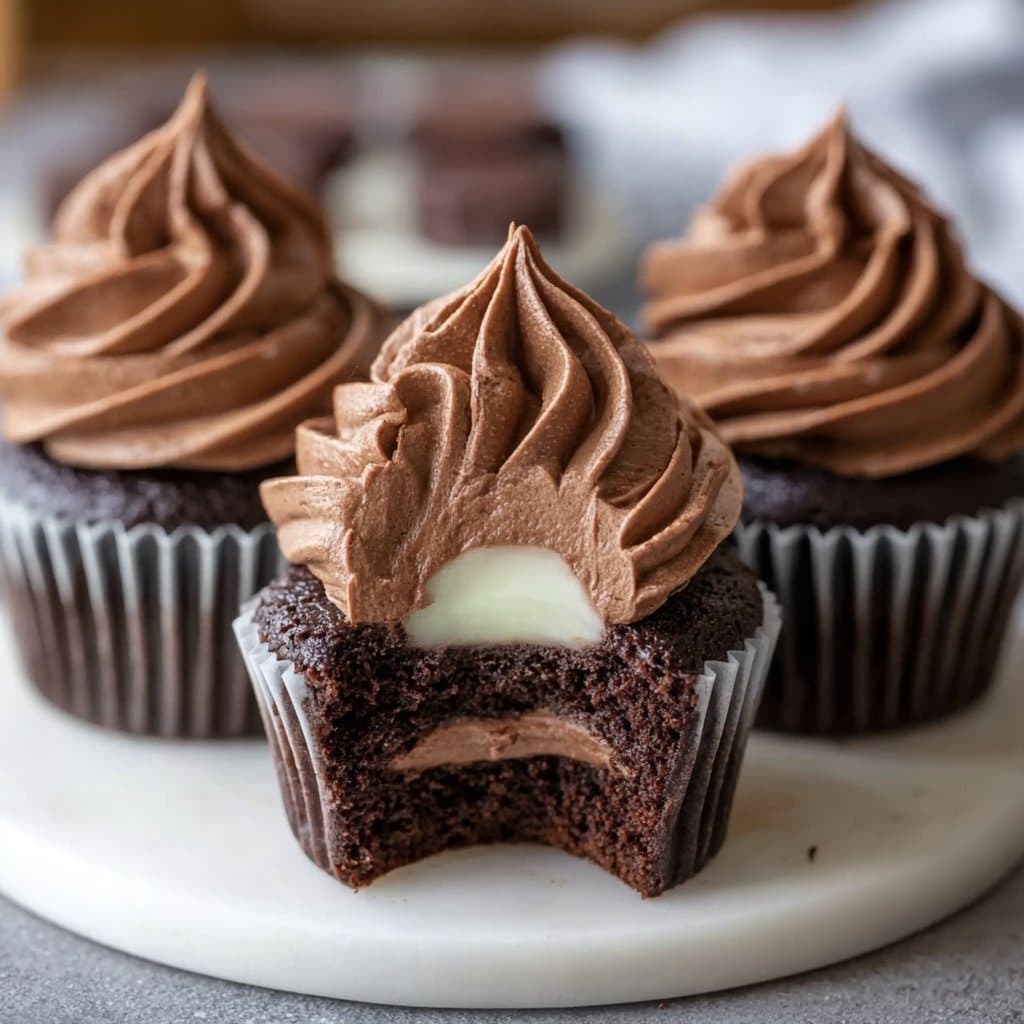
Storing Leftovers (If You Have Any)
Keep in an airtight box at room temp for a day or two, or fridge for a week (yeah, right). In my house, these are gone before I can even try freezing them, but in theory, they freeze well for up to a month. On second thought, they might taste a bit dry after freezing – I’d just eat them fresh.
How I Love to Serve These
Dust with powdered sugar, or go wild with chocolate shavings. My daughter insists on sprinkles (rainbow only). Sometimes we eat them with a mug of hot cocoa, which is possibly overkill but makes for a proper chocolate feast. If you’re having people over, these cupcakes with a scoop of vanilla ice cream are chef’s kiss.
Things I Wish I’d Known Before Baking
- I once tried to rush the cooling and the filling just oozed everywhere. Patience, folks.
- Don’t overfill the muffin liners – the batter will go rogue and flood the oven. Learned that the smoky way.
- Actually, I find it works better if you swirl before putting in the oven, not partway through (trust me, it’s a mess otherwise).
Questions I’ve Actually Been Asked
- Can I use milk chocolate instead? Sure! It’ll be sweeter and not as rich, but if that’s your style, go for it.
- Do these work gluten-free? I’ve swapped in a 1:1 gluten-free flour blend. Cupcakes were a bit denser but still yum.
- Why is my filling sinking? Happens. Try letting the filling cool a bit more before adding to the batter. But hey, surprise chocolate at the bottom isn’t the worst tragedy.
- Do you frost these? Usually not, but if you must, a simple chocolate ganache or whipped cream is great (see this easy ganache guide from Sally’s Baking Addiction).
- What if my swirl looks weird? Welcome to the club! Honestly, they taste the same, and nobody cares once they’re eating them.
- Ever made these vegan? Not successfully. The texture gets a bit off. If you figure it out, let me know! There’s some tricks people share at Minimalist Baker though.
On a totally unrelated note, if you’ve ever tried making homemade vanilla extract, I’d love your tips – mine always ends up smelling more like vodka than vanilla. Anyway, if you give these cupcakes a go, let me know how they turn out. Or just send photos, because I like living vicariously through other people’s kitchen wins. Enjoy!
Ingredients
- 1 1/4 cups all-purpose flour
- 1/2 cup unsweetened cocoa powder
- 1 cup granulated sugar
- 1/2 teaspoon baking soda
- 1/2 teaspoon baking powder
- 1/4 teaspoon salt
- 2 large eggs
- 1/2 cup vegetable oil
- 1/2 cup buttermilk
- 1 teaspoon vanilla extract
- 1/2 cup semi-sweet chocolate chips, melted (for swirl)
- 3/4 cup heavy cream (for filling)
- 1/2 cup milk chocolate, chopped (for filling)
Instructions
-
1Preheat the oven to 350°F (175°C) and line a 12-cup muffin tin with cupcake liners.
-
2In a large bowl, whisk together flour, cocoa powder, sugar, baking soda, baking powder, and salt.
-
3In a separate bowl, beat eggs, oil, buttermilk, and vanilla extract until well combined. Gradually add the wet ingredients to the dry ingredients and mix until just combined.
-
4Divide the batter evenly among the cupcake liners. Drizzle melted semi-sweet chocolate over each and use a toothpick to swirl.
-
5Bake for 18-20 minutes or until a toothpick inserted in the center comes out clean. Let cupcakes cool completely.
-
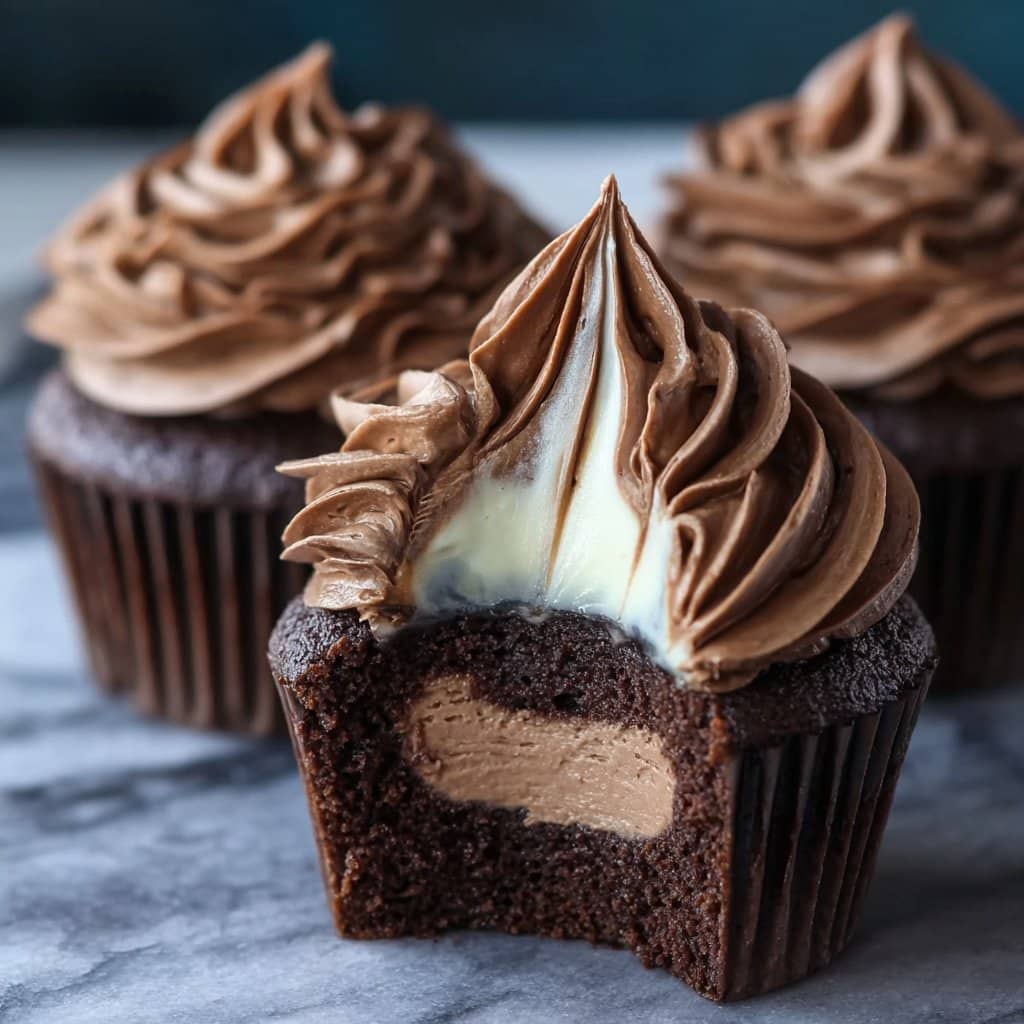
6For the filling, heat heavy cream until just simmering, then pour over chopped milk chocolate. Stir until smooth. Once cooled, fill each cupcake with the creamy chocolate filling using a piping bag.
Approximate Information for One Serving
Nutrition Disclaimers
Number of total servings shown is approximate. Actual number of servings will depend on your preferred portion sizes.
Nutritional values shown are general guidelines and reflect information for 1 serving using the ingredients listed, not including any optional ingredients. Actual macros may vary slightly depending on specific brands and types of ingredients used.
To determine the weight of one serving, prepare the recipe as instructed. Weigh the finished recipe, then divide the weight of the finished recipe (not including the weight of the container the food is in) by the desired number of servings. Result will be the weight of one serving.
Did you make this recipe?
Please consider Pinning it!!




