So, Let Me Tell You About These Sugar Cookies…
You know how sometimes you taste something that immediately rewinds time to when you were a kid swiping the last cookie off the cooling rack? That’s what happened to me with these Crumbl Sugar Cookies. Okay, I’ll admit—sometimes I make them just for myself. The first time I tried the real-deal Crumbl ones, my niece had to basically pry the box out of my hands. I’m not proud…but I’m not not proud, either! Anyway, after a bit of trial, error, and one dramatic flour explosion (don’t ask), I tinkered up a version that’s dangerously close to the original. The best part? No need to put pants on and run to the store. Unless you’re into that.
Why I Keep Making These (Even When I Swear I Won’t)
I make this recipe when my family starts mysteriously lingering in the kitchen—especially the kids, who pretend they “just needed some water” (subtle, gang). My husband claims he doesn’t have a sweet tooth, but these cookies always disappear faster than socks in the dryer. It’s also my go-to when I’m baking for a crowd (or just want to eat frosting straight off a spoon—I won’t judge). At first, I always fussed over getting the icing texture right, but actually, if it runs a little, nobody ever says a word. It’s that thick, soft middle and barely-toasted edge that does the trick. You know?
Gather Your Goodies (Or Whatever You’ve Got!)
- 1 cup unsalted butter (sometimes I *gasp* use salted butter and just skip the added salt… grandma would probably haunt me, but it works)
- 1 & 1/4 cups granulated sugar (brown sugar in a pinch, but it’ll get chewy)
- 1 egg
- 1 & 1/2 teaspoons pure vanilla extract (imitation if it’s payday week—honestly, both taste fine!)
- 1/2 teaspoon almond extract (optional but it makes all the difference; once I forgot and it was noticeably…meh)
- 2 & 3/4 cups all-purpose flour (I’ve done half cake flour on a whim, and they were lighter—give it a go!)
- 2 teaspoons baking powder
- 1/2 teaspoon salt (skip if you used salted butter)
- For the Frosting:
- 1/2 cup unsalted butter (softened—don’t microwave it like I did, it gets weirdly runny)
- 2 cups powdered sugar
- 2 tablespoons heavy cream (milk substitutes okay; almond milk works but isn’t quite as silky)
- 1 teaspoon vanilla (again, pure or not, no biggie)
- 1/2 teaspoon almond extract
- Food coloring, if you’re feeling fancy (pink is classic, but my daughter once did neon green and honestly, it was a vibe)
Alright, Let’s Get Baking (No Need to Be Perfect)
- Preheat that oven to 350°F (175°C)—unless your oven is like mine and always runs a bit hot, then maybe try 340 and keep an eye out.
- Cream the butter and sugar together until fluffy (that’s where I usually sneak a bit to “check” the sugar levels, don’t tell). You can use a stand mixer, but a sturdy wooden spoon works if you wanna show off your biceps.
- Add in the egg, vanilla, and almond extract (if using). Mix until it’s a pale yellow cloud.
- Dump in the flour, baking powder, and salt. Go slow unless you enjoy flour snowstorms—which, turns out, I do not. Mix until a soft dough forms; it might look crumbly but comes together with a squeeze.
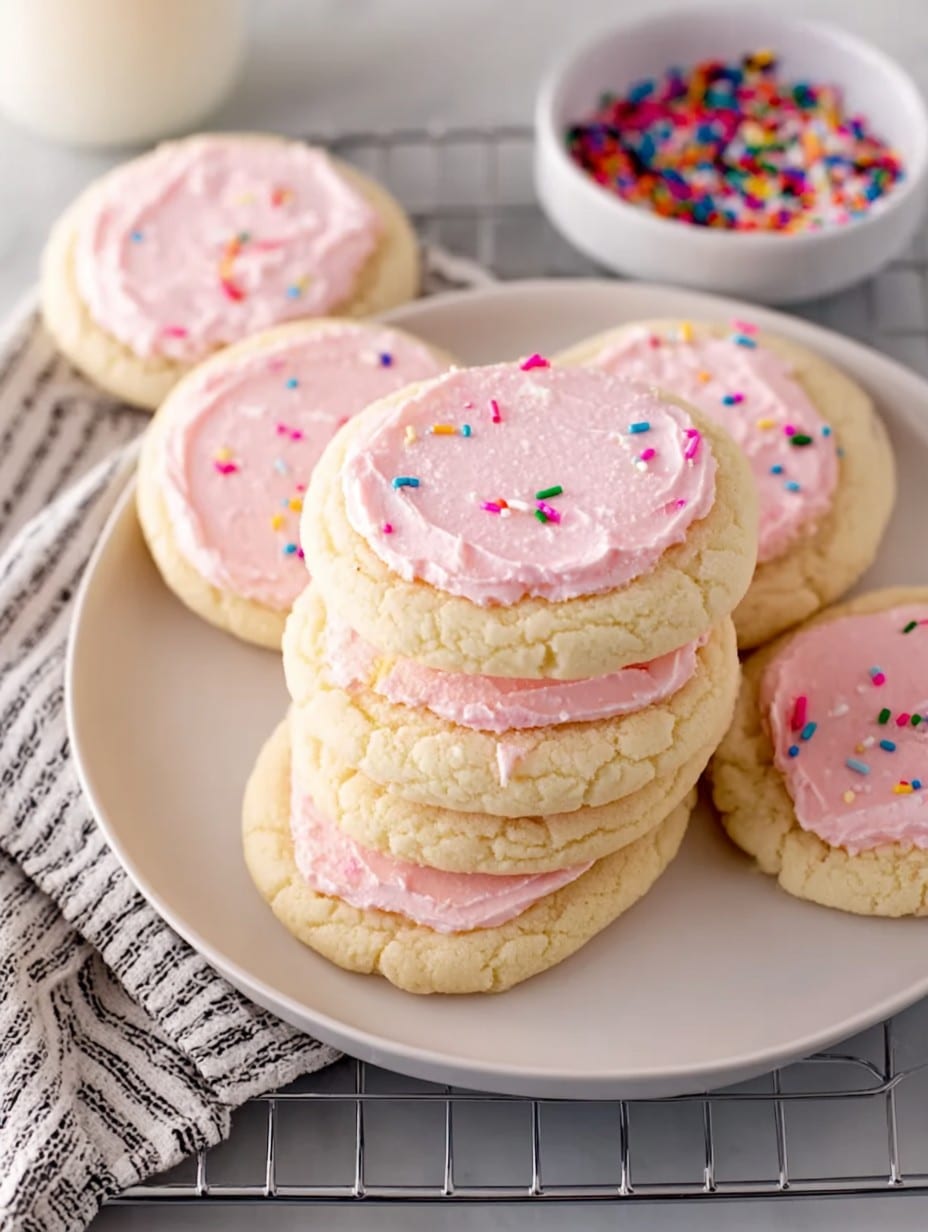
- Scoop out hefty golf-ball-sized blobs, place ’em on a lined tray. I press them gently so they’re thick (about 1/2 inch), but some folks flatten more for crispy vibes.
- Bake 8-10 minutes, just until they look done but not golden brown—seriously, if they start to color, you probably went too long. Let them cool right on the tray for at least 5 mins (or until you forget about them and they’re totally cool—that works too).
While they’re cooling, wander off and have a cup of tea. I do—otherwise I just stare at them, willing them to cool faster.
Time to Frost (The Fun, Messy Bit)
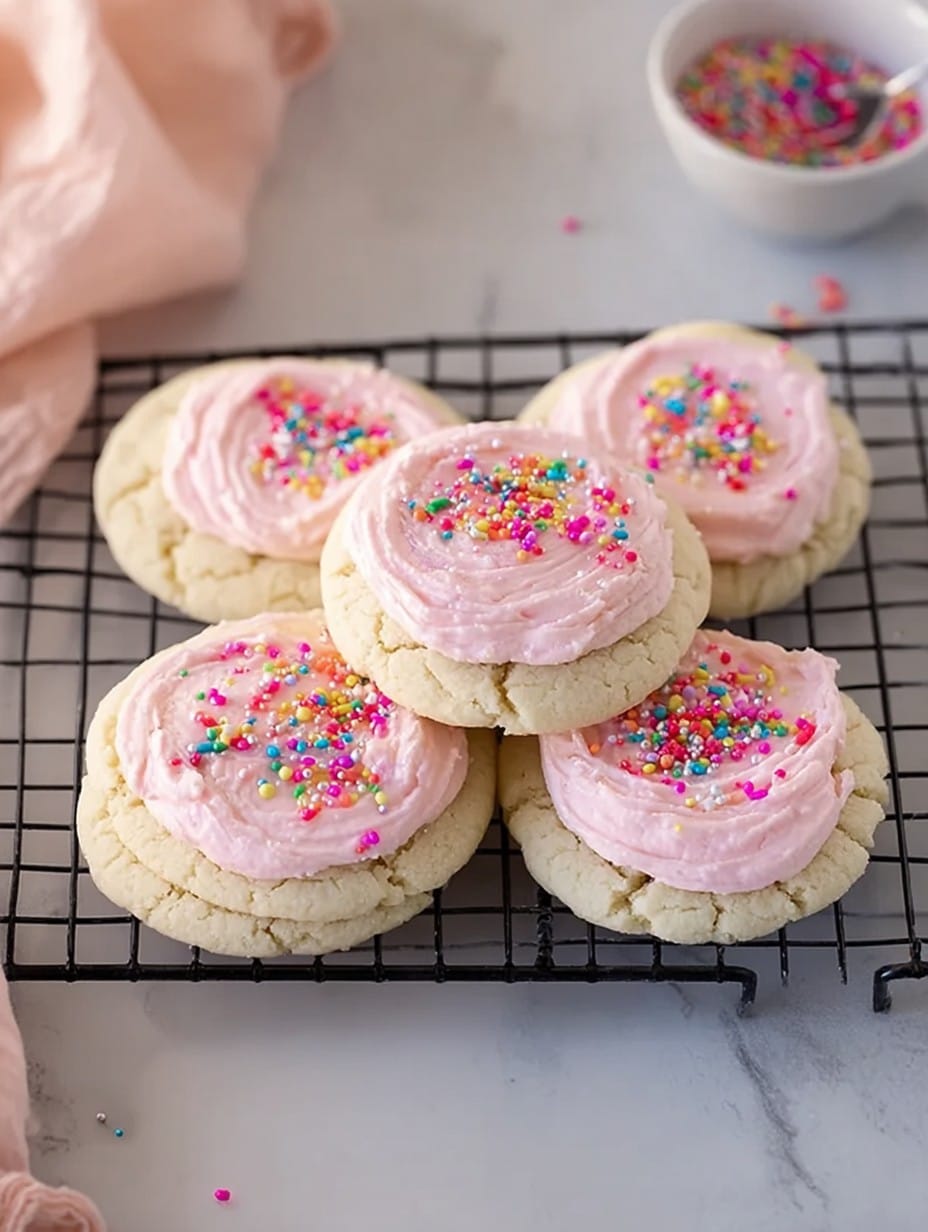
- Beat the butter until it’s yellower and fluffier than you think is possible. Add powdered sugar, cream, vanilla, and almond. Mix until it’s smooth as a jazz solo (or lumpy, if you rush—been there). Add a dot of pink food coloring if you’re channeling Crumbl’s look. If it’s too stiff, splash in another tablespoon of cream. Or on second thought, maybe milk is better if you don’t want it too rich.
- Frost generously once the cookies are completely cool. If they’re warm, the frosting slides right off and you end up with a pink puddle. Not terrible, but not ideal either.
Things I’ve Learned (The Hard Way…)
- If your dough’s too soft, 10 minutes in the fridge helps—otherwise, the cookies kind of spread out into a sad pancake situation.
- The almond extract is what gives it that fancy “bakery” flavor. Skipping it works in a pinch, but it’s not quite the same.
- I once tried switching to coconut oil. Don’t. Unless you like your cookies tasting like a beach candle. (Maybe you do?)
- The thicker you make these, the chewier the middle—think cake-cookie hybrid. If you prefer crunchy, flatten them thinner.
If You Want To Change Things Up…
- Sprinkles on top? Yes! My nephew went full glitterbomb one Christmas.
- Swap almond extract for lemon for a spring-y version—really zingy.
- I tried stuffing mini chocolate chips inside once. Didn’t love it. Still ate them, though.
- Half-cup of rainbow sprinkles mixed into the dough = instant party.
Do You Actually Need That Fancy Mixer?
Not really. Stand mixers are great if you have one, but a bowl and good old-fashioned elbow grease works fine (I’ve done it while catching up on the telly—just don’t answer texts with buttery hands). If you have no parchment, grease your tray well and keep an eye out for sticking. Oh, and if you need to improvise a rolling pin—wine bottle. Works like a charm.
How Long Will They Last? (Ha, Good Luck)
They keep in an airtight container for a couple days, but honestly, I’ve yet to see a batch survive more than 24 hours in my kitchen. In the unlikely event you have leftovers, store them at room temp (frosting and all). Pop in the fridge if you live somewhere hot—I do in summer, but the texture’s best at room temp.
How Do We Like to Serve Them?
We bring these out for any birthday, bake sale, or, weirdly, late-night movie marathons. Sometimes I double the frosting and serve it on the side for dipping (which my kids insist is how the cookies “should” be eaten!) And if I’m honest? They make for a way above-average breakfast treat with coffee—sorry, not sorry.
Lessons I’ve Learned (Let’s Call Them Tips…)
- I once thought I could skip the cooling step—big mistake. Warm cookies = melting frosting & instant regret.
- Add flour slowly, or you’ll have powder all over you (and your pet if they’re lurking underfoot—happened to my neighbor and her poor cat…)
- The dough can overmix fast. I like to stop right when it looks barely combined; if you get over-enthusiastic, the cookies get a bit tough. Happens to the best of us.
People Actually Ask Me These Things…
- Can you freeze these? Yep, the unfrosted cookies go right in the freezer; just thaw and frost whenever. Frosted ones can freeze too but get a tad sticky.
- Is the almond extract required? Honestly, I skip it when I run out and they’re fine, but not as bakery-worthy.
- Help! My icing is runny… Probably too much liquid. I just add more powdered sugar, a spoonful at a time—it thickens up quick.
- Do you have to chill the dough? If your kitchen is chilly, skip it. But if it’s the middle of summer or if it feels too soft, a quick 10-minute chill helps a lot—otherwise they spread way out and kind of lose their charm.
- What’s the best way to color the frosting? Some use gel, some use drops—honestly, I use whatever’s in the baking drawer. As long as it’s pretty, it works. Here’s a helpful color mixing guide I check now and again: Sally’s Baking Addiction Color Chart.
- Where’d you get your inspiration? Oh, you have to see the original Crumbl site: Crumbl Cookies Official. Also, for more cookie science, Serious Eats Cookie Lab is a fascinating rabbit hole.
Honestly, the best part about these Crumbl Sugar Cookies isn’t just the soft bite or mega frosting, but the pile of hands reaching in before you’ve even finished—makes cleaning up the flour clouds totally worth it. Happy baking! (PS: Apologies for rambling during the directions—some days you get more story than recipe. I think that’s half the fun, though…)
Ingredients
- 1 cup unsalted butter, softened
- 1 cup granulated sugar
- 2 large eggs
- 2 teaspoons vanilla extract
- 1/2 teaspoon almond extract
- 2 3/4 cups all-purpose flour
- 1/2 teaspoon baking powder
- 1/2 teaspoon salt
- 1 1/2 cups powdered sugar (for frosting)
- 2 tablespoons unsalted butter, softened (for frosting)
- 2 tablespoons milk (for frosting)
- 1/2 teaspoon almond extract (for frosting)
Instructions
-
1Preheat the oven to 350°F (175°C) and line baking sheets with parchment paper.
-
2In a large bowl, cream together the softened butter and granulated sugar until light and fluffy.
-
3Beat in the eggs, vanilla extract, and almond extract until well combined.
-
4In a separate bowl, whisk together flour, baking powder, and salt. Gradually add the dry ingredients to the wet mixture until just combined.
-
5Scoop dough onto the prepared baking sheets. Flatten each cookie slightly, then bake for 10–12 minutes until edges are just set. Let cookies cool completely.
-
6For the frosting, beat together powdered sugar, butter, milk, and almond extract. Frost cooled cookies and serve.
Approximate Information for One Serving
Nutrition Disclaimers
Number of total servings shown is approximate. Actual number of servings will depend on your preferred portion sizes.
Nutritional values shown are general guidelines and reflect information for 1 serving using the ingredients listed, not including any optional ingredients. Actual macros may vary slightly depending on specific brands and types of ingredients used.
To determine the weight of one serving, prepare the recipe as instructed. Weigh the finished recipe, then divide the weight of the finished recipe (not including the weight of the container the food is in) by the desired number of servings. Result will be the weight of one serving.
Did you make this recipe?
Please consider Pinning it!!




