Let Me Tell You About Sourdough Focaccia (aka The Bread That Wins Every Time)
Okay, so focaccia was the first bread I ever baked that drew a happy dance and a round of applause from my family—no joke. Picture this: rain pouring outside, kitchen smelling like a fancy bakery, and there’s me, poking little dents in pillowy dough and drizzling way too much olive oil (if that’s possible). It turns into this golden, chewy-crisp hunk of carb happiness that’s practically impossible to mess up—well, almost. I mean, I’ve definitely made a few flat, sad loaves, but that just means it’s a learning curve, right? Let’s dive in. And if you end up eating half of it straight from the pan, you’re not alone.
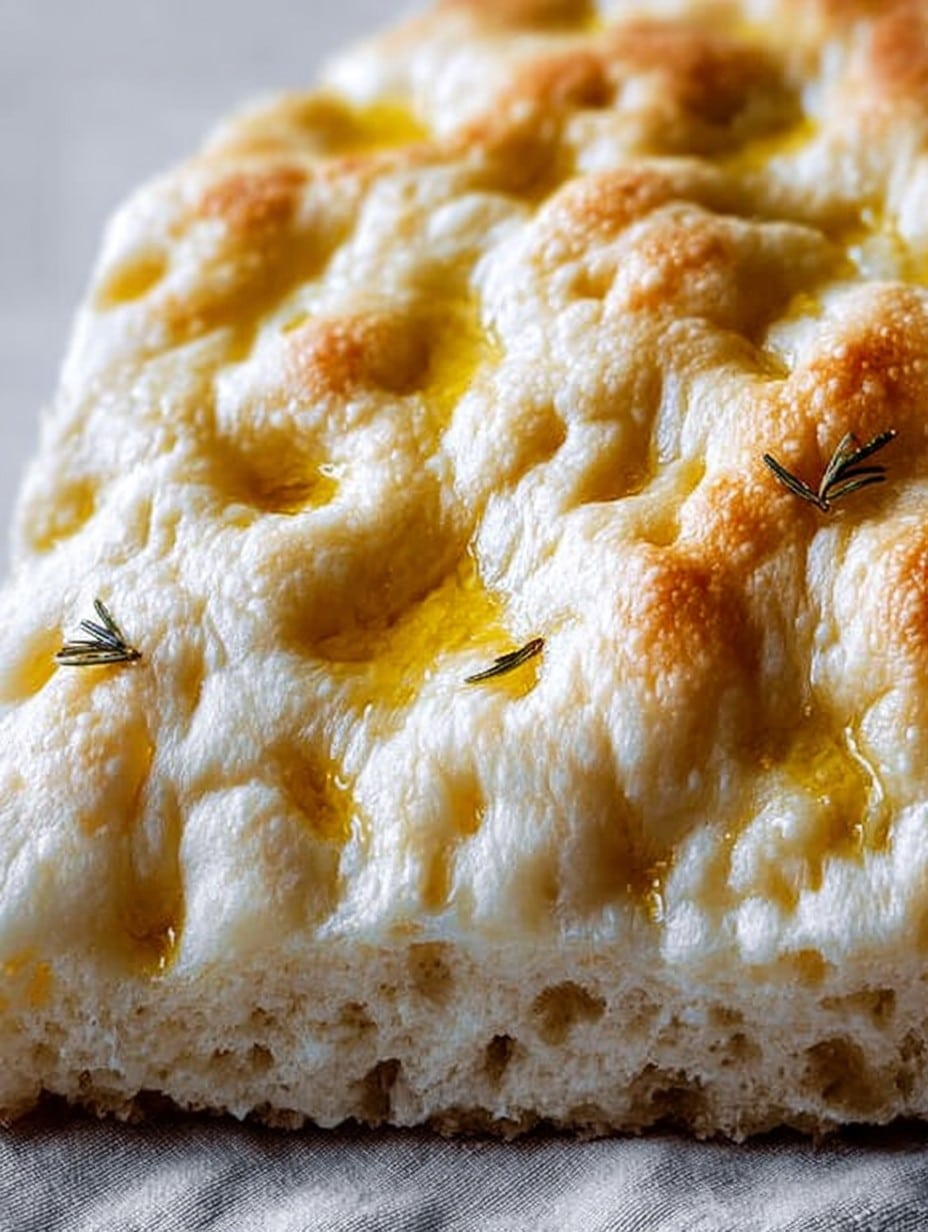
Why This Focaccia Gets Requested on Repeat
I make this whenever I’ve planned a dinner party and forgot to buy real bread (or just want to impress without actually working that hard). My family goes bonkers for it, especially with soup. My little ones call the salty, crispy bits “bread chips.” If I’m honest, it’s also my secret to salvaging a sourdough starter that’s a little…sluggish. Once, I left the dough a smidge too long, and it actually turned out fluffier! Go figure. Oh, and if you’re afraid of dough sticking to your hands, this is the wet, sticky mess you’ll barely need to handle.
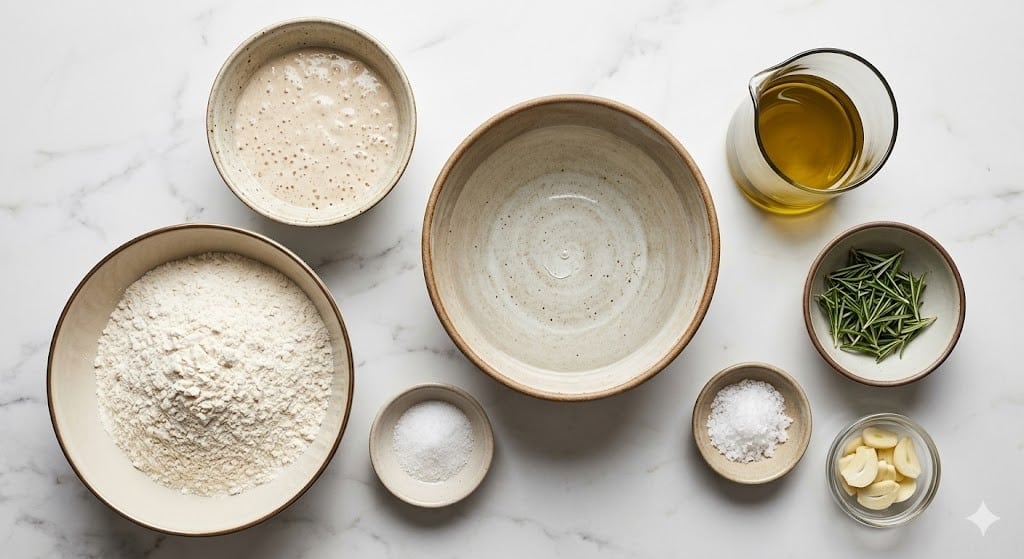
Ingredients (aka Everything You Need, With Swaps)
- 500g (about 4 cups) bread flour (all-purpose flour works, but the crumb gets a touch tighter—still good though)
- 325g (1 1/3 cups plus a splash) water, room temp
- 100g active sourdough starter, bubbly (if yours is sluggish, it still works—maybe let the dough rise longer)
- 10g (about 2 tsp) kosher salt (I’ve used flaky sea salt, but Granny would shudder)
- 60g (a generous 1/4 cup) good olive oil, plus more for drizzling (Honestly, the cheaper stuff tastes fine but go wild if you want)
- Flaky salt and fresh rosemary for topping (if you can’t find rosemary, try thyme or just leave it bare—the magic is all about the oil anyway)
How I Usually Throw It Together (Step by Step, With Sidetracks)
- In a big mixing bowl, combine the flour, water, and starter. Mix it just enough to get a shaggy dough. I use a wooden spoon—mainly because it’s less washing up, but use your hand if you like to get messy.
- Let it rest for 30–45 minutes (autolyse, if you want to sound clever). Technically, this step lets the flour soak up water—I use this time to hunt for missing socks, but you do you.
- Add the salt and 30g of the olive oil (roughly half), then squish it around with damp hands. It’s sloppy and feels odd, but I promise it’ll smooth out.
- Stretch and fold the dough: Grab one edge, stretch it up, and fold it over. Do this about four times, spinning the bowl—kind of like folding an awkward bedsheet. Rest for 30 minutes.
- Repeat the stretch and fold step two more times, letting the dough rest between rounds. Sometimes I forget and just do it once, but the extra folding really helps. By the end, it should look a bit livelier (and stickier!)
- Cover the bowl and let it rise at room temperature for 4–5 hours, until it doubles. If your kitchen is nippy (like my old flat), it might take longer—so be patient or, if you’re me, forget about it and only remember after dinner.
- Pour half the remaining olive oil into a quarter-sheet pan or a big baking dish (if you don’t have one, any ovenproof pan works, though my friend once used a lasagna pan and accidentally made focaccia soup, ha!).
- Tip the dough out into the pan. Gently flip it over so it soaks up a little oil. Cover and let it rest for about an hour till it’s all puffy looking.
- With your fingers (you can oil them a bit), press lots of dimples into the dough. Actually, this is where I sneak a taste—just a dab of that salty oil off my fingers. Top with the rosemary, a shower of flaky salt, and the last of the olive oil.
- Bake at 220°C (425°F) for 22–28 minutes, until it’s golden and a bit crisp around the edges. I usually rotate the pan halfway, unless I forget (but if you do forget, no big deal—it’ll just get darker on one side).
- Cool it a smidge before slicing. Or, if you’re like me, ignore all good advice and burn your mouth. Worth it.
Notes from My Messy Kitchen
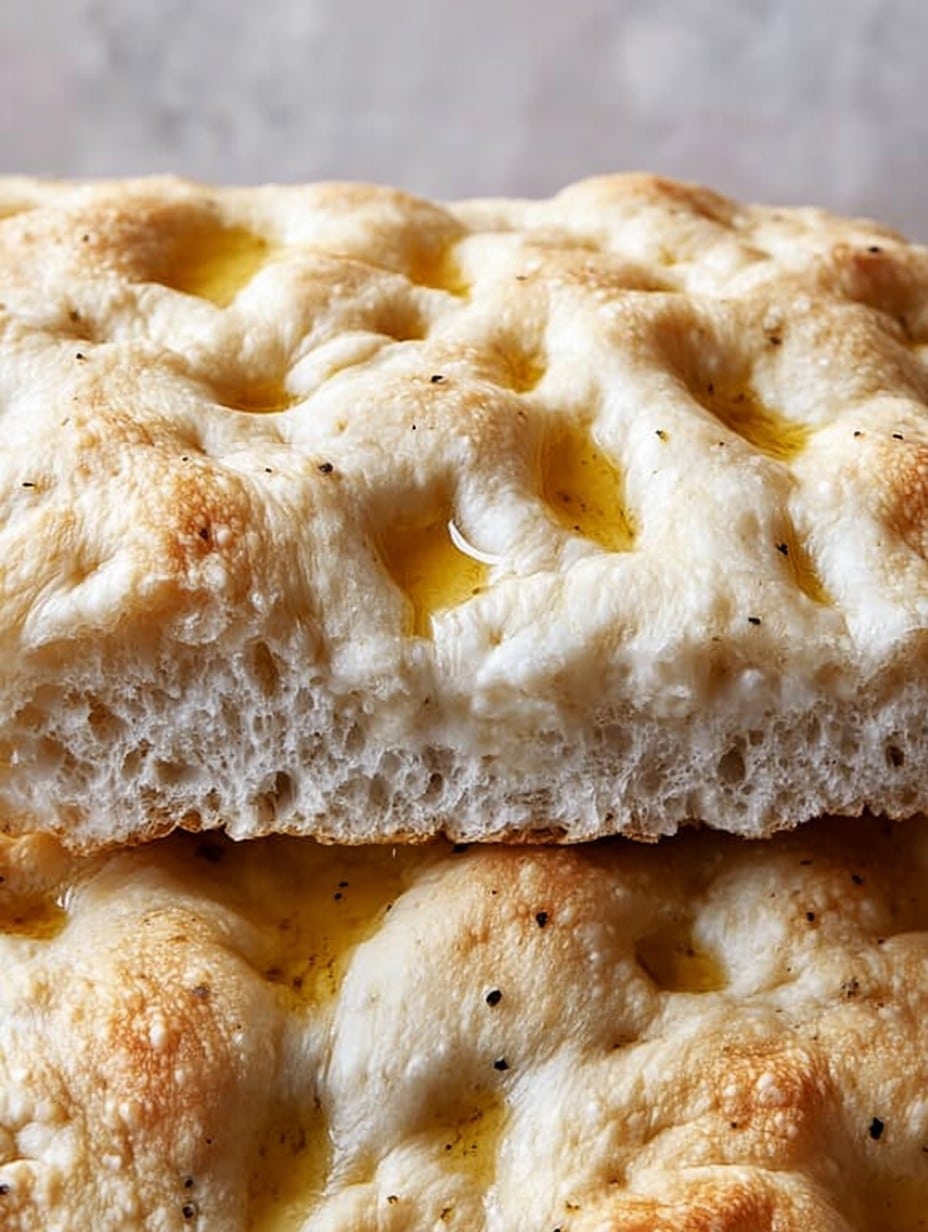
- Super wet dough = open crumb = don’t panic if it seems too sticky, that’s the charm! (And you get bonus points for rustic look).
- I find using parchment paper under the dough makes it easier to lift out, but sometimes I forget and it’s fine—just more scraping later.
- Actually, the flavor deepens if you chill the dough overnight after bulk rise. But most days I don’t plan that far ahead.
Variations I’ve Actually Tried (and Honest Failures)
- Roasted garlic worked great—just mash up a head of garlic and scatter over the top.
- Cherry tomatoes and olives = brilliant, especially with a hint of chili flakes.
- I tried cheese on top once, but it got a bit too greasy (didn’t stop us from eating it all though).
- Once swapped all the oil for melted butter…regret. Stick with olive oil, trust me.
Equipment: But Don’t Panic If You’re Missing Stuff
- Bowl for mixing (I’ve used a salad bowl in a pinch)
- Quarter-sheet pan, but honestly any baking dish that fits will do
- Measuring scales (a mug and your kitchen “eyeball” works if you’re desperate, but you do get more consistent results with scales)
How to (Try to) Store Focaccia
Once cooled, wrap focaccia in a clean tea towel or pop it in an airtight container. It should keep a couple days at room temp and reheats well in the oven. But honestly, in my house it never gets past day one—sometimes it barely survives an hour.
Serving — My Way and Yours
Best still a bit warm, dunked in more olive oil and balsamic. I love it alongside tomato soup, but on Sunday mornings, we toast slices and slap on scrambled eggs (don’t knock it till you try it). Or eat it plain out of hand while standing over the sink—I won’t judge.
Pro Tips I Learned the Hard Way
- I once rushed the final rise—bread came out a bit dense and sad. Patience really pays off here!
- Don’t skimp on the oil, even if you think you’re being healthy. That’s basically the point of focaccia.
- Let it cool at least 10 minutes before slicing, unless you enjoy lava-tongue.
People Keep Asking (So Here’s What I Say)
A: Yup, I’ve done it. Comes out slightly less chewy but still totally delicious. If you’re already at the store for flour, grab bread flour—but if not, don’t let it stop you.
A: Nope! It’s supposed to be sticky; just oil your hands and skip worrying about neatness. Wet dough is happy dough, as I keep telling myself.
A: Good news—already is! Just leave out any cheese or animal toppings (unless you really want to get wild with bacon, but that’s a whole other story).
A: Technically yes, but sometimes I wing it with cups and spoons and, honestly, it usually works out. So…I guess the answer is, do your best.
A: It probably needed a longer rise or a bit more stretch and fold. Or your starter was sleepy. Still tastes good—call it “rustic.”
Right then, go forth and bake—with wild abandon or careful precision, up to you! Sourdough Focaccia forgives a lot, which is more than I can say for most bread.
Ingredients
- 500g (about 4 cups) bread flour (all-purpose flour works, but the crumb gets a touch tighter—still good though)
- 325g (1 1/3 cups plus a splash) water, room temp
- 100g active sourdough starter, bubbly (if yours is sluggish, it still works—maybe let the dough rise longer)
- 10g (about 2 tsp) kosher salt (I’ve used flaky sea salt, but Granny would shudder)
- 60g (a generous 1/4 cup) good olive oil, plus more for drizzling (Honestly, the cheaper stuff tastes fine but go wild if you want)
- Flaky salt and fresh rosemary for topping (if you can’t find rosemary, try thyme or just leave it bare—the magic is all about the oil anyway)
Instructions
-
1In a big mixing bowl, combine the flour, water, and starter. Mix it just enough to get a shaggy dough. I use a wooden spoon—mainly because it’s less washing up, but use your hand if you like to get messy.
-
2Let it rest for 30–45 minutes (autolyse, if you want to sound clever). Technically, this step lets the flour soak up water—I use this time to hunt for missing socks, but you do you.
-
3Add the salt and 30g of the olive oil (roughly half), then squish it around with damp hands. It’s sloppy and feels odd, but I promise it’ll smooth out.
-
4Stretch and fold the dough: Grab one edge, stretch it up, and fold it over. Do this about four times, spinning the bowl—kind of like folding an awkward bedsheet. Rest for 30 minutes.
-
5Repeat the stretch and fold step two more times, letting the dough rest between rounds. Sometimes I forget and just do it once, but the extra folding really helps. By the end, it should look a bit livelier (and stickier!)
-
6Cover the bowl and let it rise at room temperature for 4–5 hours, until it doubles. If your kitchen is nippy (like my old flat), it might take longer—so be patient or, if you’re me, forget about it and only remember after dinner.
-
7Pour half the remaining olive oil into a quarter-sheet pan or a big baking dish (if you don’t have one, any ovenproof pan works, though my friend once used a lasagna pan and accidentally made focaccia soup, ha!).
-
8Tip the dough out into the pan. Gently flip it over so it soaks up a little oil. Cover and let it rest for about an hour till it’s all puffy looking.
-
9With your fingers (you can oil them a bit), press lots of dimples into the dough. Actually, this is where I sneak a taste—just a dab of that salty oil off my fingers. Top with the rosemary, a shower of flaky salt, and the last of the olive oil.
-
10Bake at 220°C (425°F) for 22–28 minutes, until it’s golden and a bit crisp around the edges. I usually rotate the pan halfway, unless I forget (but if you do forget, no big deal—it’ll just get darker on one side).
-
11Cool it a smidge before slicing. Or, if you’re like me, ignore all good advice and burn your mouth. Worth it.
Approximate Information for One Serving
Nutrition Disclaimers
Number of total servings shown is approximate. Actual number of servings will depend on your preferred portion sizes.
Nutritional values shown are general guidelines and reflect information for 1 serving using the ingredients listed, not including any optional ingredients. Actual macros may vary slightly depending on specific brands and types of ingredients used.
To determine the weight of one serving, prepare the recipe as instructed. Weigh the finished recipe, then divide the weight of the finished recipe (not including the weight of the container the food is in) by the desired number of servings. Result will be the weight of one serving.
Did you make this recipe?
Please consider Pinning it!




