If you’ve ever found yourself elbow-deep in flour with kids (or, let’s be real, adults) bouncing around waiting for cookies, then you totally get why simple treats like these Easy Easter Cookies are solid gold. I started making this recipe a couple years ago when I realized I’d forgotten to buy any special easter treats. Had to improvise with whatever was lurking in my pantry and honestly, it’s become a tradition—the kind where even the tiniest bunny in the family gets their paws in the dough. Once, I used food coloring that was, uh, questionably old; the cookies ended up slightly psychedelic but still delicious. That’s all to say, these are forgiving little biscuits.

Why You’ll Love Making These
I break out this recipe when I feel like being festive without dancing with disaster (or dirtying half the kitchen). My family goes a bit bonkers for these, maybe because they’re so buttery and simple, maybe because everyone gets to swirl on even wonkier pastel icing each year—I usually have to wrestle the spatula away form someone. Plus, there’s no chilling the dough (nobody’s got time for that). If I’m honest, some years I barely measure things and they still come out tasty. The dough is super forgiving, kind of like stretchy pants after Sunday lunch.
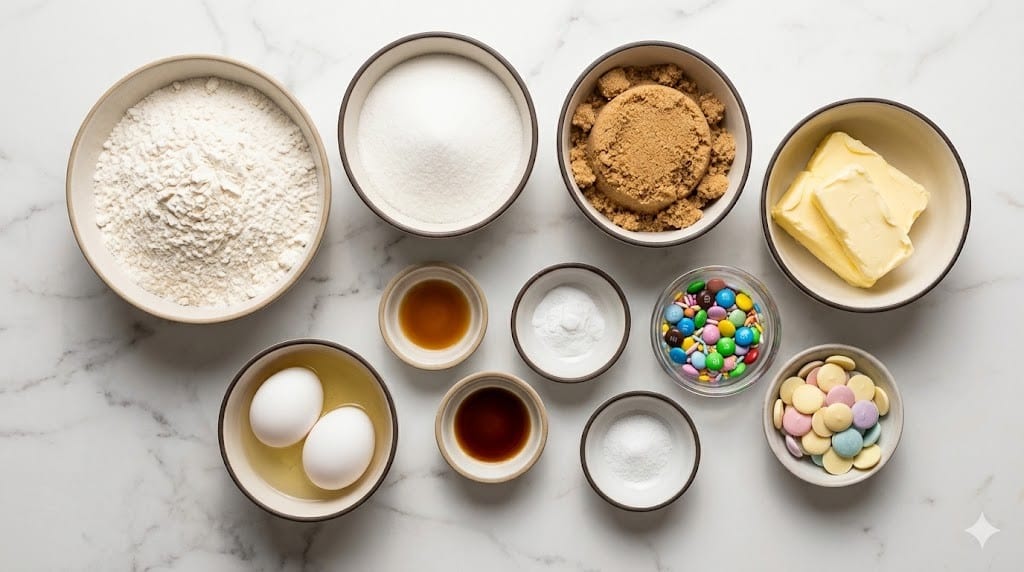
What You’ll Need for the Cookies
- 2 1/4 cups all-purpose flour (but I’ve used half whole wheat—adds a nutty thing)
- 1/2 teaspoon baking soda
- 1/4 teaspoon fine salt (totally skip if your butter is salted—it won’t notice, promise)
- 3/4 cup unsalted butter, softened (but honestly, margarine in a pinch works too—my Nan swore by it!)
- 3/4 cup granulated sugar
- 1 large egg
- 1 teaspoon pure vanilla extract (or almond—I bounce between them depending mood)
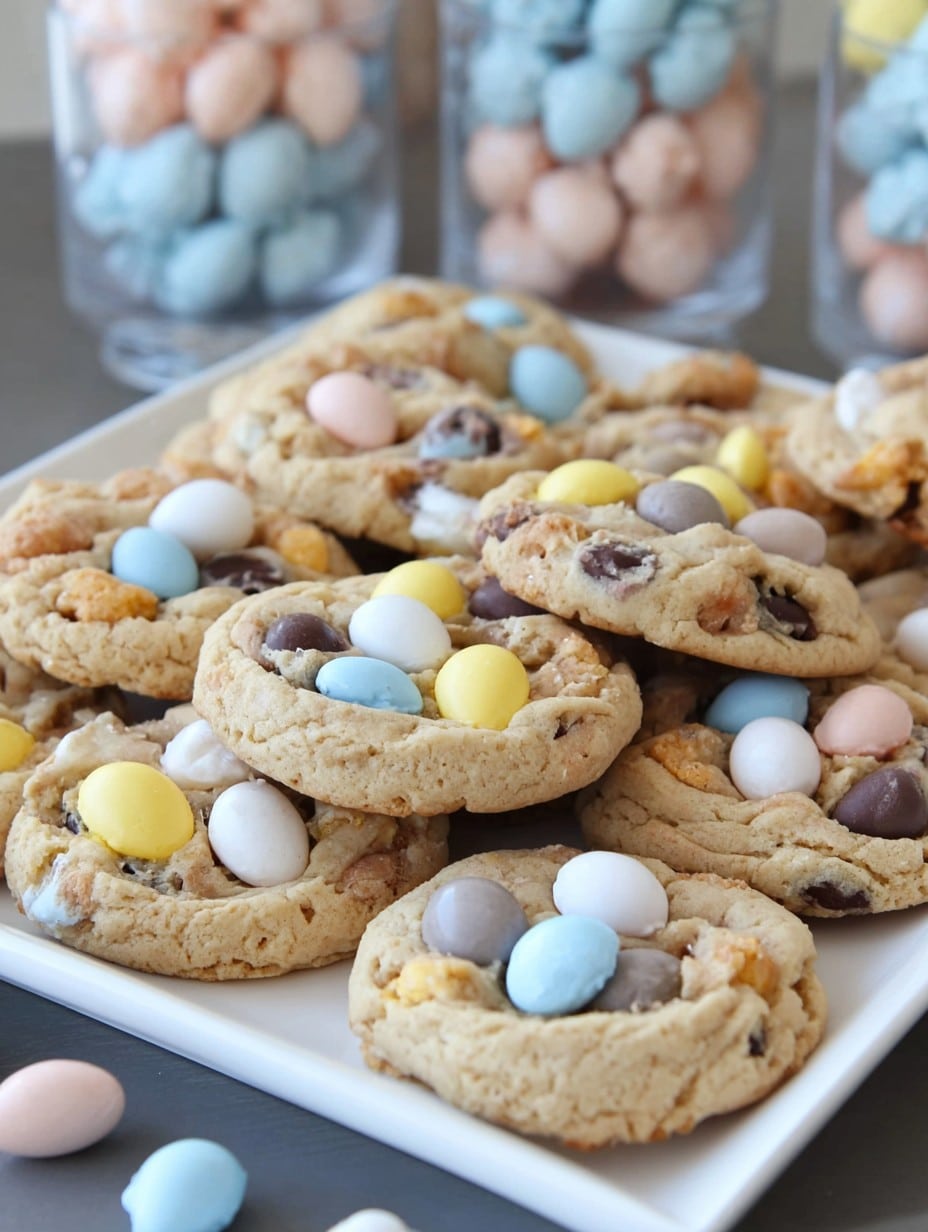
- easter sprinkles or pastel mini chocolate eggs for decorating (substitute rainbow jimmies if you’re feeling rogue)
- For simple icing: 1 cup powdered sugar, a splash (1–2 tbsp) of milk (or water, in emergencies), and a few drops food coloring
How to Make Easy Easter Cookies Without Stress
- Heat oven to 350°F (that’s 180°C for us metric folks). Line two baking trays with parchment—or don’t, just grease them if you’ve run out (been there).
- Whisk the flour, baking soda, and salt together in a bowl. I sometimes forget this step; the cookies never complain.
- In a big mixing bowl, cream the softened butter and sugar until it looks pale and fluffy—it’s a bit of a workout unless you’ve got a stand mixer, and I occasionally cut corners and beat by hand (with breaks!).
- Crack in the egg and add vanilla (or almond); mix again until smooth. This is where I usually sneak a taste—strictly for quality control, of course.
- Toss your dry mix into the wet stuff and stir until just combined. Don’t panic if it looks a bit scrappy; smush it together with your hands if you have to. Maybe stop to answer a text—the dough will wait.
- Scoop up little heaping tablespoons of dough, roll them into balls (imperfectly round is fine by me), and plop onto your trays. Press each one gently—use a fork, your palm, or the bottom of a glass, whichever’s handy.
- Bake 9 to 11 minutes, until just the edges look a touch golden. Don’t overthink it—they’ll firm up as they cool. If you’re unsure, pull one early to check; sacrifice must be made.
- Cool completely before icing or the pastel swirls’ll slide right off. Mix icing sugar and milk to get a sorta-drizzly glaze, split into bowls for pastel colors, and swirl or zigzag atop cooled cookies. Pile on sprinkles, eggs, whatever you fancy—this part gets messy and that’s half the fun.
A Few Notes (from hard-won experience)
- If your dough seems too sticky, just dust your hands with a bit more flour. Too dry? Splash of milk.
- These cookies sometimes spread more than expected, especially if your butter is super soft. Actually, I find chilling the dough for 10 minutes, if you can swing it, makes them puff up a bit nicer (but who remembers that?).
Variations I’ve Tried (with mixed results)
- Chucking in lemon zest is genuinely good for a spring vibe. Once tried orange zest—uh, wouldn’t repeat it, bit like a scented candle.
- If you’re short on time, press mini eggs right into the dough before baking instead of icing. Turns out a bit gooier but my nephew loves it.
- Tried adding cocoa powder once, which made them dry as the Sahara; wouldn’t recommend unless you love dunking.
Equipment: Use What You Have
A hand mixer is lovely, but a wooden spoon gets the job done if you don’t mind a mild arm workout (grab someone to stir if you get tired). No baking sheet? Flip a roasting tin over—works in a pinch. Cookie cutter? I just use a drinking glass or even freeform blobs. Who said cookies have to be circles?
Storing the Cookies (if they survive)
Store in an airtight tin for 3–4 days—though honestly, in my house they’re a gone in 24 hours, tops. You can freeze them (iced or not), just separate layers with parchment so they don’t stick in the thaw.
How We Serve Them (and other ways)
My lot loves these with afternoon tea; if it’s Easter morning, I slap them right on the breakfast table next to the eggs and everyone’s smiling. For parties, I lay them in an egg carton and call it “cookie hunt”—nobody’s fooled but it cracks me up.
Some Pro Tips (from occasional misadventure)
- Don’t rush the cooling before icing—tried that, ended up with a sad pastel puddle.
- If your icing is lumpy, whisk longer or just embrace the “rustic” look (real talk: nobody cares more than you do).
FAQ (Questions from real people, I swear)
- Can I make these gluten free? Sure, just use a 1:1 GF flour blend; texture’s a tad crumblier, but still works.
- What if I don’t have powdered sugar for icing? You can blitz regular sugar in a blender till it’s fine—just warn anyone within earshot first, it’s loud!
- Can I make the dough ahead? You bet, up to 2 days in the fridge. I actually think the flavor develops more.
- How do you get pastel colors in the icing? I use regular liquid food coloring—sometimes I overdo it and get neon, but a toothpick swirl usually works.
- Do these work as cut-outs? Yeah! Just chill the dough 30 minutes, roll out, cut with cookie cutters. Don’t go too thin or they’ll crisp faster than my patience.
And there you have it: Easy Easter Cookies, just the way a slightly distracted, moderately enthusiastic home baker makes ’em. If you end up covered in more icing than the cookies, you’re doing it right. Happy Easter, or just happy Tuesday; cookies don’t judge.
Ingredients
- 2 1/4 cups all-purpose flour (but I’ve used half whole wheat—adds a nutty thing)
- 1/2 teaspoon baking soda
- 1/4 teaspoon fine salt (totally skip if your butter is salted—it won’t notice, promise)
- 3/4 cup unsalted butter, softened (but honestly, margarine in a pinch works too—my Nan swore by it!)
- 3/4 cup granulated sugar
- 1 large egg
- 1 teaspoon pure vanilla extract (or almond—I bounce between them depending mood)
- Easter sprinkles or pastel mini chocolate eggs for decorating (substitute rainbow jimmies if you’re feeling rogue)
- For simple icing: 1 cup powdered sugar, a splash (1–2 tbsp) of milk (or water, in emergencies), and a few drops food coloring
Instructions
-
1Heat oven to 350°F (that’s 180°C for us metric folks). Line two baking trays with parchment—or don’t, just grease them if you’ve run out (been there).
-
2Whisk the flour, baking soda, and salt together in a bowl. I sometimes forget this step; the cookies never complain.
-
3In a big mixing bowl, cream the softened butter and sugar until it looks pale and fluffy—it’s a bit of a workout unless you’ve got a stand mixer, and I occasionally cut corners and beat by hand (with breaks!).
-
4Crack in the egg and add vanilla (or almond); mix again until smooth. This is where I usually sneak a taste—strictly for quality control, of course.
-
5Toss your dry mix into the wet stuff and stir until just combined. Don’t panic if it looks a bit scrappy; smush it together with your hands if you have to. Maybe stop to answer a text—the dough will wait.
-
6Scoop up little heaping tablespoons of dough, roll them into balls (imperfectly round is fine by me), and plop onto your trays. Press each one gently—use a fork, your palm, or the bottom of a glass, whichever’s handy.
-
7Bake 9 to 11 minutes, until just the edges look a touch golden. Don’t overthink it—they’ll firm up as they cool. If you’re unsure, pull one early to check; sacrifice must be made.
-
8Cool completely before icing or the pastel swirls’ll slide right off. Mix icing sugar and milk to get a sorta-drizzly glaze, split into bowls for pastel colors, and swirl or zigzag atop cooled cookies. Pile on sprinkles, eggs, whatever you fancy—this part gets messy and that’s half the fun.
Approximate Information for One Serving
Nutrition Disclaimers
Number of total servings shown is approximate. Actual number of servings will depend on your preferred portion sizes.
Nutritional values shown are general guidelines and reflect information for 1 serving using the ingredients listed, not including any optional ingredients. Actual macros may vary slightly depending on specific brands and types of ingredients used.
To determine the weight of one serving, prepare the recipe as instructed. Weigh the finished recipe, then divide the weight of the finished recipe (not including the weight of the container the food is in) by the desired number of servings. Result will be the weight of one serving.
Did you make this recipe?
Please consider Pinning it!




