Okay, So Let Me Tell You About This Brownie Pie…
You know those desserts you stumble into making because you can’t decide if you want brownies or pie? Well. This is exactly how my Easy Gooey Brownie Pie Recipe came into my life. One rainy Tuesday I’d planned for chocolate chip cookies… but the universe (and my nearly-empty flour jar) had other ideas. Next thing I know, I’m mashing up brownie batter and pie crust, and my friends are hovering with forks at the ready, muttering, “When’s that thing gonna be done?” Anyway, this one’s become a bake-it-when-you-need-a-hug sort of recipe. It’s supposed to look a bit messy. Actually, that’s half the fun. And fair warning: it disappears faster than you’d think—it’s basically a dessert vanishing act.
Why You’ll End Up Loving This Brownie Pie
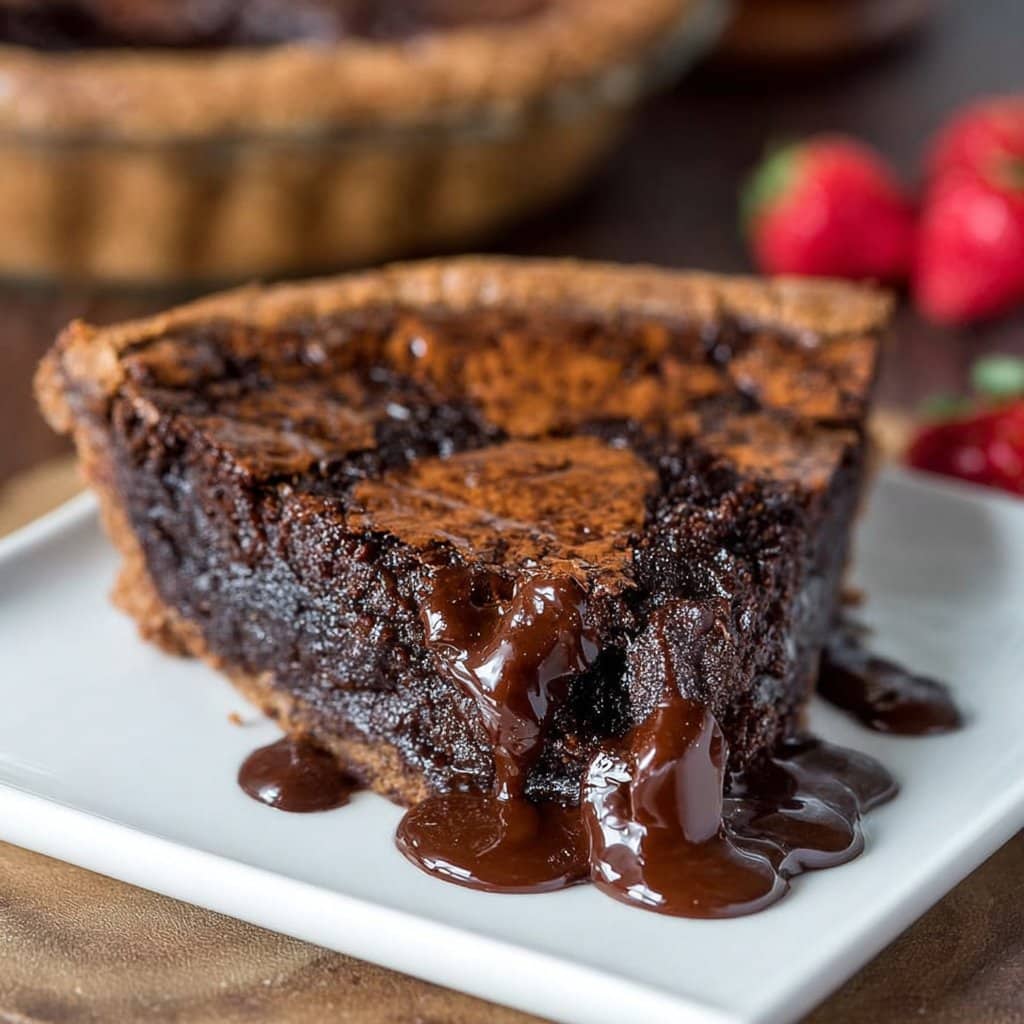
I make this whenever someone’s feeling down (or honestly, any time at all) because my family absolutely freaks for it. That gooey middle! There’s honestly no resisting it… unless, like my cousin once did, you try to cut in before it cools even a little and end up with chocolate lava all over the counter—still delicious, but not exactly Instagram-worthy. And when I’m short on time, I use a store-bought crust; nobody’s noticed yet. Probably because they’re too busy eating. I’ll admit that sometimes the edges get a little too chewy if you overbake (been there!), but in my book, an overly gooey center is always better than a dry one.
Here’s What You’ll Need (With a Few Swaps I’ve Tried)
- 1 unbaked 9-inch pie crust (I sometimes just grab the kind from the fridge section; my grandma would roll in her grave, but honestly, it works just fine)
- 1/2 cup (115g) unsalted butter, melted (sometimes I swap in brown butter for a nutty thing—fancy but a bit more faff)
- 1 cup (200g) granulated sugar
- 2 large eggs (room temp… or, you know, whatever’s in the fridge)
- 1/3 cup (40g) unsweetened cocoa powder (the dark stuff gives it a deeper flavor, but regular cocoa totally works & Fox’s brand is my stand-by)
- 1/2 cup (65g) all-purpose flour (I ran out once and skipped a tablespoon; still tasted great)
- 1 tsp vanilla extract (sometimes I double it because who measures vanilla?)
- 1/4 tsp salt
- 1 cup chocolate chips (optional, but why would you not?)
- Optional: 1/2 cup chopped nuts (pecans if you like a bit of snap; walnuts are nice too, but my friend Emily says they’re a menace to teeth)
How To Actually Make This (Don’t Overthink It)
- First set your oven to 350°F (175°C). Get your pie crust pressed into a 9-inch pie plate. If you’re using store-bought and it tears, just press it back together. Nobody’s staring at the base!
- In a decent-sized bowl, whisk together melted butter and sugar until it looks kinda creamy. I know the official direction is to do this for several minutes, but sometimes I get impatient and stop early… seems fine.
- Add those eggs, one at a time, mixing after each. At this point it looks a little weird—like, is this right? Yes, totally. Carry on.
- Dump in the cocoa powder, flour, vanilla, and salt. Stir until it’s all combined. Use a spatula or a wooden spoon if you don’t have a mixer (I can never find mine when I need it). If it looks a bit lumpy, that’s okay—don’t stress.
- Fold in the chocolate chips and nuts, if you’re using them. Here’s where I always sneak a spoonful to check for, you know, vibes. (Of course there are raw eggs, but I live dangerously.)
- Scoop the batter into your pie crust and smooth the top out. Or don’t—swirls are cool, too.
- Bake for about 35-40 minutes. The edges puff up and the middle might wobble a tiny bit. It’ll finish setting as it cools, so don’t panic. (I once left it in for 45 and it was more of a brick than a pie…)
- Cool for at least 30 minutes before slicing (or less, if you don’t mind a mess). It smells amazing, so good luck waiting.
A Few Notes I’ve Picked Up Along the Way
- If you want cleaner slices, pop it in the fridge for about an hour before cutting—though cold pie isn’t exactly the same as oozy-warm pie, in my opinion.
- Don’t sweat the pie crust shape. No one cares if it looks rustic (read: misshapen).
- I’ve tried reducing the sugar to 3/4 cup once; it was less sweet, but honestly a bit too dry. So I just stick with the full amount now.
- Baking times are a suggestion, not a rule—every oven is a tiny rebel.
Variations (What Worked, and One That Really Didn’t)
- Swirl in a couple spoons of peanut butter before baking—instant flavor boost.
- If you’re feeling wild, add a dash of instant espresso powder. It makes the chocolate taste deeper (not sure why, but it’s magic).
- I did try swapping the chocolate chips for chopped dried cherries once… and well, let’s just say my kids asked me to “never do that again, please”. Stick with the classics, yeah?
- If you want it vegan, this egg replacer guide is handy. I haven’t personally done it with this recipe, but my friend swears by flax eggs. No promises!
What If I Don’t Have Fancy Equipment?
I use a regular old pie plate (sometimes even a cake tin if that’s what’s clean). As for mixing—I’ve done it with a wooden spoon, a spatula, even a fork when everything else was dirty. If you have a hand mixer, great, but not necessary. I once borrowed my neighbor’s stand mixer (way too heavy, honestly), and my arms hurt more than usual, so just use what’s handy. And if you don’t have a 9-inch pan, an 8-inch will do; your pie will just be thicker and need a few more minutes.
Keeping Leftovers (If You’re Lucky Enough to Have Any)
This keeps pretty well covered on the counter for a day or so, or up to three days in the fridge. I do think it tastes even better the next day (the magic of chocolate settling with time), but, honestly? In my house, it never lasts more than a day. If you want to freeze it, wrap slices individually. You can nuke them for 10-15 seconds to get close to that warm, gooey perfection again.
My Favorite Ways to Serve It
Okay—best way is warm with a ridiculous amount of vanilla ice cream on top. Sometimes we go totally overboard and add whipped cream too; my partner likes a drizzle of caramel sauce, but that’s just showing off. Once in a blue moon, I crumble up any leftover pie crumbs into yogurt for breakfast—not exactly healthy, but it’s an excellent way to start the day if you ask me!
If I Had to Share a Pro Tip…
Let it cool. Seriously. I rushed slicing it once—just called it “brownie pudding” and handed out spoons, but really, the texture settles and the flavor kind of blooms if you wait. Also, don’t forget the salt. I did that one time. It tasted flat, like eating sparkly mud. Never again.
Some FAQs I’ve Actually Gotten
- Do I have to make my own crust? Definitely not. I almost never do, unless I’m feeling Martha Stewart-ish. Just thaw a frozen one or grab one from the fridge section.
- The middle is super gooey—is that underbaked? Nah, it’s meant to be gooey. If it’s really runny, stick it back for 5 minutes, but honestly it firms up a bit as it cools.
- Can I double it? You can, but use a 9×13 baking dish and add maybe 5-8 minutes to bake time. Just keep a close eye so it doesn’t dry out.
- What’s the best cocoa powder? I’ve used everything from Hershey’s to fancy Dutch-process. You will taste the difference a bit, but anything will work. Here’s actually a nice cocoa explainer if you want to nerd out: Dutch vs. Natural Cocoa.
- Gluten-free option? Oh, yeah! I once used Bob’s Red Mill 1-for-1 gluten free flour—worked a treat. The texture was a bit denser, but nobody complained.
And while we’re on desserts, did you ever notice how people judge you based on how much ice cream you scoop onto a slice of pie? I say, pile it high—life’s too short for stingy servings.
Ingredients
- 1 cup unsalted butter, melted
- 1 1/2 cups granulated sugar
- 3 large eggs
- 1 teaspoon vanilla extract
- 3/4 cup unsweetened cocoa powder
- 1 cup all-purpose flour
- 1/2 teaspoon salt
- 3/4 cup semi-sweet chocolate chips
Instructions
-
1Preheat your oven to 350°F (175°C). Grease a 9-inch pie dish or line it with parchment paper.
-
2In a large bowl, whisk together melted butter and sugar until smooth.
-
3Add eggs and vanilla extract, whisking until well combined.
-
4Sift in cocoa powder, flour, and salt. Stir gently until just combined.
-
5Fold in chocolate chips, then spread the batter evenly in the prepared pie dish.
-
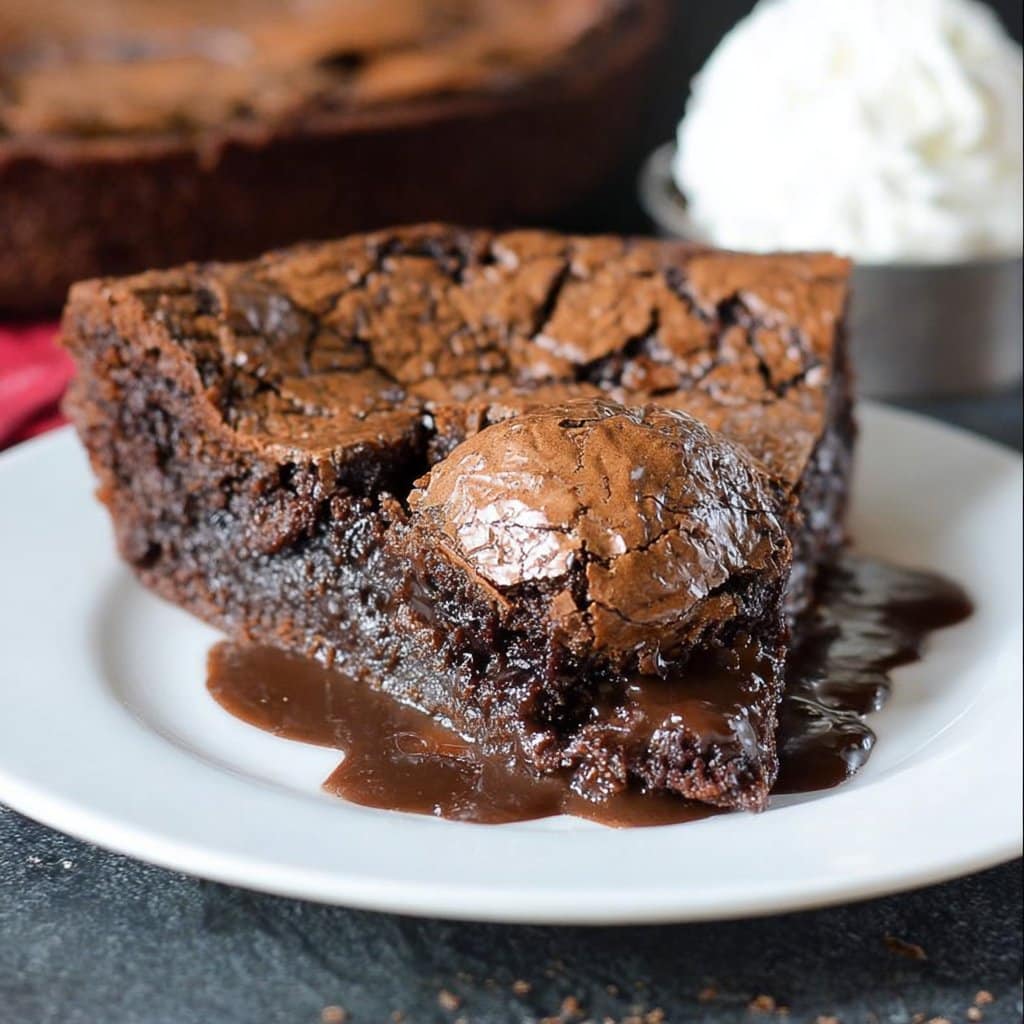
6Bake for 28–32 minutes or until the edges are set but the center remains slightly gooey. Cool for 15 minutes before slicing and serving.
Approximate Information for One Serving
Nutrition Disclaimers
Number of total servings shown is approximate. Actual number of servings will depend on your preferred portion sizes.
Nutritional values shown are general guidelines and reflect information for 1 serving using the ingredients listed, not including any optional ingredients. Actual macros may vary slightly depending on specific brands and types of ingredients used.
To determine the weight of one serving, prepare the recipe as instructed. Weigh the finished recipe, then divide the weight of the finished recipe (not including the weight of the container the food is in) by the desired number of servings. Result will be the weight of one serving.
Did you make this recipe?
Please consider Pinning it!!




