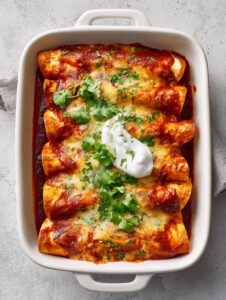
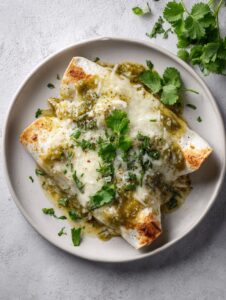
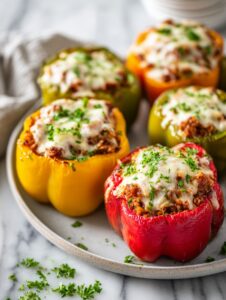
Let Me Tell You About These Enchiladas (And That Epic Salsa Disaster)
You know those nights where you come home and your brain’s totally fried, maybe you meant to meal prep but life had other plans? Yeah, me too. That’s why I swear by making these chicken enchiladas ahead of time and popping them in the freezer. Once, I actually knocked a whole jar of salsa off the counter while making these (not my finest hour) but the floor looked festive! Anyway, every time I open the freezer and see my little foil-packed trays of enchiladas, I give a quick silent cheer to past me. Also, my dog Max does a happy dance because he knows leftovers are a possibility.

Why You’ll Be Into This (No Joke!)
I make this when I forget to plan and still want a dinner that makes my family think I tried (even if I just yanked it from the freezer like a kitchen ninja). My family pretty much polishes off the pan before the cheese even cools. Plus, I used to hate rolling enchiladas—always made a mess—but actually, with this recipe it goes pretty fast (and honestly, the messier ones taste best). Last time, I tried to use up some leftover rotisserie chicken and it worked better than I expected, so I’m just passing that along.
Here’s What You’ll Need (Swaps Welcome)
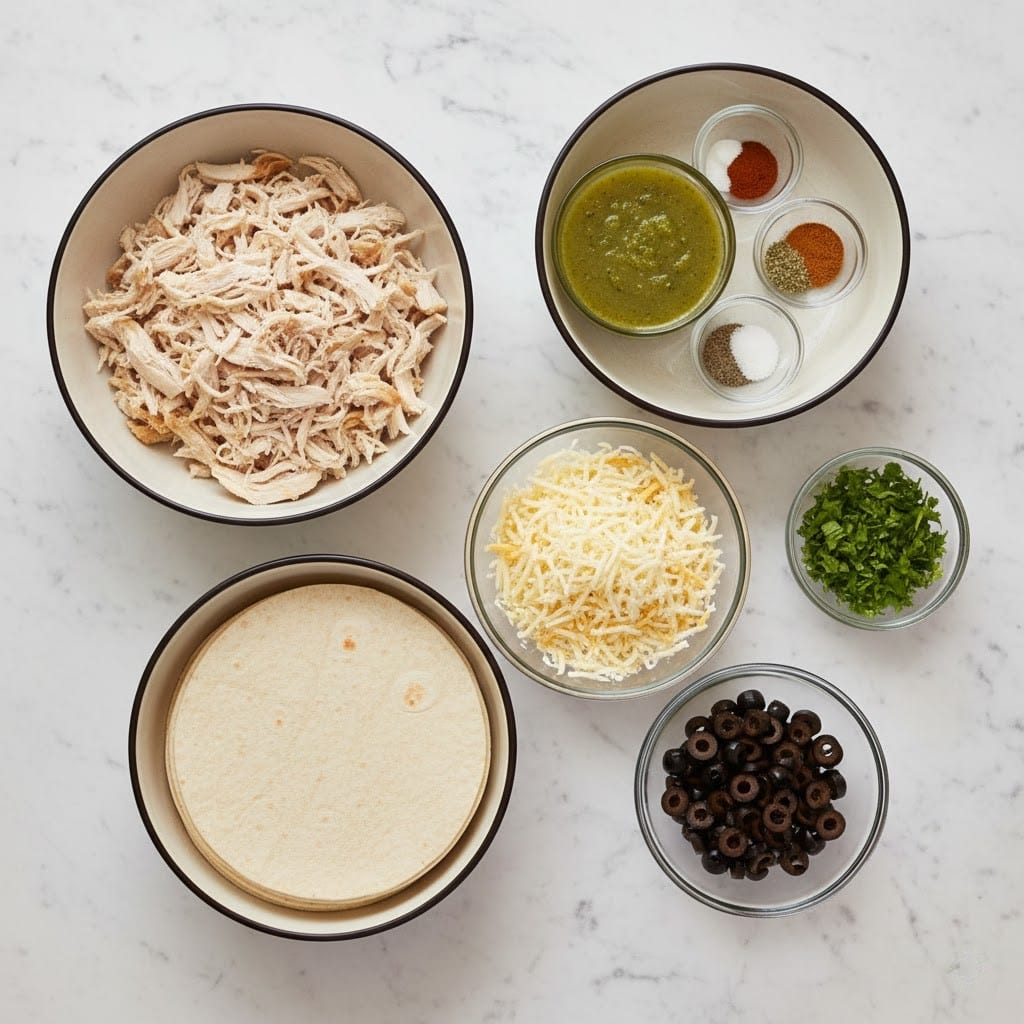
- 3 cups cooked chicken, shredded (rotisserie chicken is perfect or sometimes I just use canned chicken in a pinch; my aunt swears by poaching her own, but who has time?)
- 10 soft flour tortillas (about 8-inch size; corn works too, but they tear more easily—don’t stress)
- 2 cups shredded cheese, your fave (cheddar, Monterey Jack, or one of those fancy blends—I use whatever’s in the fridge, really)
- 1 can (15 oz) enchilada sauce (red or green, and yes, homemade is great but let’s be real, I usually grab store-bought; Trader Jose’s is nice if you’re curious)
- 1 can (4 oz) diced green chilies (sometimes I leave this out for the spice averse, or double it when I’m feeling wild)
- 1/2 cup sour cream (plain Greek yogurt totally swaps in fine, especially if that’s all you’ve got)
- 1 teaspoon cumin (but toss in chili powder if that’s what’s nearby)
- 1/2 teaspoon garlic powder
- Salt and pepper, to taste
- Optional toppings: sliced olives, chopped cilantro, diced tomato, more sour cream (because why not?)
The Step-by-Step (With Occasional Tangents)
- Preheat your oven to 375°F (if you’re planning to eat some right away; if you’re freezing the pan, skip this and stare at your uncooked pan with pride).
- In a big bowl, mix shredded chicken, half the cheese, green chilies, sour cream, cumin, garlic powder, salt, and pepper. This is where I usually sneak a taste. Okay, maybe two tastes.
- Pour about half the enchilada sauce into the bottom of your baking dish (I use a 9×13, but honestly a couple smaller pans works just as well for freezing in smaller portions—great for lunch!).
- Spoon a good scoop of the chicken mixture into each tortilla; roll them up, then nestle seam-side down into the saucy baking dish. Don’t panic if they aren’t perfect. My roll-ups definitely tend to look a little tired at this point.
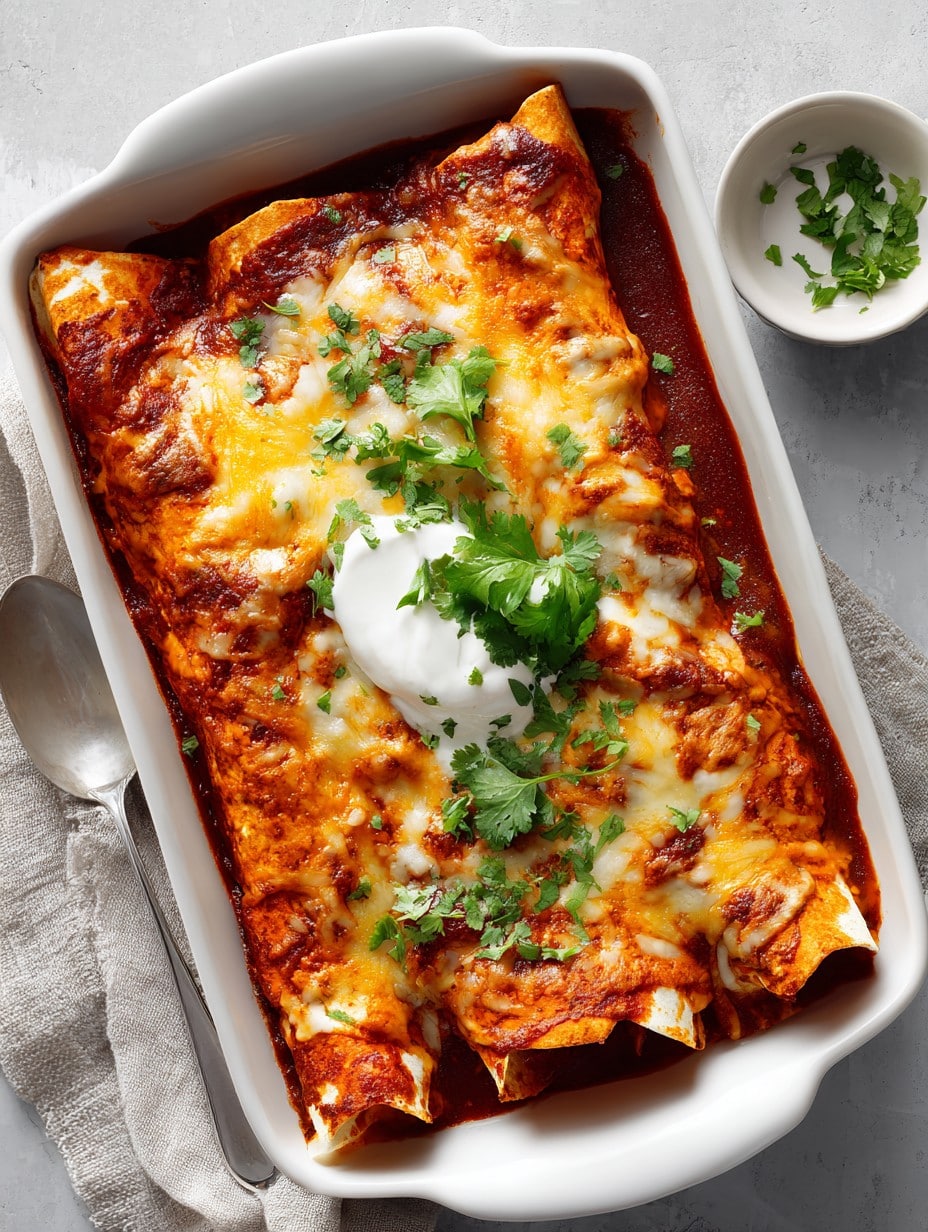
- Pour the rest of the sauce over the top, then scatter the rest of the cheese over everything. Again, it’s not about precision; just cover it like a cheesy blanket.
- If baking now: Pop the pan in the oven for about 25 minutes, or until bubbly and golden on the edges. Let cool a bit before serving so you don’t burn your tongue (ask me how I know).
- If freezing: Cover snugly with foil (sometimes I double wrap because I’m paranoid about freezer burn), label with cooking instructions and date. Freeze flat. When ready to bake, thaw overnight in the fridge or, honestly, I’ve baked straight form frozen—just add another 15-20 minutes or so to the cook time and check the middle for warmth.
- Top with your favorite things—sour cream, extra salsa, cilantro. On taco night, we go all out and add corn chips for crunch.
Notes form Surviving Many Batches
- If your tortillas crack, don’t worry, they’ll soften while baking anyway. Once, I tried microwaving them for a few seconds wrapped in a damp towel and that actually helped a bit.
- I think these actually taste even better the next day. That’s not scientific, just my personal vibe.
- Don’t feel obligated to make your own sauce—it’s not a crime, no matter what my foodie neighbor says.
Variations (Some Keeper, One Flop)
- Tried swapping cooked turkey for chicken after Thanksgiving. Came out fab, like a whole new meal.
- Made it with black beans instead of meat once (for my vegetarian cousin)—extra delicious with pepper jack cheese.
- Once I used barbecue sauce by mistake, thinking it was enchilada sauce. Let’s just say… that one didn’t get any requests for a repeat.
What Equipment Is (Sorta) Essential?
You’ll want a big mixing bowl, a spatula or big spoon, and a 9×13 baking dish (or two smaller pans for splitting it up). Aluminum foil for covering. If you don’t have a proper baking dish, I’ve used those disposable foil ones from the shop—no shame, they actually work great when you’re bringing a pan to a friend or, you know, just hate dishes.
How I Store This (Or How I Try To)
Freezer is your friend! Even when I tell myself to save one tray for a weeknight later, somehow it only lasts a day round here, but in theory these keep about 3 months in the freezer. For leftovers, just wrap them well and into the fridge—they reheat just fine in the microwave or oven.
Want to Make It Fancy? Here’s How I Serve It
I usually plop a little extra sour cream on top and serve with something fresh—maybe a handful of lettuce or whatever salad stuff I haven’t yet forgotten in the back of the fridge. My daughter insists on lime wedges. And if you want my honest favorite: a side of nachos, because why not be extra?
The “Oops, Learned the Hard Way” Pro Tips
- Don’t overfill the tortillas. The first time, I thought I was being generous but half the filing ended up outside the tortillas. Just keep it honest, not bursting.
- Take that extra minute to label your pan with the date and “bake/375F/covered 25 min”—I once forgot and played frozen dinner roulette a week later. Not recommended.
- Let it sit before slicing, otherwise it falls apart into a cheesy puddle—still tastes good, but looks like a mess.
Actual Questions People Have Thrown at Me
- Can I make this without cheese? Sure thing, just skip it or use a dairy-free substitute. It’s not the same level of gooey, but still tasty. I did it once when I ran out; it still disappeared.
- How do I keep the tortillas from getting mushy? I get this a lot. You can try crisping them slightly first in a dry pan, but… I don’t usually bother and nobody’s complained.
- Should I thaw before baking? Ideally, yeah, but honestly I forget half the time and just tack on extra cook time from frozen.
- Can I add veggies? Yes! Sautéed onions, bell peppers, or chopped spinach make it feel extra wholesome. I just cook them a bit so there’s not too much water.
- Does this work with beef? For sure. Just swap in ground beef or turkey. Or, on second thought, try leftover roast beef (different, but not bad).
Ingredients
- 3 cups cooked chicken, shredded (rotisserie chicken is perfect or sometimes I just use canned chicken in a pinch; my aunt swears by poaching her own, but who has time?)
- 10 soft flour tortillas (about 8-inch size; corn works too, but they tear more easily—don’t stress)
- 2 cups shredded cheese, your fave (cheddar, Monterey Jack, or one of those fancy blends—I use whatever’s in the fridge, really)
- 1 can (15 oz) enchilada sauce (red or green, and yes, homemade is great but let’s be real, I usually grab store-bought; Trader Jose’s is nice if you’re curious)
- 1 can (4 oz) diced green chilies (sometimes I leave this out for the spice averse, or double it when I’m feeling wild)
- 1/2 cup sour cream (plain Greek yogurt totally swaps in fine, especially if that’s all you’ve got)
- 1 teaspoon cumin (but toss in chili powder if that’s what’s nearby)
- 1/2 teaspoon garlic powder
- Salt and pepper, to taste
- Optional toppings: sliced olives, chopped cilantro, diced tomato, more sour cream (because why not?)
Instructions
-
1Preheat your oven to 375°F (if you’re planning to eat some right away; if you’re freezing the pan, skip this and stare at your uncooked pan with pride).
-
2In a big bowl, mix shredded chicken, half the cheese, green chilies, sour cream, cumin, garlic powder, salt, and pepper. This is where I usually sneak a taste. Okay, maybe two tastes.
-
3Pour about half the enchilada sauce into the bottom of your baking dish (I use a 9×13, but honestly a couple smaller pans works just as well for freezing in smaller portions—great for lunch!).
-
4Spoon a good scoop of the chicken mixture into each tortilla; roll them up, then nestle seam-side down into the saucy baking dish. Don’t panic if they aren’t perfect. My roll-ups definitely tend to look a little tired at this point.
-
5Pour the rest of the sauce over the top, then scatter the rest of the cheese over everything. Again, it’s not about precision; just cover it like a cheesy blanket.
-
6If baking now: Pop the pan in the oven for about 25 minutes, or until bubbly and golden on the edges. Let cool a bit before serving so you don’t burn your tongue (ask me how I know).
-
7If freezing: Cover snugly with foil (sometimes I double wrap because I’m paranoid about freezer burn), label with cooking instructions and date. Freeze flat. When ready to bake, thaw overnight in the fridge or, honestly, I’ve baked straight form frozen—just add another 15-20 minutes or so to the cook time and check the middle for warmth.
-
8Top with your favorite things—sour cream, extra salsa, cilantro. On taco night, we go all out and add corn chips for crunch.
Approximate Information for One Serving
Nutrition Disclaimers
Number of total servings shown is approximate. Actual number of servings will depend on your preferred portion sizes.
Nutritional values shown are general guidelines and reflect information for 1 serving using the ingredients listed, not including any optional ingredients. Actual macros may vary slightly depending on specific brands and types of ingredients used.
To determine the weight of one serving, prepare the recipe as instructed. Weigh the finished recipe, then divide the weight of the finished recipe (not including the weight of the container the food is in) by the desired number of servings. Result will be the weight of one serving.
Did you make this recipe?
Please consider Pinning it!