Let Me Tell You About My Easy Sour Cream Baked Salmon
Alright, so here’s the deal: there are fancier salmon recipes in the world, but when real life’s coming at me sideways—kids squabbling over Minecraft, emails stacking up, neighbor’s cat slinking into my kitchen—this is the salmon I make. Actually, the first time I tried this, I was out of ideas and basically just threw together what was in the fridge. It turned out so decent that now the family asks for “that creamy salmon” at least once a week. (Honestly, I suspected they’d get tired of it, but so far, no complaints—except the time I burned the top a little. Oops.)
Why I Keep Making This (Even When I’m in a Mood)
I make this when I want dinner to look like I tried, but didn’t actually try hard. My family goes absolutely bonkers for the topping—my youngest calls it “cloud sauce.” Maybe that’s because I’m pretty generous with that sour cream swirl. And you know how some fish dishes get fussy? Nope. This one’s as chill as a rainy Sunday, but way tastier. Sometimes, if I’m scrambling, I’ll just plunk the salmon on a sheet, dollop the topping, and barely remember to set a timer. It still comes out pretty much perfect. (Except that one time I forgot the lemon; it was…not my brightest moment.)
The Stuff You’ll Need (and a Few Swaps If You’re Desperate)
- 4 salmon fillets (about 150g each) – I use whatever’s on sale. Wild is lovely, but farmed works and, weirdly, my cousin swears by frozen. I’ve used canned in a pinch; not bragging, just honest.
- 1/2 cup sour cream – I sometimes do half and half with Greek yogurt if I’m sweating about dairy or whatever. My grandma insisted on Daisy brand but, honestly, they’re all pretty similar.
- 1 tablespoon Dijon mustard – Yellow works too. One time I used spicy brown, it was…zippier than expected.
- 2 teaspoons lemon juice – Bottled, fresh, whatever. As long as it’s acidic.
- 2 garlic cloves, minced – Jarred works. (Or garlic powder if the chopping feels like a bridge too far.)
- Handful of fresh dill, chopped – Or parsley if the fridge is empty. Dried herbs in a real bind, just use less.
- Salt and pepper – I always overdo the pepper; feel free to rein it in.
- Zest of half a lemon (optional, but it’s a chef-y touch that takes 2 seconds if you’ve got the lemon out)
So How Do You Actually Make This?
- Preheat your oven to 200°C (about 400°F). If your oven takes 37 minutes to heat like mine, maybe start now and go do something else. Line a baking tray with foil or parchment so you can pretend clean-up’s easy.
- Pat those salmon fillets dry. (I’ve skipped this step in a rush, and the topping got a bit slippy but honestly—you can get away with it.) Lay the salmon on your lined tray, skin side down if it has skin.
- In a bowl, stir together sour cream, mustard, lemon juice, garlic, herbs, and lemon zest (if using). Salt and pepper. This is where I usually sneak a taste—sometimes I add more mustard if I’m feeling punchy.
- Spoon the mixture generously over the salmon, right up to the edges. If you drip it on the tray, that’s fine; those little burnt bits are my favorite anyway.
- Bake in the center of the oven for 15 to 18 minutes—less if the fillets are thin, more if they’re big and chunky. The topping will look a little golden and the salmon should flake easily when poked with a fork. Don’t worry if it looks a bit funny at this stage — seriously, it’s supposed to.
- (Optional but truly worth it) Flick your broiler on for a minute at the end for extra golden tops. Watch it though. I learned this the hard way… unless you like that singed crème brûlée vibe.
Notes from Real-Life Mess-Ups
- I once used all Greek yogurt instead of sour cream and, look, it worked, but it was a bit tangier—your call.
- Don’t go crazy with extra garlic. I was trying to impress a date once (long ago) and overdid it; let’s just say conversation was…blunt.
- On second thought, parchment is easier than foil for cleanup. Ignore what I said earlier.
If You’re In the Mood to Tinker (Or Just Out of Stuff)
- I tried swapping in wholegrain mustard once—actually didn’t love the weird crunch, so won’t repeat!
- Chopped chives instead of dill gives it a different, fresher twist, like you’re eating it in an English country garden (or, you know, your own kitchen with the heat on because it’s chilly out).
- I’ve sprinkled breadcrumbs on top for crunch—kids thought it was fancy “fish pie.” Good hack if you’ve got stale bread to use up.
- For dairy issues, go half mayo, half coconut cream. It’s weird but passable. Texture is still great.
What If You Don’t Have the Right Kitchen Gear?
Look, I think a rimmed baking tray’s essential for the spill factor, but I’ve made this in a Pyrex casserole, and once straight in a cast iron. Actually, I even did it on a big sheet of foil right on the oven rack at my sister-in-law’s cabin — worked fine, but cleanup was a bear (figuratively, not literally; though a bear was seen outside that night, but that’s another story for another recipe).
How Long Does It Keep? (Not That I’ll Ever Know for Sure)
If, against all odds, you have leftovers, cover them tight and pop them in the fridge. They’ll keep for about 2 days. It reheats gently—not too hot or the topping can split. But honestly, in my house, it’s gone before a second meal, sometimes snitched cold right off the tray late at night (no judgment).
What Goes With Easy Sour Cream Baked Salmon?
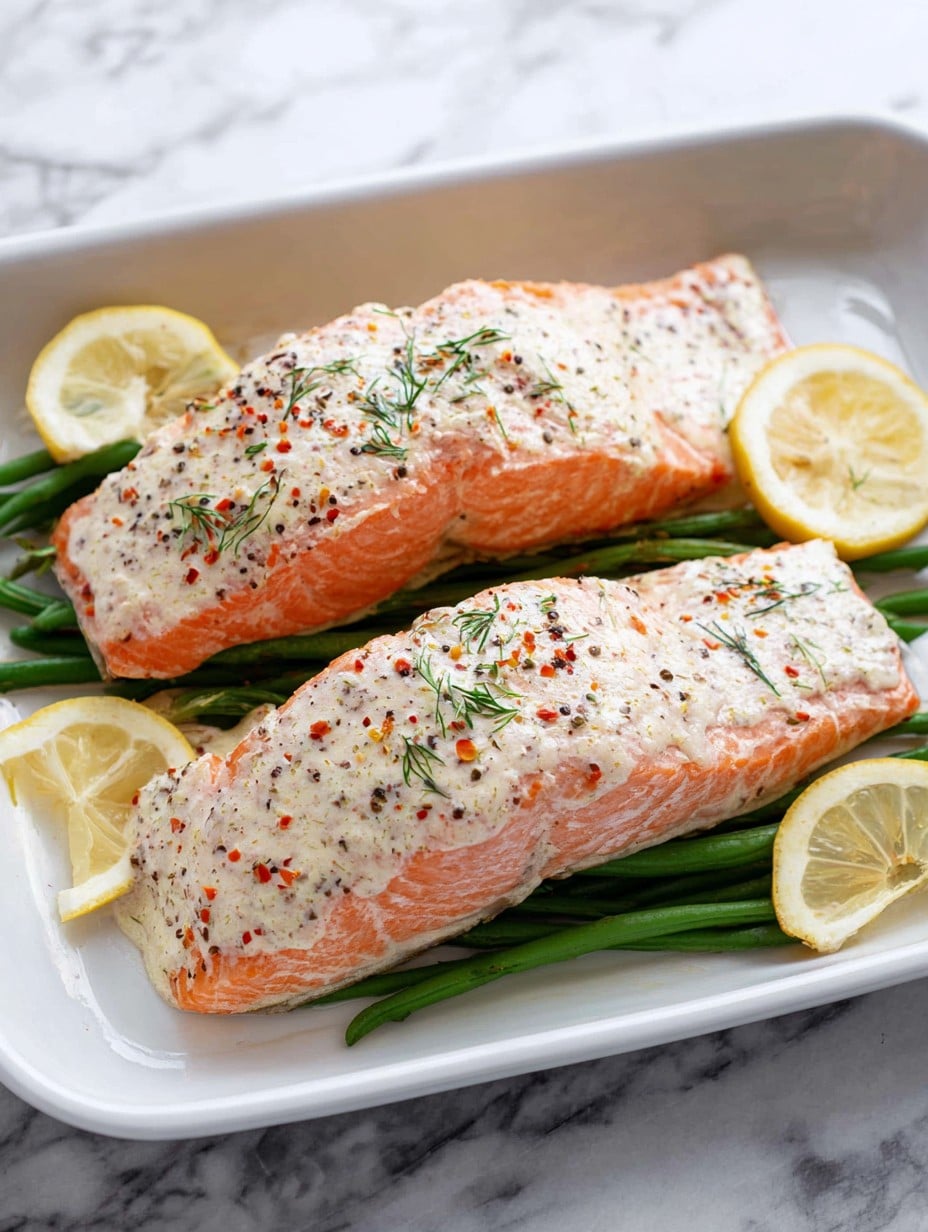
I love this with a heap of buttery rice and steamed green beans—Sunday special, if you ask me. Sometimes, I do a lemony side salad, or if we’re feeling extra, roasted potatoes. My aunt swears by serving it with this avocado cucumber salad she found on Smitten Kitchen. Actually, it’s a great combo.
Things I Wish I’d Known: My Salmon Pro Tips
- Don’t rush preheating the oven. I tried sneaking the tray in “a bit early” and the fish got uneven—one half was overcooked, one was a bit, well, raw.
- I used to skip fresh herbs thinking it wasn’t worth the trip to the shop, but, as it turns out, a little sprinkle at the end lifts the whole dish. Go figure.
- If you’re reheating, do it gently. Nuking it in the microwave makes the topping kind of sad and clumpy.
FAQ (Because Folks Actually Ask Me These!)
- Can I make this ahead of time?
Sure thing! You can mix the topping a day in advance and keep it chilled. As for the assembled salmon, I’d wait until you’re ready to bake. - Is it okay with skin-on fillets?
Yep, skin-on, skin-off, either way works. If you’re picky (or squeamish) about skin, it peels right off after baking anyway. - I’m not a dill fan—what’s a good swap?
Try chives, parsley, or even a tiny bit of tarragon, but go easy. Or skip the herbs. It’ll still taste good, promise. - Can I use a different fish?
I’ve done it with cod and even trout. Not quite the same, but honestly still decent. Salmon’s my fav for the rich flavor. - What if I don’t have lemon?
White wine vinegar, rice vinegar, or even a splash of pickle juice in a bind — desperate times (and all that jazz). See, you’re not the only one who forgets grocery items!
If you want to get a bit deeper into salmon, I really like the guidance over at Serious Eats—they even explain
why resting fish is magic. It’s a rabbit hole, and I’m not sorry for sending you down it.
Ingredients
- 4 salmon fillets (about 6 oz each)
- 1/2 cup sour cream
- 2 tablespoons fresh dill, chopped
- 1 tablespoon lemon juice
- 1 teaspoon garlic powder
- 1 teaspoon Dijon mustard
- 1/2 teaspoon salt
- 1/4 teaspoon black pepper
Instructions
-
1Preheat the oven to 400°F (200°C). Line a baking sheet with parchment paper or lightly grease it.
-
2Place the salmon fillets skin side down on the prepared baking sheet.
-
3In a small bowl, mix together the sour cream, dill, lemon juice, garlic powder, Dijon mustard, salt, and black pepper until well combined.
-
4Spoon the sour cream mixture evenly over the top of each salmon fillet.
-
5Bake for 16-18 minutes, or until the salmon flakes easily with a fork and is cooked through.
-
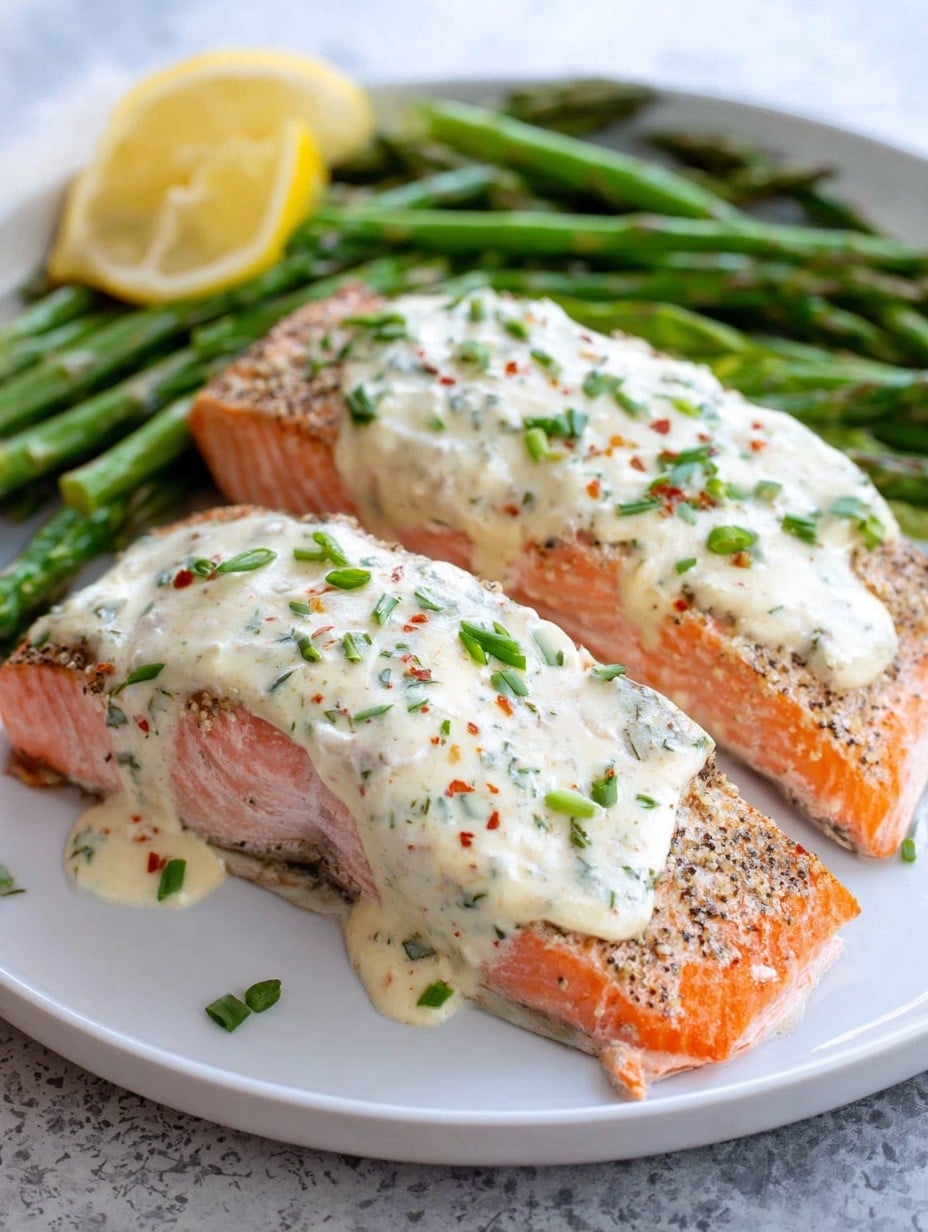
6Serve immediately, garnished with additional fresh dill and lemon wedges if desired.
Approximate Information for One Serving
Nutrition Disclaimers
Number of total servings shown is approximate. Actual number of servings will depend on your preferred portion sizes.
Nutritional values shown are general guidelines and reflect information for 1 serving using the ingredients listed, not including any optional ingredients. Actual macros may vary slightly depending on specific brands and types of ingredients used.
To determine the weight of one serving, prepare the recipe as instructed. Weigh the finished recipe, then divide the weight of the finished recipe (not including the weight of the container the food is in) by the desired number of servings. Result will be the weight of one serving.
Did you make this recipe?
Please consider Pinning it!!




