Let Me Tell You About This Casserole (Trust Me, It’s Worth It)
OK, so picture this: It’s a chilly Tuesday night, the kind where you can almost see your breath in the kitchen if you lean toward the window, and you really just want to eat something that feels like getting wrapped up in a fluffy blanket. That’s the day I stumbled onto this French onion beef rice casserole—well, not literally stumbled (my clumsy days are reserved for brunch). My mom used to make a version of this when my brother and I were knee-high—except she’d use whatever she found in the fridge because, you know, that’s how moms are. Anyway, after much experimenting (and one tragic burned casserole incident I’d rather forget), this is the version I keep coming back to when I want comfort, but also a little bit of flavor fireworks.
Why I Keep Making This (And You Probably Will, Too)
I make this when my family is about two seconds away from staging a mutiny over leftovers. They go absolutely nuts for the crispy cheese topping (me too, not gonna lie). Sometimes I use it as my Sunday batch-cook go-to for the week because it reheats weirdly well, even after being ignored in the fridge for a few days. And honestly, it looks fancier than it is, so people always think I spent way more time than I did. If you’ve ever found yourself annoyed with soggy casseroles, don’t fret, this one gets the balance right (most days, anyway—nothing’s perfect on the first try!).
What You’ll Need (And What I Sub When I Forget To Shop)
- About 1 pound (450g) lean ground beef (sometimes I’ll sub in ground turkey if it’s on sale, or been sitting in the freezer a bit too long!)
- 2 good-size yellow onions, sliced thin—not paper thin, just… you know, thin enough (I’ve used red onions in a pinch; my Aunt insists on Vidalia, but any will do)
- 3 cloves garlic, minced (the pre-minced stuff in jars is fine, though it tastes a bit different)
- 2 cups cooked rice (white, brown, or even wild rice—leftover takeout rice is borderline ideal, actually)
- A splash of Worcestershire sauce (a glug, really—maybe 2 teaspoons?)
- 1 can (about 10oz) condensed French onion soup (store brand is fine—Campbell’s if you want to be classic)
- 1/2 cup beef broth (or chicken broth, if that’s what you’ve got open)
- 1 1/2 cups shredded Swiss cheese (Gruyère if I’m feeling posh; mozzarella in emergencies—once tried cheddar, it’s much mellower)
- 1/2 cup shredded parmesan (optional, but I rarely skip it; my son would revolt)
- Fresh thyme or dried (about 1 teaspoon, but I usually eyeball it)
- Black pepper (and salt, but taste as you go!)
- 1 tablespoon butter
- (Optional) A sprinkle of crispy fried onions on top—if you want that extra crunch
So, How Do You Make It? (It’s Honestly Not Tricky)
- Preheat and Prep: Fire up your oven to 350°F (about 175°C). Grease a 2-quart baking dish or, if you’re like me and forget, line it with parchment—saves the scrubbing later.
- Brown the Beef: In a big skillet over medium heat, toss in the ground beef. Cook until it’s starting to brown all over, breaking up any giant chunks. Stuff will look oddly gray at first (don’t worry, it always does) but keep going. Drain off extra grease—or not, if you like things extra rich.
- Do the Onions: Toss onions, butter, and a pinch of salt into the same skillet (no need to clean it—I don’t bother). Cook low and slow, stirring every now and again till they’re soft and golden brown. While you’re waiting, this is when I usually sneak a taste of the beef—chef’s privilege!
- Add Garlic: Stir in the garlic. Cook for a minute (don’t let it burn or it’ll go bitter—ugh).
- Mix It All Up: In a big bowl (or straight in the pan, if it’s oven-safe), combine beef, onions and garlic, cooked rice, French onion soup, beef broth, and Worcestershire. Mix in about 1 cup of the cheese, thyme, and a good grind of black pepper. Taste it—try not to eat the whole thing before baking.
- Into the Dish: Scrape mixture into your prepared dish. Top evenly with the rest of the cheese (plus parmesan if you’re doing it) and—if you got ‘em—fried onions.
- Bake Away: Plop it in the oven. Bake uncovered for about 25-30 minutes, till bubbly and golden. If you like things super crispy up top, give it 2 minutes under the broiler (just don’t wander off… ask me how I know).
- Sit Tight: Let it stand for maybe 10 minutes out of the oven—otherwise, you’ll nuke your mouth (I do this every time, I never learn).
Notes (AKA, Stuff I Figured Out The Hard Way)
- If your rice is really fresh and steamy, the casserole might come out a bit mushier. It’s still tasty, but I think day-old rice is better for this (honestly, that’s probably why I started making this in the first place—leftover rice mountain!)
- Don’t be shy with the black pepper—it brings out the onion-y taste big time.
- Actually, I find hands work better than spatulas for mixing everything together, but keep a dish towel handy unless you want sticky fingers everywhere.
- Adding a splash of dry white wine to the onions is good, but not essential (I forget half the time, anyway).
Variations I’ve Messed Around With (And a Flop)
- Tried using quinoa instead of rice—eh, it was fine, but kind of bland. Not my favorite, but probably healthier?
- Once added sautéed mushrooms and it was a hit (except my daughter, but she’s firmly Team Anti-Mushroom).
- You can go cheesy overload by stacking on extra Swiss at the end. The only time I regretted it was when the cheese overflowed and, well, the smoke alarm joined dinner.
- I made it once with cauliflower rice to try and cut carbs—it looked right but tasted off, kind of like wet popcorn, so… wouldn’t recommend.
What You’ll Need (But Here’s How I Got Around It)
- A 2-quart dish (but I’ve crammed it into a 9×9 baking tin before and it worked out fine)
- A big old skillet or frying pan (if you don’t have one, honestly, a large saucepan will do—it just gets messy when stirring)
- Mixing bowl, spatula (or use your hands, but see above about sticky fingers)
- I sometimes use tinfoil if my casserole starts browning too fast, though you can skip it if you’re into super crispy edges
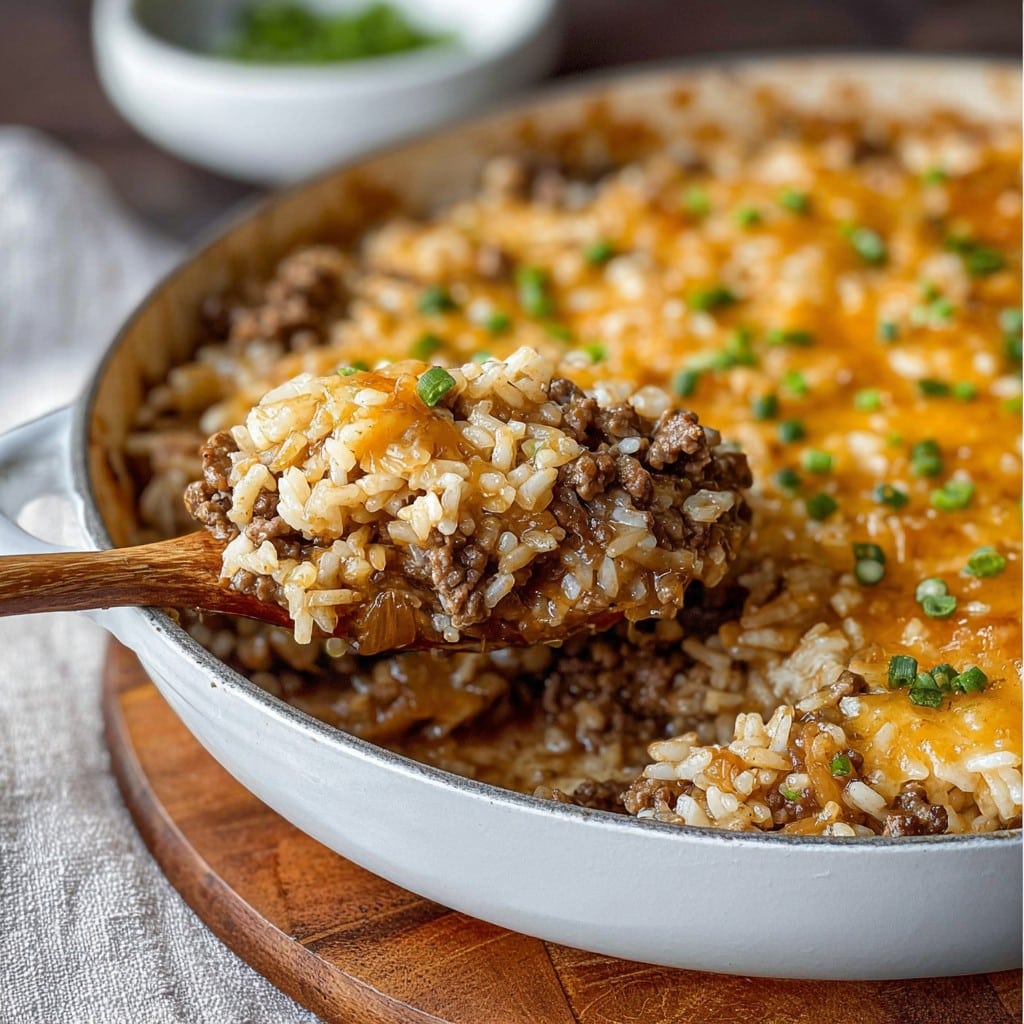
How Do You Store This (If You Somehow Have Leftovers)?
Alright, real talk: in my house, this casserole rarely makes it to the next morning. But, if you’re less ravenous, just cover and stash leftovers in the fridge for 3ish days. They honestly taste even better second day (something magical happens overnight, I swear). You can freeze individual portions for up to 2 months, but add a smidge of broth or water when reheating so it doesn’t dry out. Oh—and if you want more on storage wisdom, Savor and Savvy has an honest guide to freezing rice.
How I Serve It (And Sometimes Go Overboard)
I love to scoop this into generous bowls and pile on extra fried onions (I know, I know, it’s indulgent). If it’s a special night, I’ll toss together a crisp green salad with a sharp vinaigrette—the bite cuts through the richness. My uncle insists on serving this with a hunk of sourdough for scraping the sides, and honestly, I’ve come around to his way of thinking. Sometimes I’ll throw a handful of steamed green beans next to it and call it a day. If you’re feeling extra, check out Sally’s Baking Addiction for a killer soft pretzel recipe—not traditional, but who’s judging?
Pro Tips (a.k.a., Mistakes I’ve Definitely Made)
- Don’t try to skip the onion caramelizing step; I did once, and it was just bland and sad (the onions need their time on the stove, no shortcuts here!)
- Watch the salt—between soup, broth, and cheese, it’s easy to go overboard (so taste as you go, even if it’s annoying)
- If you broil the top, don’t walk away. I repeat: do NOT walk away. Broilers are sneakier than they look (learned this one with a blackened casserole top and a grumpy spouse).
Real-Life FAQ (Yes, People Have Actually Asked Me These!)
- Can I make this ahead?
- Yup, for sure! You can assemble it up to a day before, just cover and stash in the fridge. Bake it off when you need it. Actually, it picks up even more flavor this way.
- Does it freeze well?
- Honestly, pretty well! Just cool it first, then portion out or freeze whole (cover tightly), but remember to add some liquid when reheating or it gets sort of… sawdusty? Is that a word?
- Can I make it vegetarian?
- Probably! Swap the beef for lentils or plant-based ground “beef” (my neighbor swears by the Beyond stuff). Use veggie broth and onion soup; it’ll be a bit lighter—and different—but still good.
- I’m gluten-free—what about me?
- Just check your soup and broth labels; sometimes they sneak in flour, and use gluten-free crispy onions if you want the topping. Rice is a win here!
- Help! My casserole came out mushy!
- Don’t panic. It’s usually because the rice was too soft going in, or super fresh. Next time, try with cold, day-old rice instead. Or just embrace the mush—it still tastes fantastic with enough cheese.
- Can I double or halve the recipe?
- Absolutely. Use a bigger pan if you double, or a loaf tin for a smaller batch. Just keep an eye on the bake time—it might need a bit more or less. I always wing it here (gets me in trouble sometimes).
If you’re after more cozy casserole inspo, I sometimes jump over to The Kitchn’s casserole guide when I’m out of ideas or just need to kill a few minutes online while waiting for things to bake.
There you go—my (honestly) favorite way to bring everyone to the table, or at least into the kitchen demanding to know when dinner’s ready.
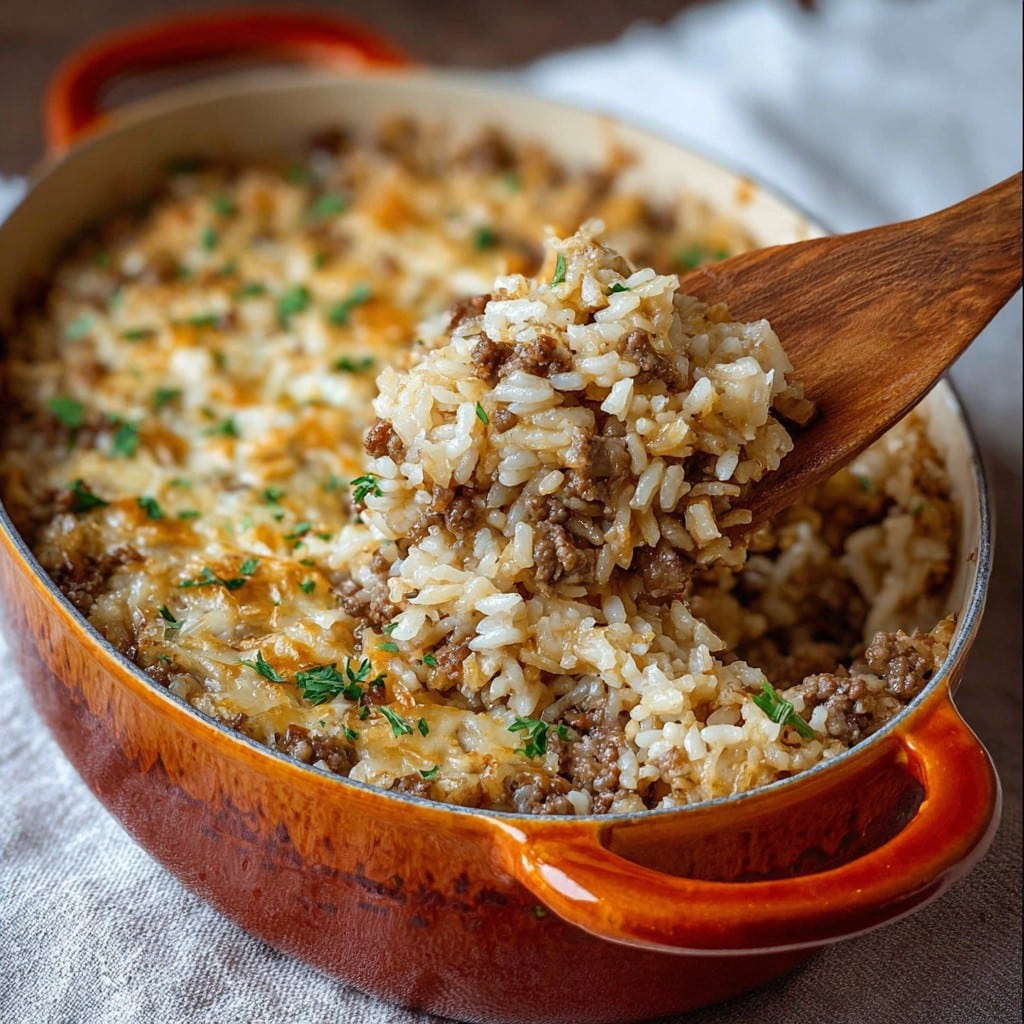
Ingredients
- 1 lb ground beef
- 2 large yellow onions, thinly sliced
- 2 cups cooked white rice
- 1 cup shredded Swiss cheese
- 1/2 cup beef broth
- 1 tablespoon olive oil
- 1 teaspoon garlic powder
- 1 teaspoon dried thyme
- Salt and black pepper to taste
Instructions
-
1Preheat oven to 350°F (175°C). Grease a 9×13-inch casserole dish.
-
2In a large skillet over medium heat, heat olive oil and sauté onions until deeply caramelized, about 10-15 minutes.
-
3Add ground beef to the skillet with onions and cook until browned. Season with garlic powder, thyme, salt, and pepper.
-
4Stir in cooked rice and beef broth, mixing until evenly combined.
-
5Transfer mixture to prepared casserole dish, sprinkle shredded Swiss cheese evenly over the top.
-
6Bake uncovered for 25-30 minutes, or until cheese is melted and casserole is bubbling. Serve hot.
Approximate Information for One Serving
Nutrition Disclaimers
Number of total servings shown is approximate. Actual number of servings will depend on your preferred portion sizes.
Nutritional values shown are general guidelines and reflect information for 1 serving using the ingredients listed, not including any optional ingredients. Actual macros may vary slightly depending on specific brands and types of ingredients used.
To determine the weight of one serving, prepare the recipe as instructed. Weigh the finished recipe, then divide the weight of the finished recipe (not including the weight of the container the food is in) by the desired number of servings. Result will be the weight of one serving.
Did you make this recipe?
Please consider Pinning it!!




